|
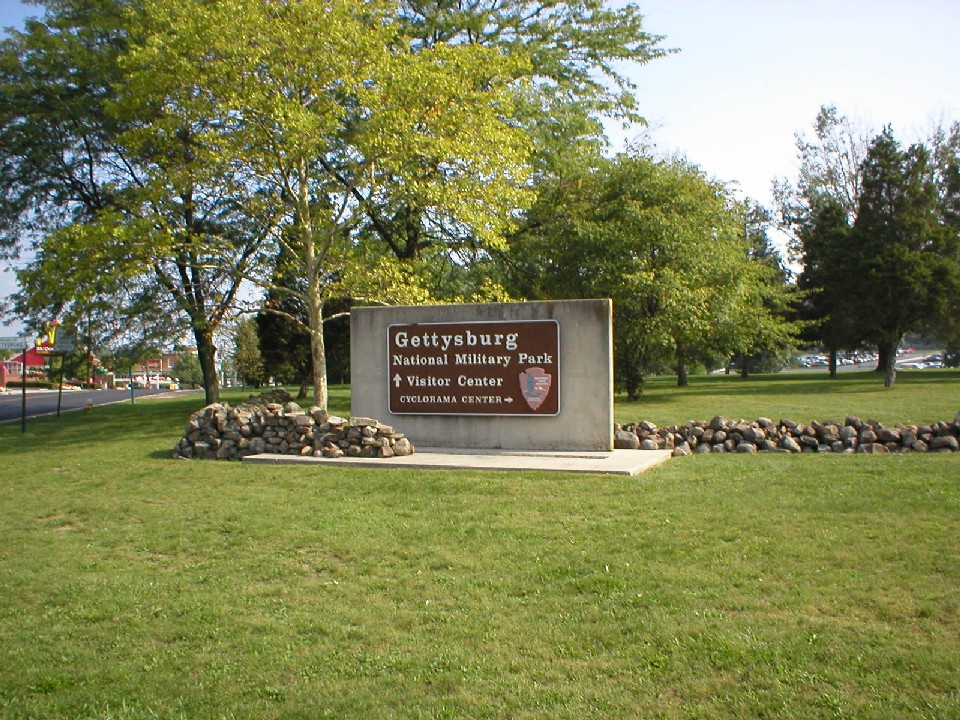
Gettysburg 2002
This was my third trip to Gettysburg, and the only time I visited the park by
myself. Actually, it was the furthest that I ever traveled alone, but I
found it to be quite relaxing. Later on I discovered that Lisa had also
visited Gettysburg the same year, and it was just about a month prior to this
trip. I put the pictures together in a chronological order,
beginning with where the battle started.
(Click on Images for Larger Picture)
|
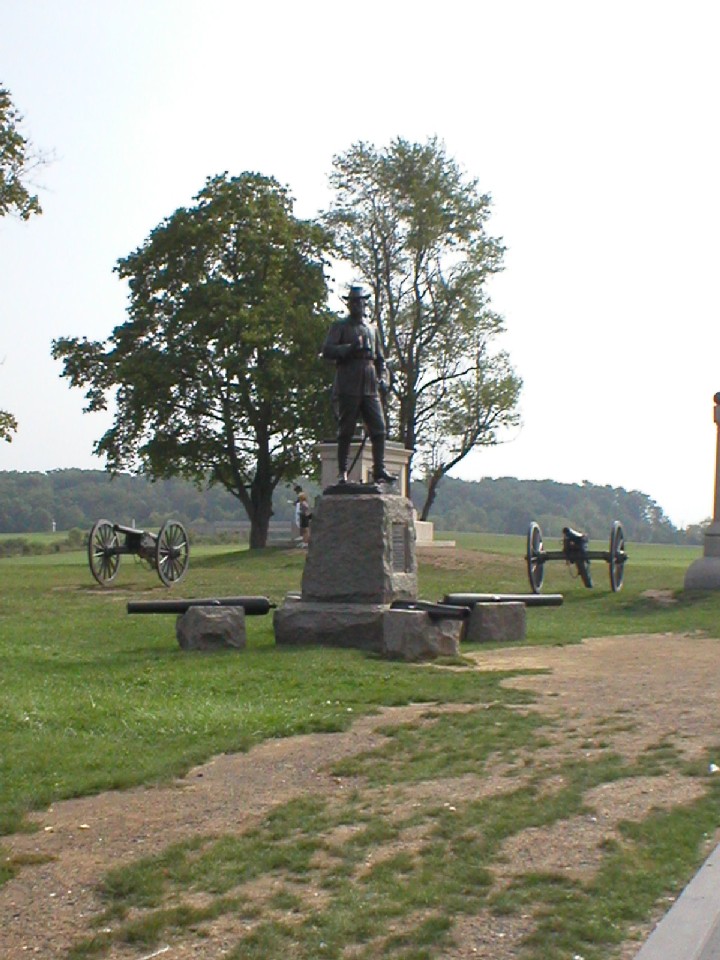
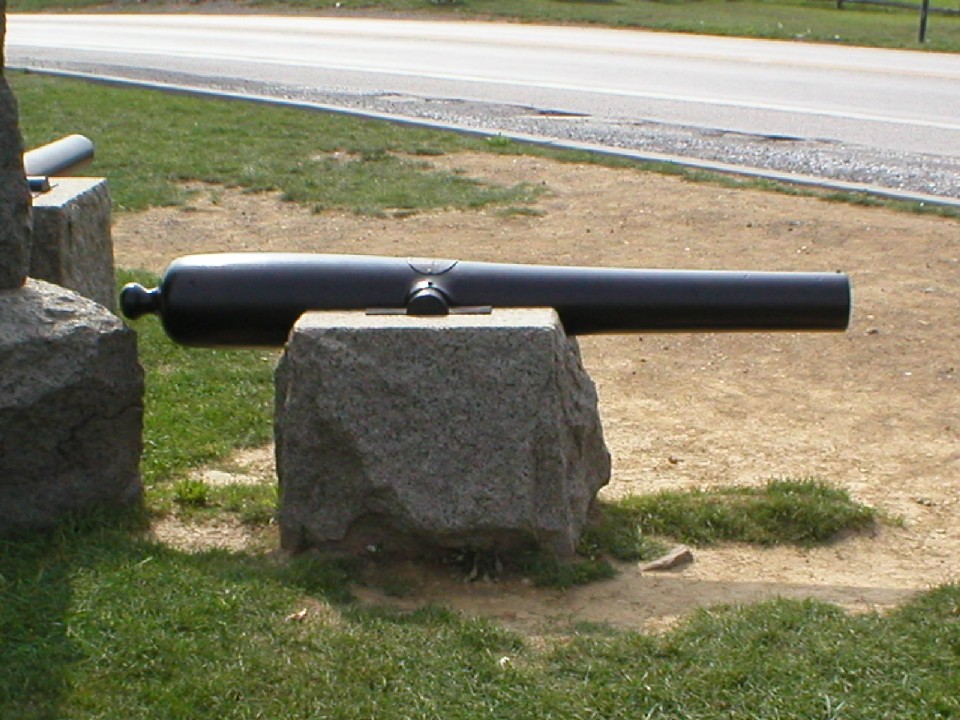
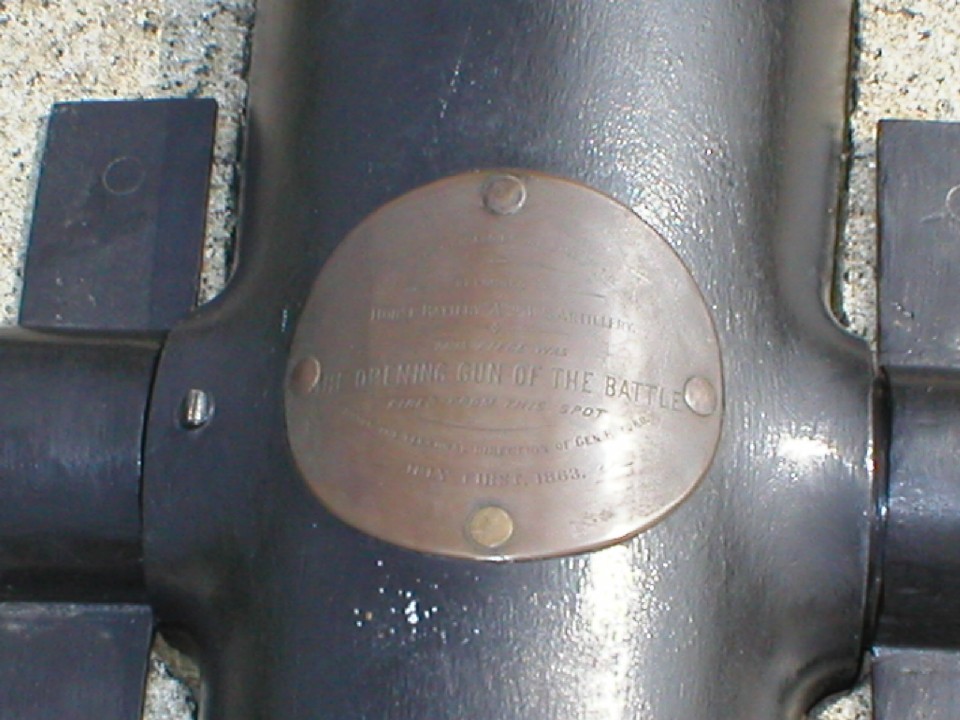
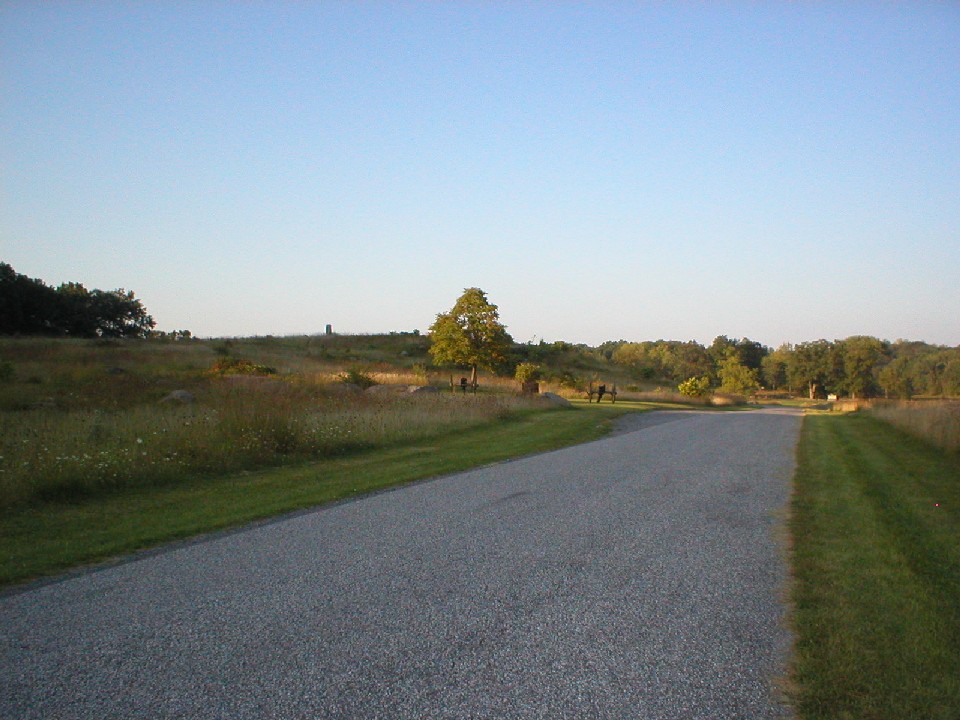
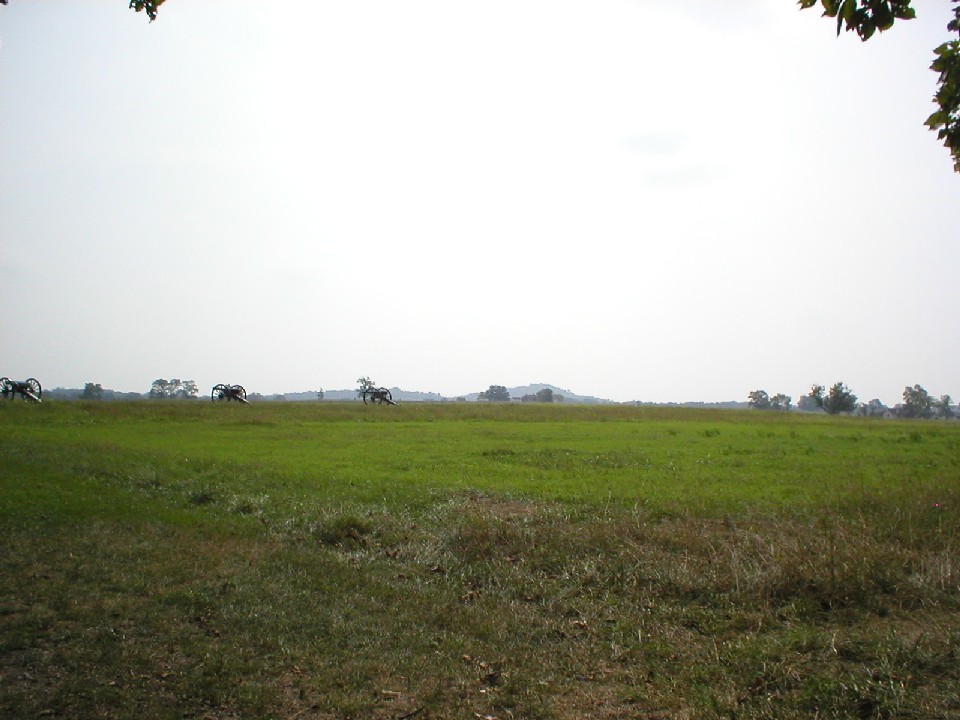
The photos above are of the point along McPherson Ridge where the Confederate Troops came under fire
of the Union Calvary, lead by General Bufford. The canon in the first
picture in the second row is the canon that fired the opening volley and is indicated as such by
the plaque in the last picture.
|
(Click on Images for Larger Picture)
|
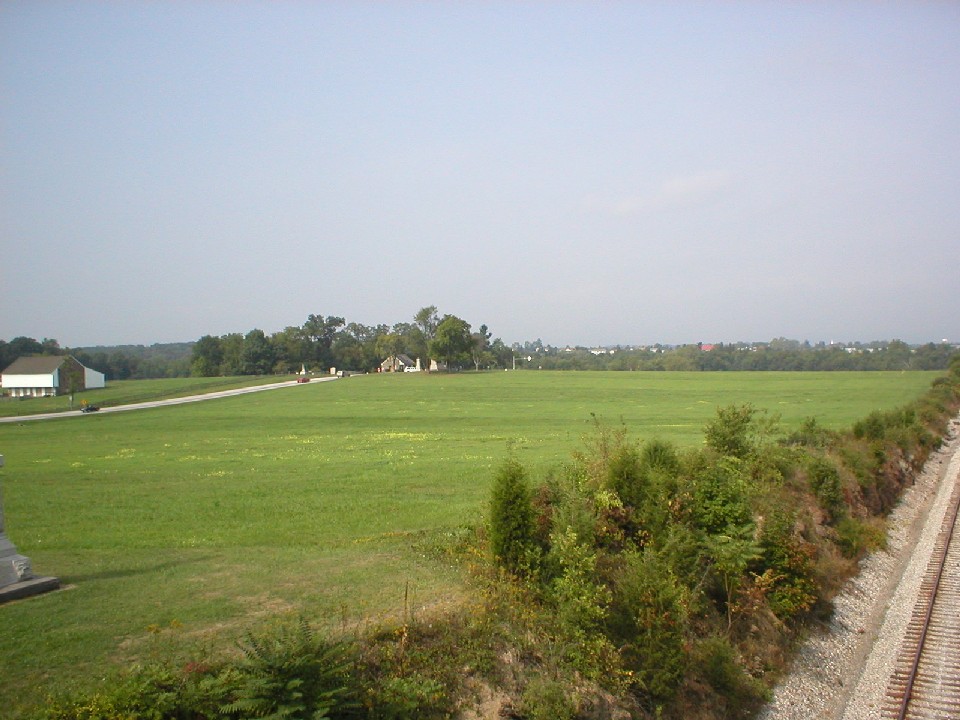
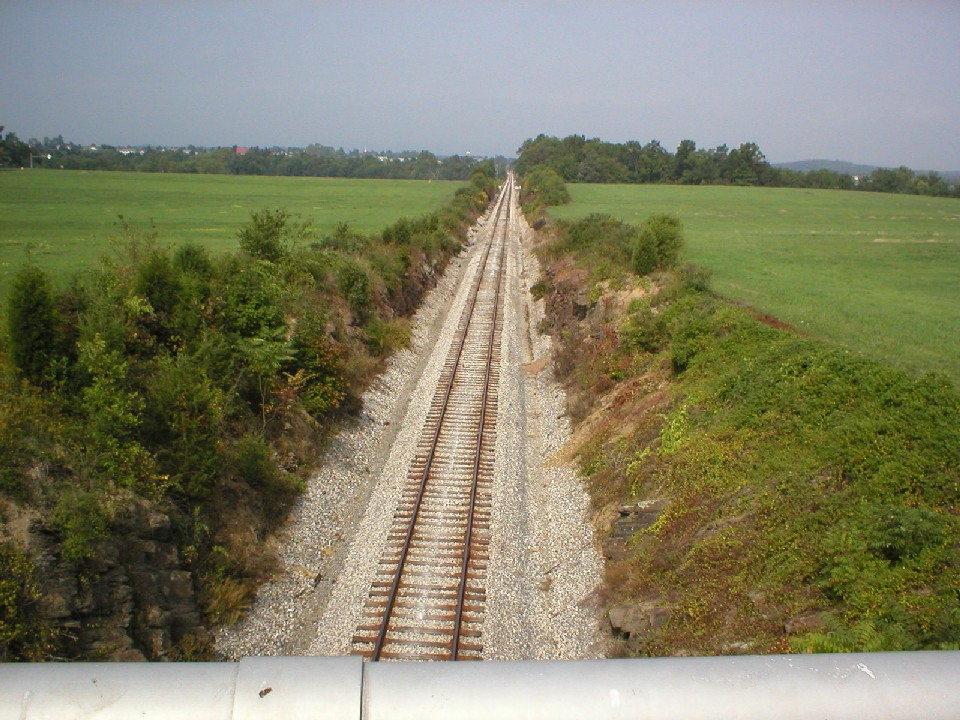
This is the railroad cut just north and west of town. During the time of the battle, this section
of the railroad was still under construction. It was used by both the
Union and Confederate troops during the first day for cover, but it turned out
to be a grinder and many of the soldiers lost their lives here. In the
first picture you can see the starting point of the battle
along McPherson Ridge in the distance.
|
(Click on Images for Larger Picture)
|
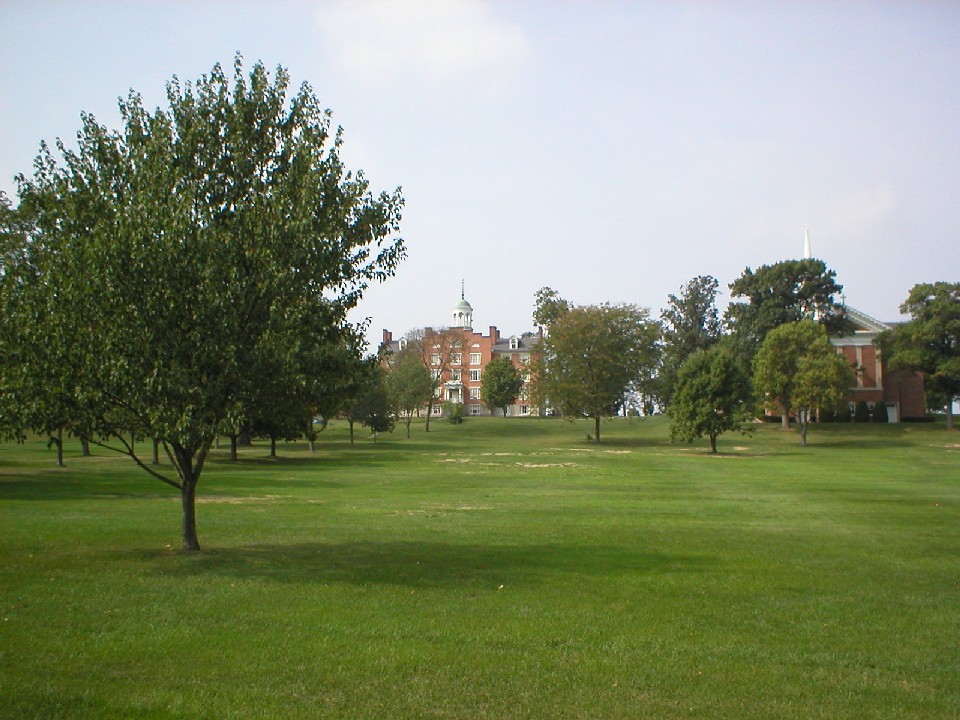
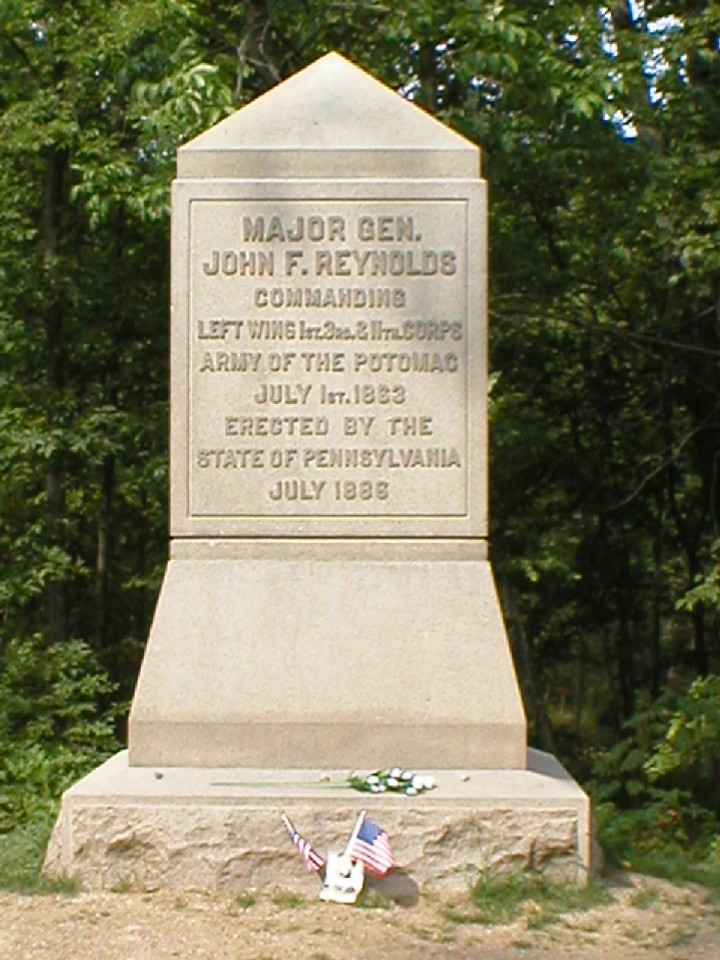
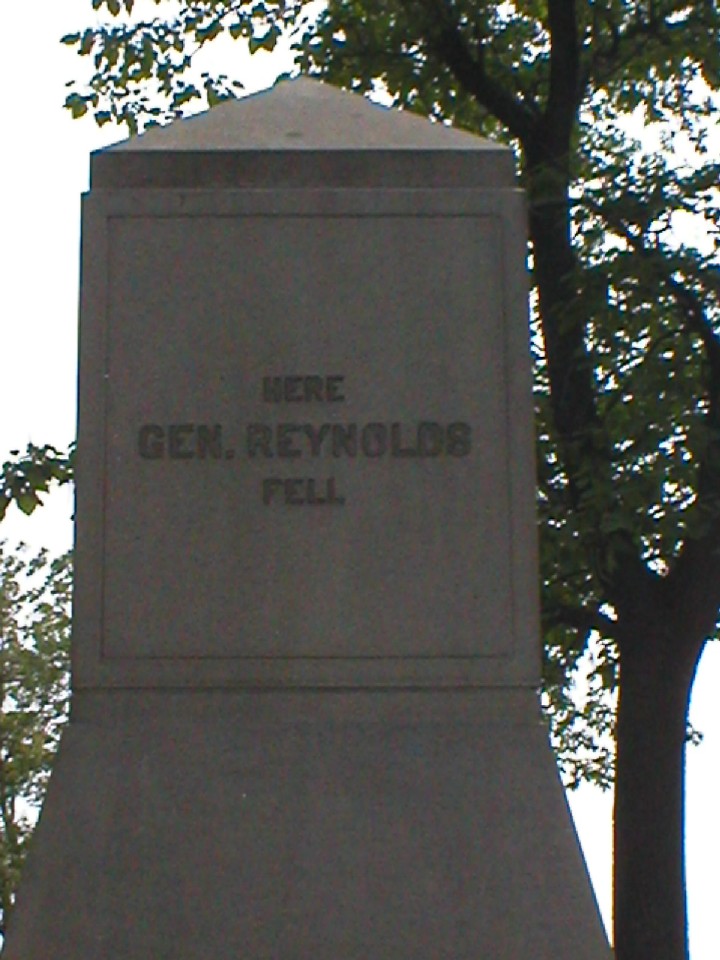
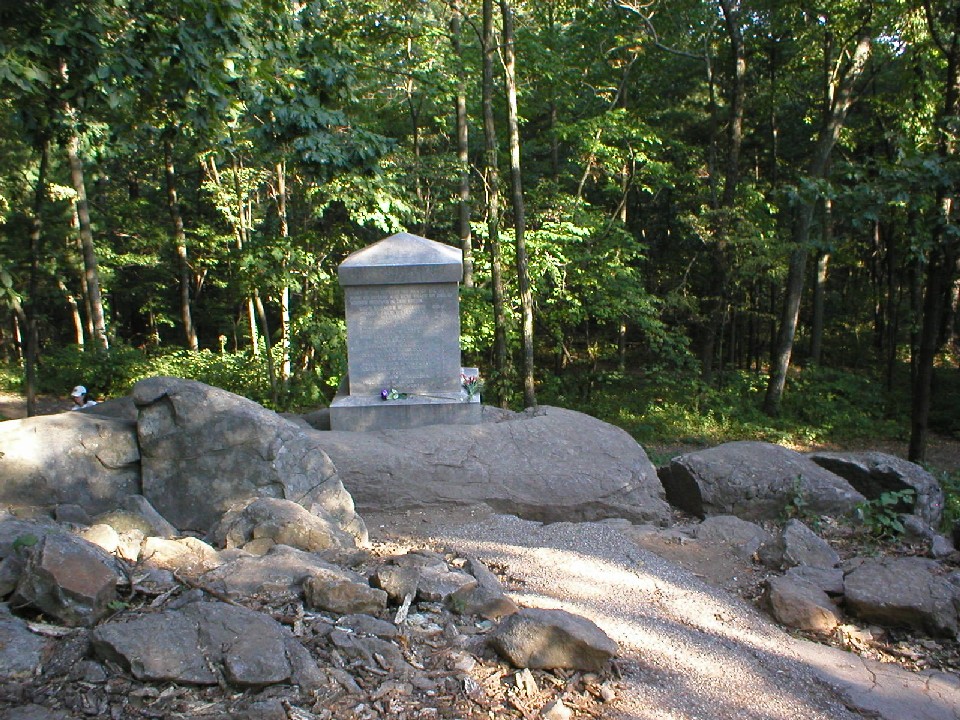
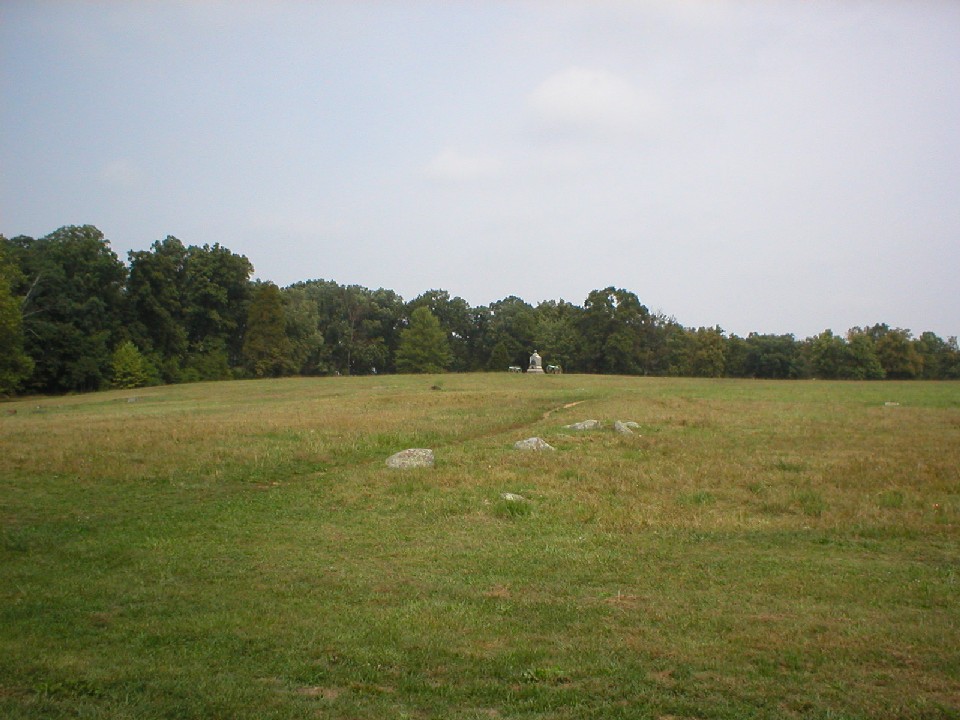
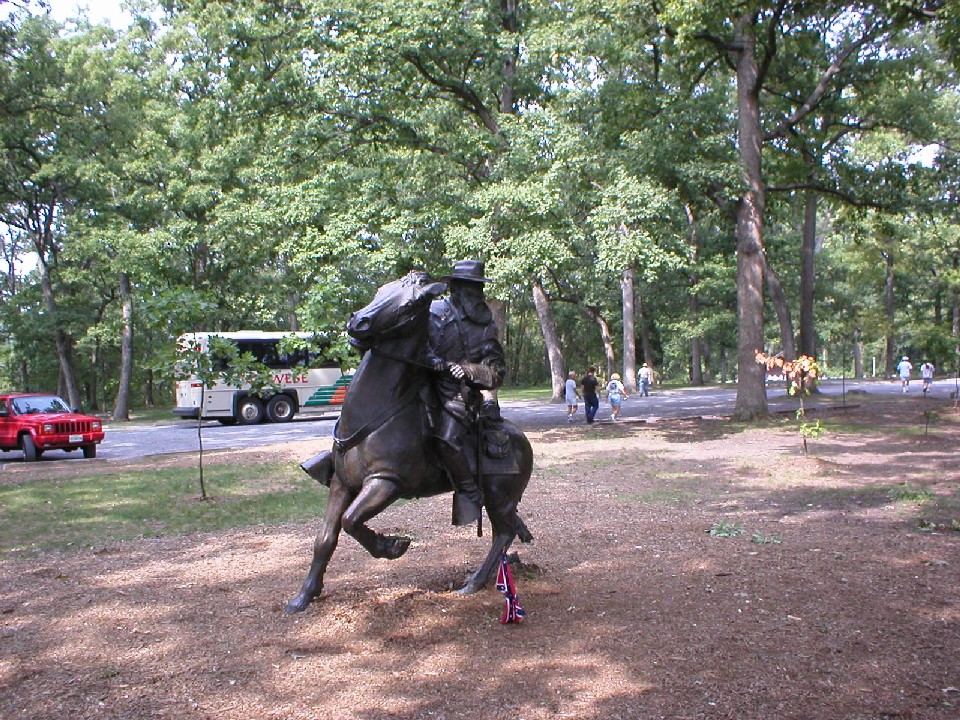
While the dismounted Calvary troops held their own for a good portion of the day,
re-enforcements were still needed. Those arrived early in the afternoon
and they were commanded by General Reynolds. While the re-enforcements
arrived just in time, one of the biggest blows to the Union Army that day is
when General Reynolds was shot and killed in the area shown in the first
picture. The the two picturers in the second
row show the monument placed to commemorate the
location and the general. The last picture
in the first row shows the Lutheran
Seminary and the observation point that both sides came to use during the
three day battle.
|
(Click on Images for Larger Picture)
|
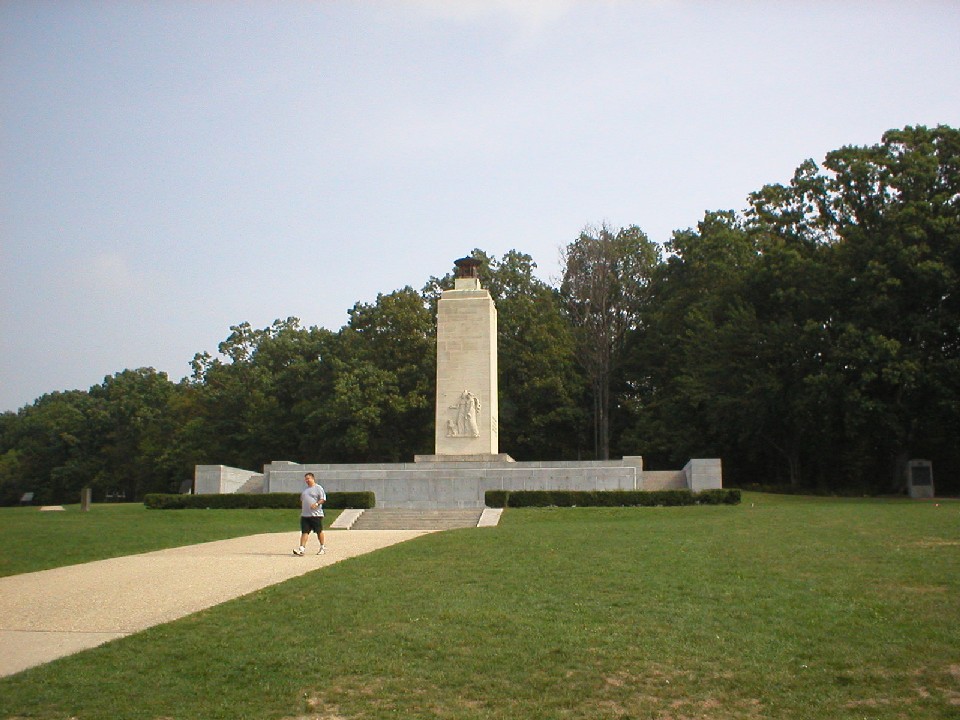
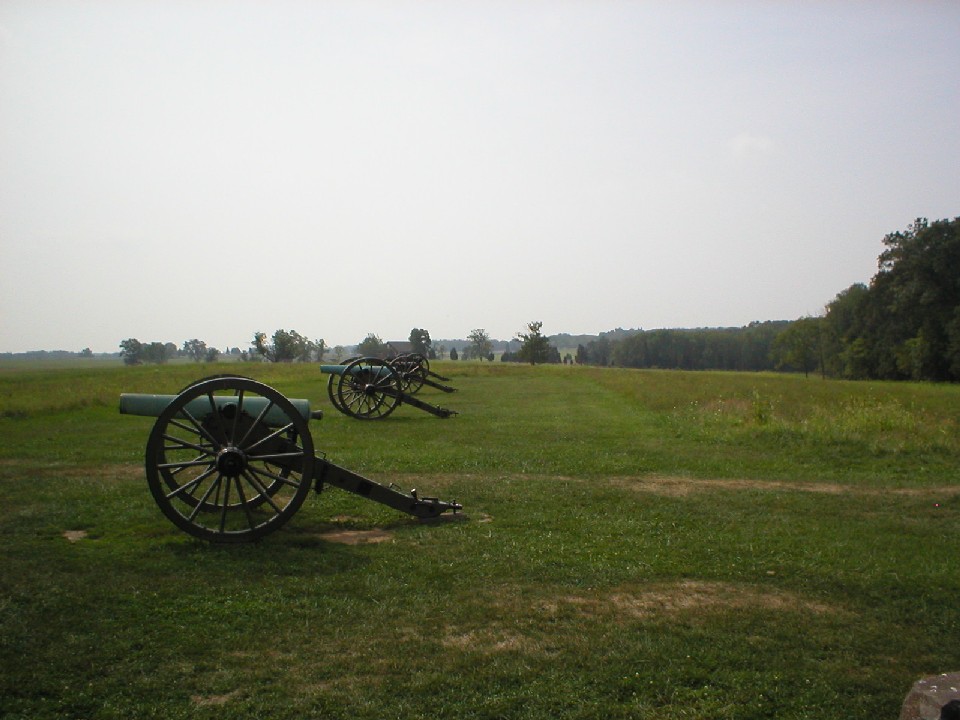
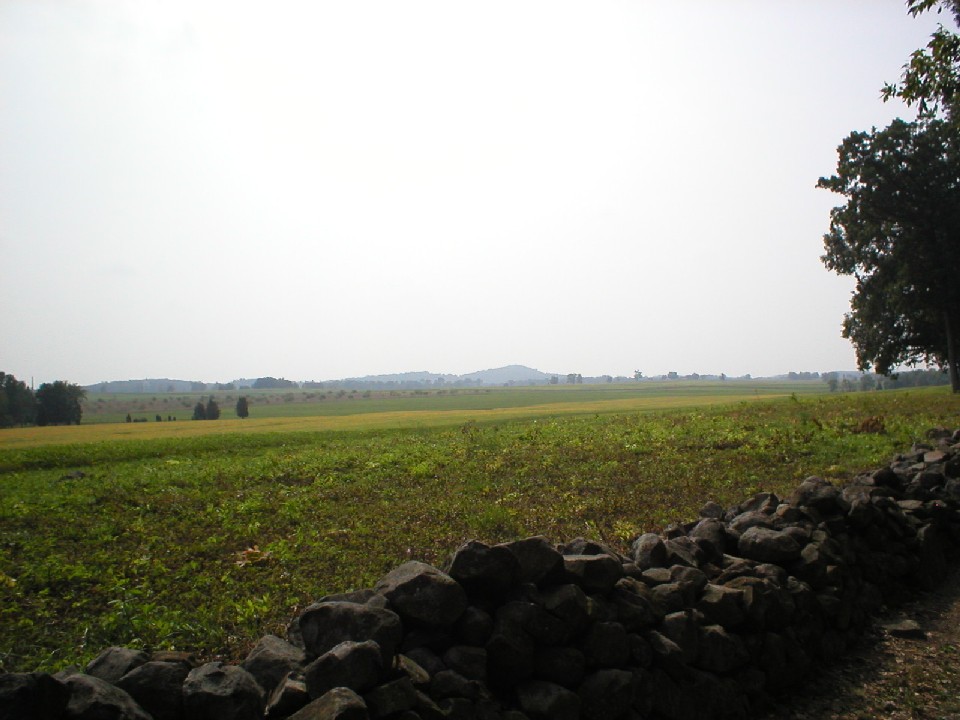
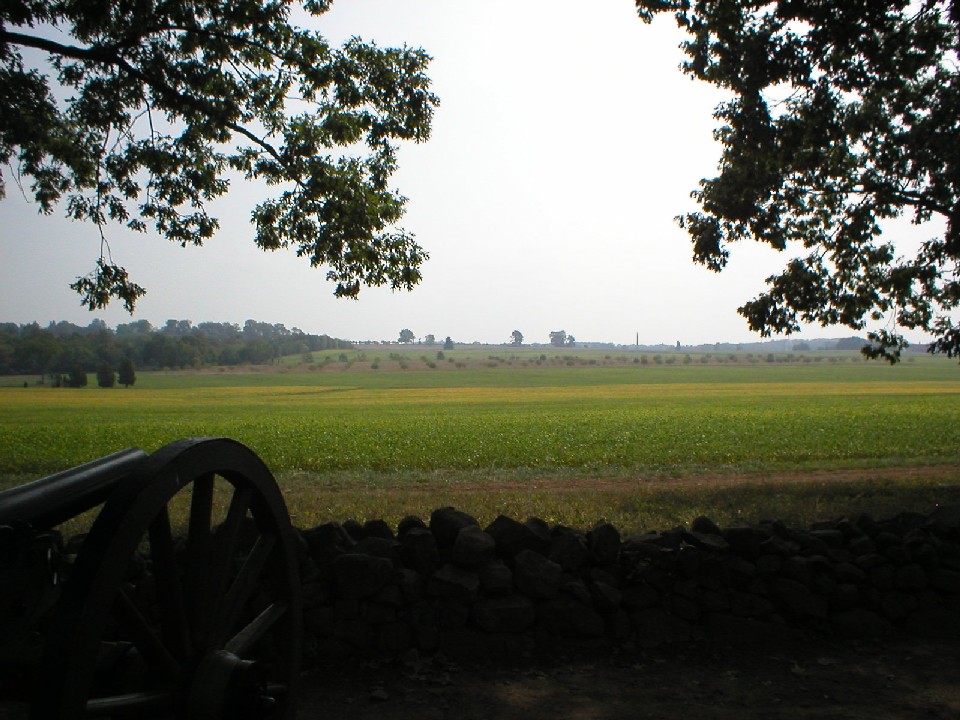
The first picture shows the Eternal Peace Light Memorial placed on top of Oak Hill.
From this location, Confederate canons had a clear field of fire on the southern
ridges and hills just outside of Gettysburg. In the field shown in the
second picture, you can get a sense of the view the artillery men had of the
area.
|
(Click on Images for Larger Picture)
|
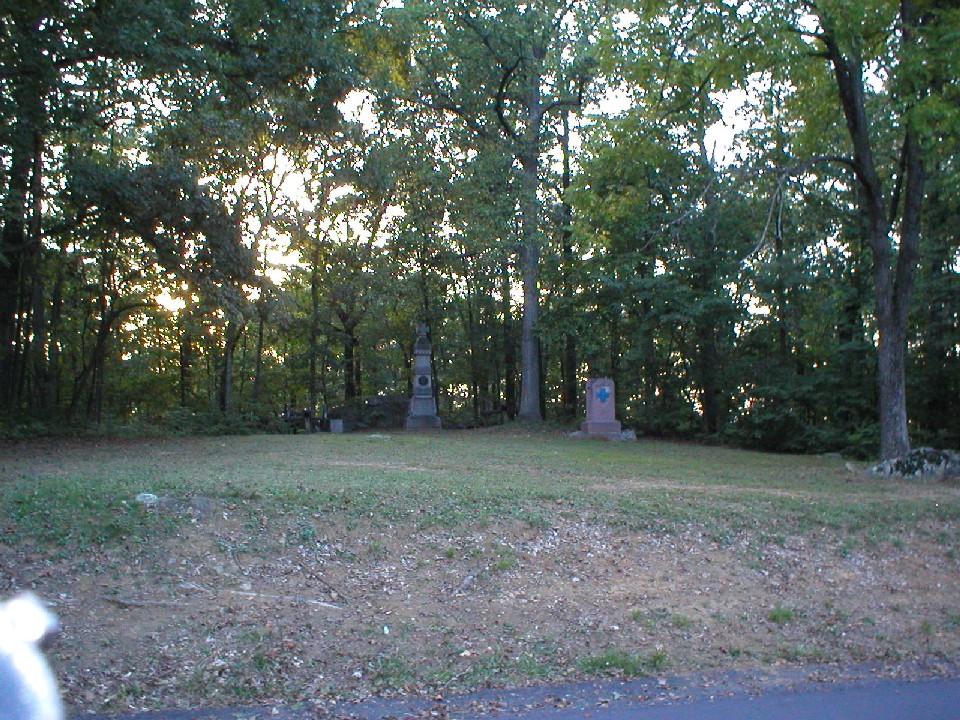
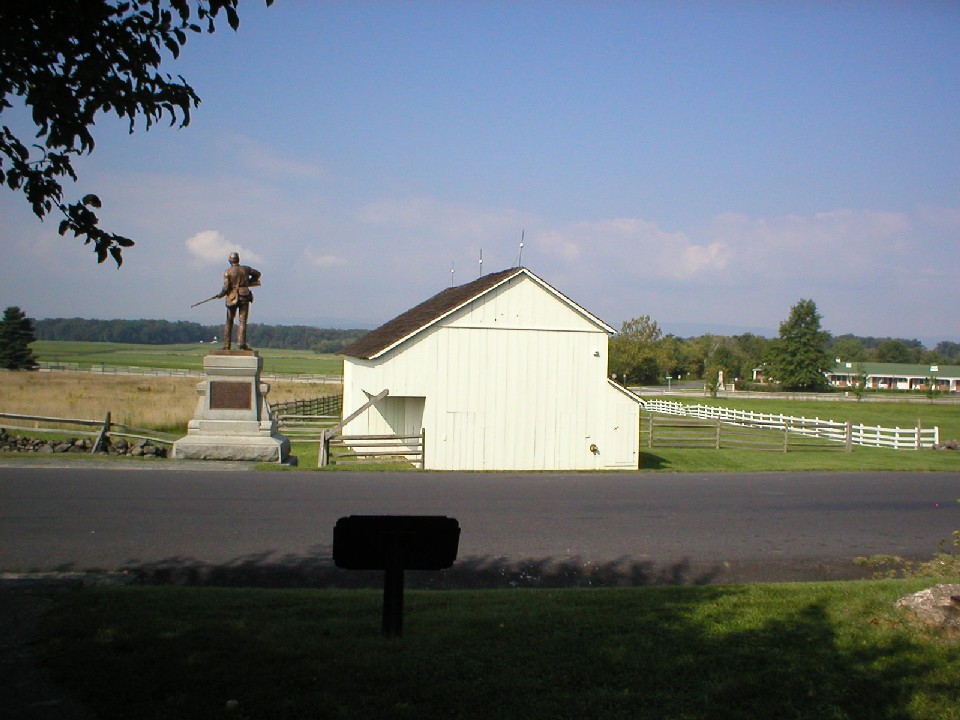
The area in the pictures above is the area known as Culps Hill, and the start of Cemetery Hill.
Culps Hill was located just north east of town and consisted of a small rocky
wooded hill. On the first day, this was one of the locations that
the Union Army fell back to when pushed through the town. At first, the
hill was not heavily defended and the Confederates could have overtaken it and
pushed the Union even farther back. Confederate General Ewell was given
orders to take the hill "if practicable". With his decision not to
push up the hill when he had the chance, it gave the Union time to re-enforce
and build entrenchments that managed to keep the Confederates from taking and
holding the hill. The fortifications made it possible for a smaller number
of Union to defend it against a much larger Confederate force.
|
(Click on Images for Larger Picture)
|
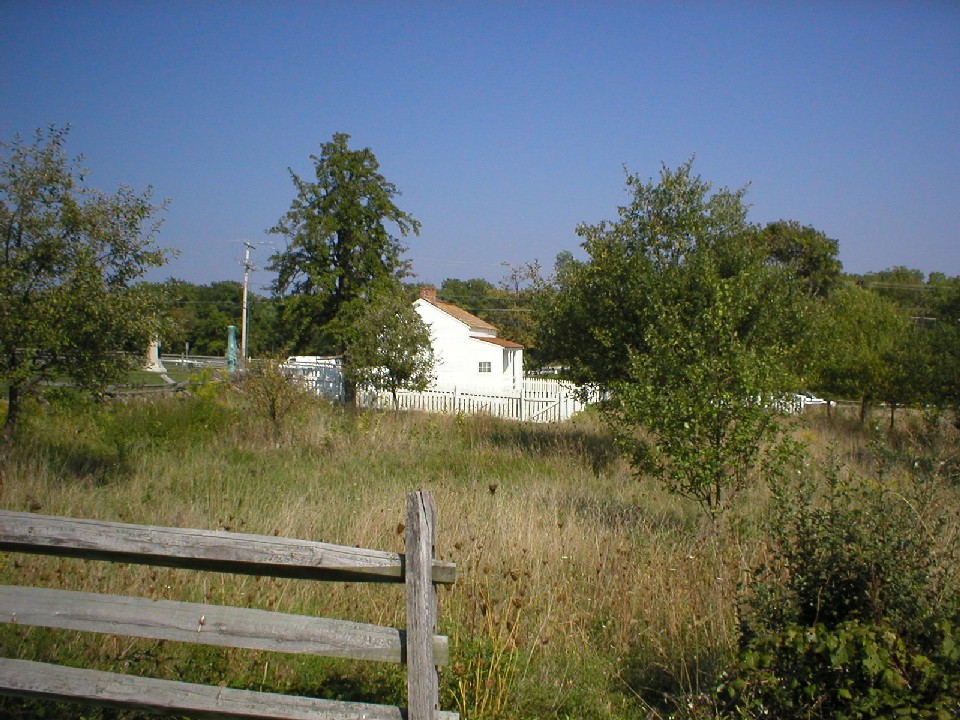
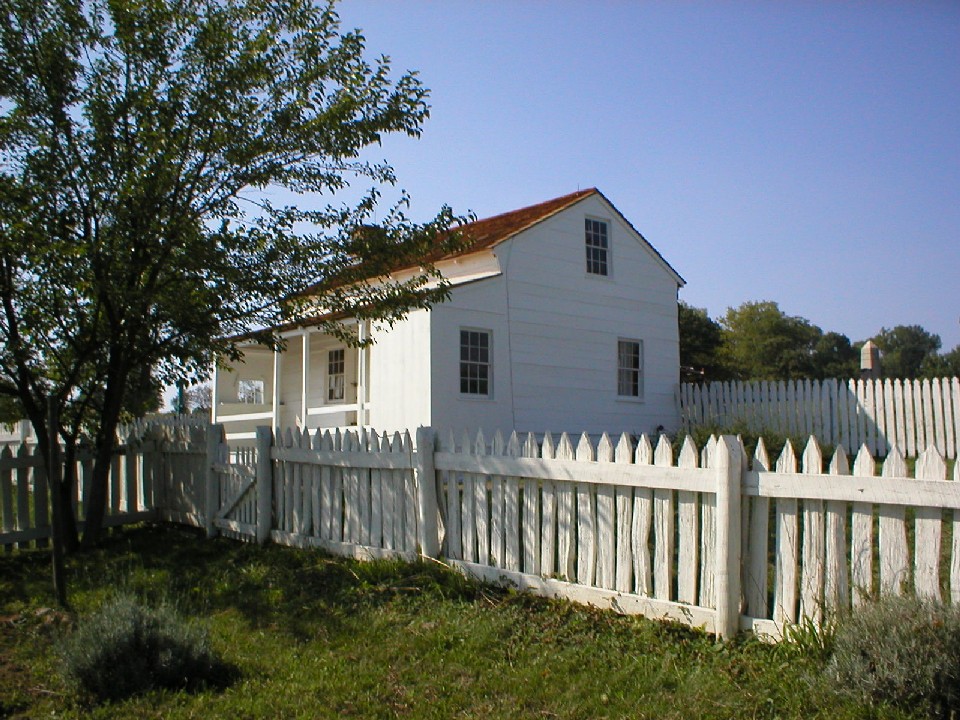
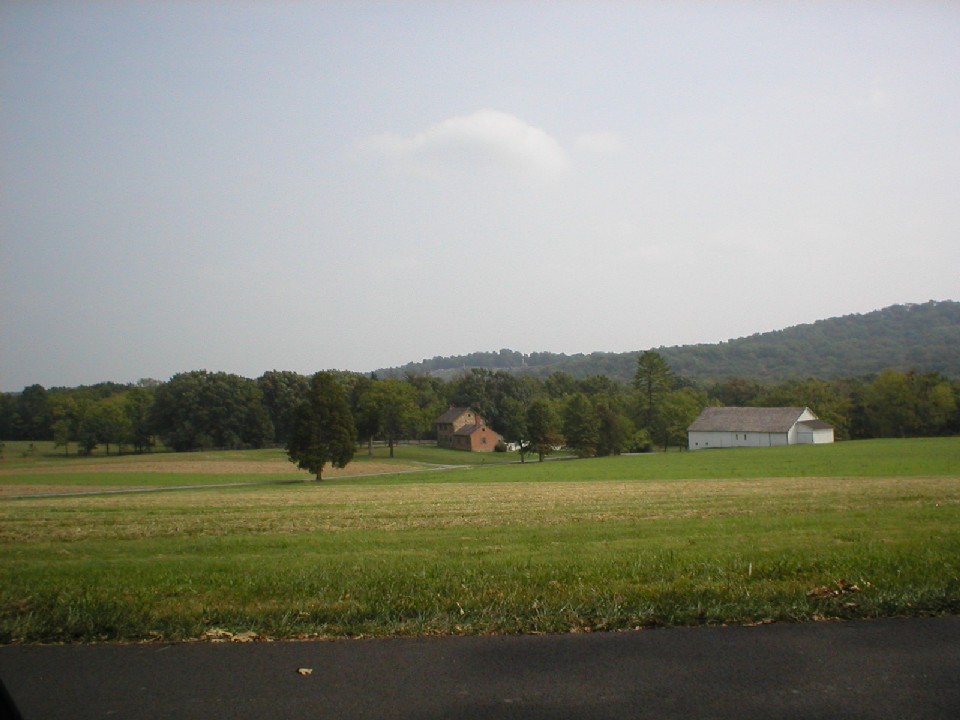
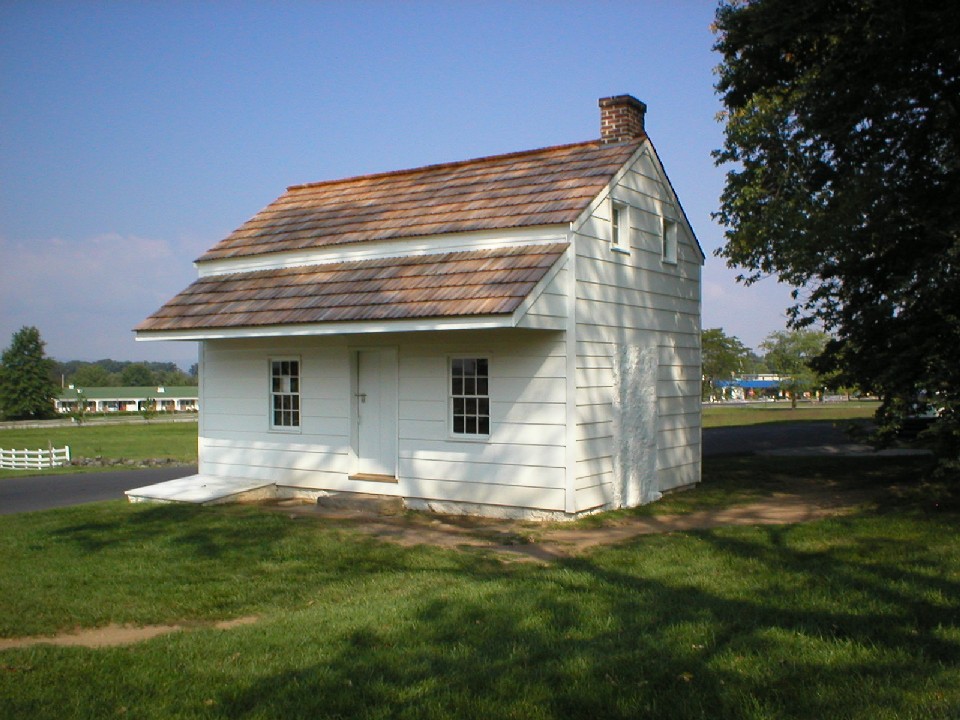
General Meade, overall commanding officer of the Army of the Potomac, arrive late in the evening of the
first day. He set up his headquarters in the house and farm above and
maintained it in this location through the battle. While it did receive a
little damage from artillery, it remains relatively the same as it was during
the three days of battle.
|
(Click on Images for Larger Picture)
|
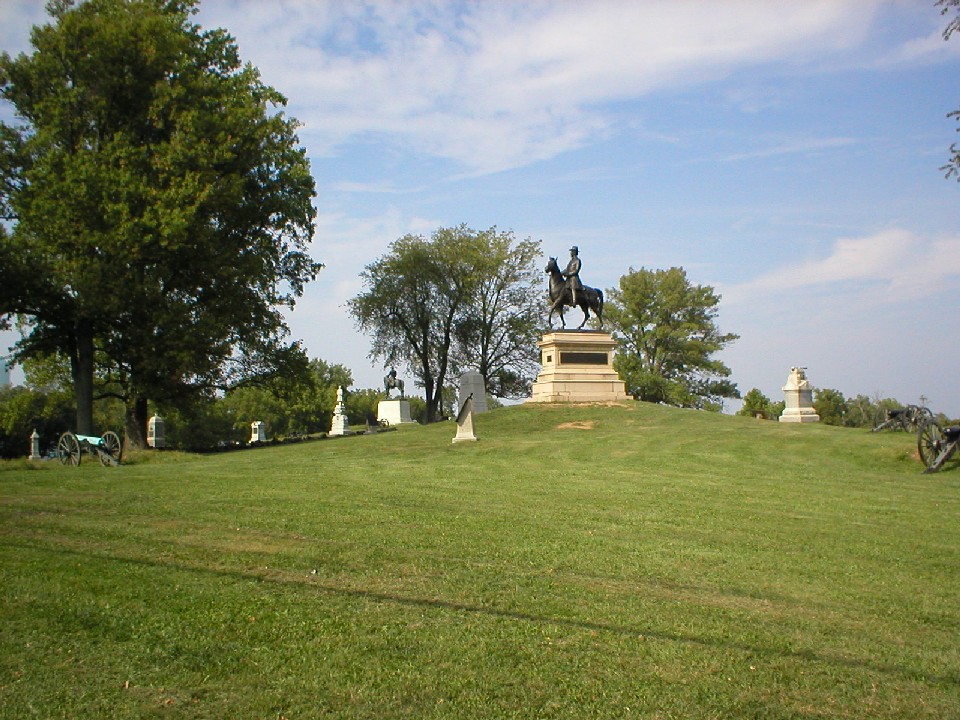
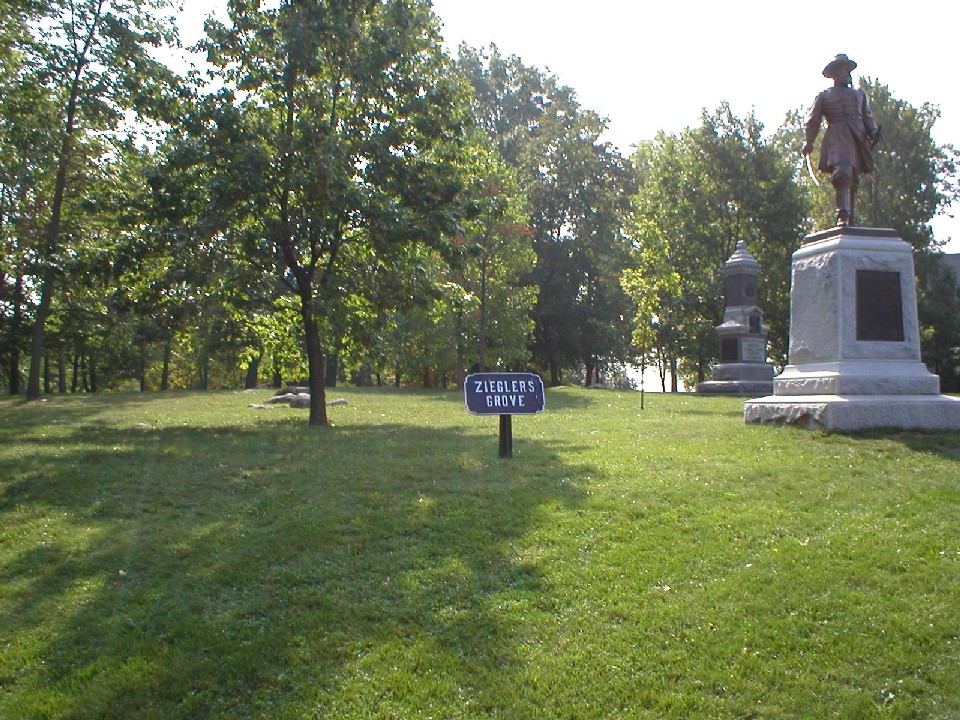
This was Cemetery Hill and the start of Cemetery Ridge. This sight is where the Union finally
stopped and rallied after being pushed back through Gettysburg on the first day.
While the Confederates did mount a few more attacks here, and nearly took the
hill, they were not able to hold it, and they eventually withdrew back to the edge of town.
|
(Click on Images for Larger Picture)
|
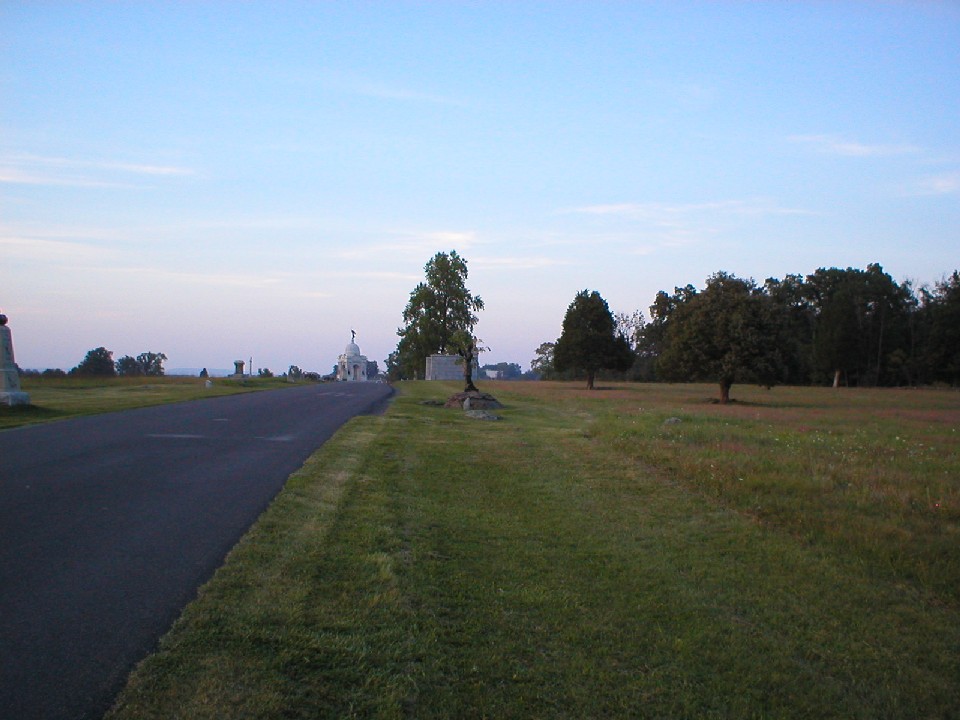
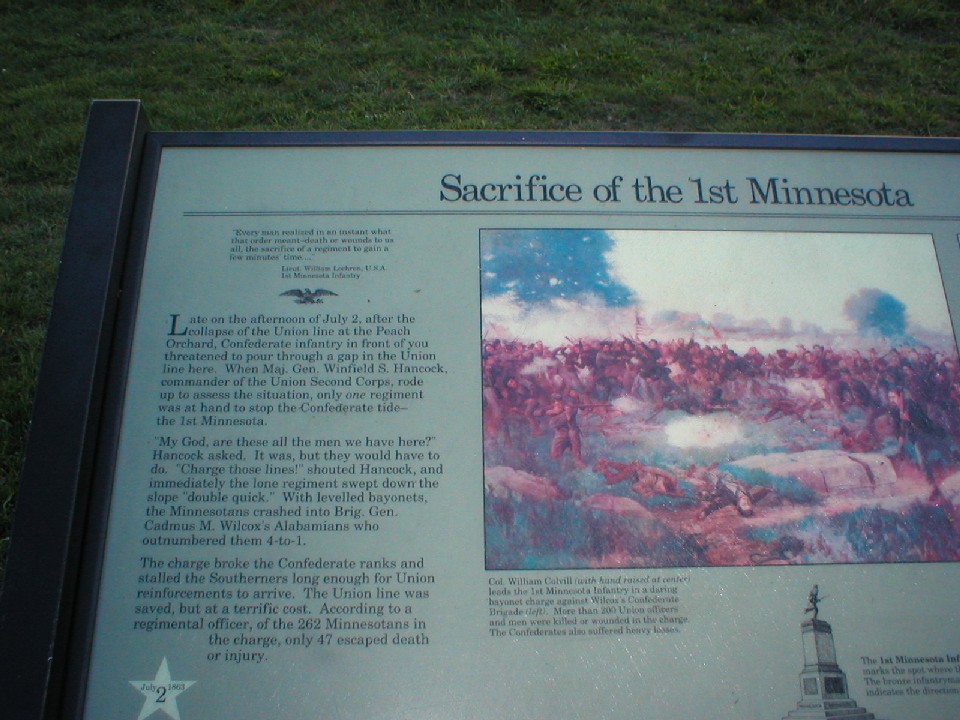
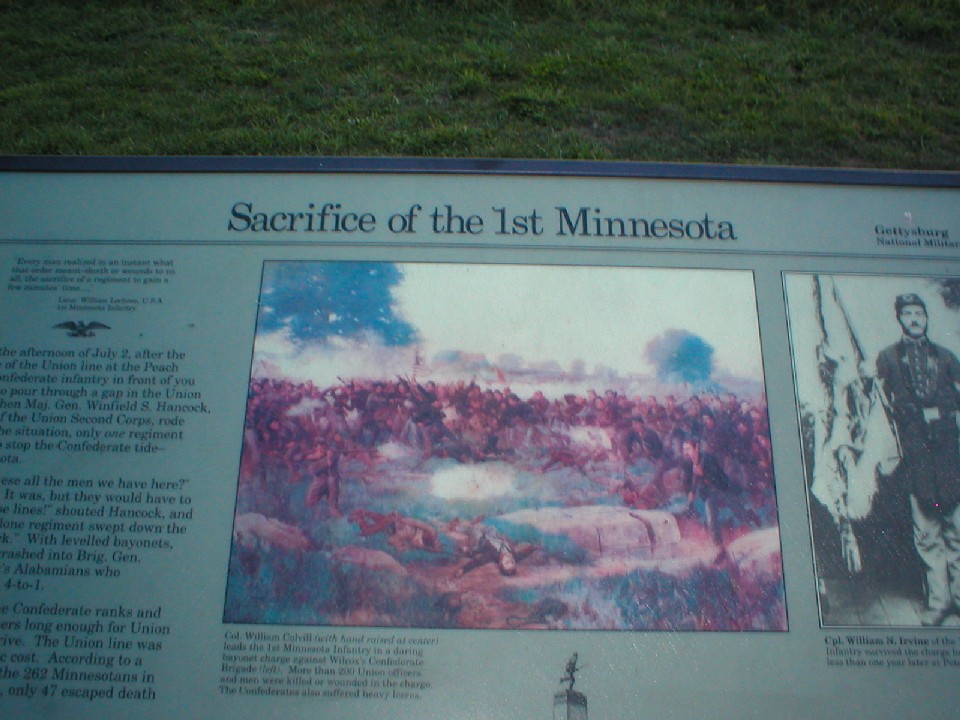
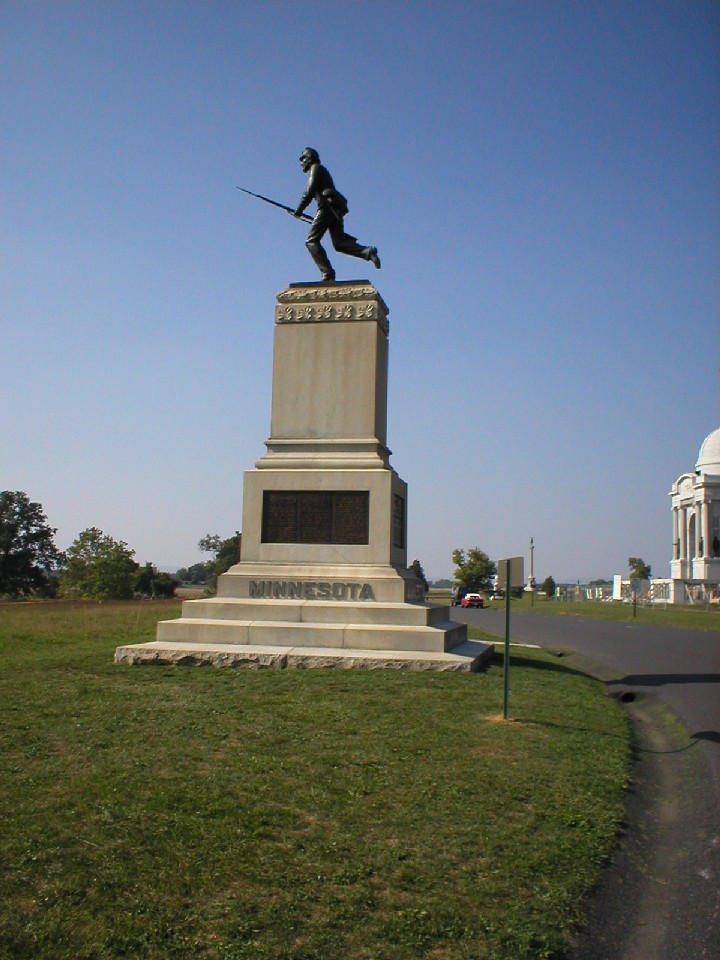
One of the more noted feats of valor during the second day of battle was that which was performed by
the 1st Minnesota. They arrived on the scene late on the second day
and were discovered by Union General Scott, just as the Confederates had broken
through advanced Union lines in the Peach Orchard, about a mile away.
There were no Union troops to stop them, except for the 262 men of the 1st
Minnesota. As the plaque reads in the second picture, they were
outnumbered 4 to 1, but they managed to hold back the Confederate troops.
Unfortunately, it cost them many lives as only 47 escaped death or injury.
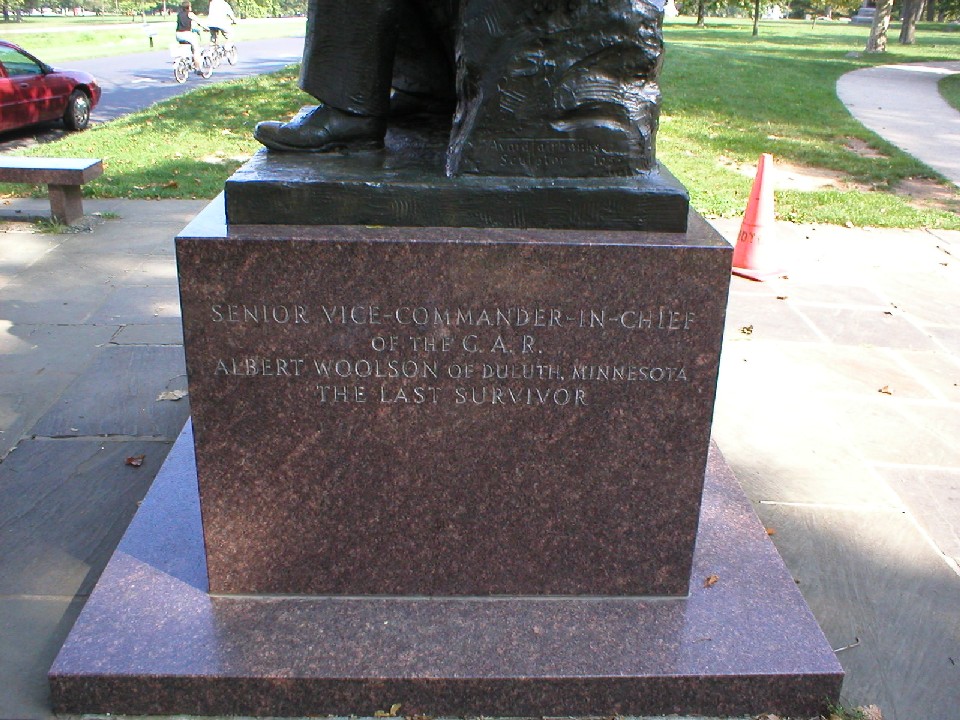
The monument in the picture is of Albert Woolson, who was from Duluth, Minnesota
and served in the 1st Minnesota. He is credited as being the last
surviving veteran of the Civil War.
|
(Click on Images for Larger Picture)

|
|
|
|
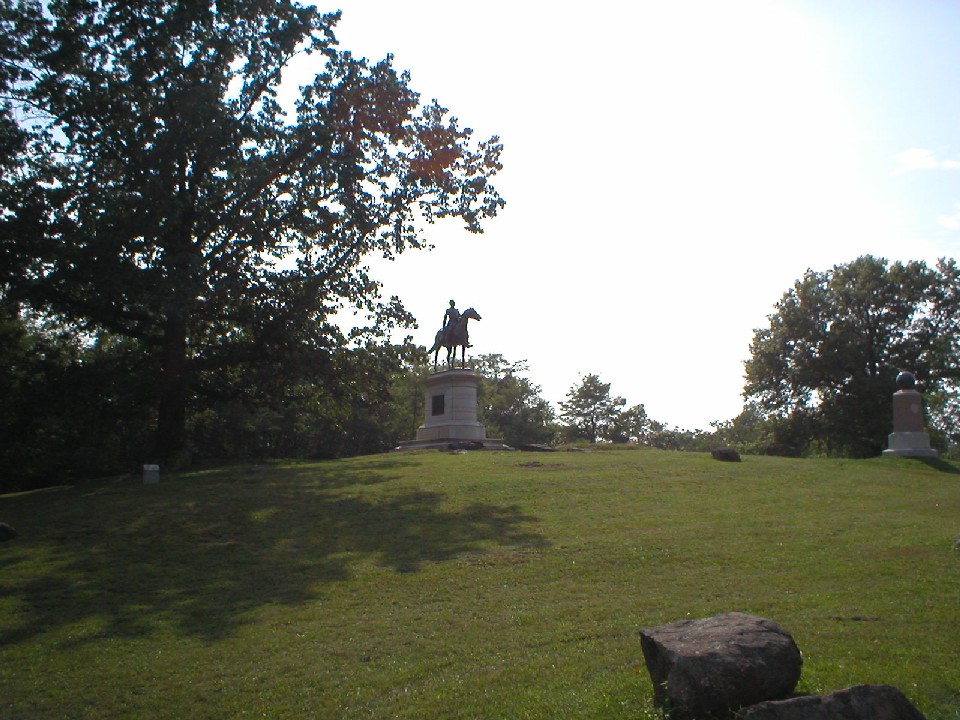
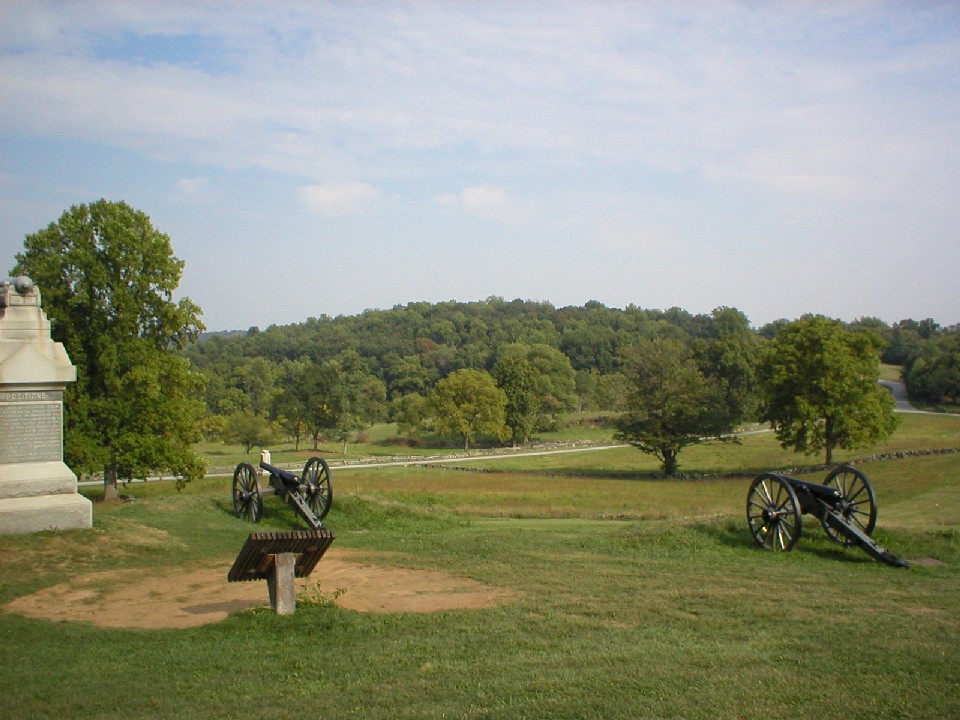
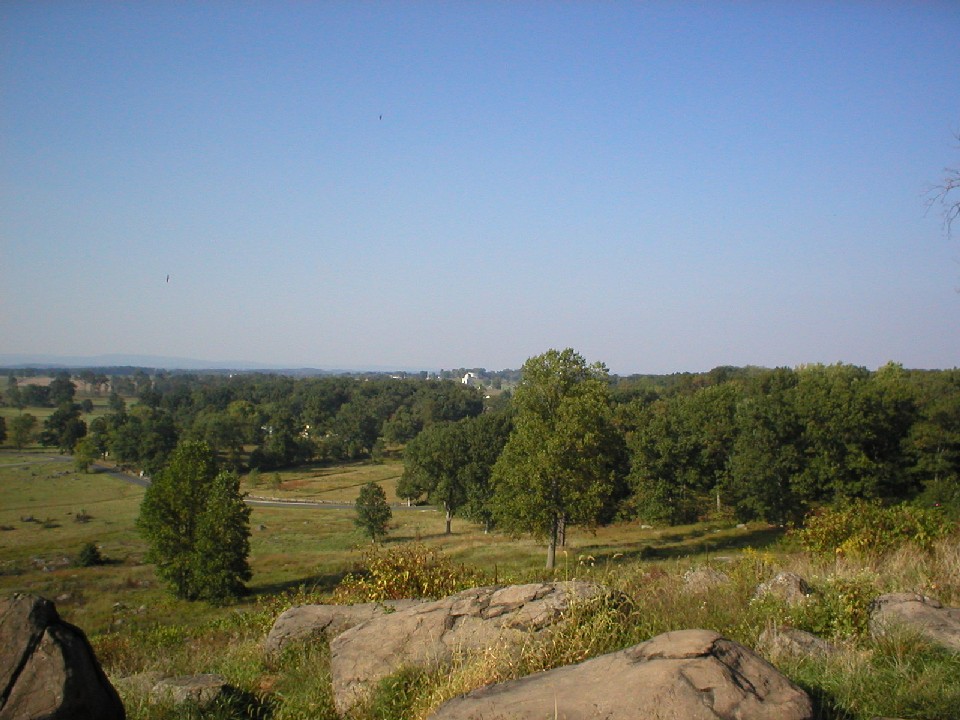
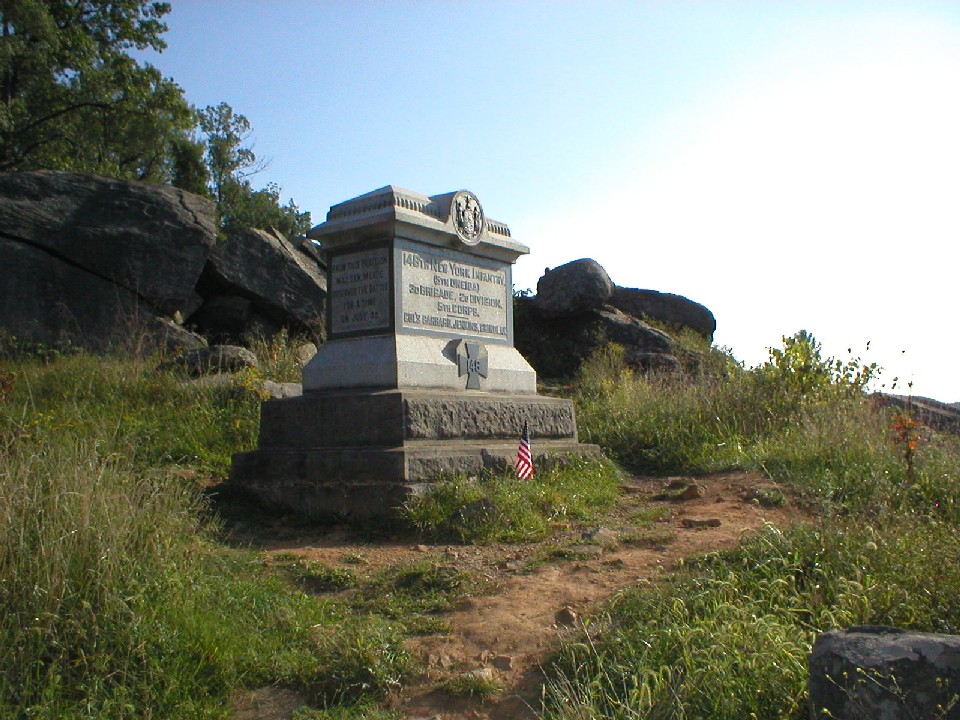
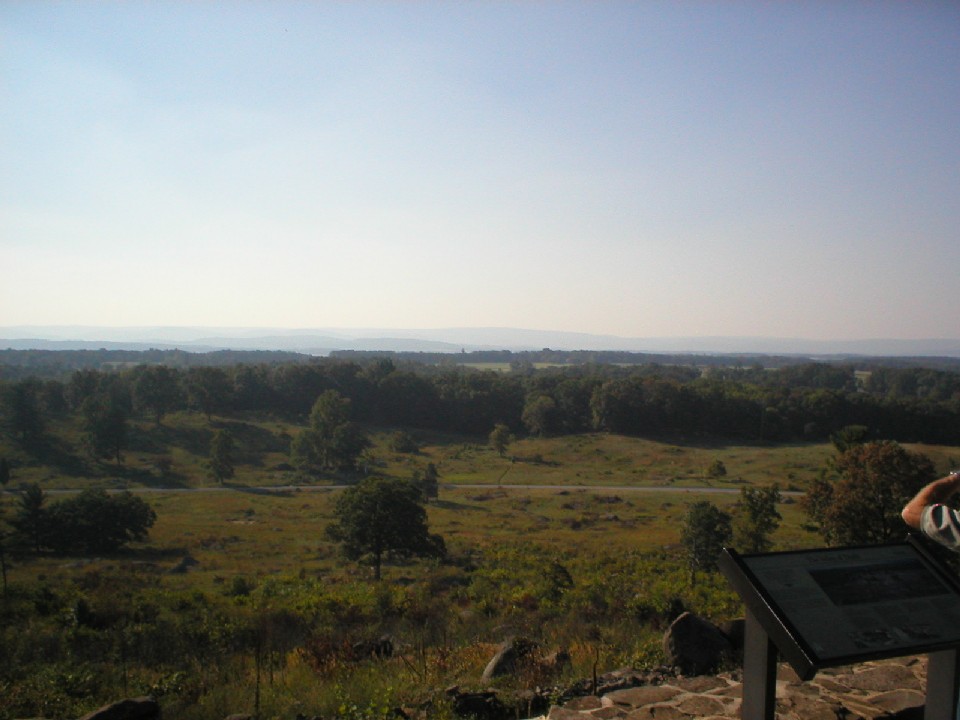
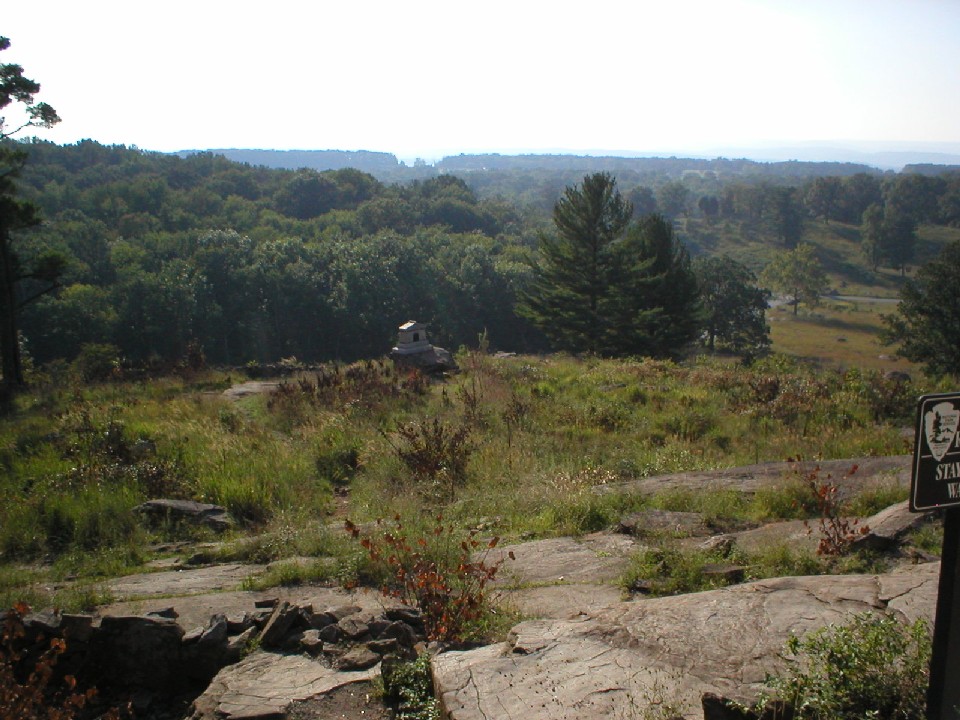
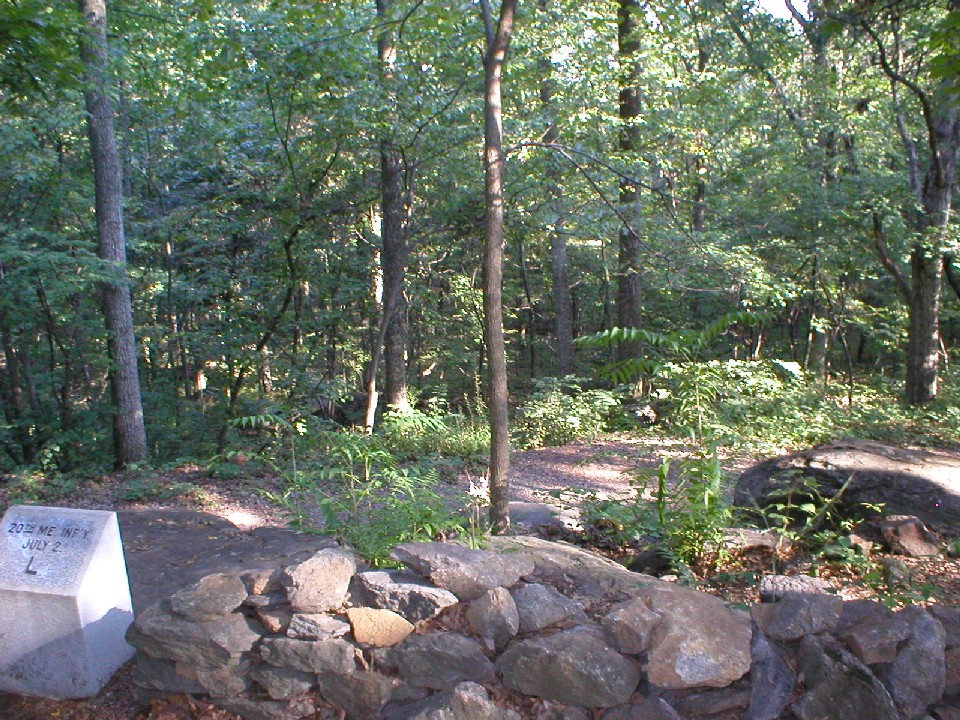
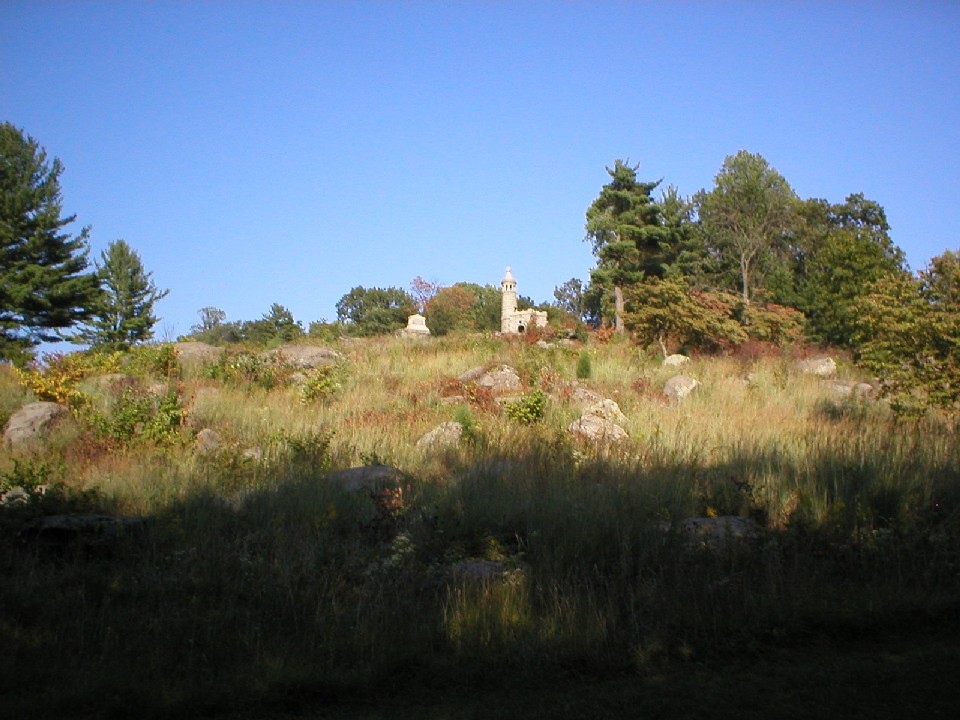
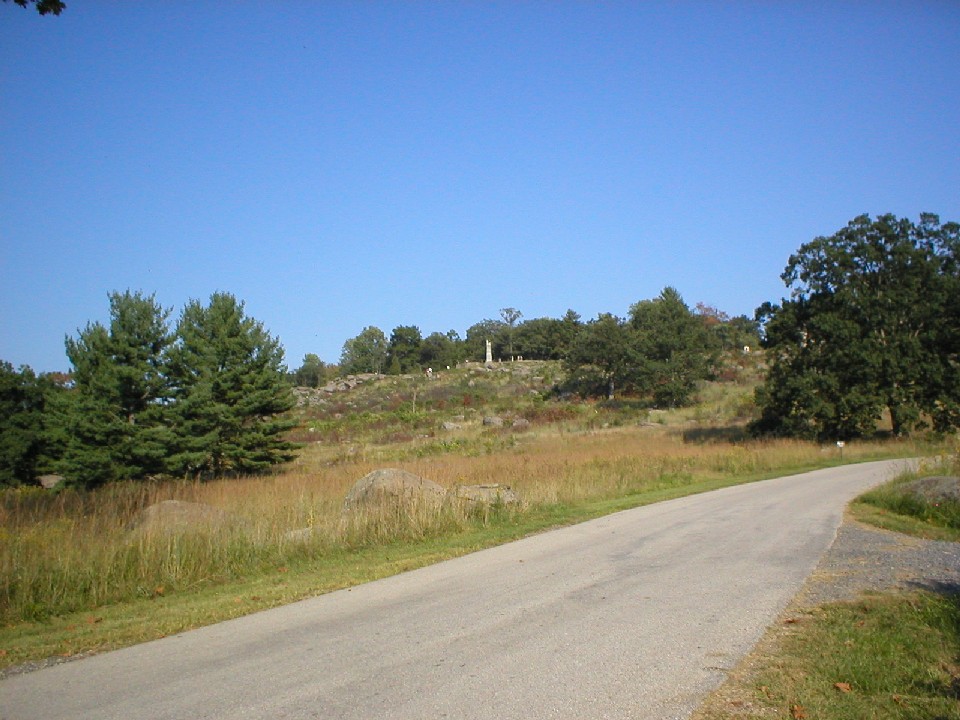
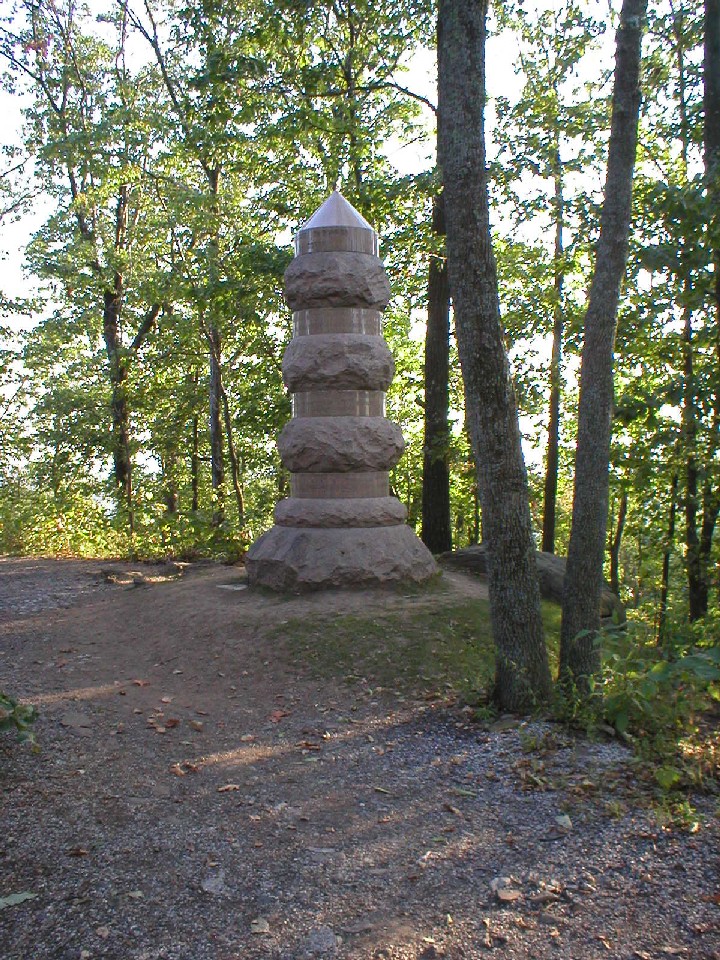
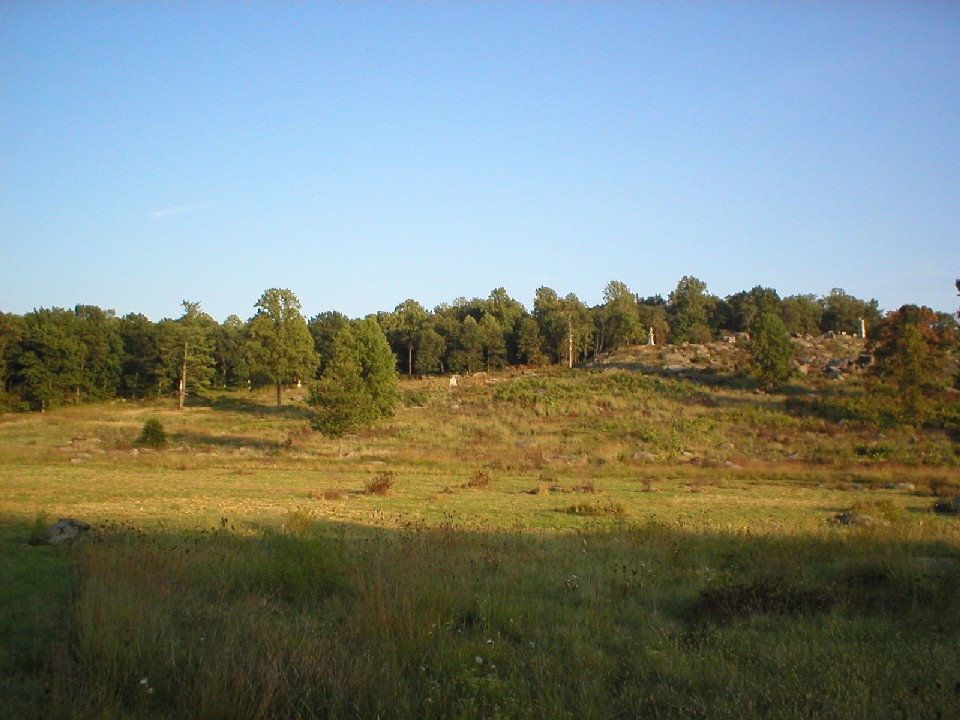
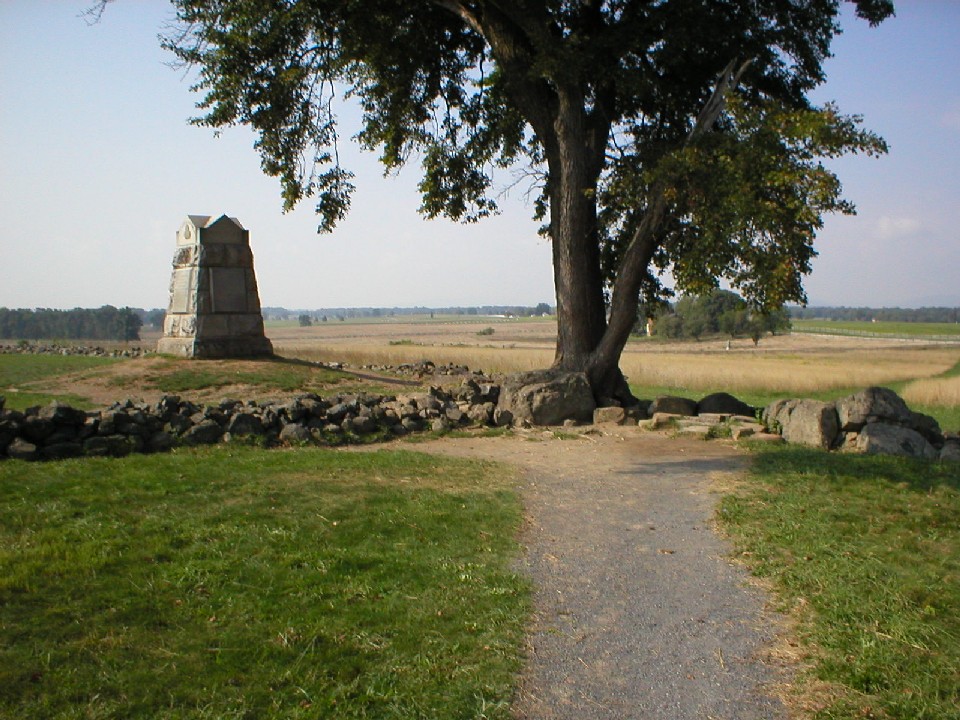
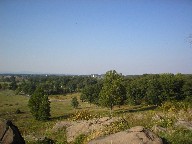
This series of pictures is from Little Round Top. This location witnessed some of the most
desperate fighting in the three day struggle. On the afternoon of the second
day, there were no soldiers, Union or Confederate, on this hill, except for a
small signal corps for the Union. General G.K. Warren had ridden to this
location and notice that the Confederates where lining up to take this
undefended location. With quick action, he started moving any available
troops that he could find to the hill. Many of them had just completed
their long march to Gettysburg, when they were suddenly thrown into combat.
One of these groups was the 20th Maine. They had just completed a long
march through the night and they were put into position along the extreme left
flank of the hill, and the Union Army. Colonel Chamberlain was told that
he had to defend the hill at all costs. If they had failed, the
Confederate army would have rolled up the Union left flank and devastated them
from the rear. The last three pictures of the third row, and the
first two in the last row, show where this struggle had taken place.
|
(Click on Images for Larger Picture)
|
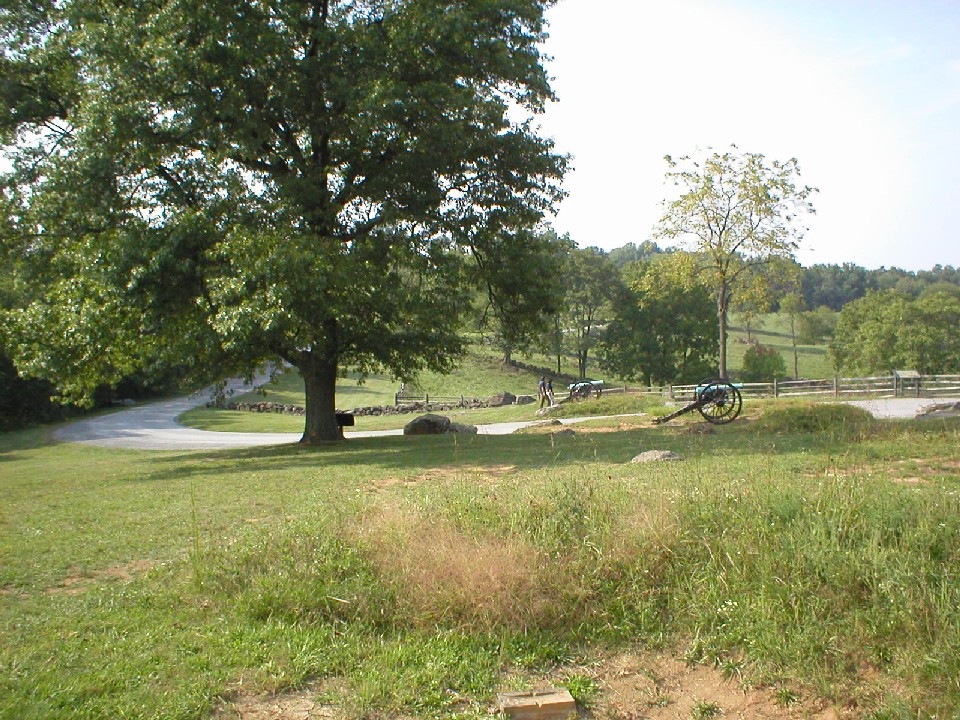
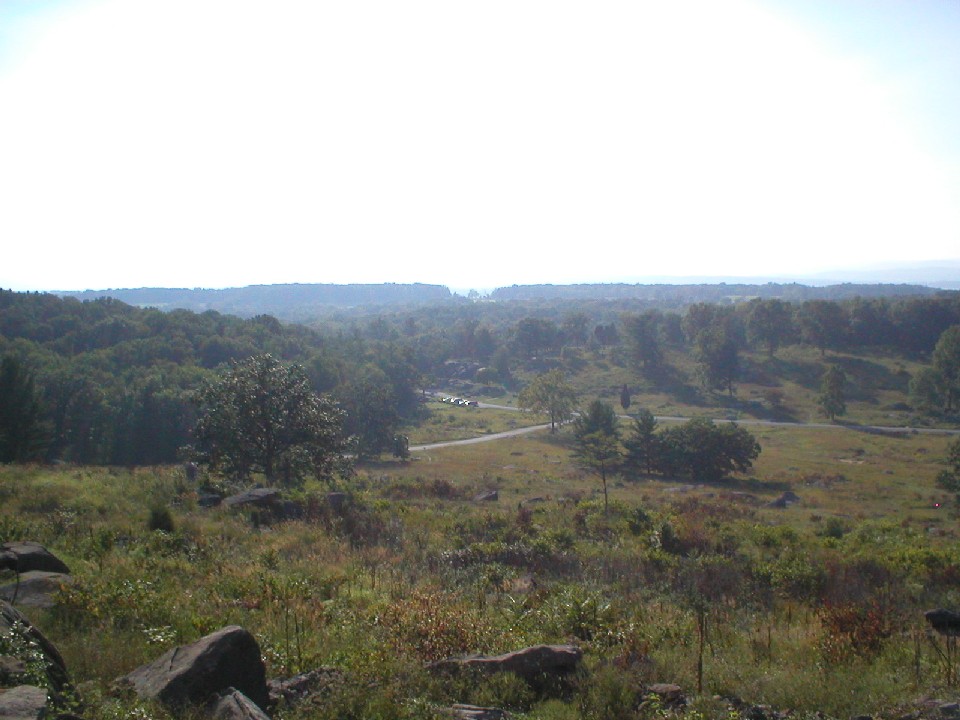
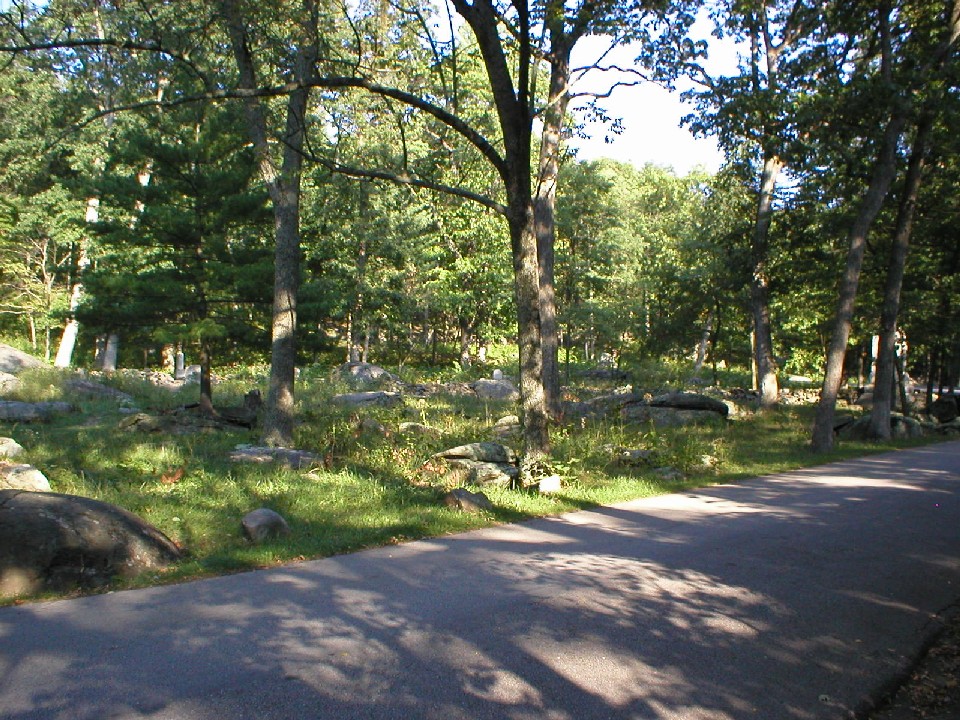
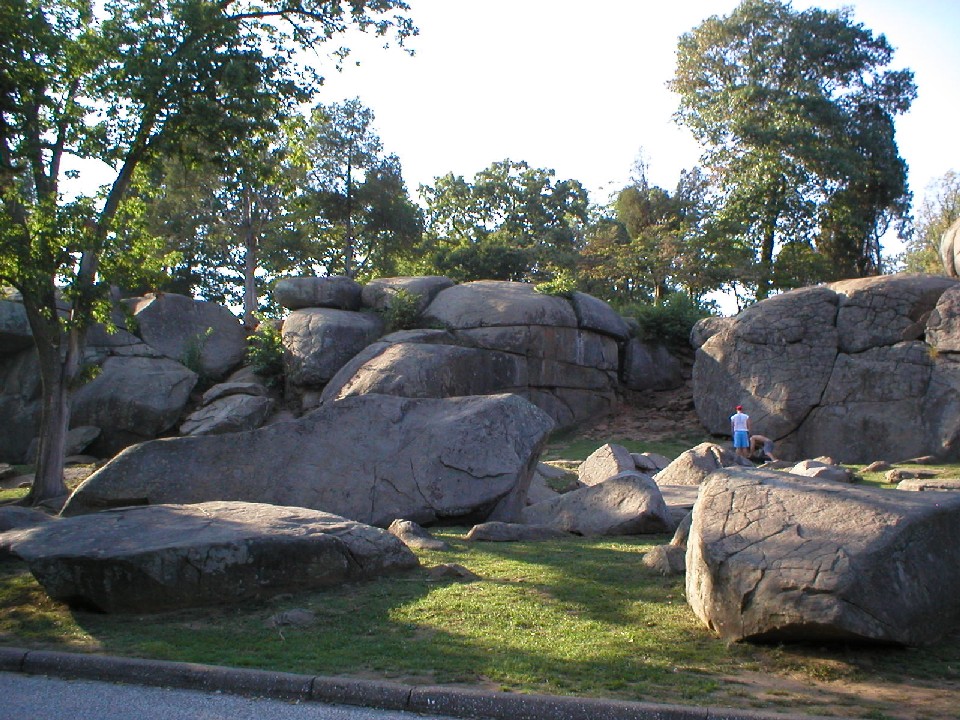
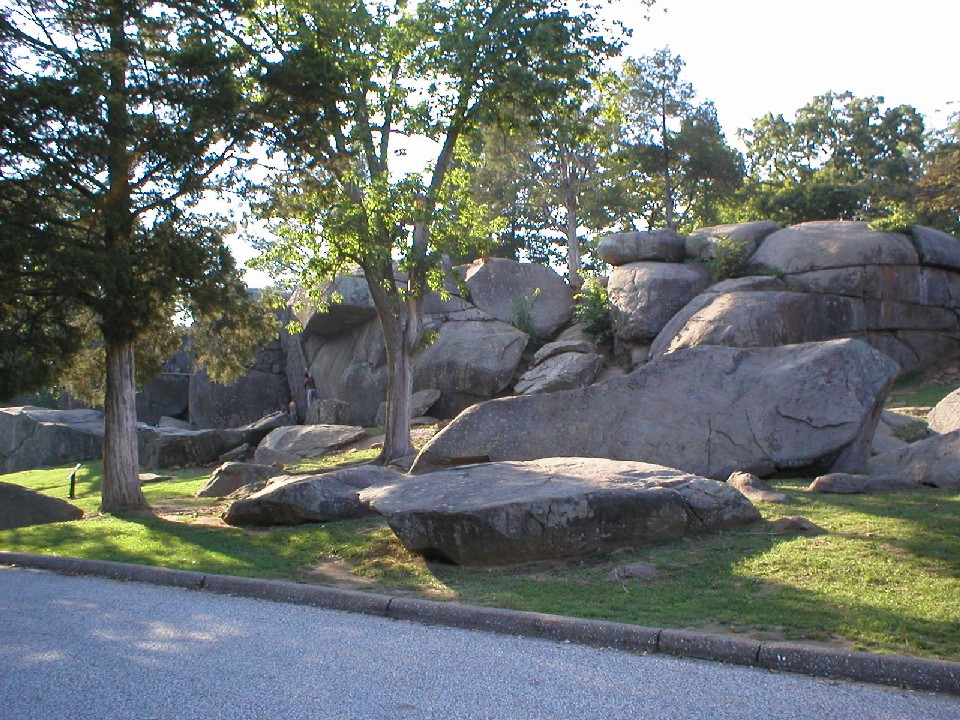
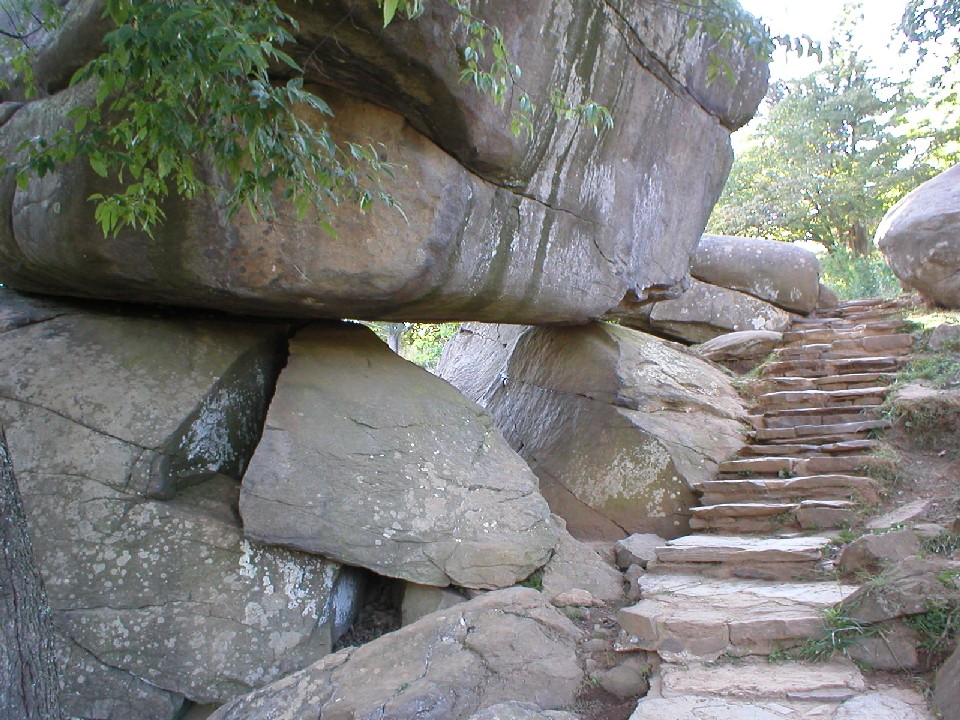
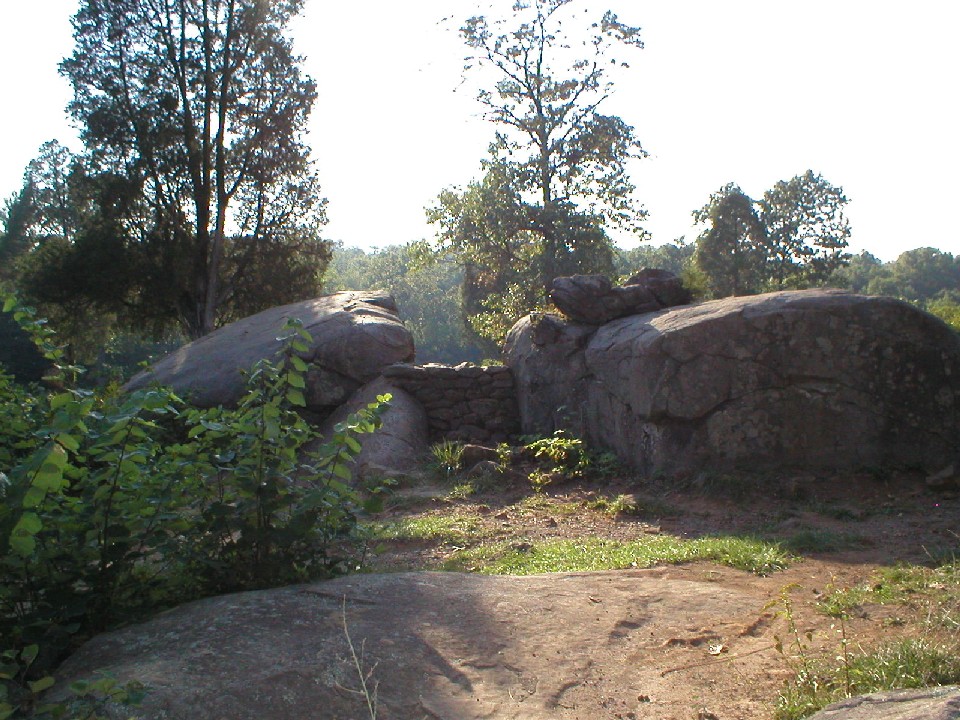
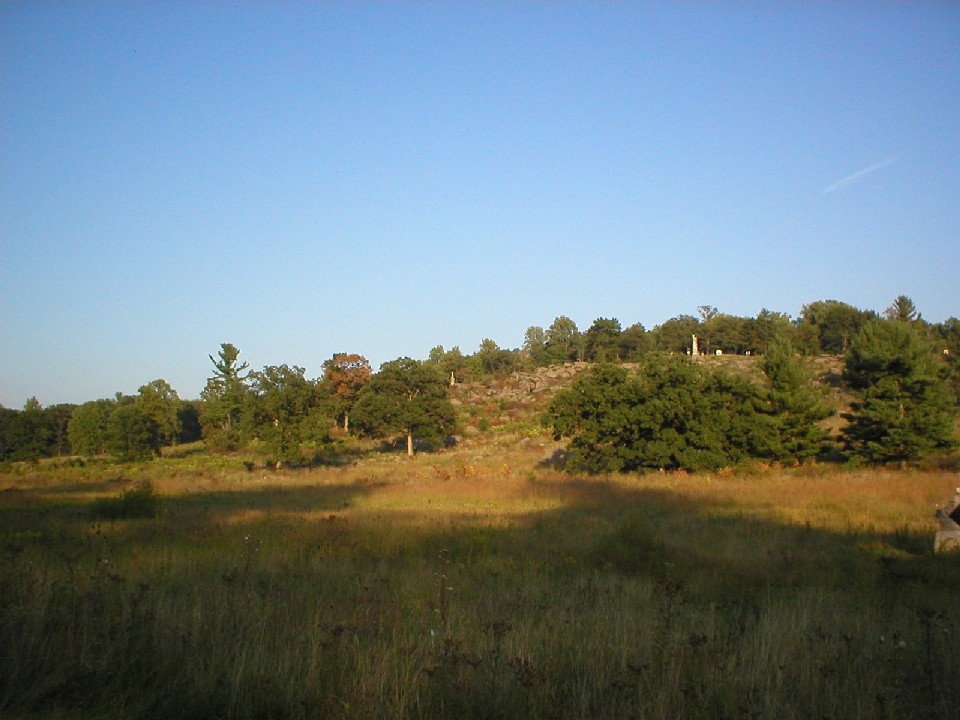
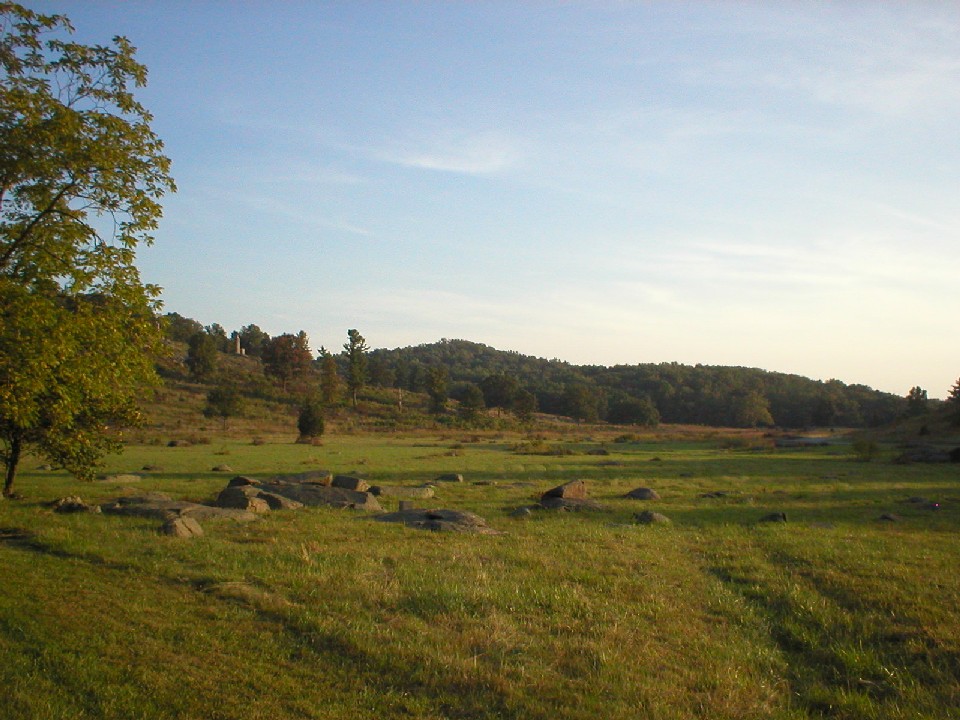
While the Confederate Army struggled and failed to take the heights of Little Round
Top, they were successful in over running the Union troops in the Devil's Den.
The pictures of the large rock formations are of Devil's Den, and is located at
the base of the Round Tops. From here, Confederate troops were able to
harass the Union troops at the top and keep the Union Army strung out in a long
line. The other Round Top is called Big Round top. It was just to
the south of Little Round Top and appeared to be a better hill to take in order
to force the Union troops off of the smaller hill. Unfortunately, as they
looked closer at it, they discovered it was very steep and was thickly covered
by trees. This is what helped the Union Army hold the line. After
the battle of Little Round Top ceased, Union troops were moved to the top of Big
Round Top as a precaution to prevent any Confederates from taking it.
|
(Click on Images for Larger Picture)
|
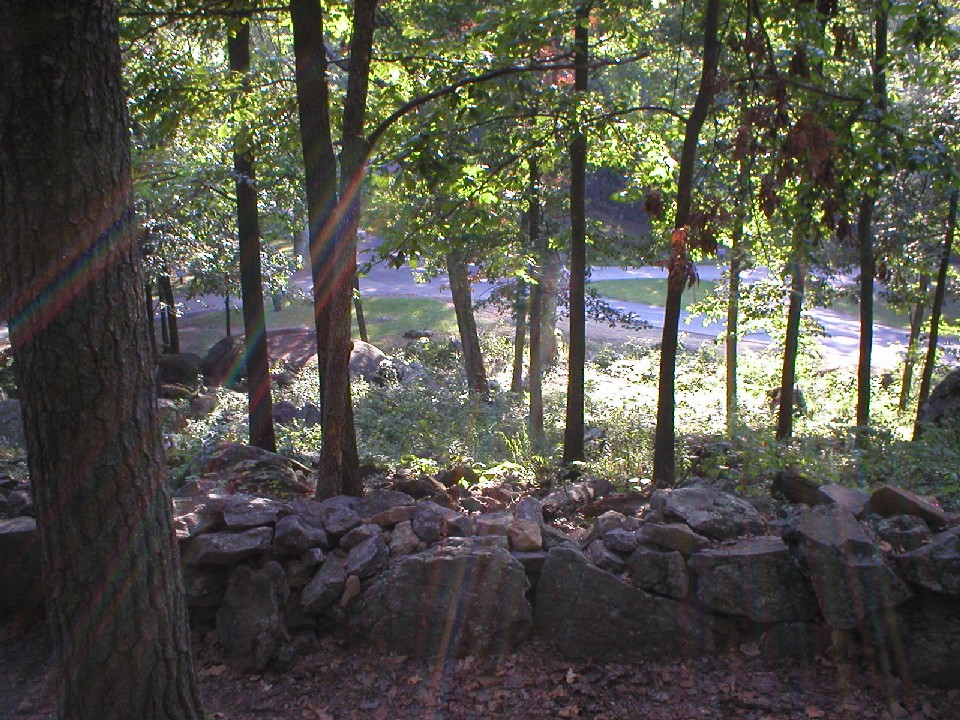
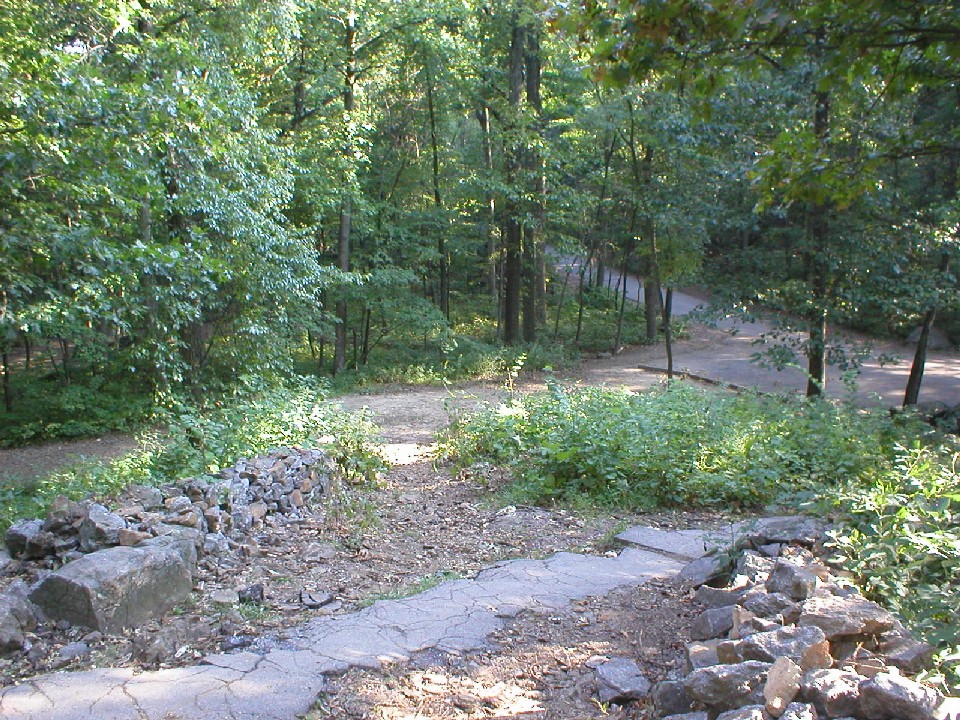
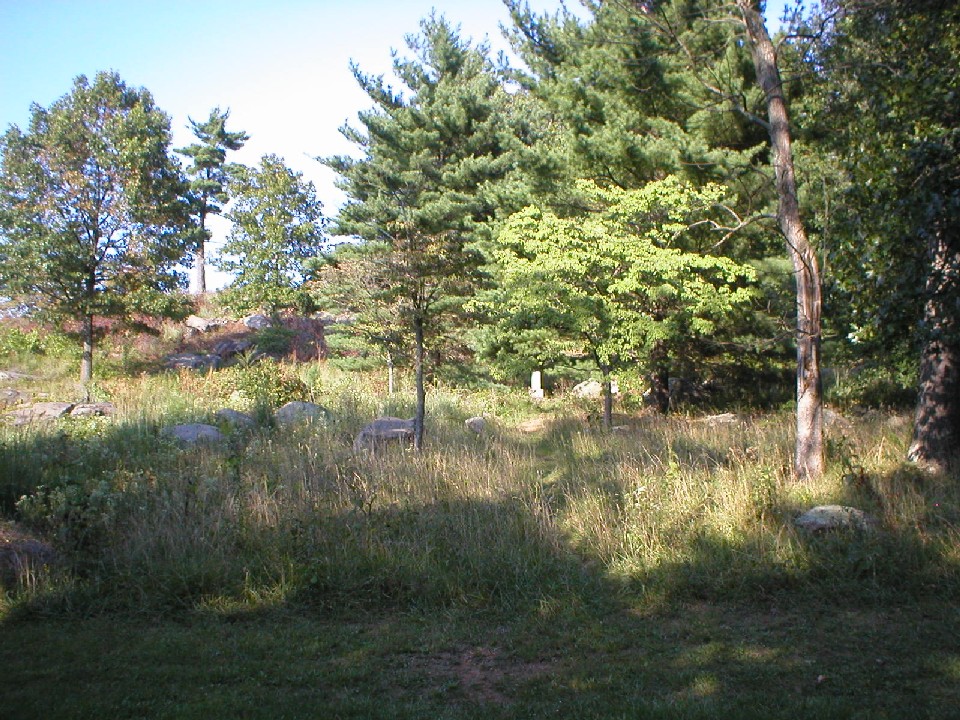
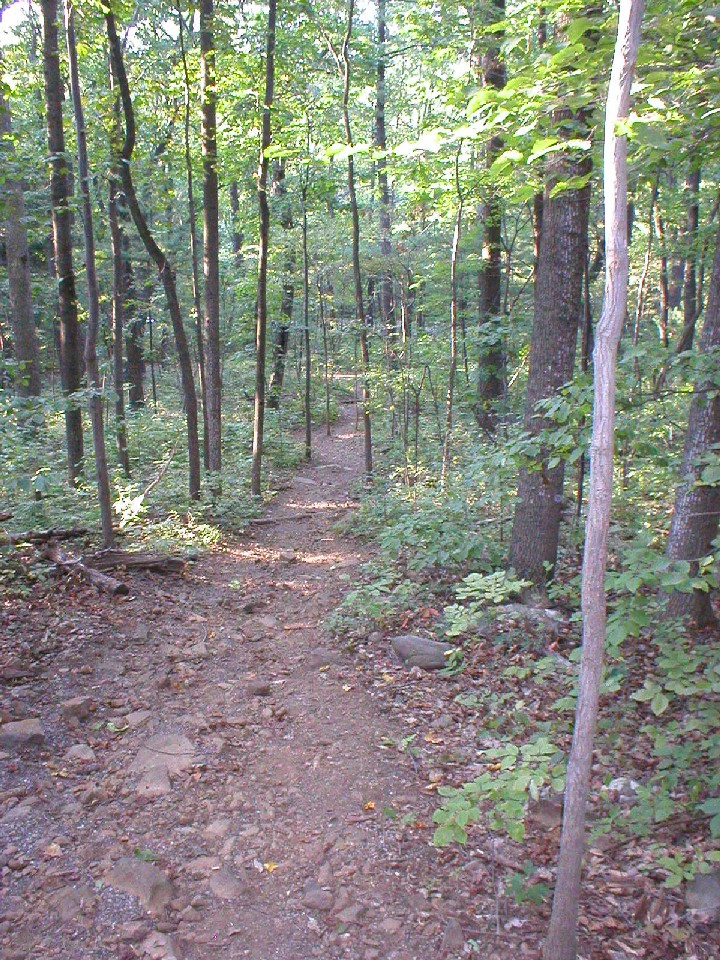
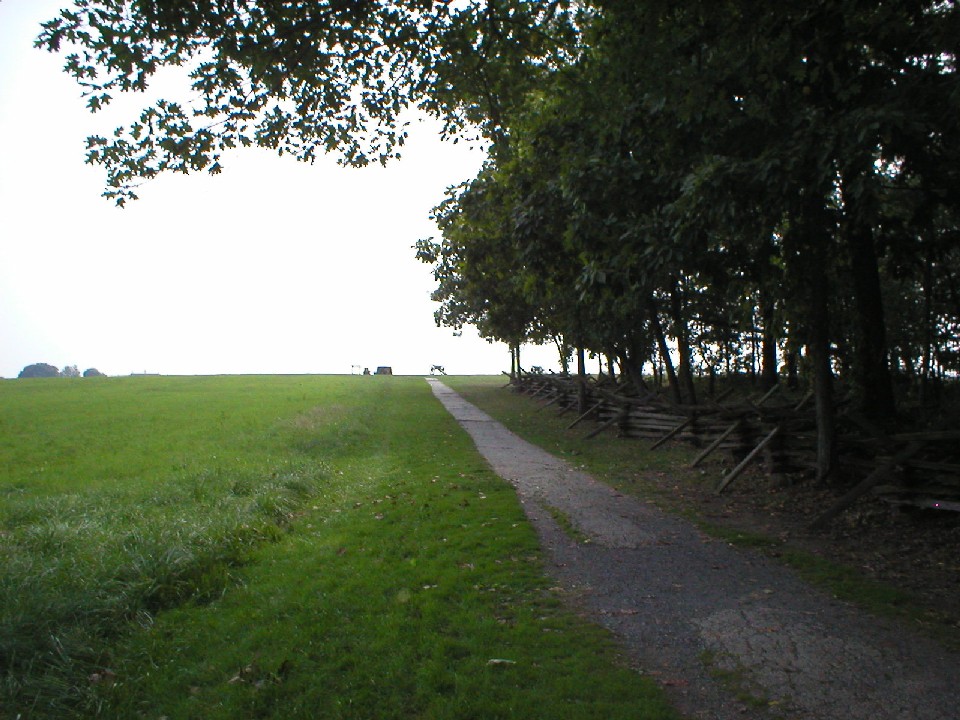
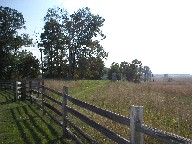
My walk back to the hotel followed the Union lines from the Round Tops, through
Bloody Run, the valley below Little Round Top, and along Cemetery Ridge.
While the last two photos show that some of the areas seem fairly wooded, during
the time of the battle, these areas were actually cleared of trees due to the
logging that had been going on in the area.
|
(Click on Images for Larger Picture)
|
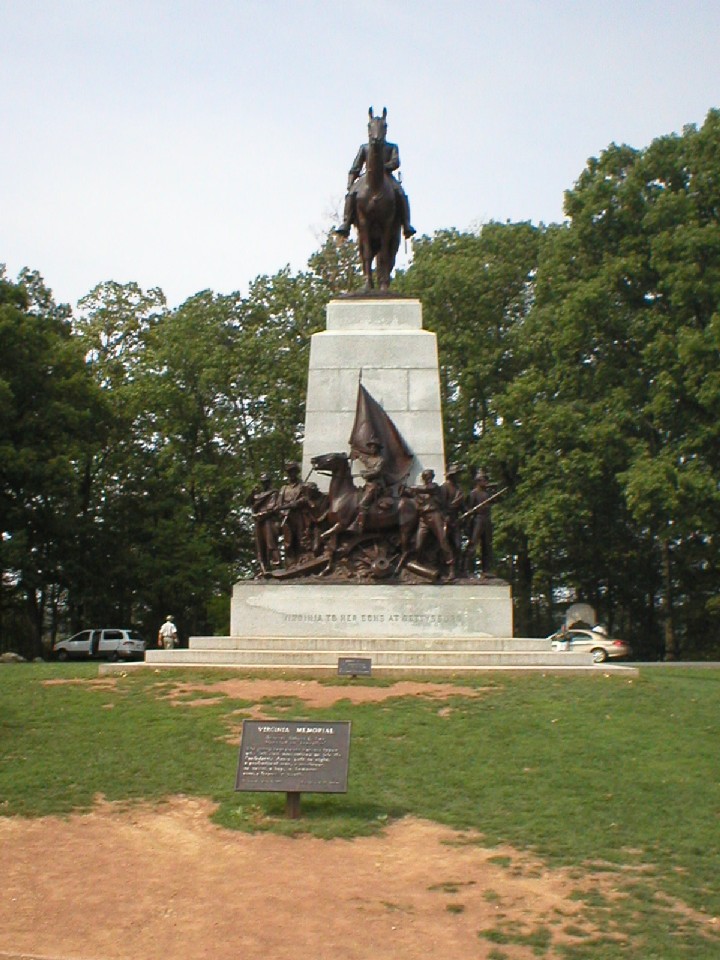
On the last day, there were actually a series of actions that took place. The Confederate
commanding general, General Lee, had hope to have a demonstrating battle on
Culps Hill that would draw troops away from Cemetery Ridge, the location that he
had planed to have a large attack. Unfortunately, Culps Hill started and
ended rather early and the Confederates actually started to withdraw from that
area long before the main attack took place on Cemetery Ridge. With the
Confederates withdrawing, Union troops were quickly shifted to Cemetery Ridge
where they helped to repel the Confederate attack known as Picket's Charge.
The photos above show where General Lee watched the attack, and greeted his
troops as they returned in defeat after the charge failed.
|
(Click on Images for Larger Picture)
|

|
|
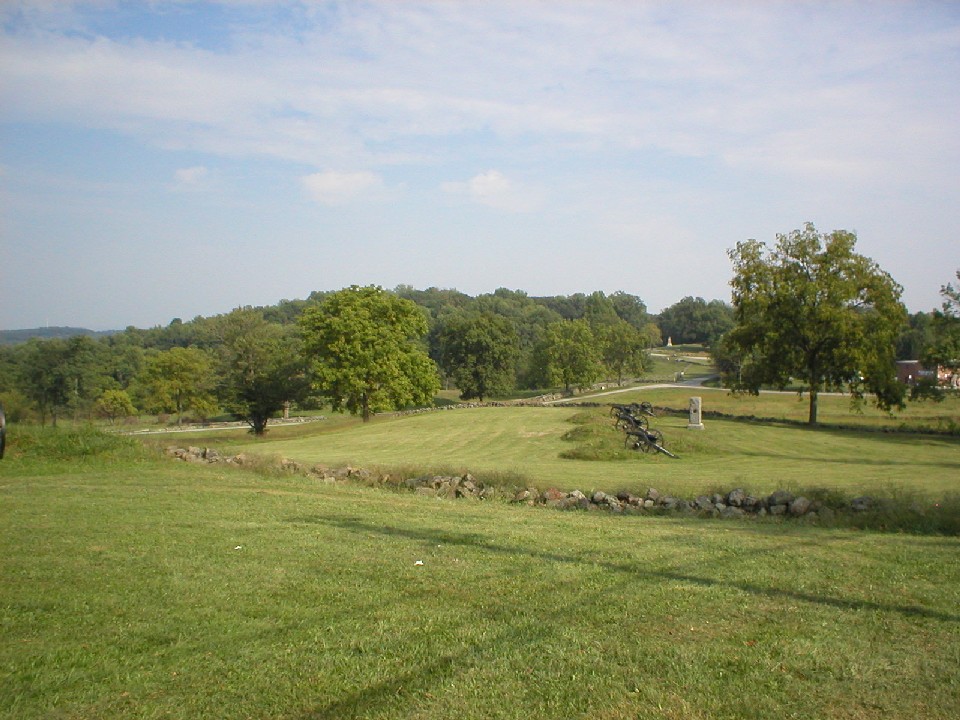
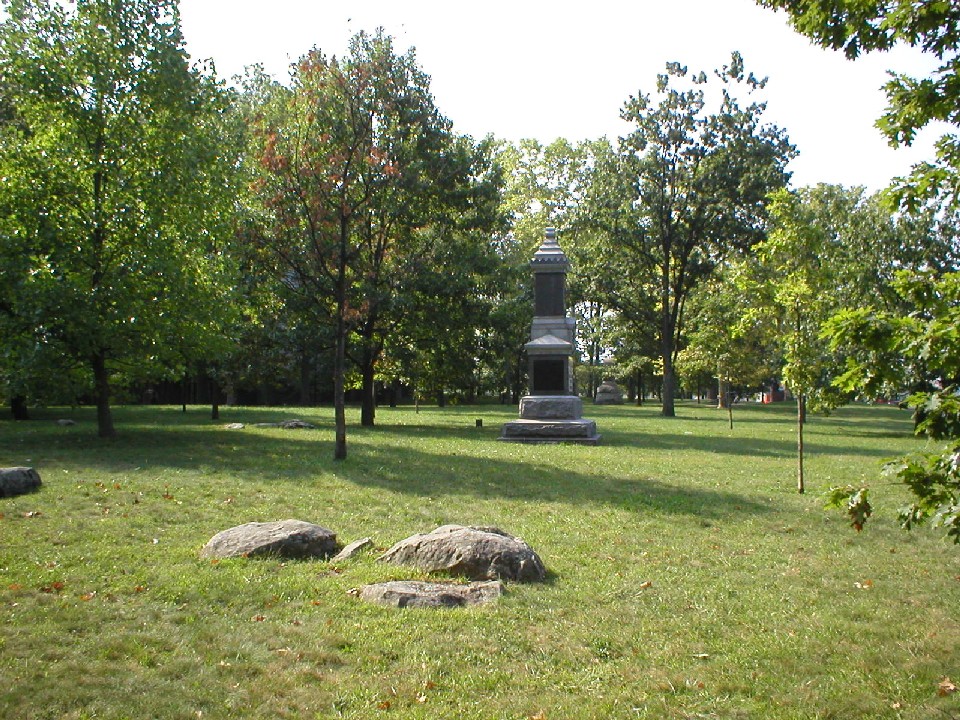
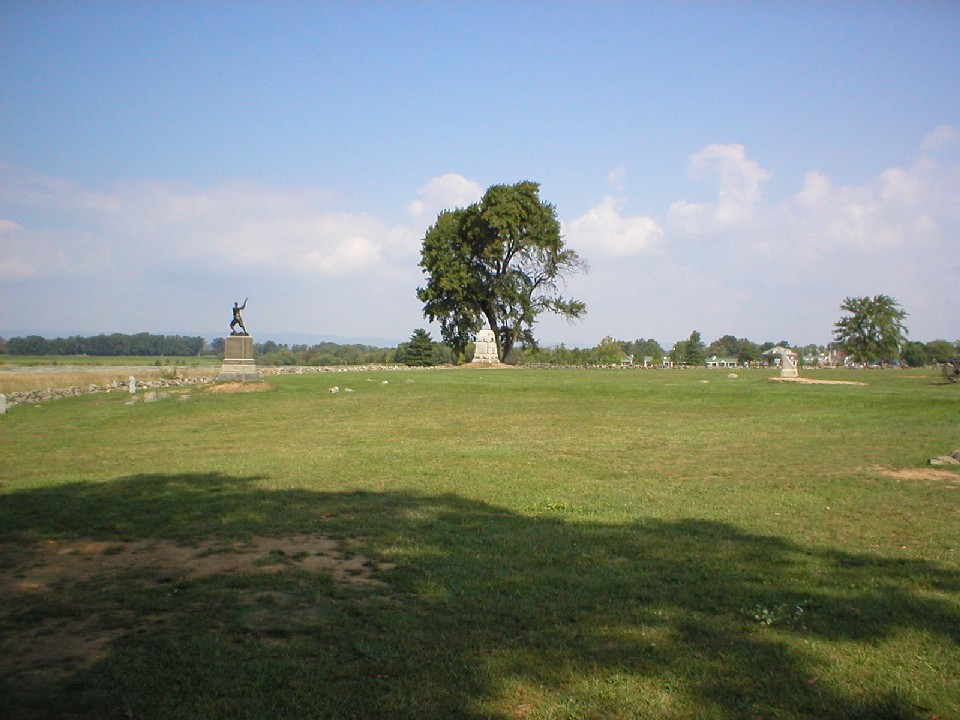
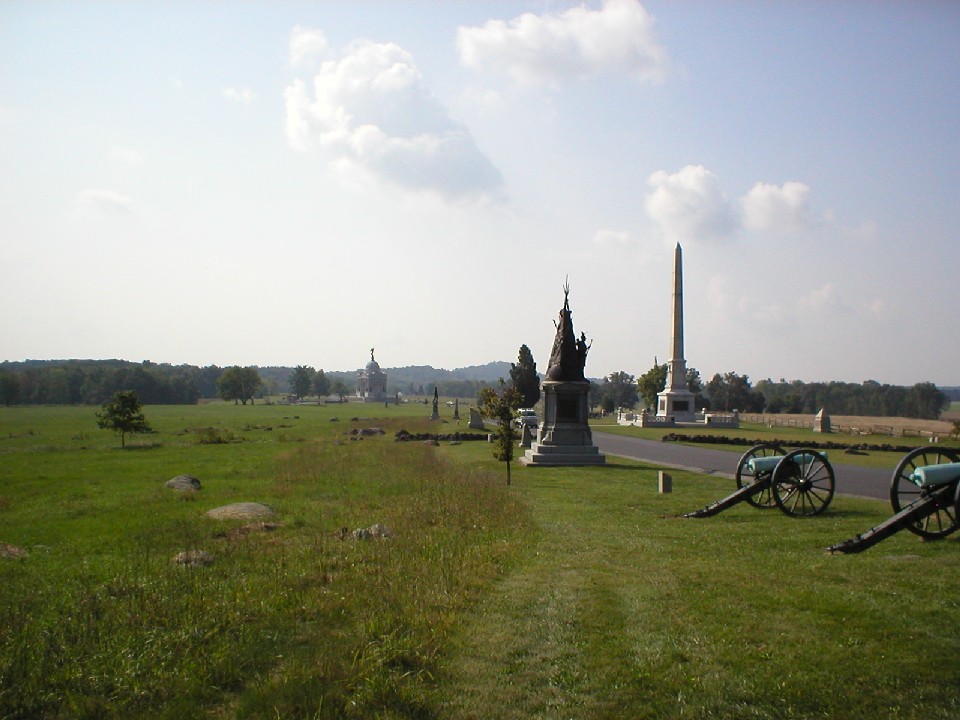
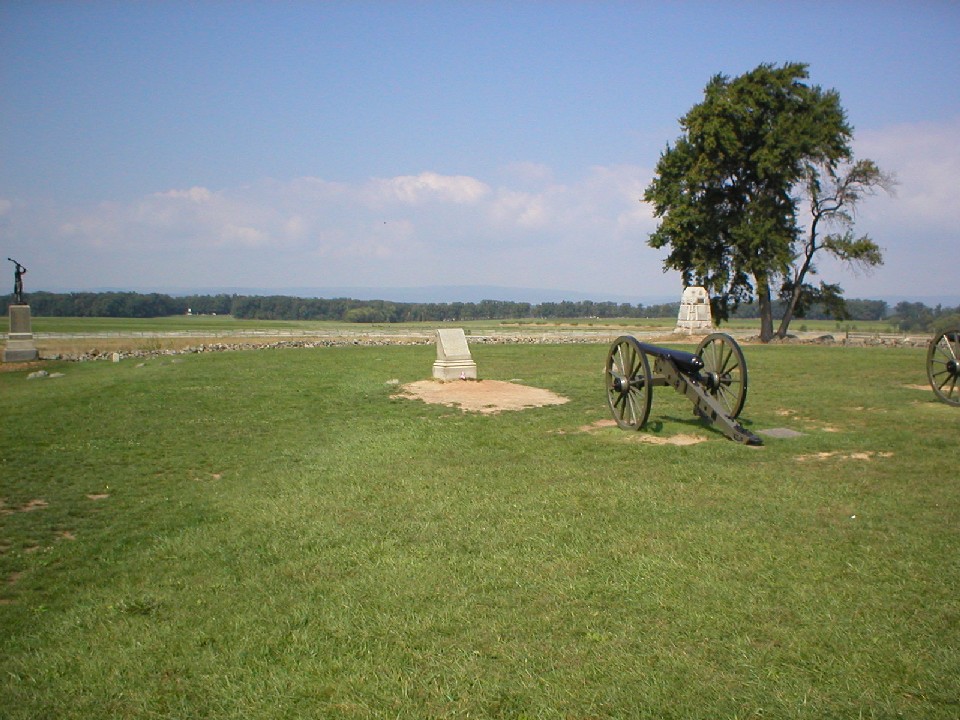
The series above is from Cemetery Ridge at and around the area known as the
Confederacies High Water Mark. This is were they broke through the lines,
and had they had more support, would have pushed the Union troops from their
positions. But due to the large area they had to cross before reaching the
Union troops, and the withering fire they took from artillery and small arms
fire, their numbers had been extremely reduced and they were unable to hold the
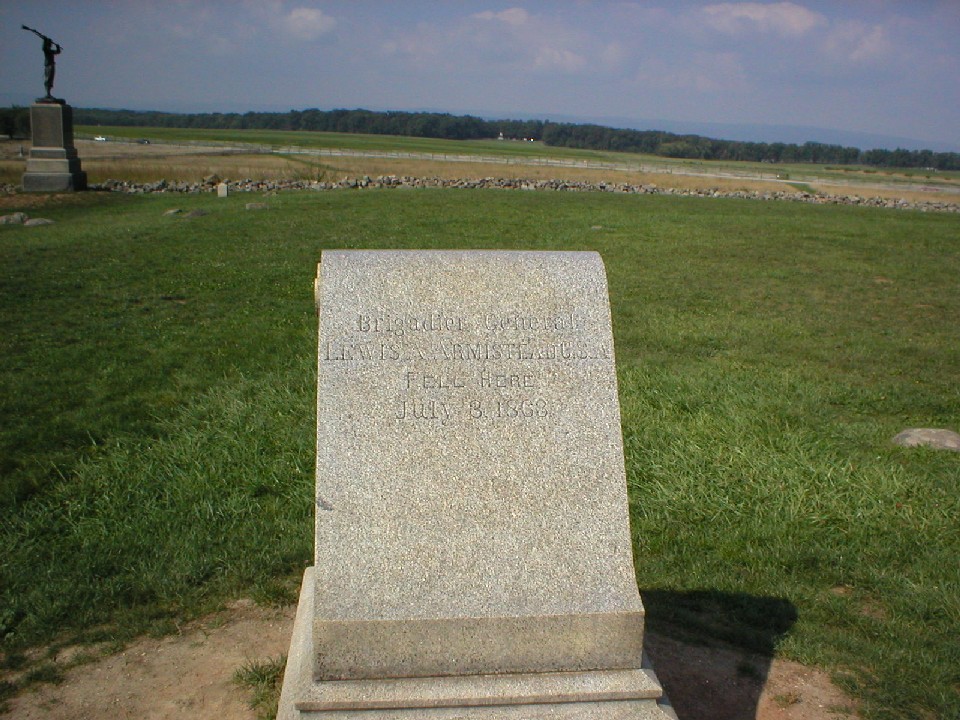
ground the captured. The second picture above shows where the Confederates
broke through the Union lines. The monument in the second picture in the
second row shows the location where Confederate General Armistead was mortally
wounded. The last two pictures are of the area on the battlefield where
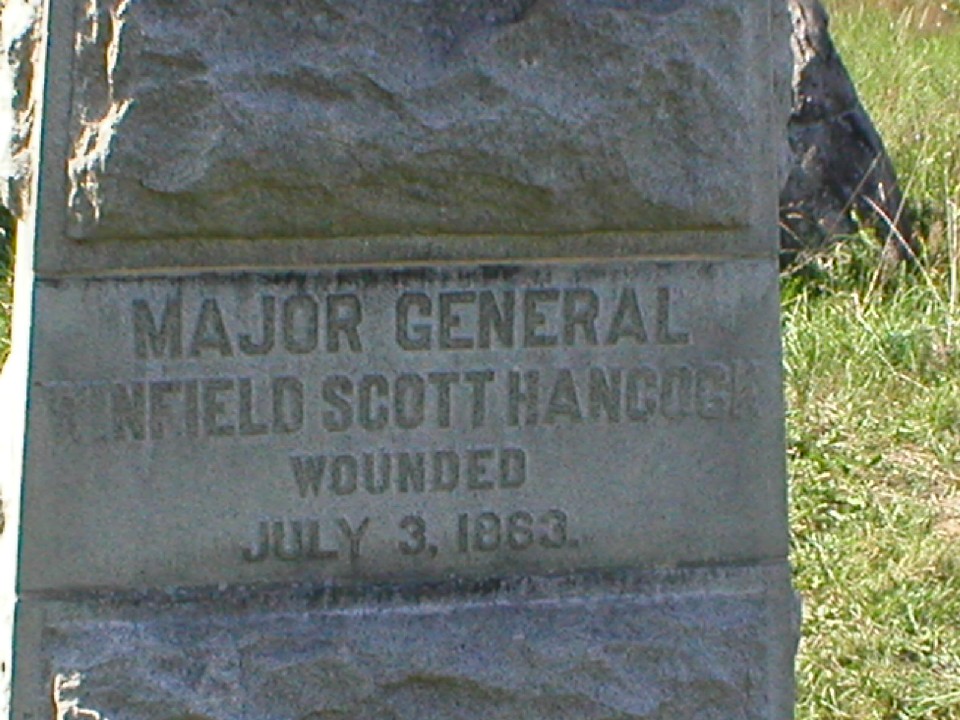
Union General Scott was wounded and eventually carried from the field. The
irony about these two generals is they were the closest of friends, who had
served and fought together in the Mexican-American War. On the third day,
they both lay wounded only a few hundred yards from one another.
|
(Click on Images for Larger Picture)
|
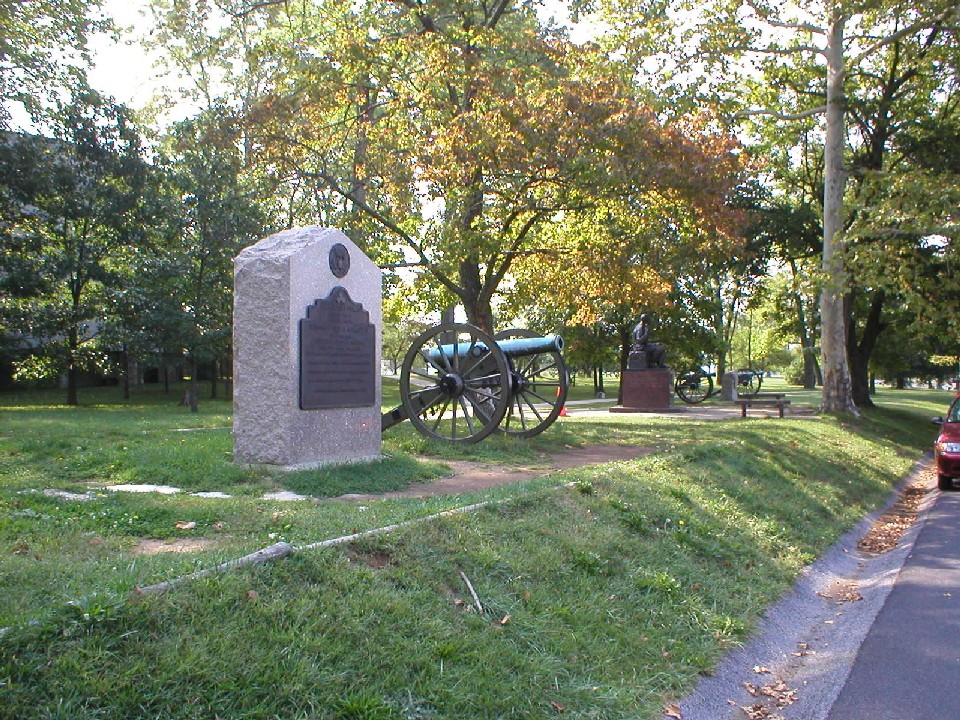
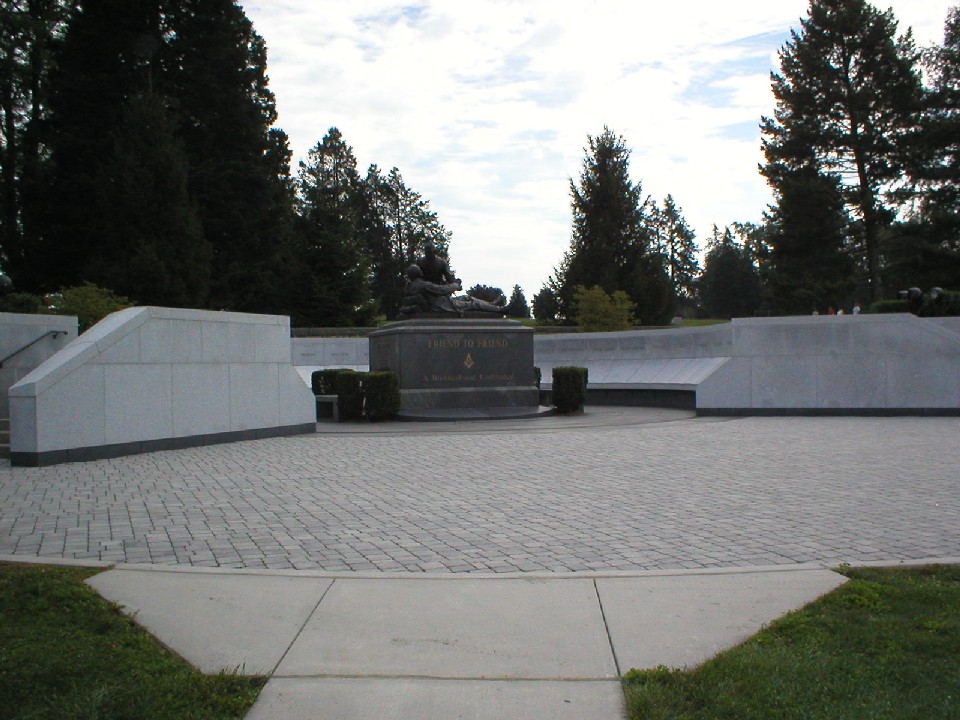
The monument, in the first picture, is a memorial to the Masons who took part in the war. The
statue is of Confederate General Armistead in the arms of a Union soldier as he
lies wounded on the battle field. Armistead was a member of the Order of
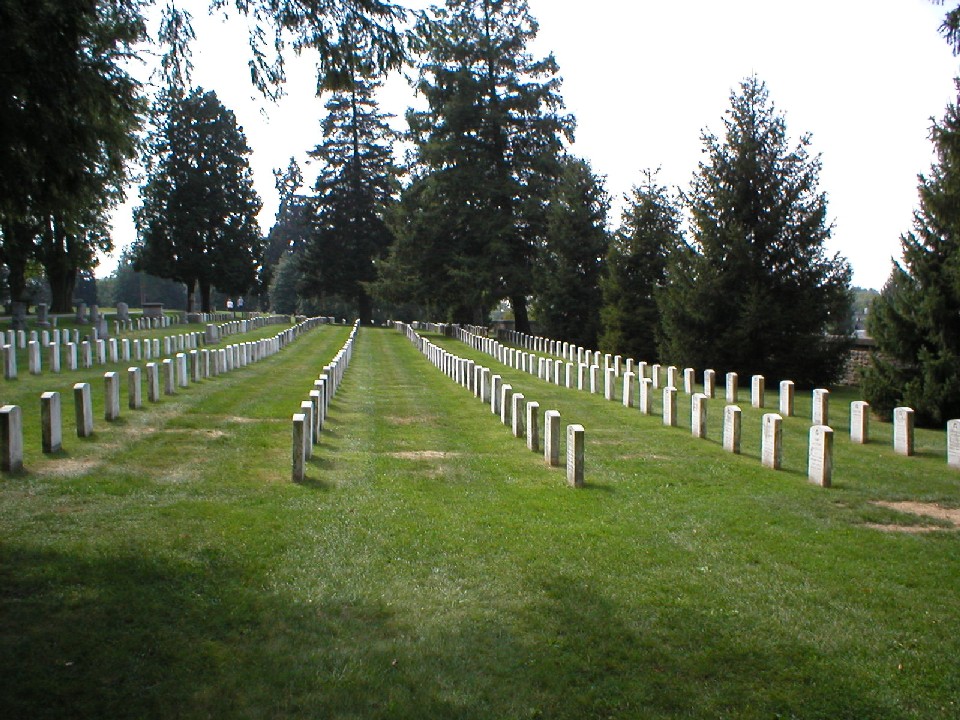
the Masons. The second picture is from the National Cemetery that was
dedicated by President Abraham Lincoln the November following the battle.
|
(Click on Images for Larger Picture)
|
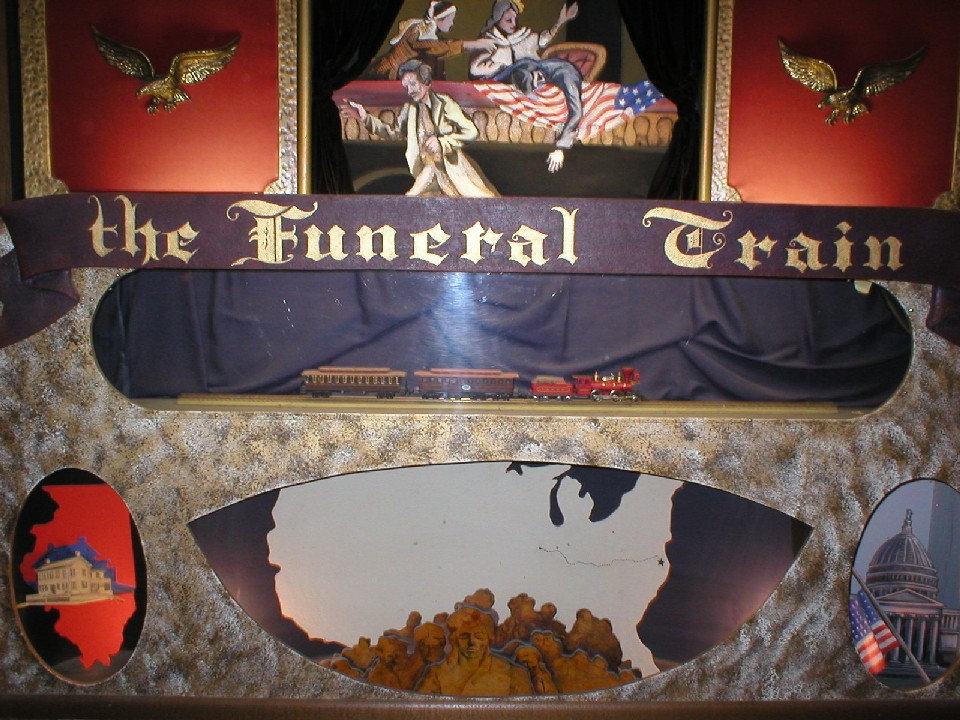
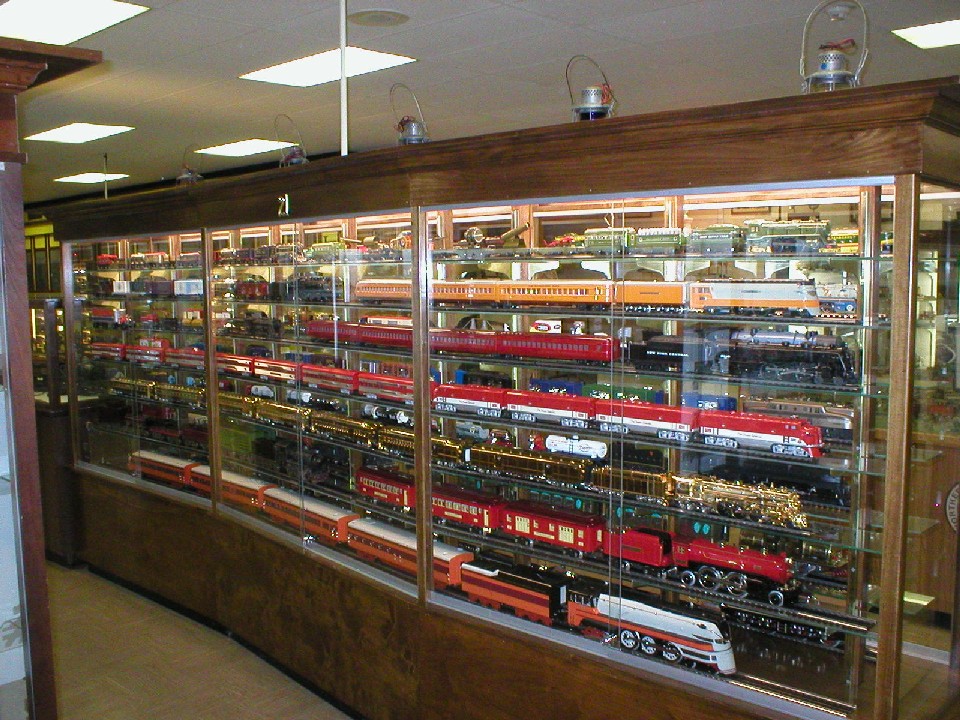
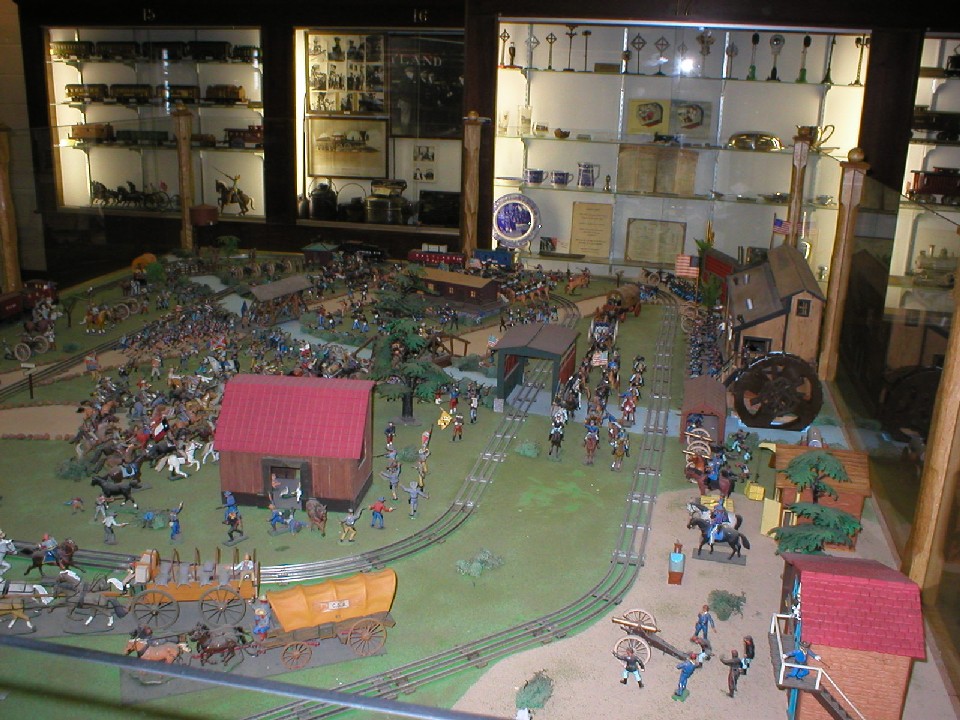
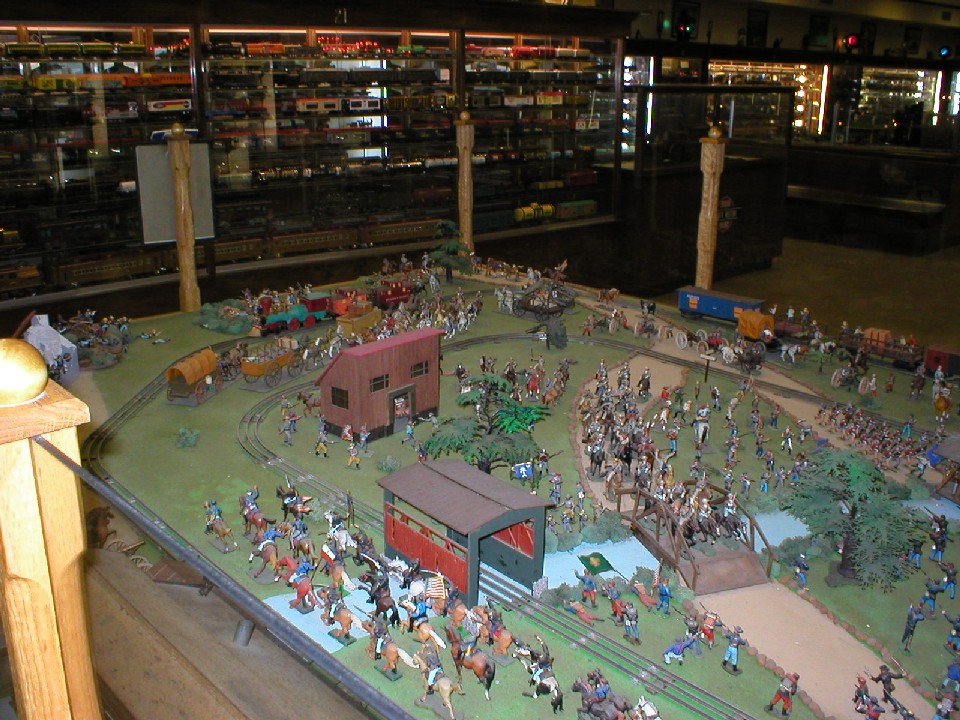
The Lincoln Train Museum is located near Cemetery Hill along the Emmitsburg Road.
There is a simulated train ride that gives you an idea of the ride Lincoln took
to Gettysburg to dedicate the Cemetery. There are also a couple of
dioramas depicting battles from the Civil War, as well as some displays of model trains.
|
|