Gettysburg 2009
Every year for our wedding anniversary we take a trip. This year we
decided to go back to Gettysburg. This was my sixth trip and this was
Lisa's forth. It's a wonderful place to visit, to hike, and to learn about
an event that shaped the country we know today.
(Click on Images for Larger Picture)
|
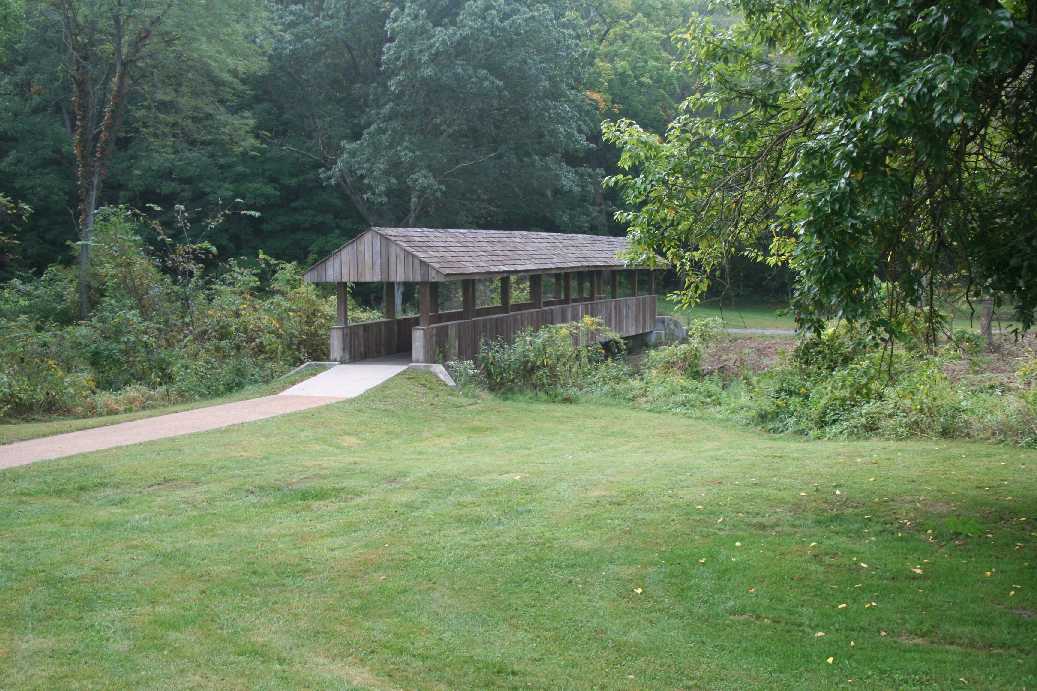
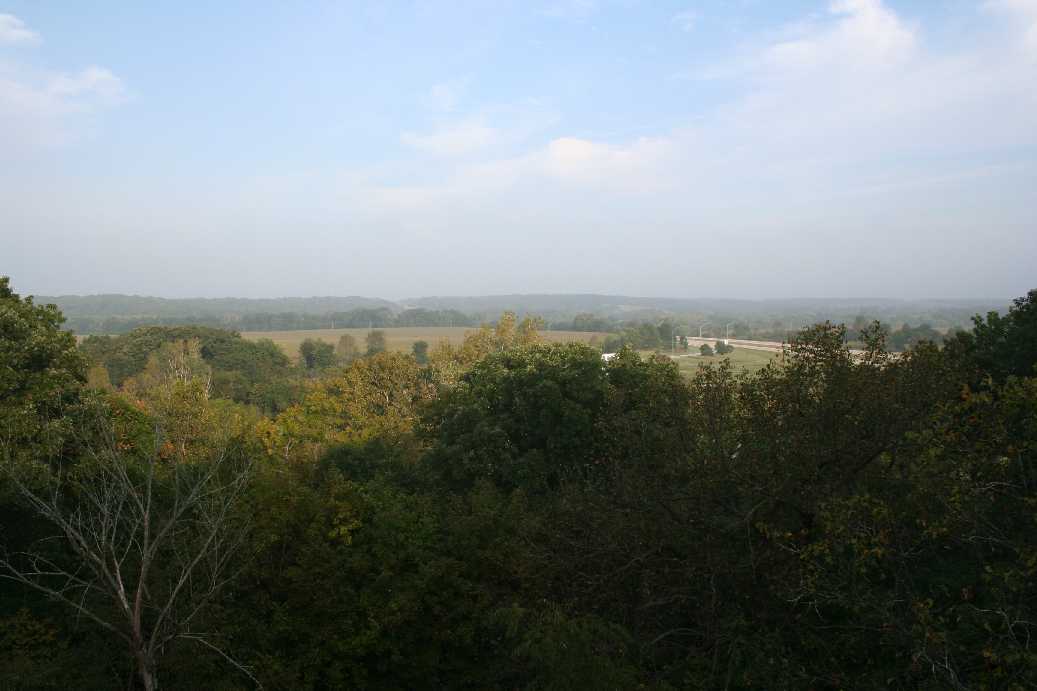
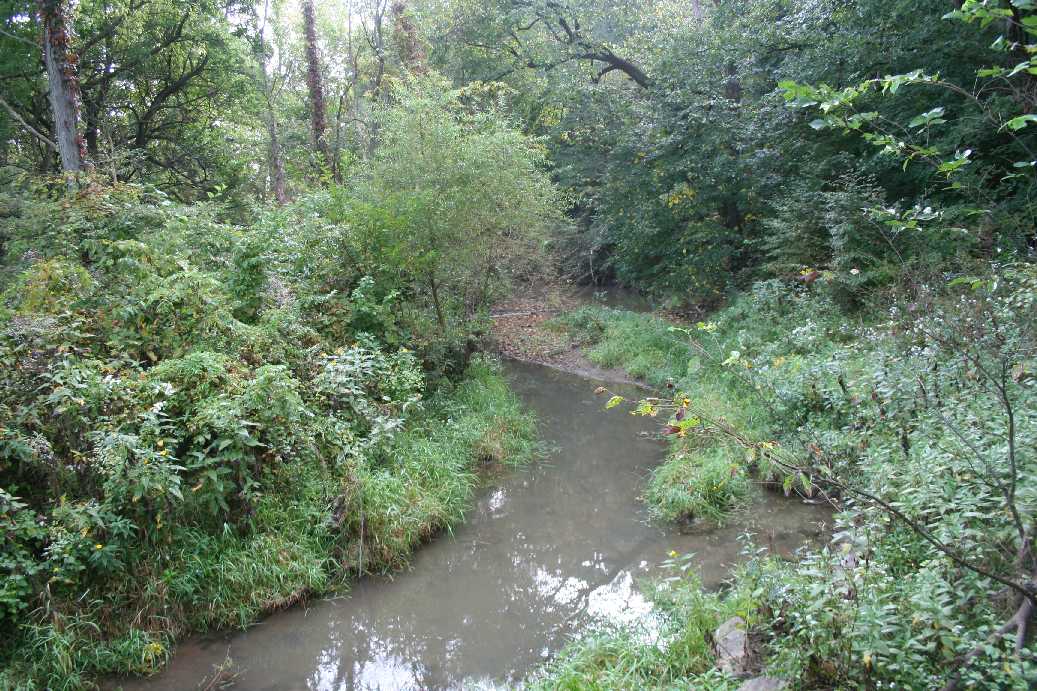
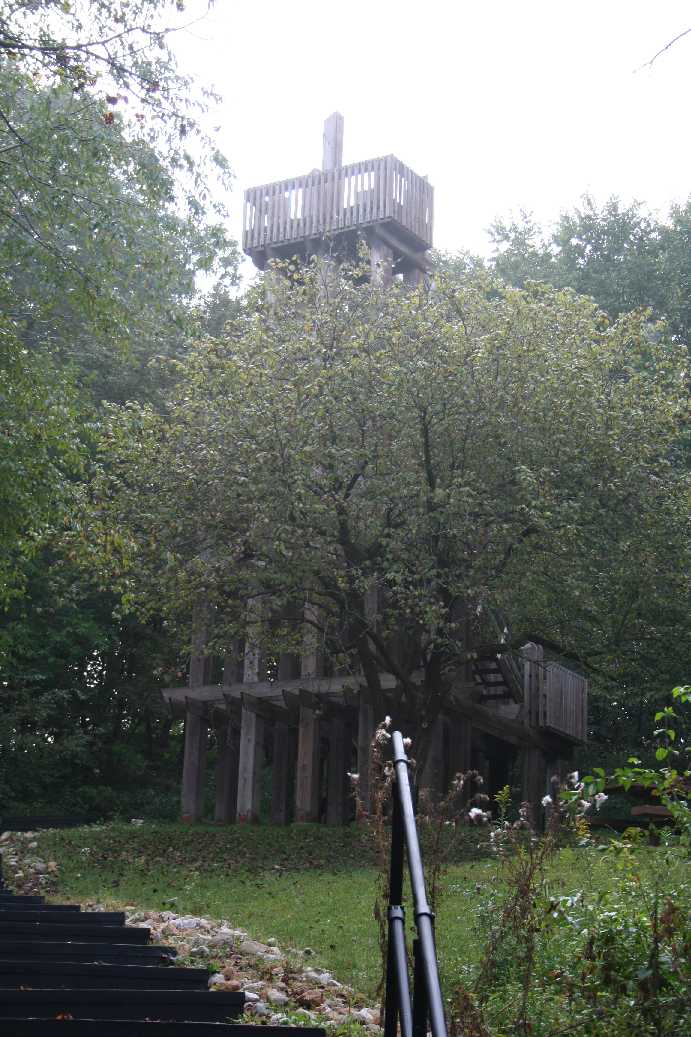
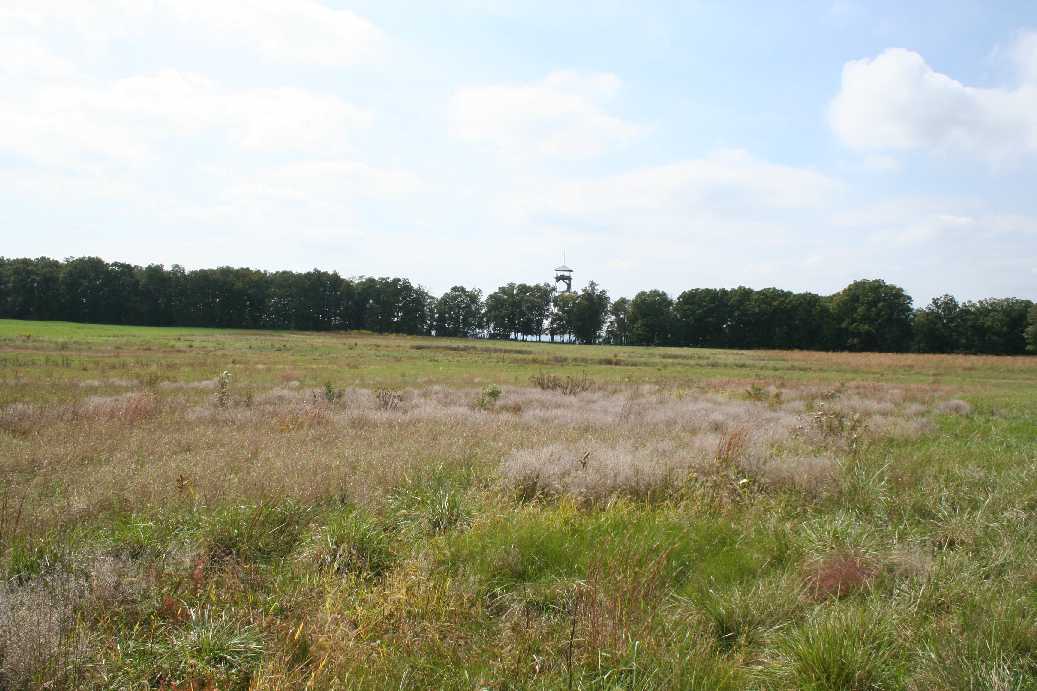
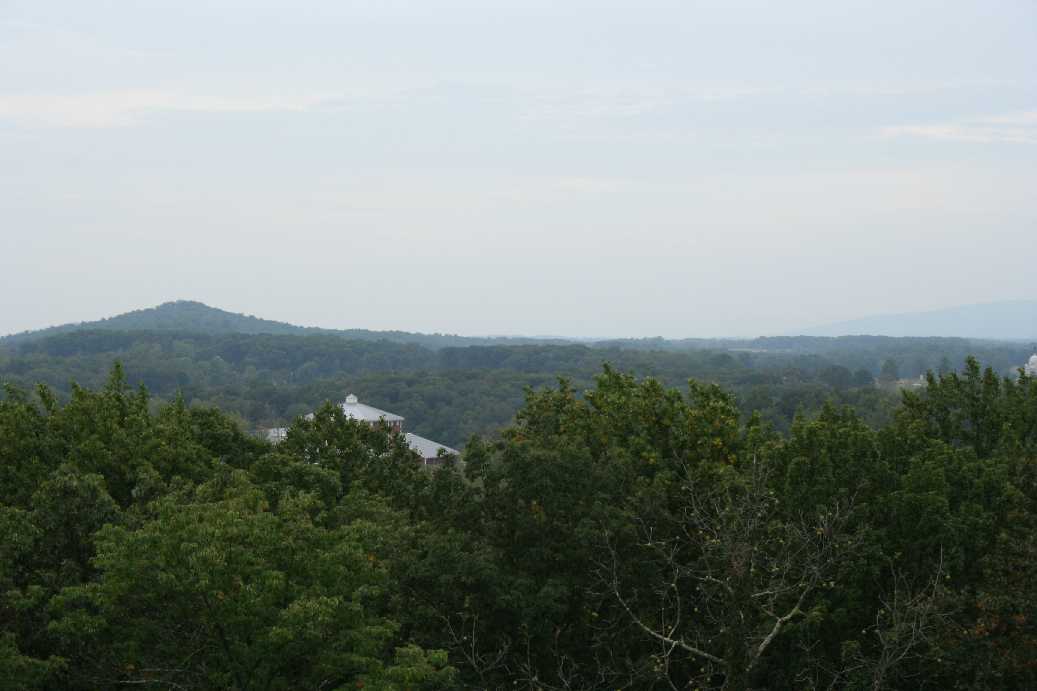
The first set of pictures are from a rest stop in Illinois where we usually pull in to get a few hours sleep.
It's a nice break in the eighteen hour trip. They have an interesting hiking trail that leads
to a tower. From the top, you can see quite a distance across the valley.
|
Arrival
(Click on Images for Larger Picture)
|
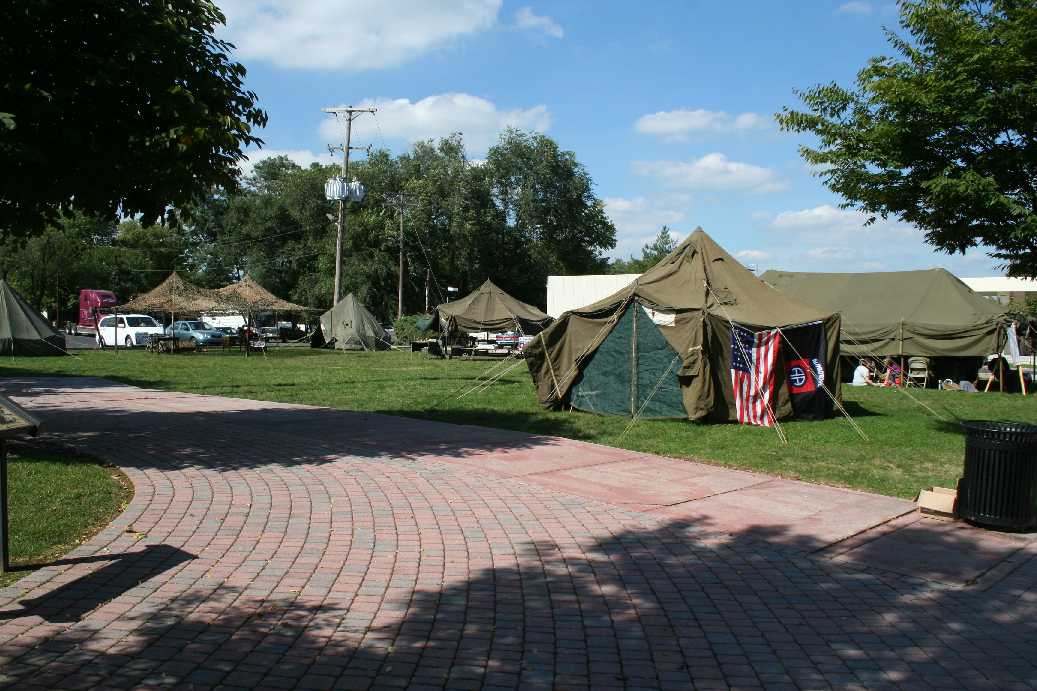
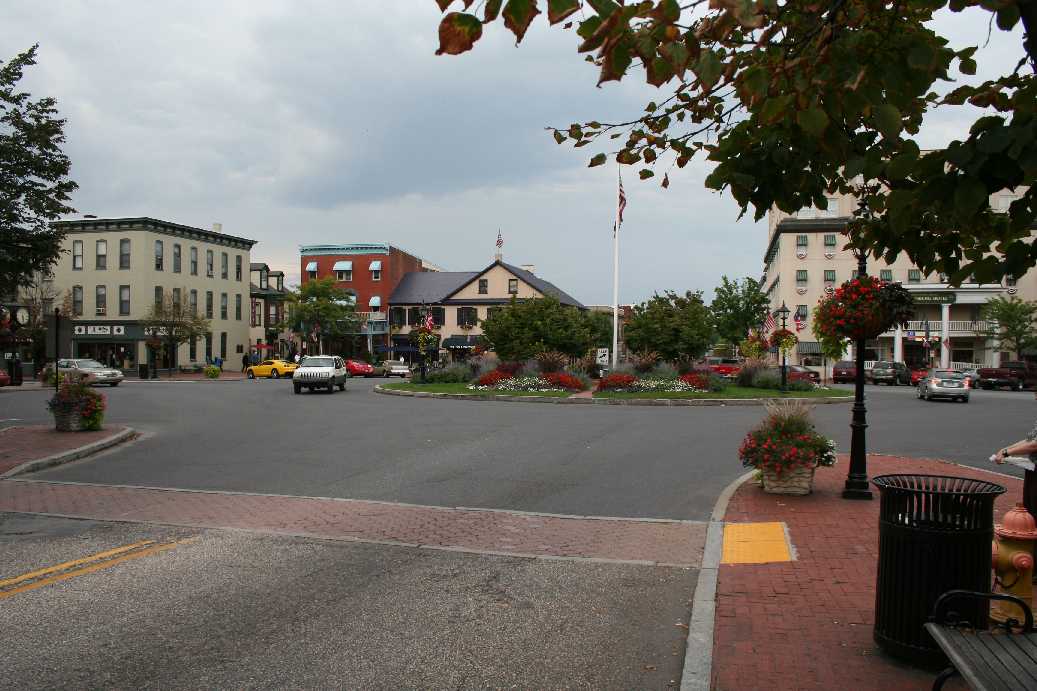
It's always interesting to see what displays and activities they have going on in town. Usually on
the weekends there are re-enactors that setup in various places throughout the
park. This trip, there was even a group with displays from World War II.
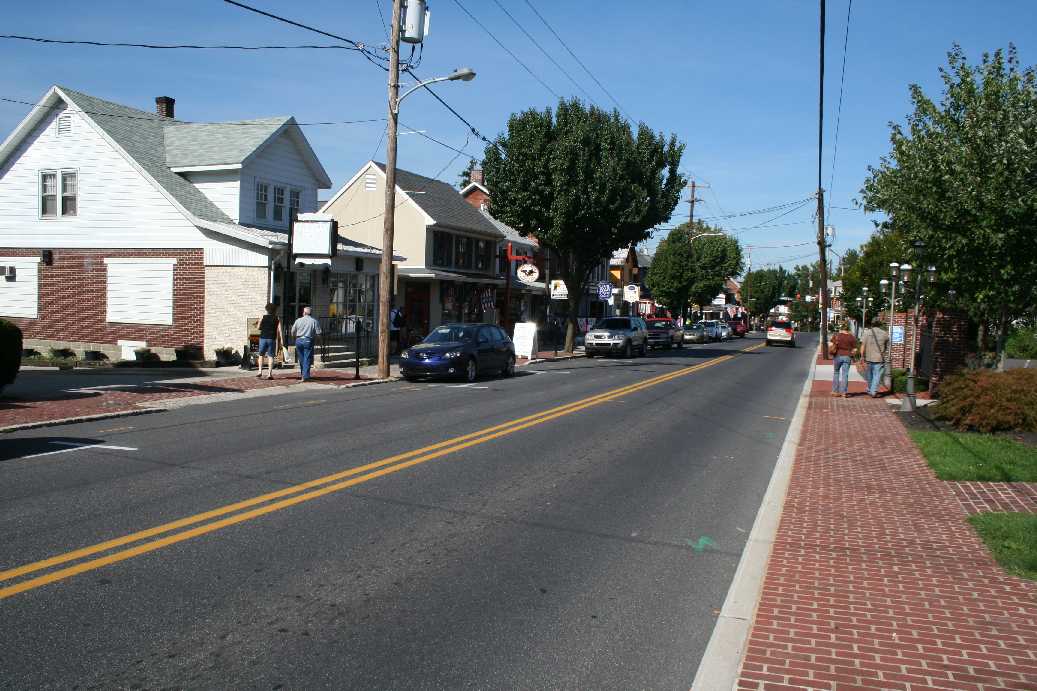
Of course, the main drag through town is always busy as well. The last
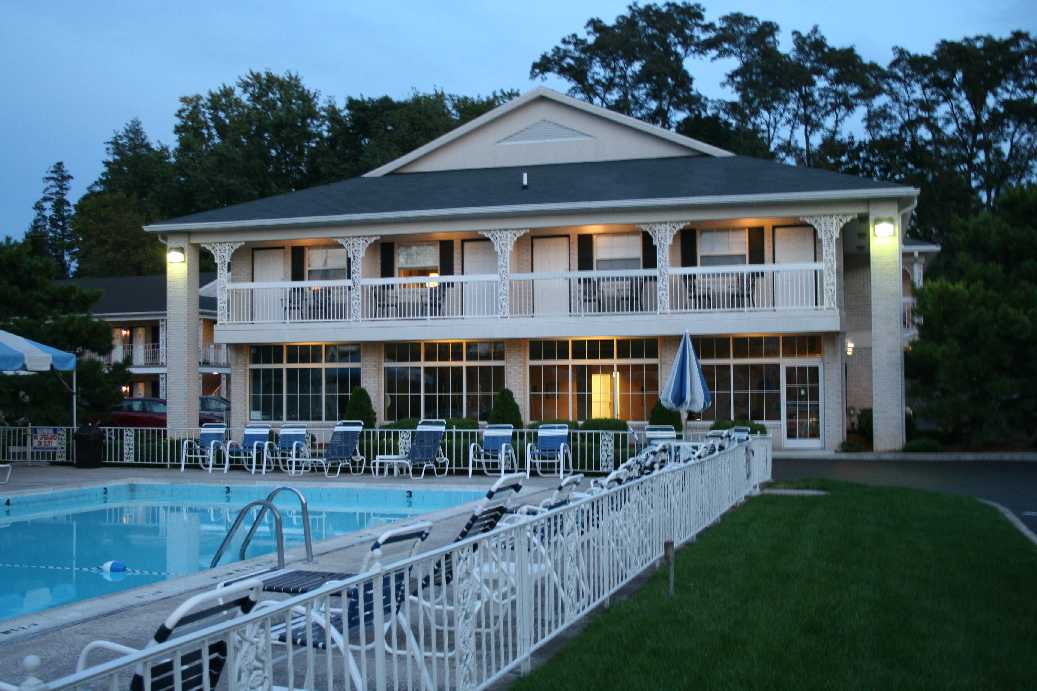
picture is of the hotel we usually stay at. It's right on the Emmetsburg
Pike and within walking distance of the southern battlefields, restaurants, and
downtown. Our room was on the second floor, second balcony from the left.
|
(Click on Images for Larger Picture)
|
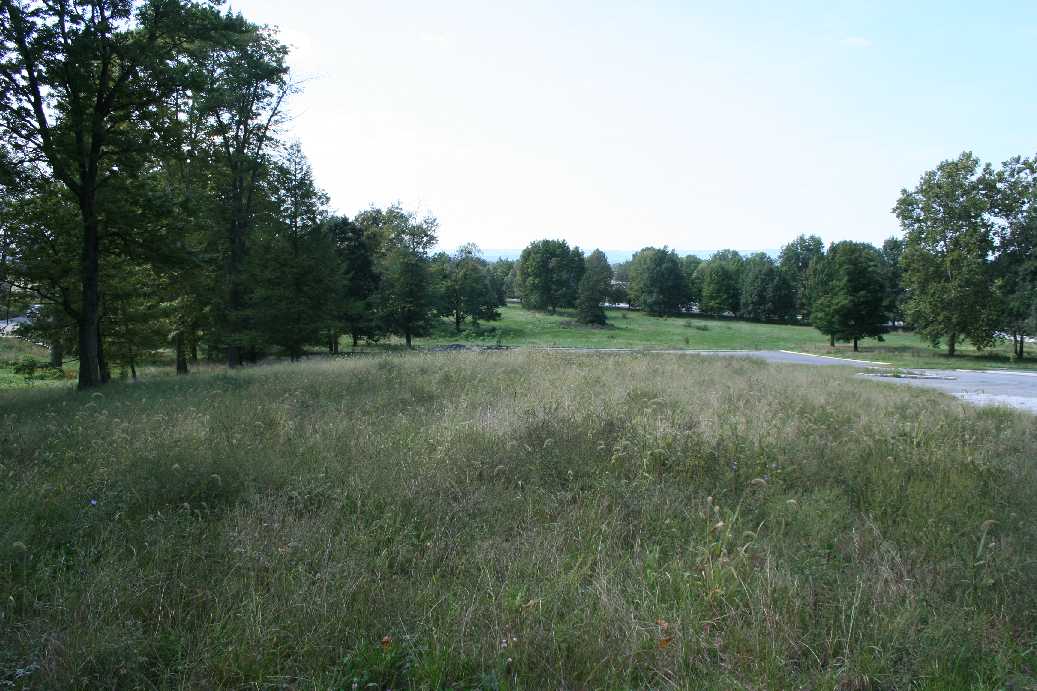
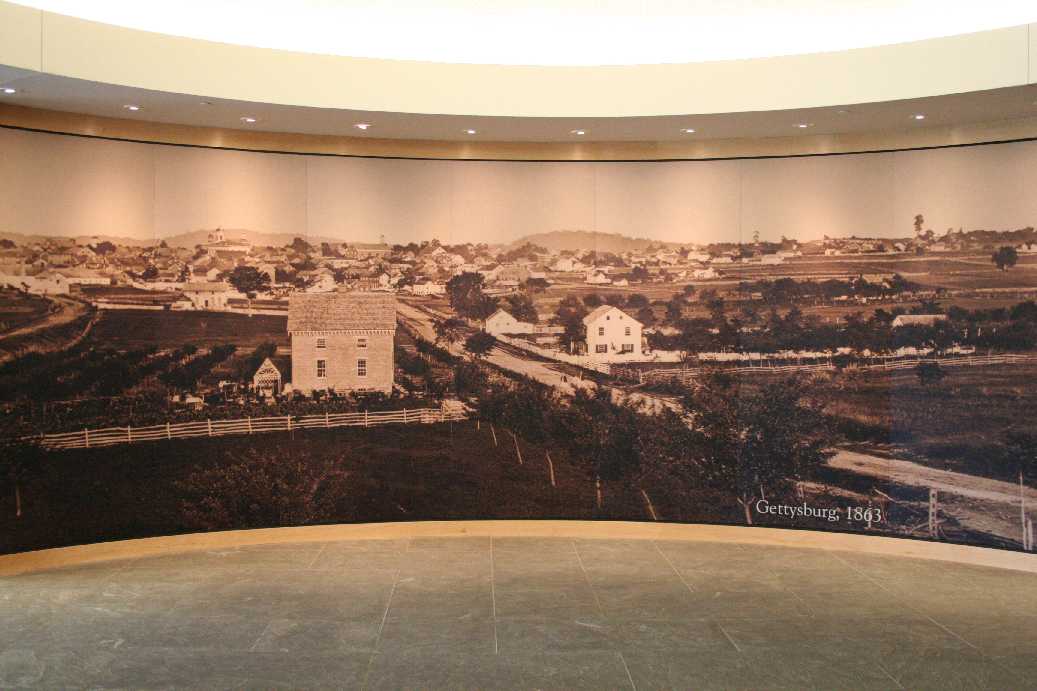
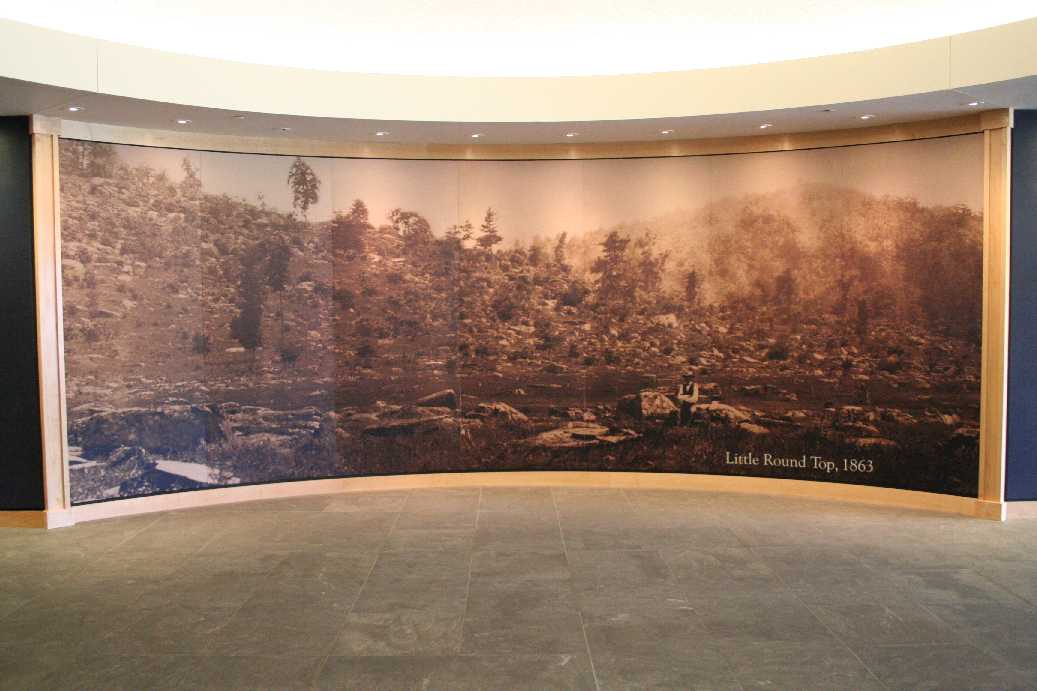
On our first day we decided to check out the new visitor's center and
museum. On the way, we walked by the site of the old center. You
cannot even tell there was a building there. That's the first picture.
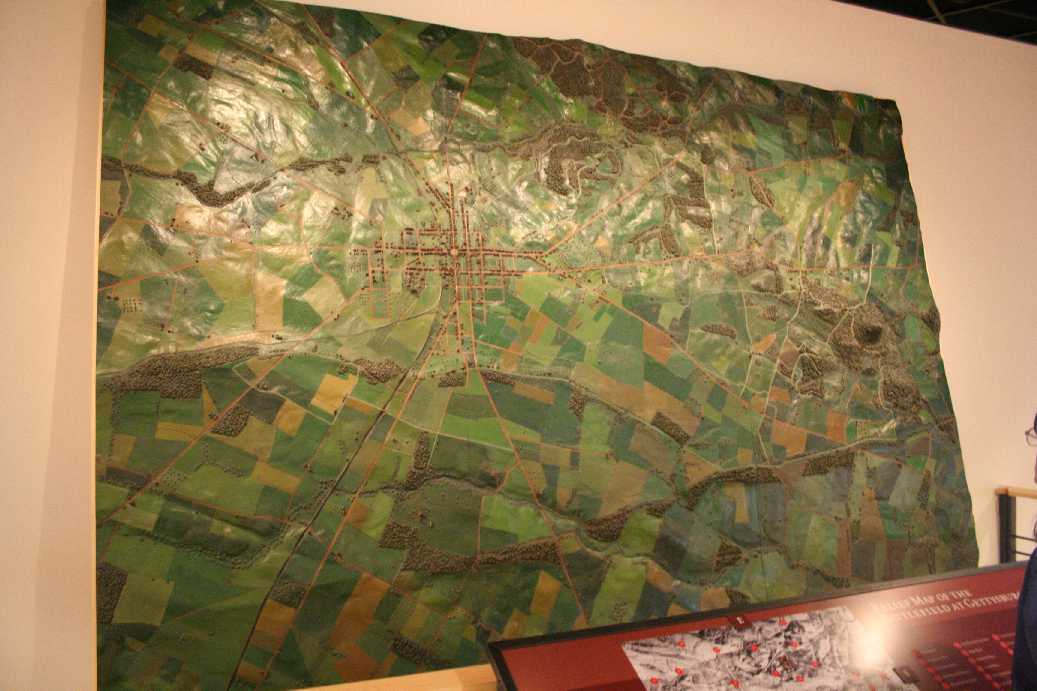
The next two are photos lining the entrance of the new museum, and the last
one is the three dimensional map that was in the the old Cyclorama
Center.
|
First Battlefield Hike
(Click on Images for Larger Picture)
|
The visitor's center and museum was actually fairly busy that day so we
decided to take advantage of the weather and take our first hike.
Good thing we did because the weather changed mid-week. By the end
of the week, we estimated that we hiked roughly eleven miles of the actual
battlefield. Three to four were on Culp's Hill, and the rest was around
Picket's Charge, the Round Tops, Devil's Den, The Wheatfield, Peach Orchard and
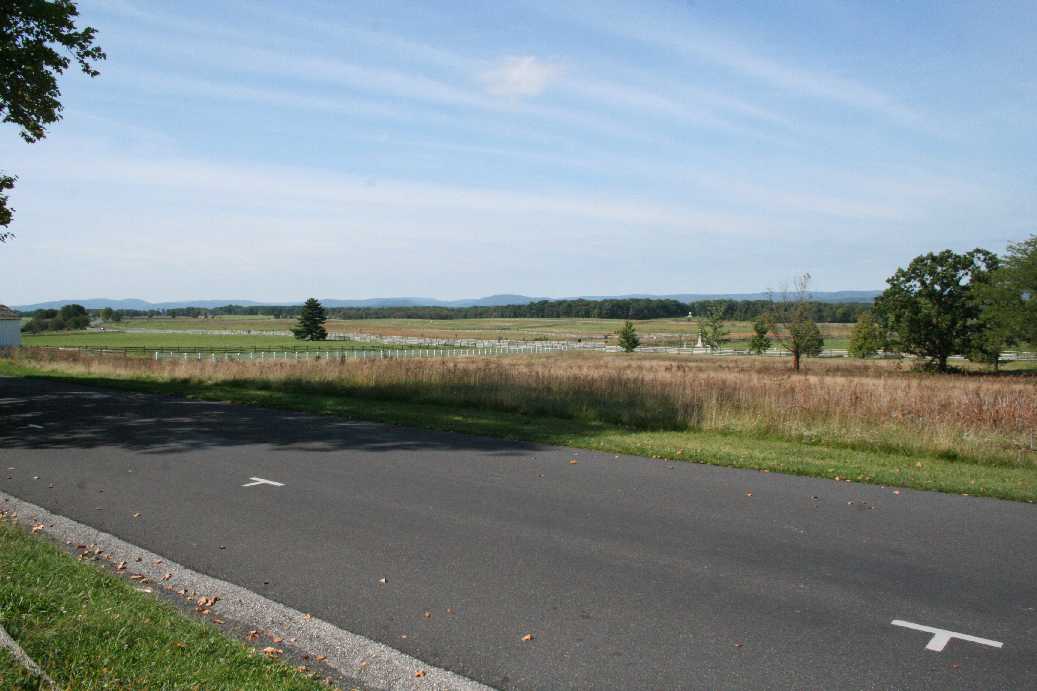
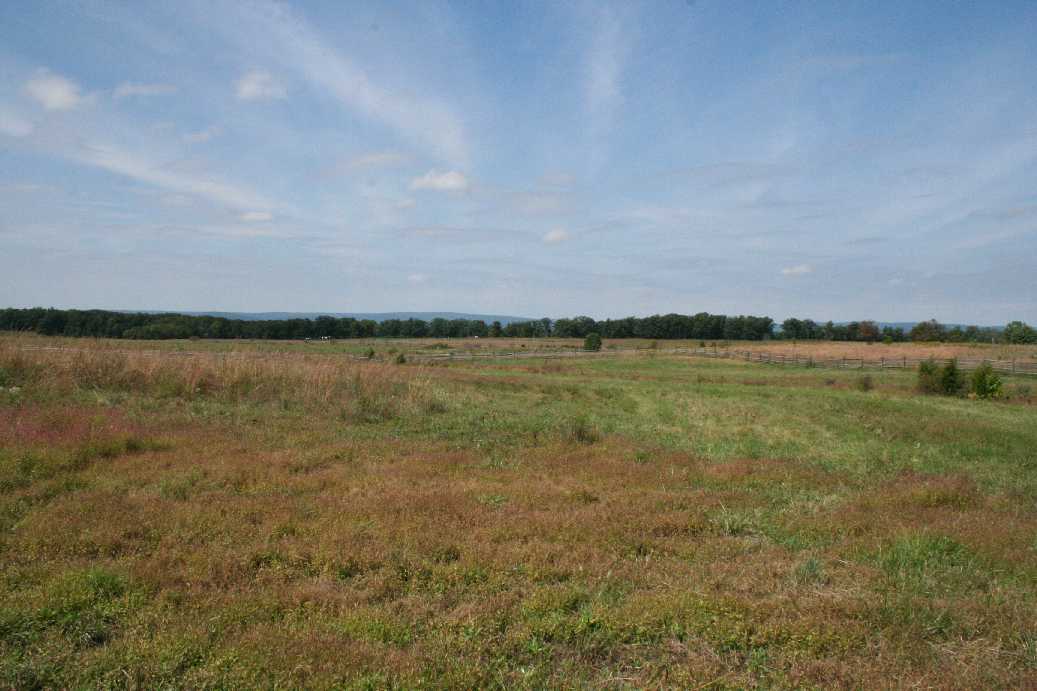
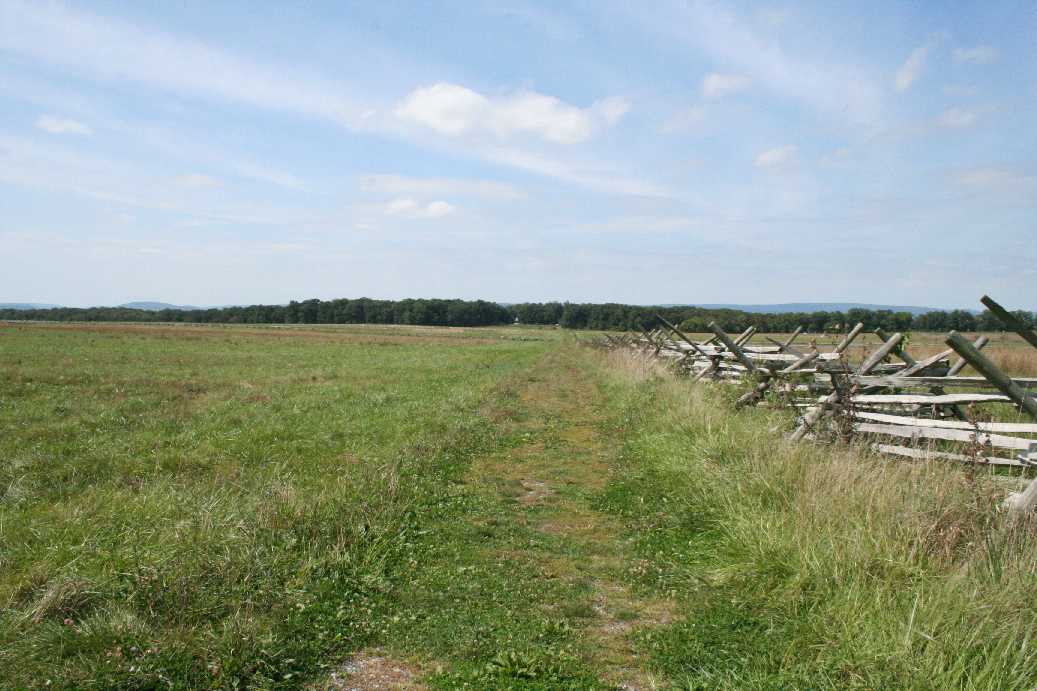
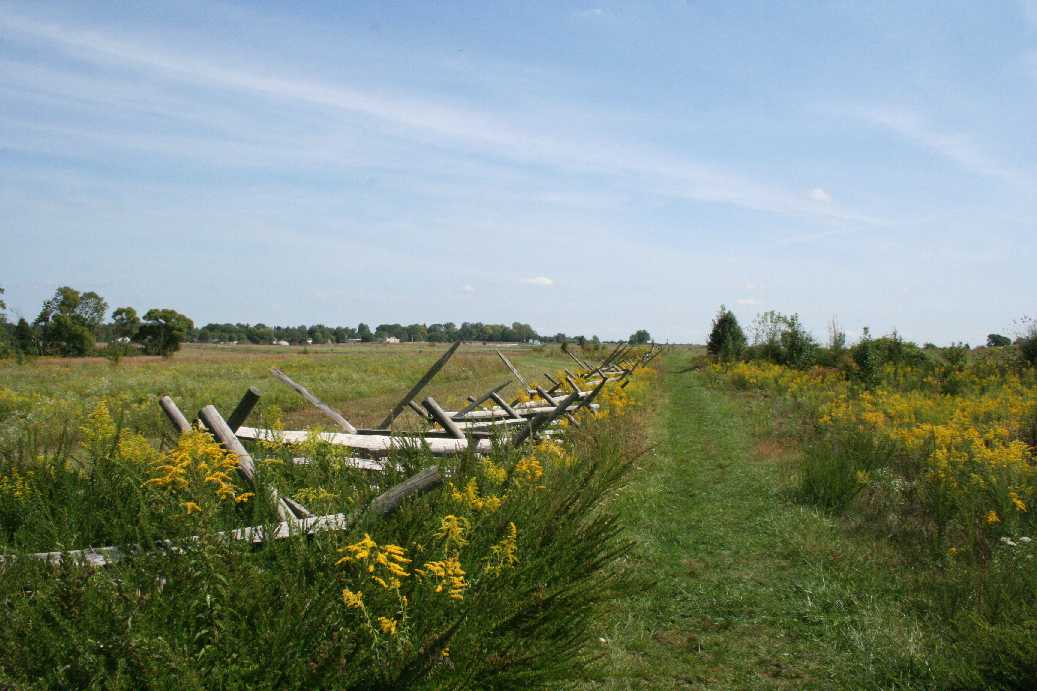
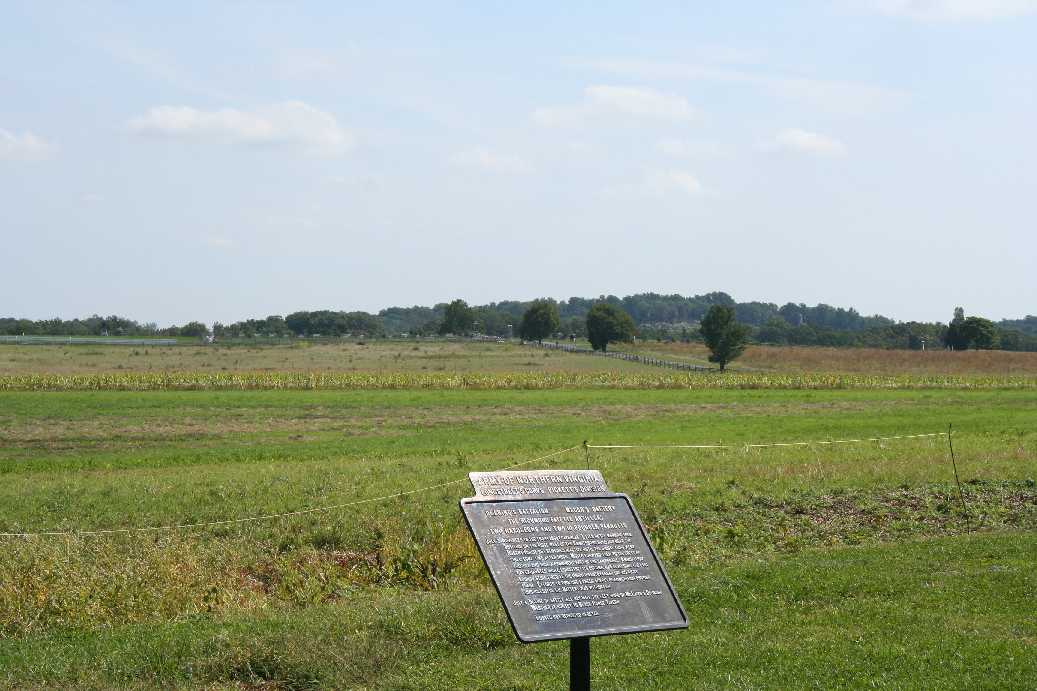
High Water Mark. So here is the beginning of our first
hike. We started on Cemetery Hill and walked down the Emmetsburg Pike.
A few hundred yards from the High Water Mark, we turned and began to head across
the field that the Confederate Troops took during the final day of the battle in
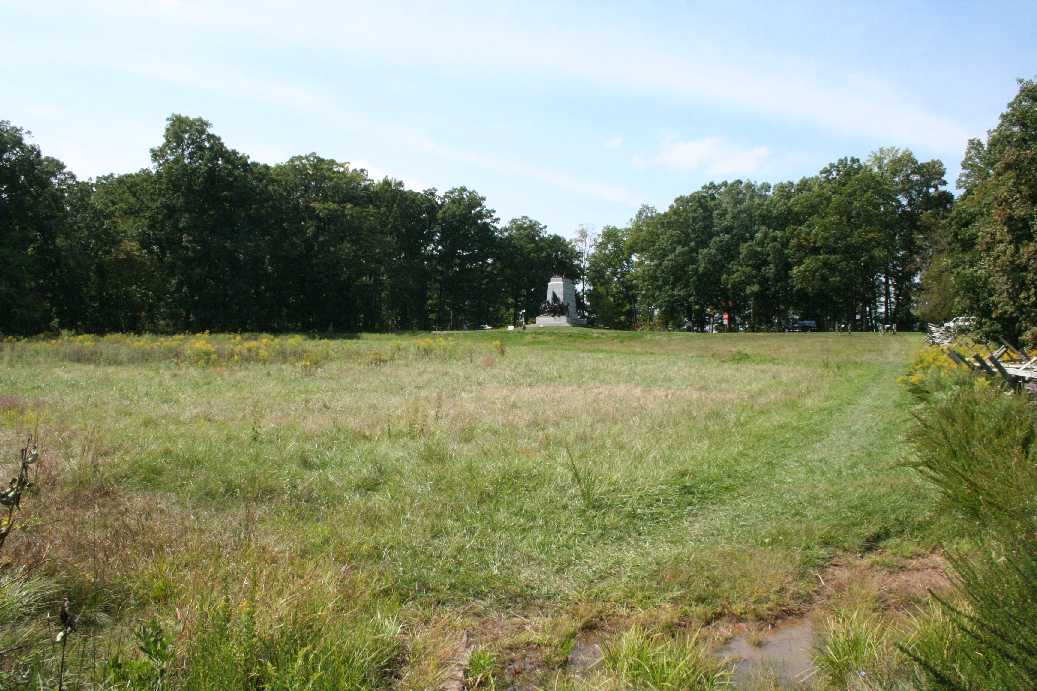
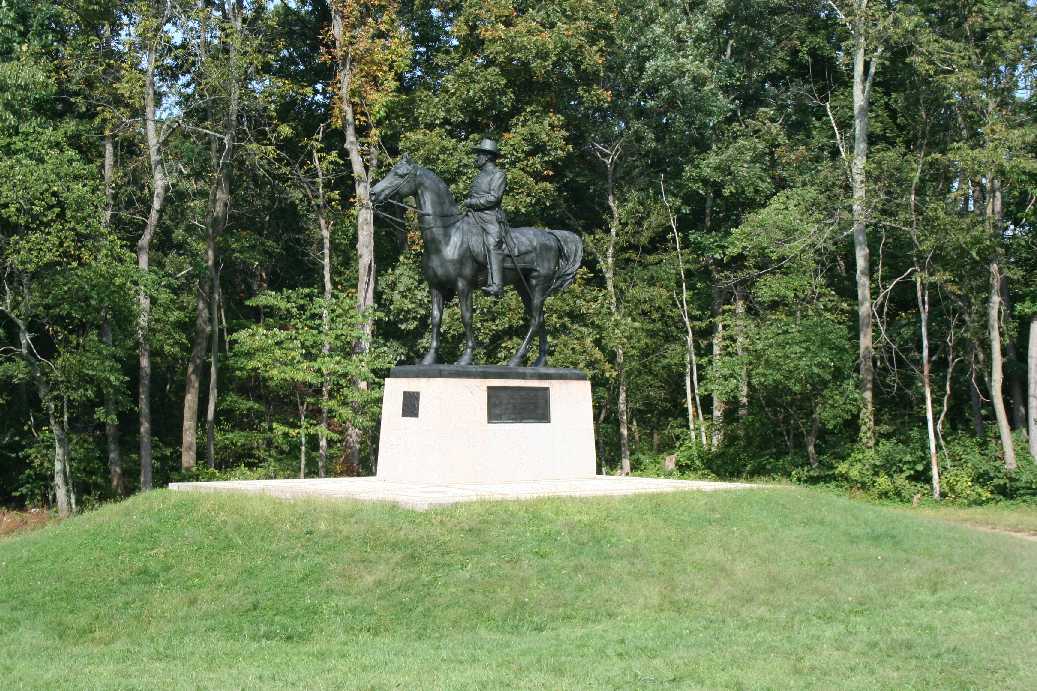
what has become known as Picket's charge. Our destination was the memorial
dedicated to General Robert E. Lee. It is located on the site that Lee
watched the last charge of the battle unfold, and the rough location where he
rode out to meet his defeated troops as they straggled back to their own lines.
The picture on the left in the last row, directly above, is where Lee watched the
battle. The next picture is the High Water Mark of the Confederacy (the
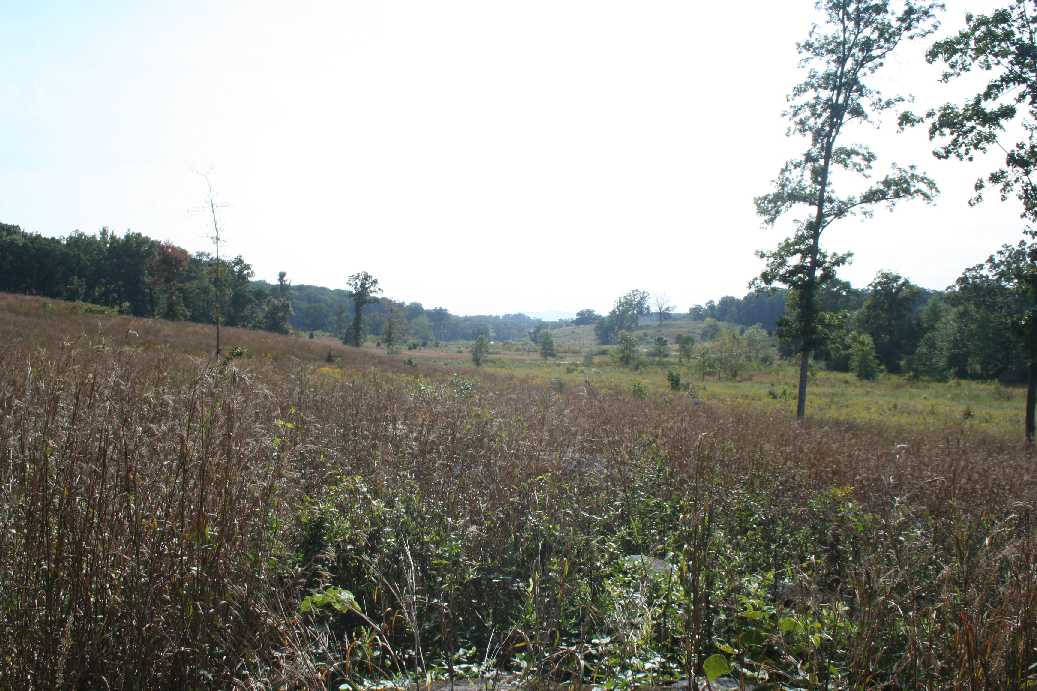
tree to the extreme right of the picture is that point), the third picture gives
you a bit of an idea of what the terrain really looked like, and the last is the
trail that leads across the field to the General Robert E. Lee memorial.
The next few pictures below give you a true look at what the soldiers faced
while marching across the field.
|
(Click on Images for Larger Picture)
|
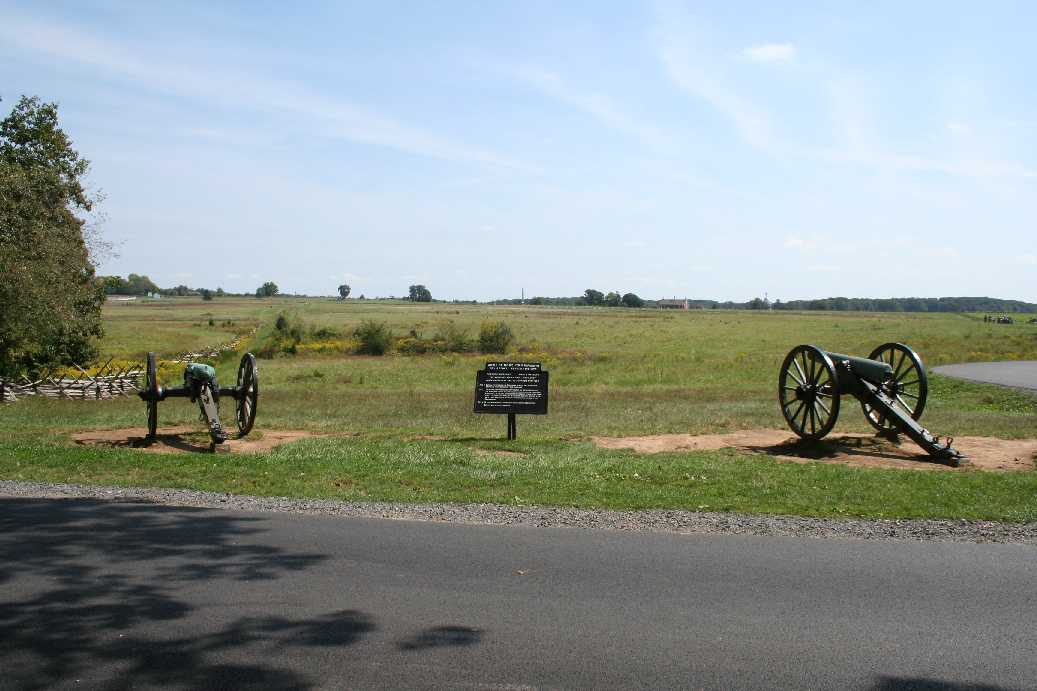
Once we reached Seminary Ridge, ground held by the Confederates for
most of the battle, we decided to head south along the park road called
Confederate Avenue. One thing to note, the canons in the park are in the
locations where the canons were placed during the battle.
|
(Click on Images for Larger Picture)
|
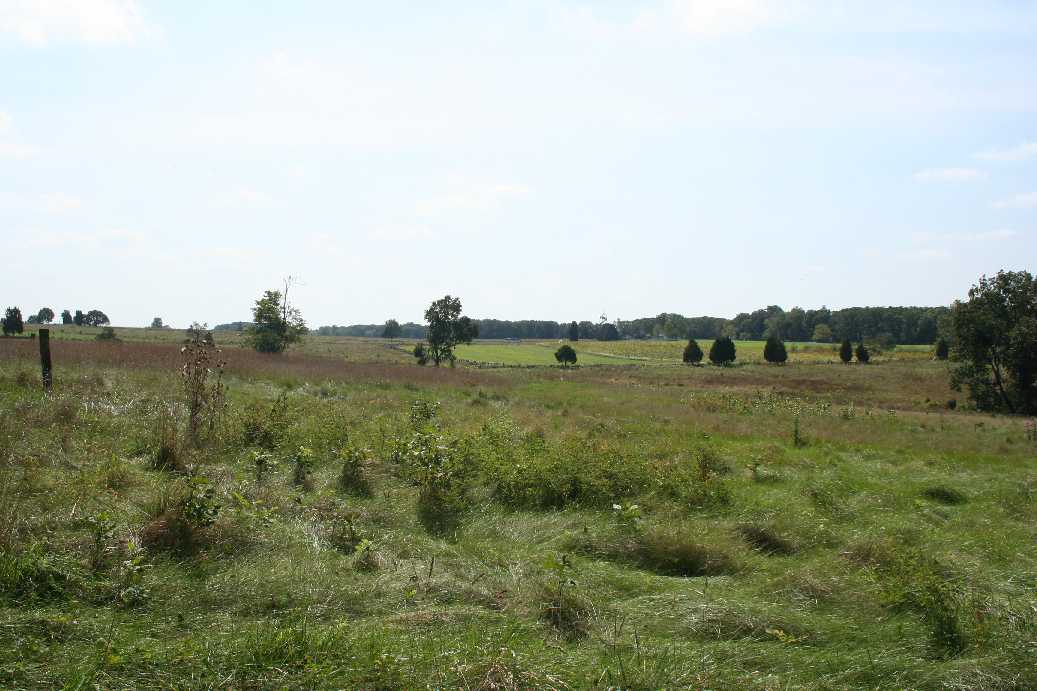
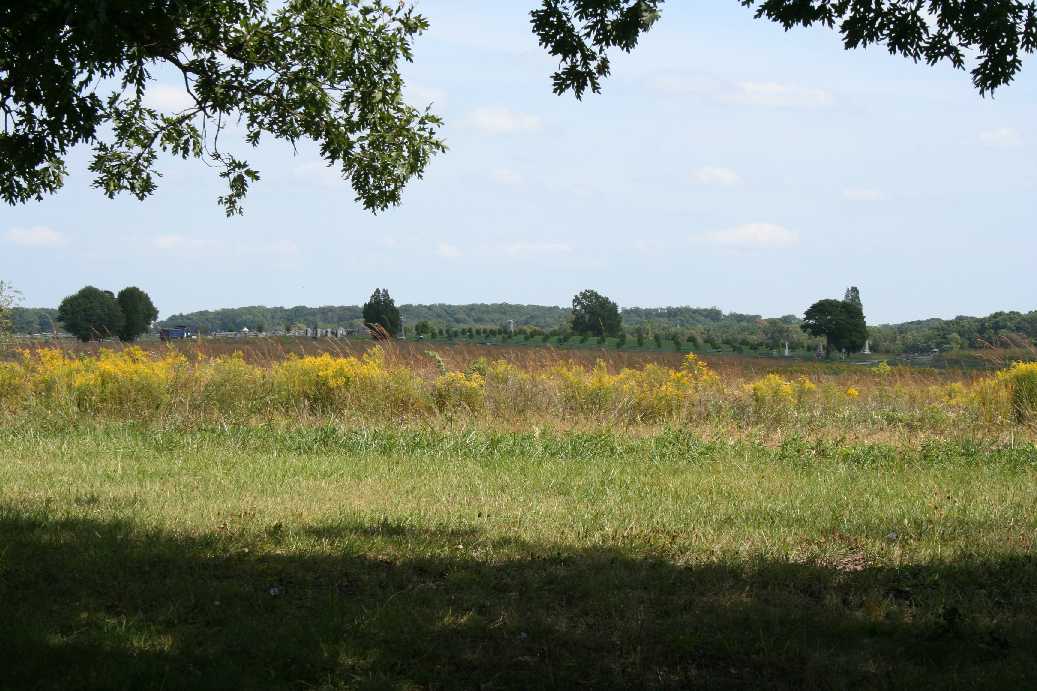
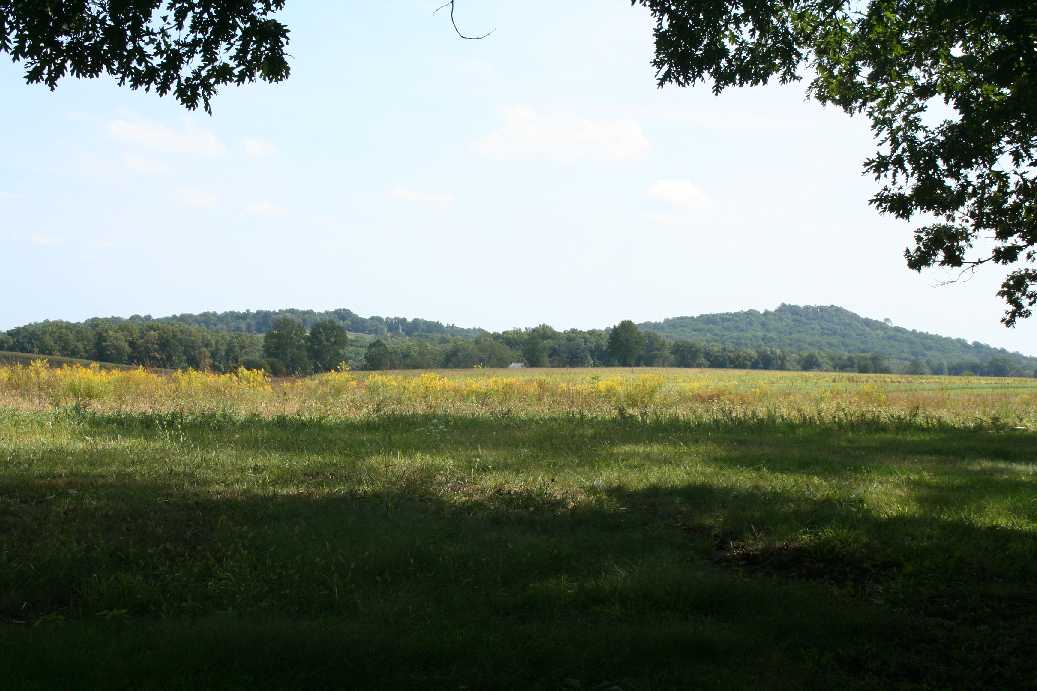
As we walked further south along Seminary Ridge, you start to get a
closer look at Big and Little Round Top in the distance. It is easy to see
why the Confederate generals wanted the ground, and why they didn't believe it
would be too hard to take them. They didn't realize how rough the ground
really was between here and there.
|
(Click on Images for Larger Picture)
|
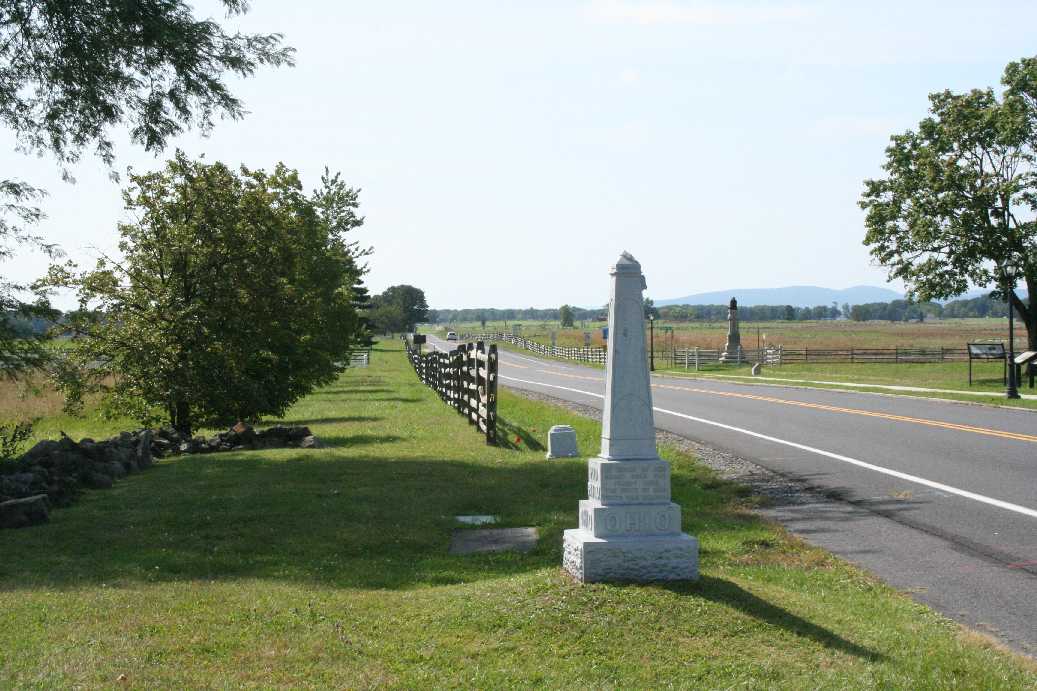
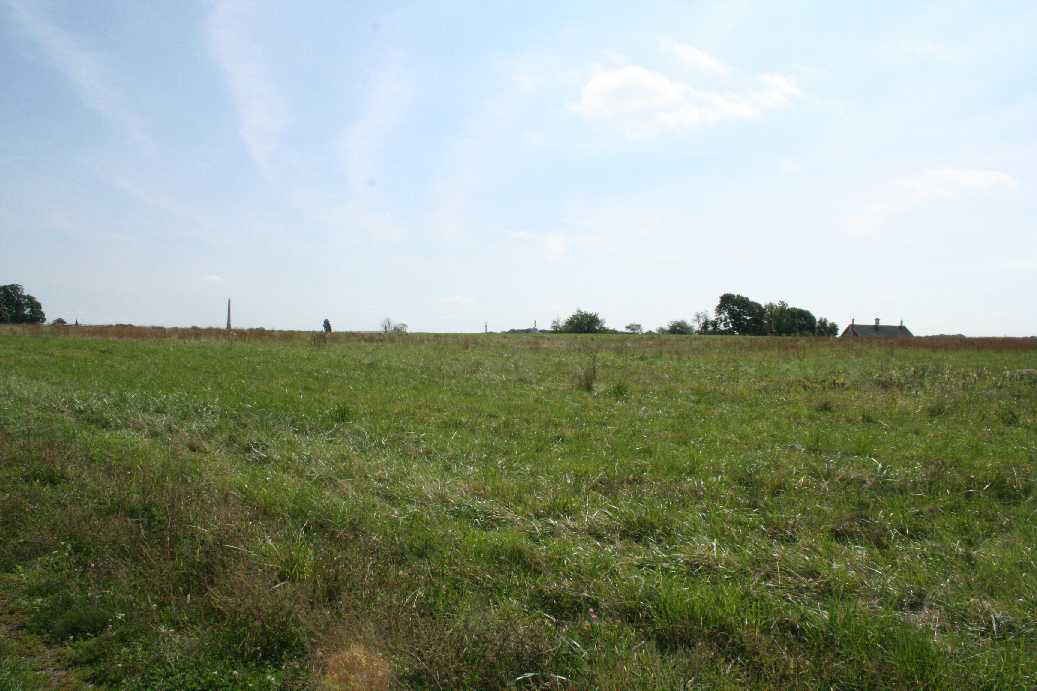
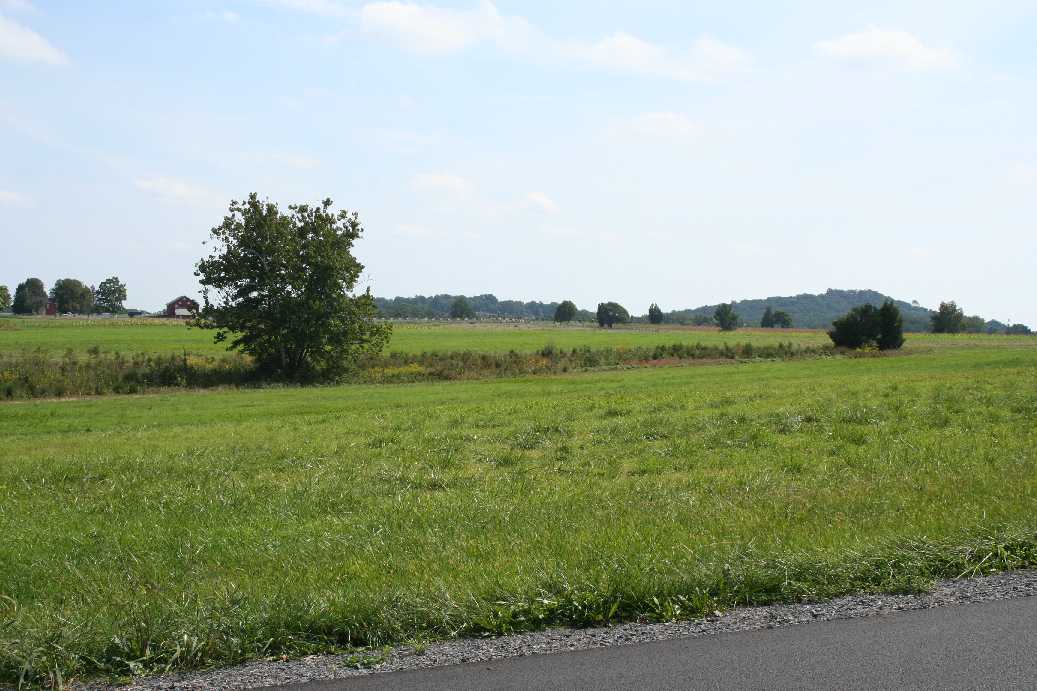
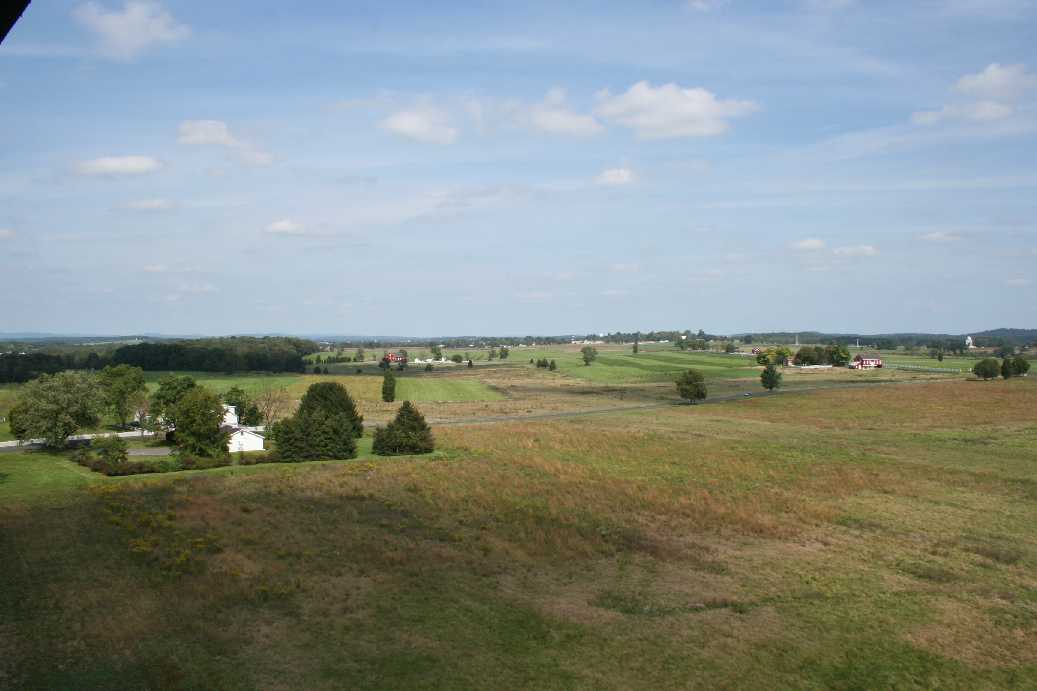
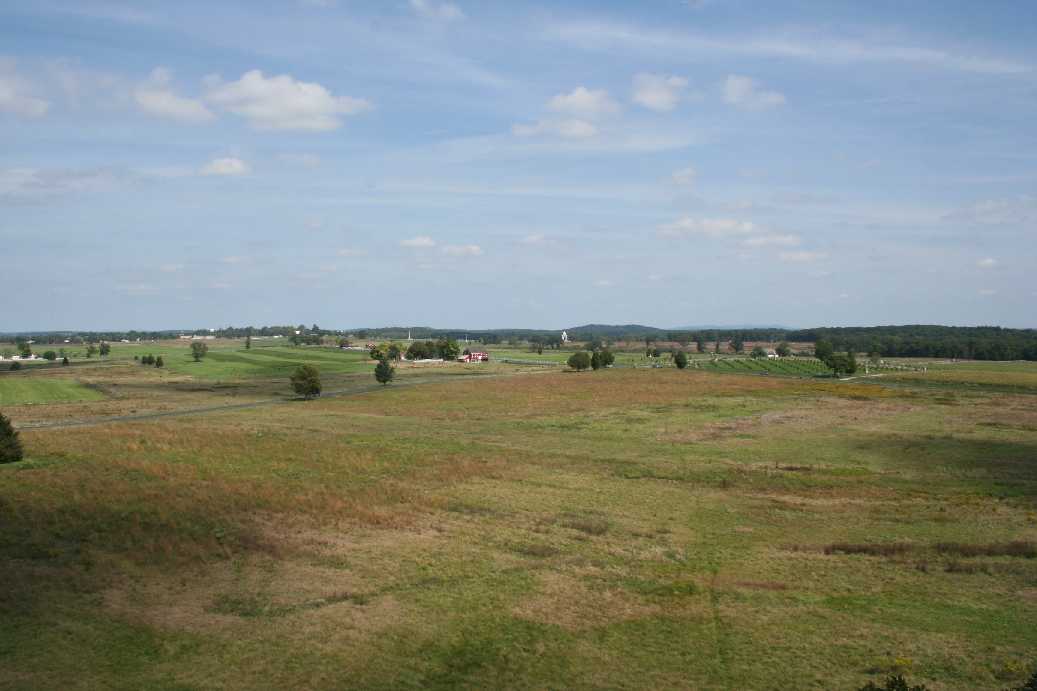
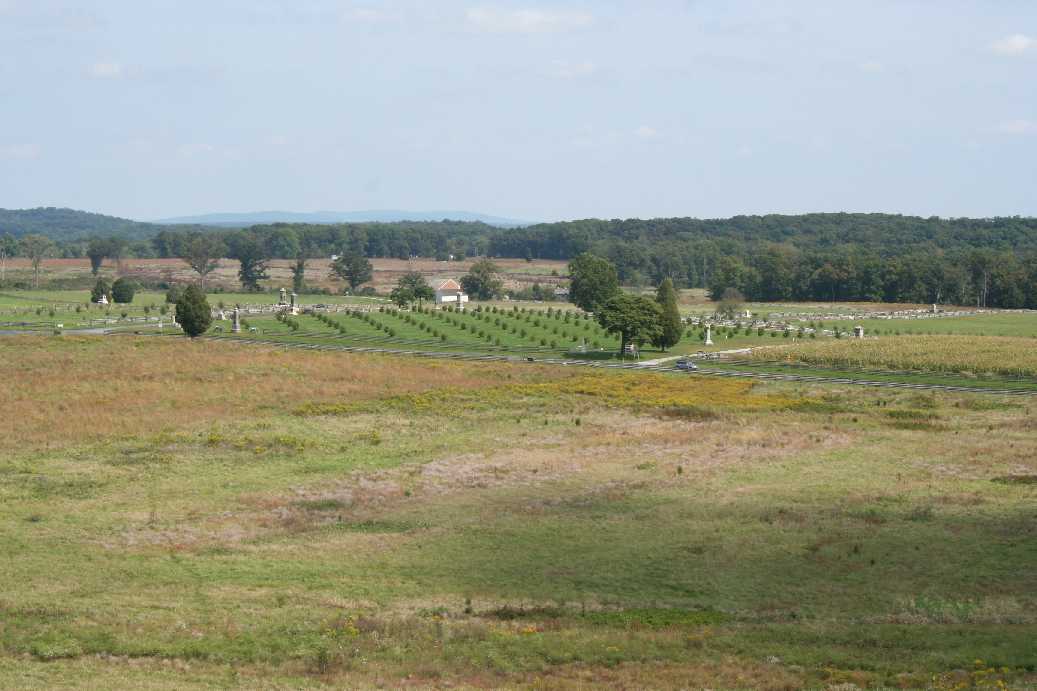
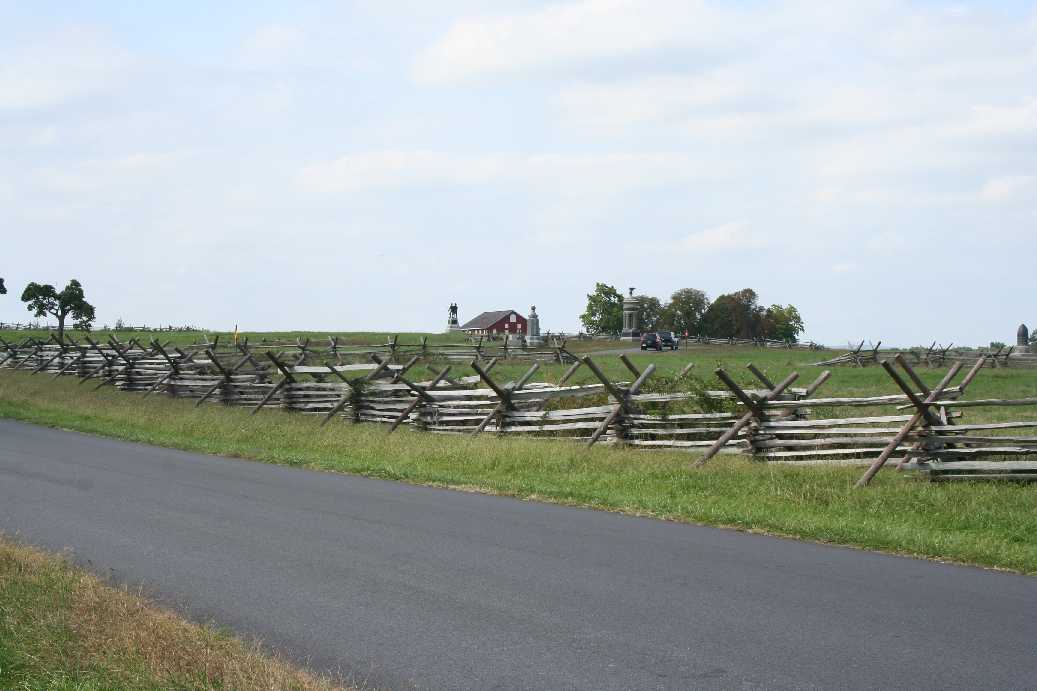
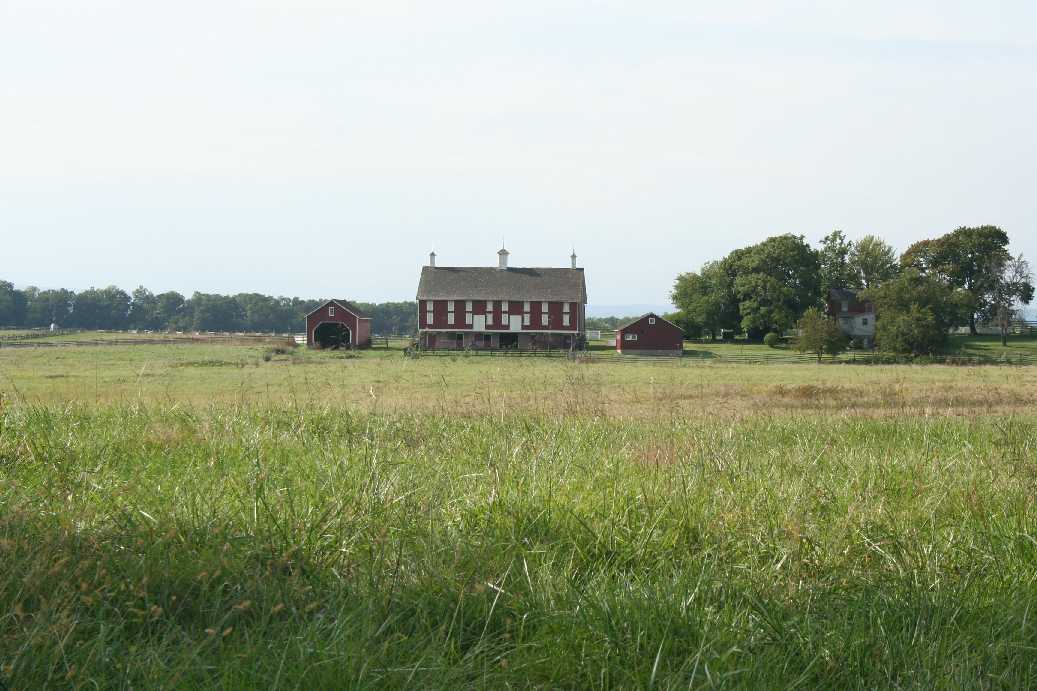
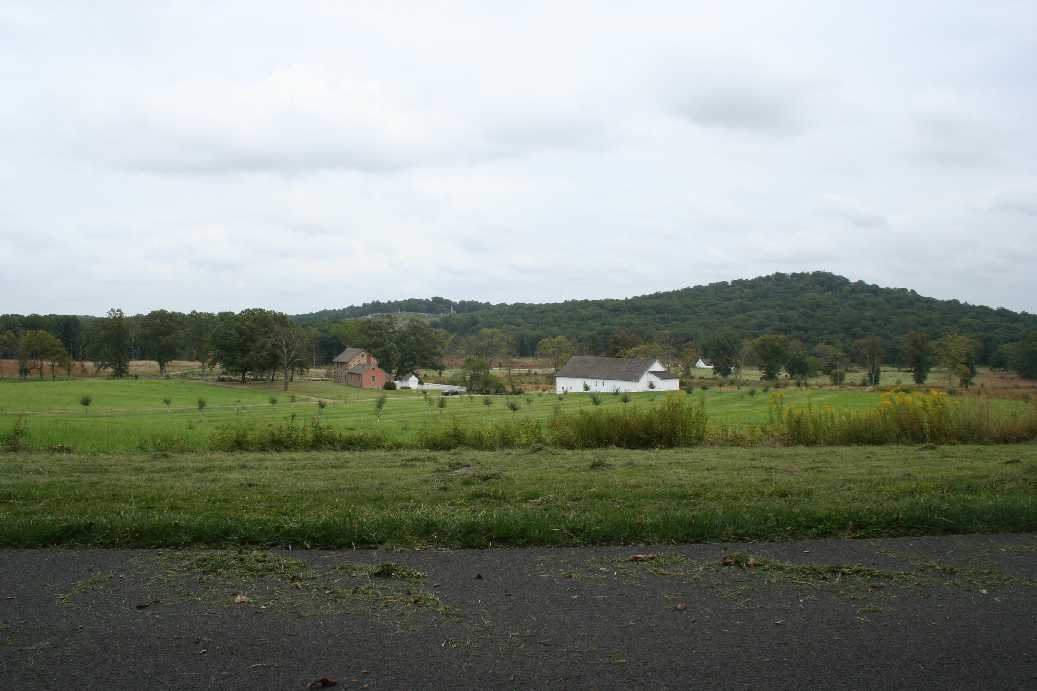
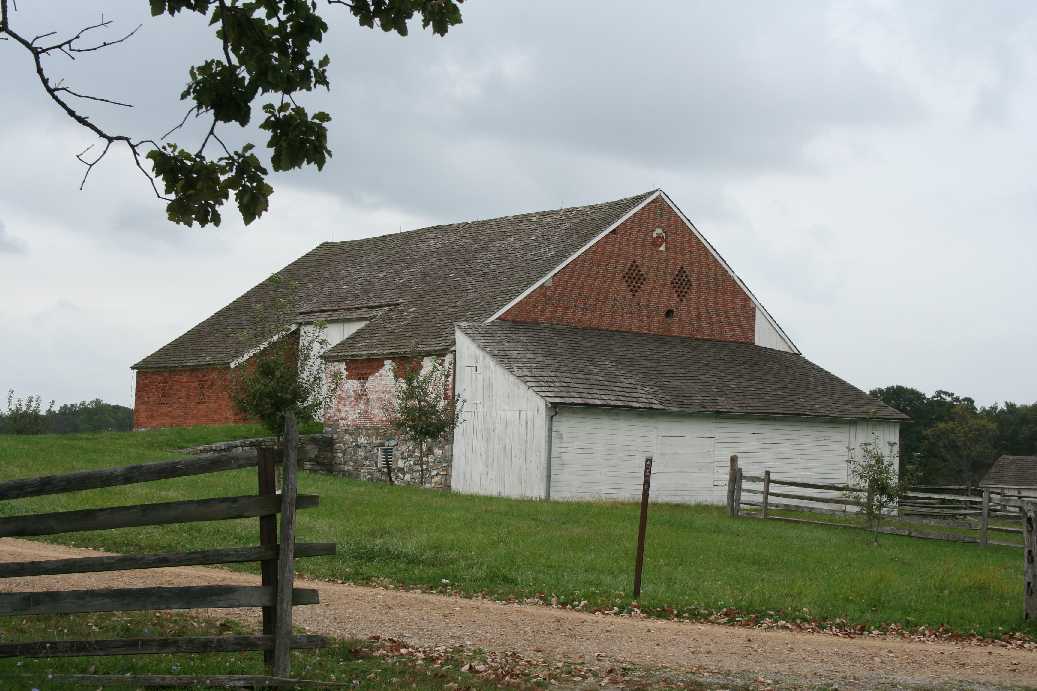
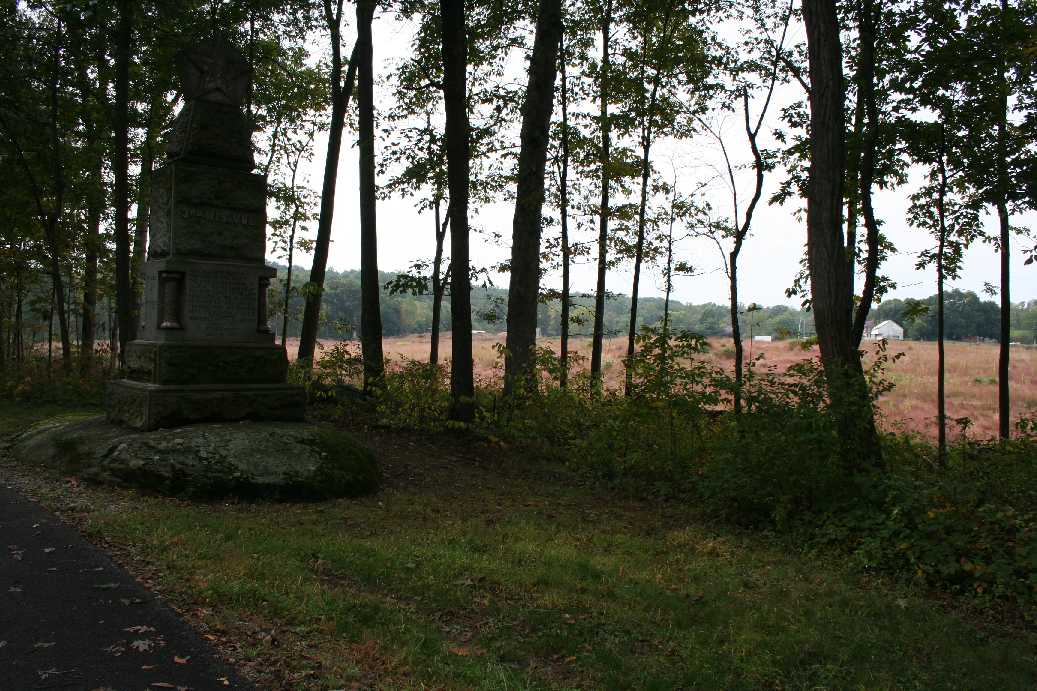
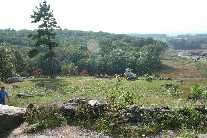
One of the things people do not realized about Gettysburg is the size
of the battlefield. The battle actually took place north, west, and south
of town and encompasses roughly 23 square miles of ground. You really get
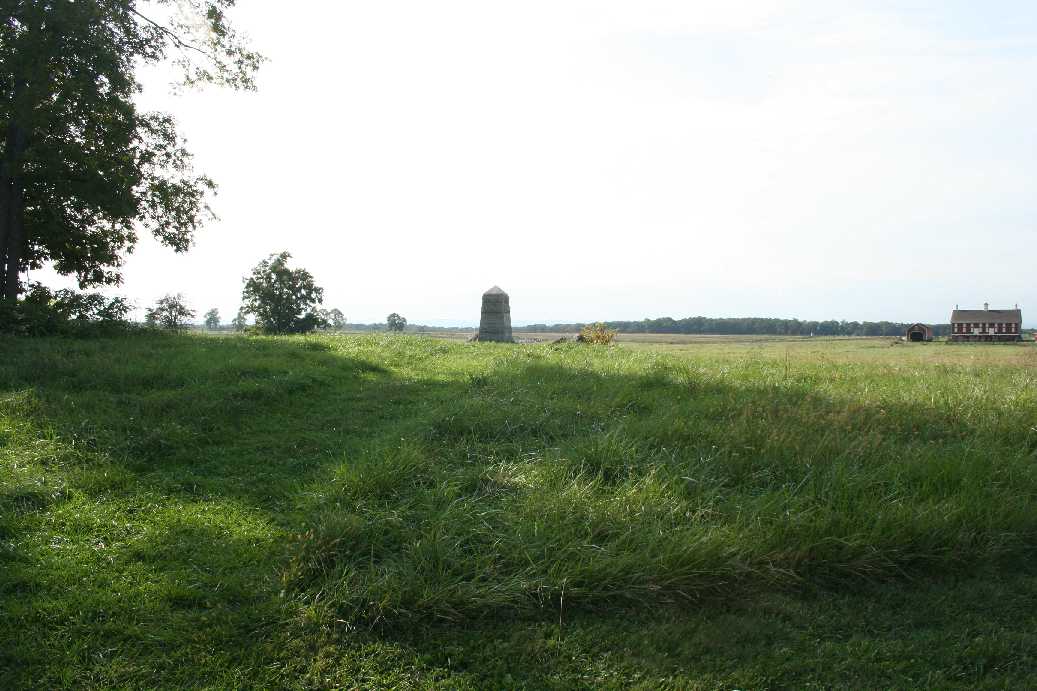
a feel for the size of it in the pictures below. In the first picture,
there is a red barn, and to the right of that the Pennsylvania Memorial.
The memorial stands about three stories high. In the second picture you
can see it a bit better in the center of the picture. The third picture is
of the Peach Orchard. On the second day of the battle, this became a problem for the Union. Union General
Daniel E Sickles moved his 3rd Corps to this advanced position, well over a mile away from the Union lines, thinking
the ground was a better position to defend. This nearly proved disastrous to the Union Army as he had moved his corps nearly
a mile away from the Union lines, and created a ninety degree salient. The
Confederate Troops took advantage of the salient and easily pushed the Union
Troops back. In the last picture, in the distance you can see the Peace Light Memorial. This was the northern
end of the battlefield.
|
(Click on Images for Larger Picture)
|
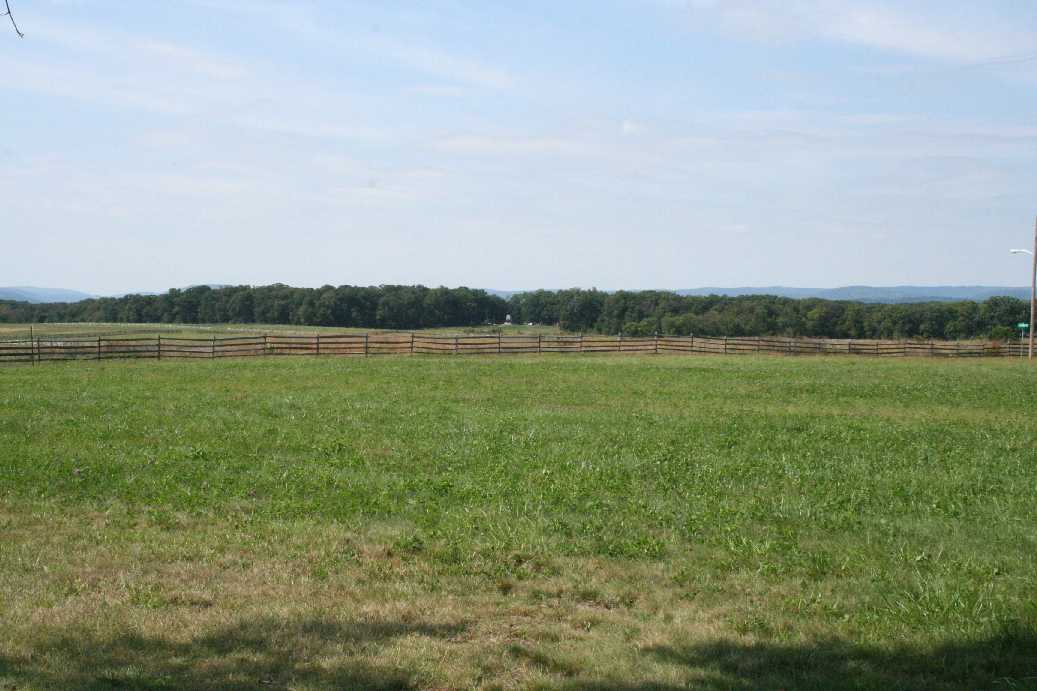
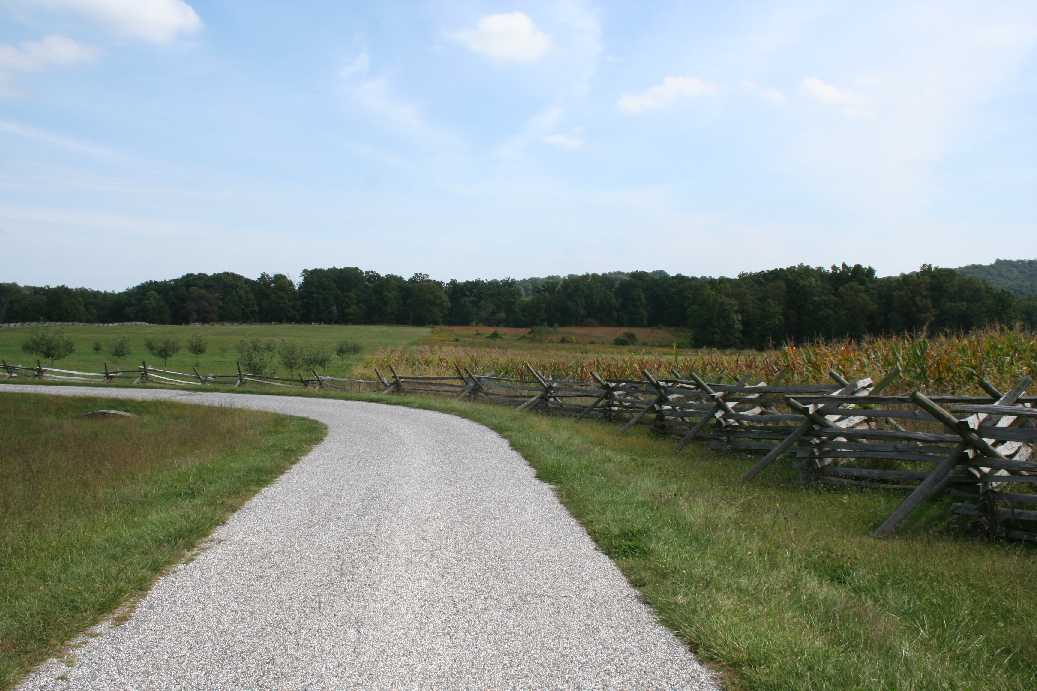
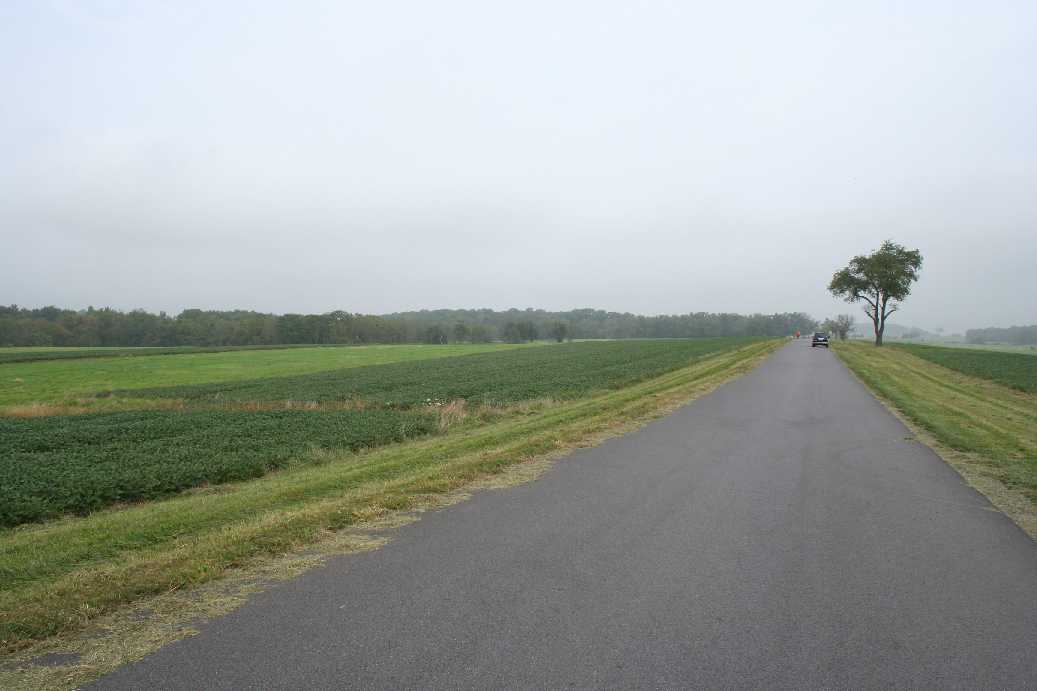
Walking across the field toward the Peach Orchard,
I can see why General Sickles thought it might be a better position to defend.
It did grant a higher vantage point over the Confederates as they moved toward
Cemetery Ridge. but it was a far too exposed position with little to no hopes of
quick re-enforcements from the Union lines a mile to the east. Also, while Little Round Top looks closer, it is
still quite a distance from this point. In the forth picture below the top
of it is just barely peaking above the tree tops.
|
(Click on Images for Larger Picture)
|
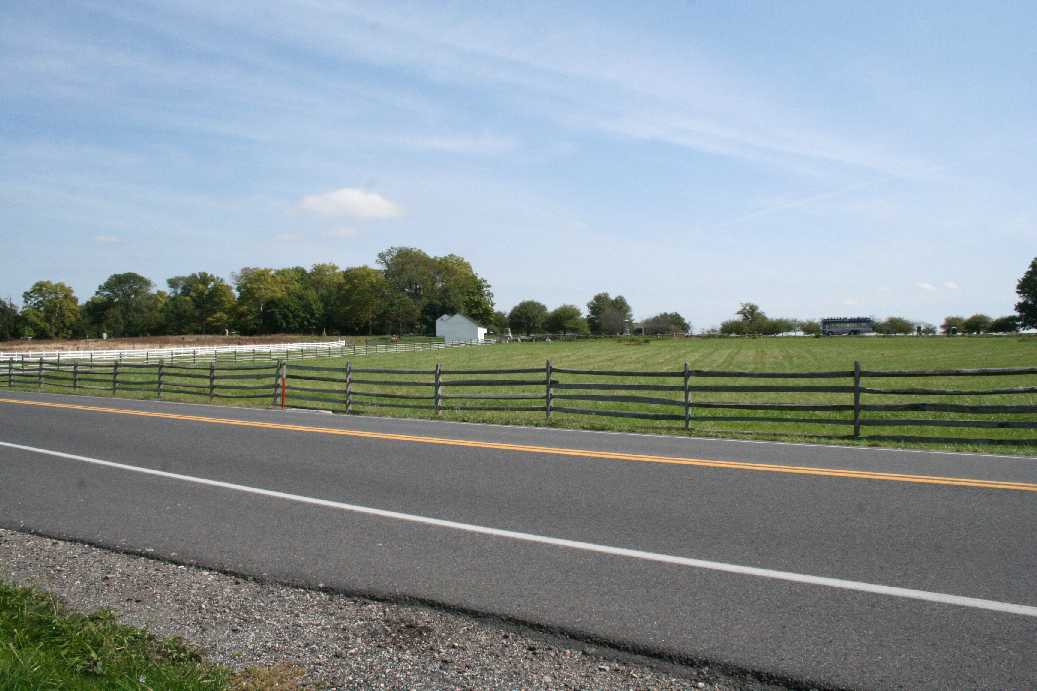
The above series of photos is the hike we took from the Peach Orchard,
by the Wheat Field, and ending at Plumb Run, the valley beneath Little Round Top.
|
(Click on Images for Larger Picture)
|
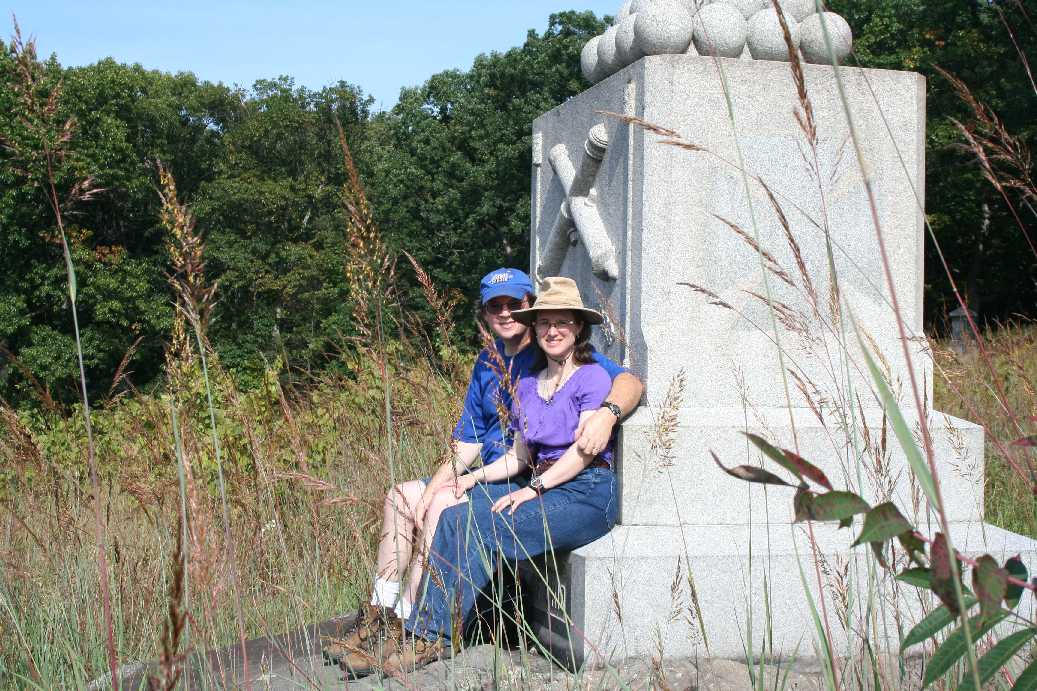
Of course, we always have to visit one of our favorite spots.
This is the location where I asked Lisa to marry me. The view of the
valley from here is also very impressive.
|
(Click on Images for Larger Picture)
|
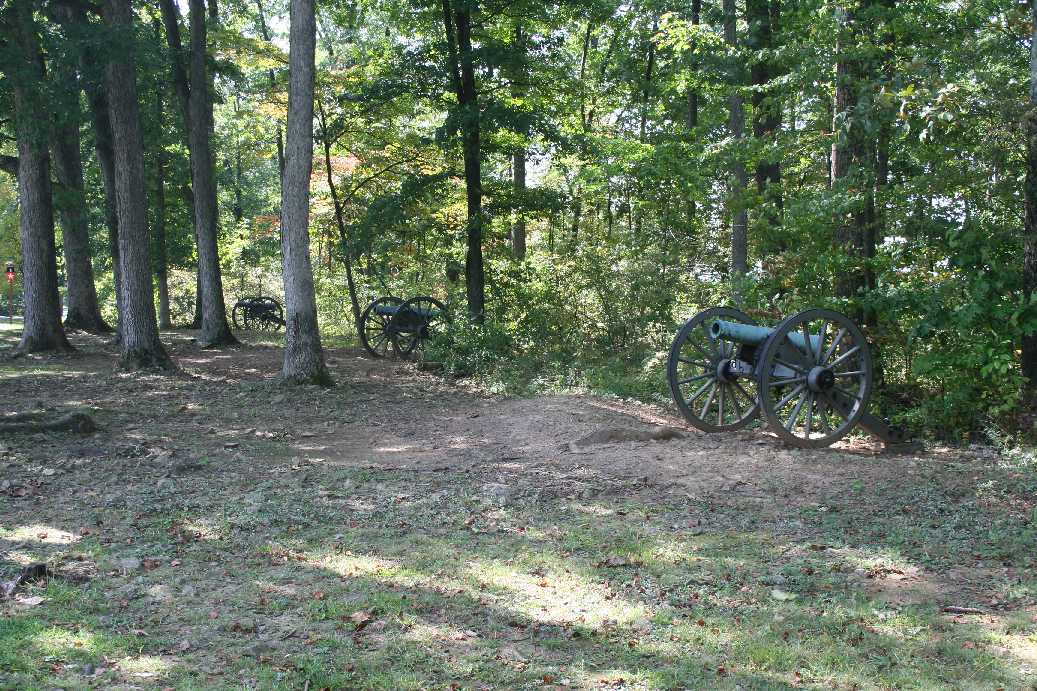
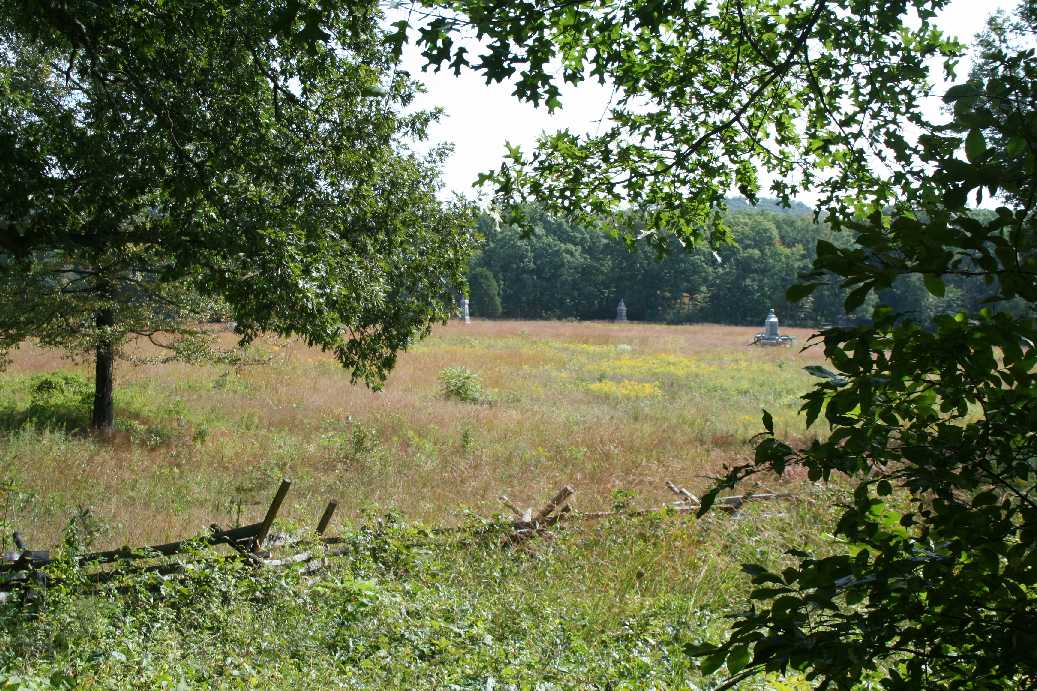
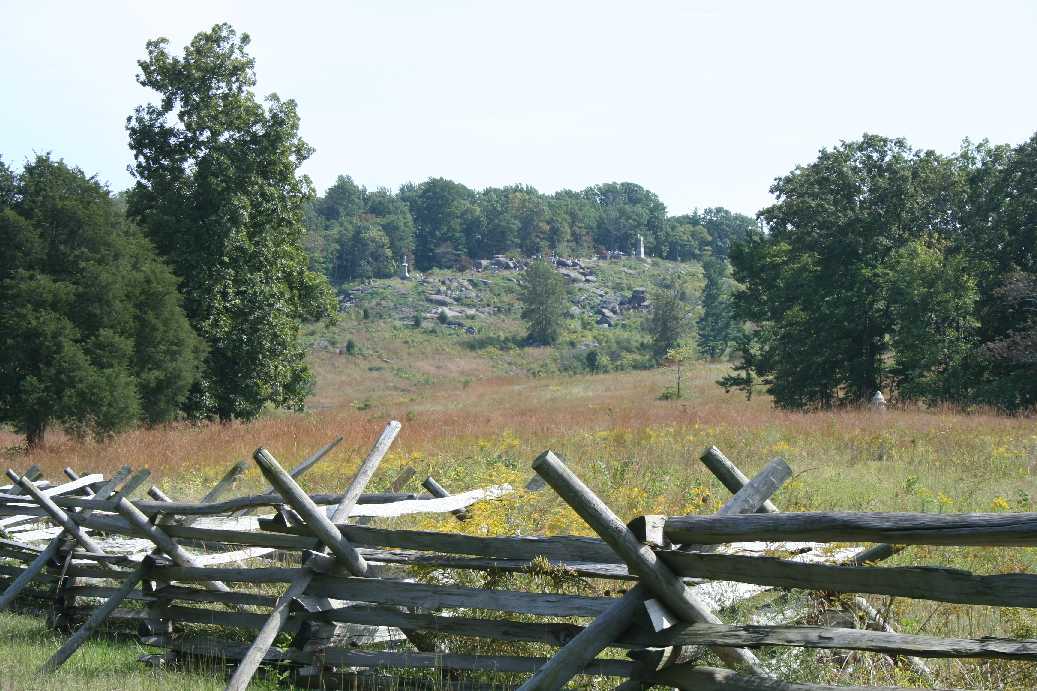
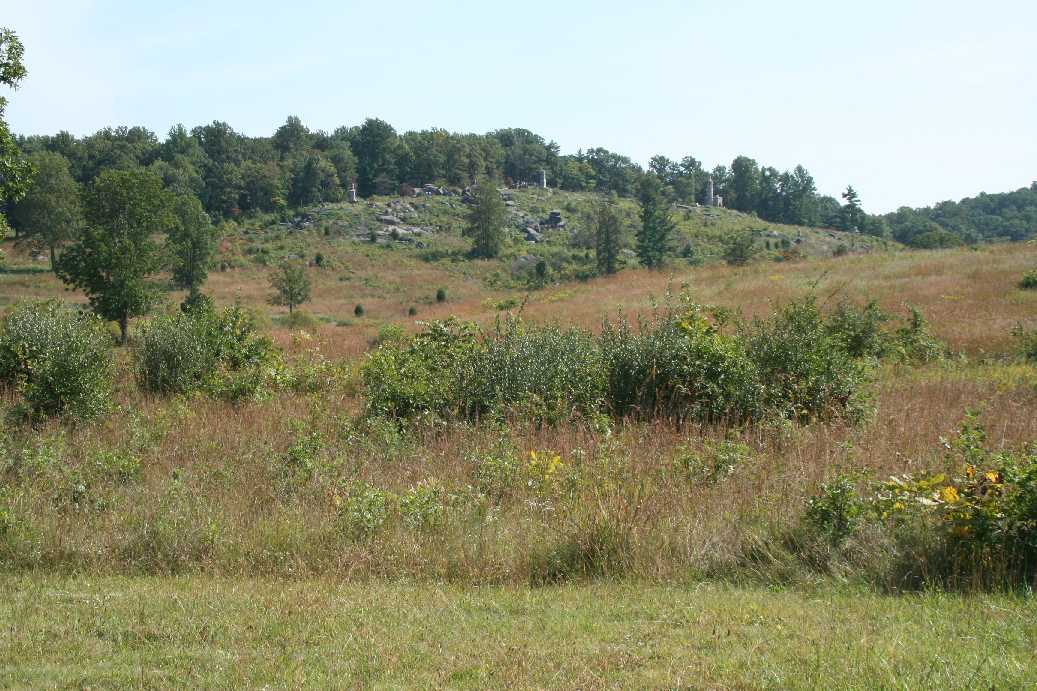
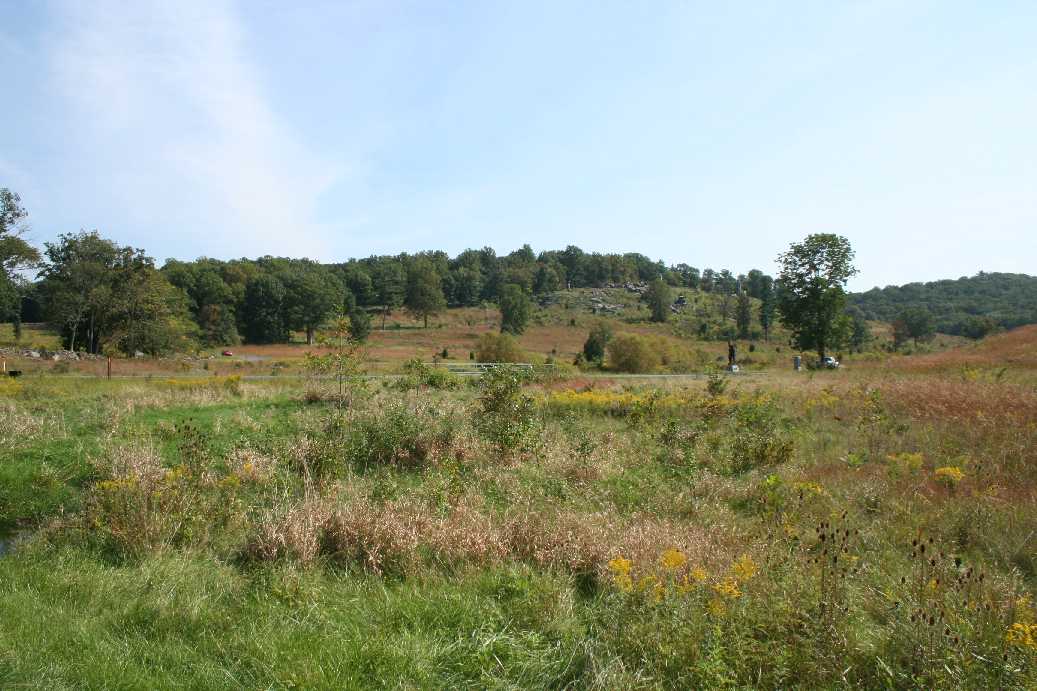
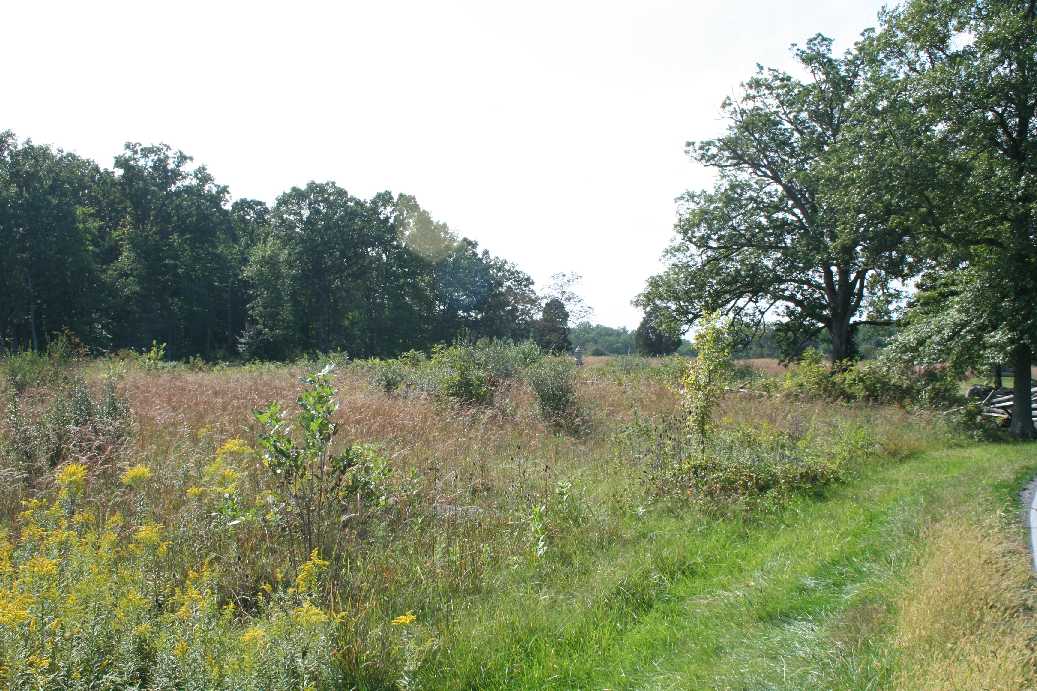
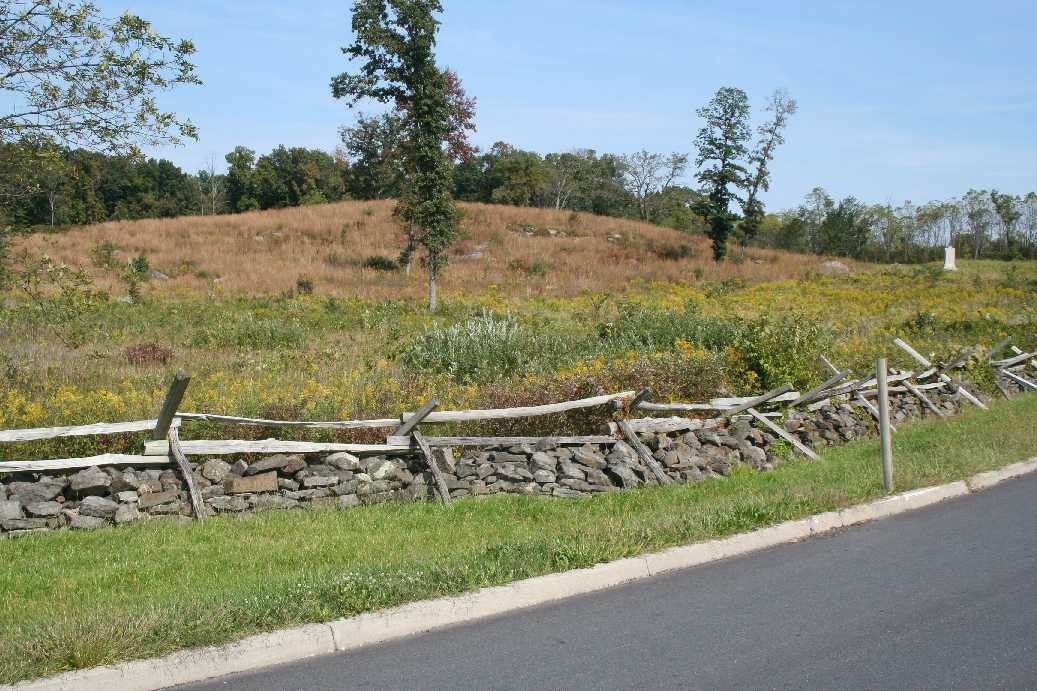
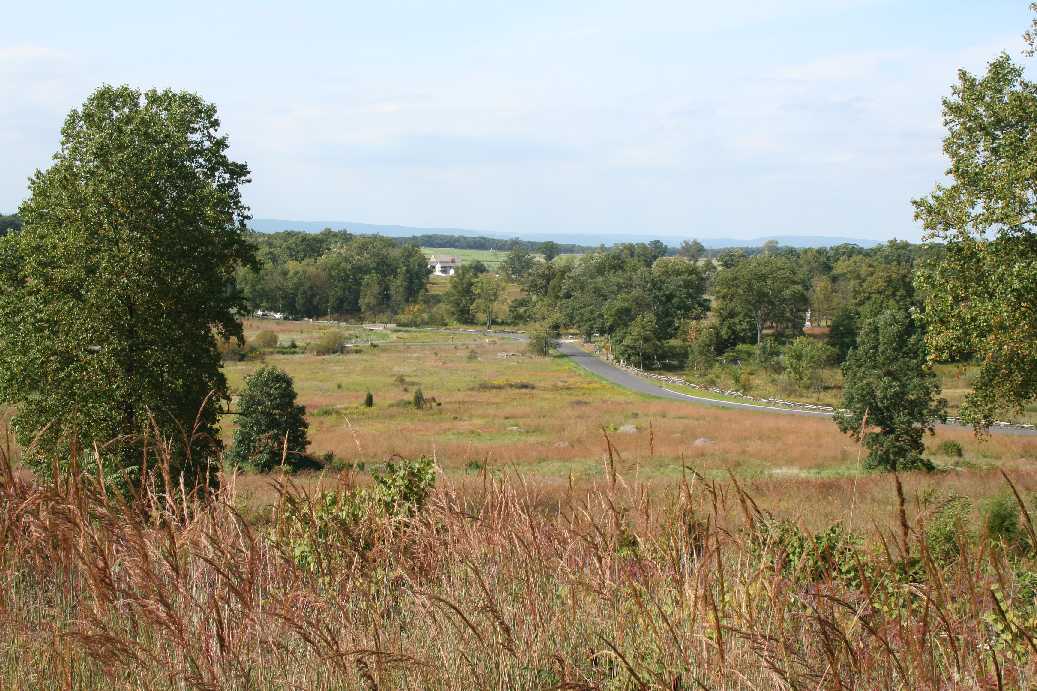
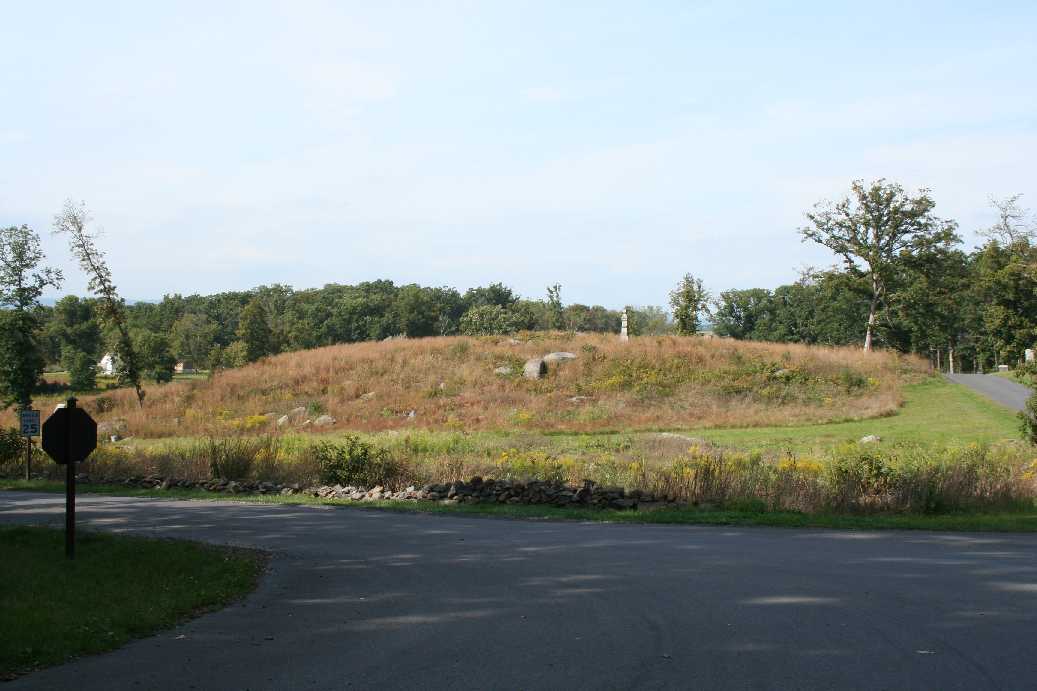
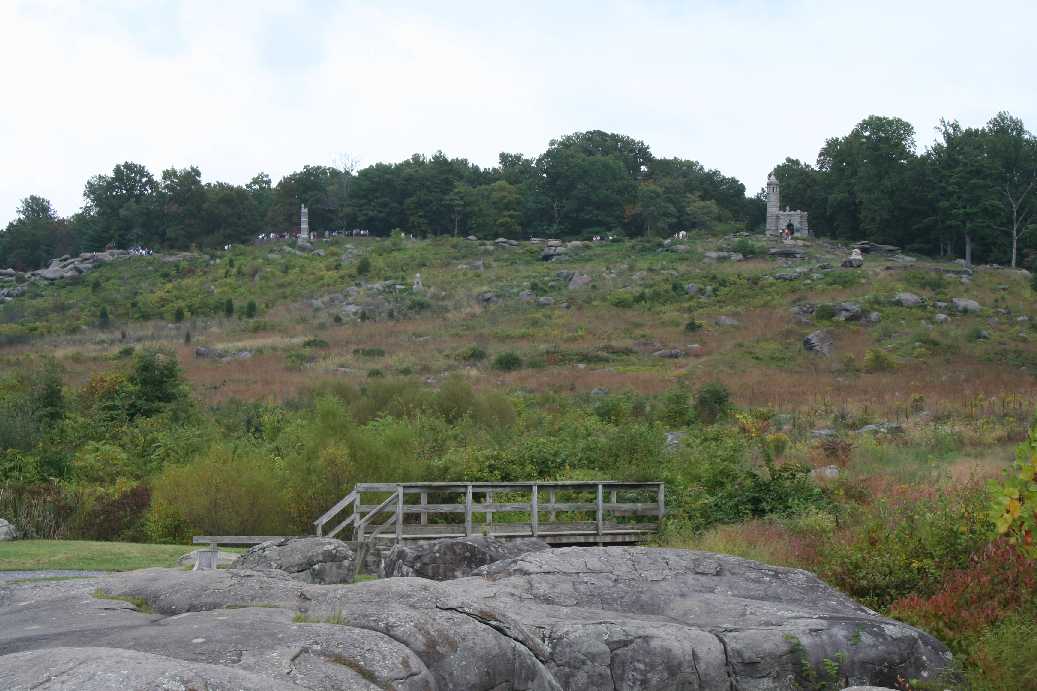
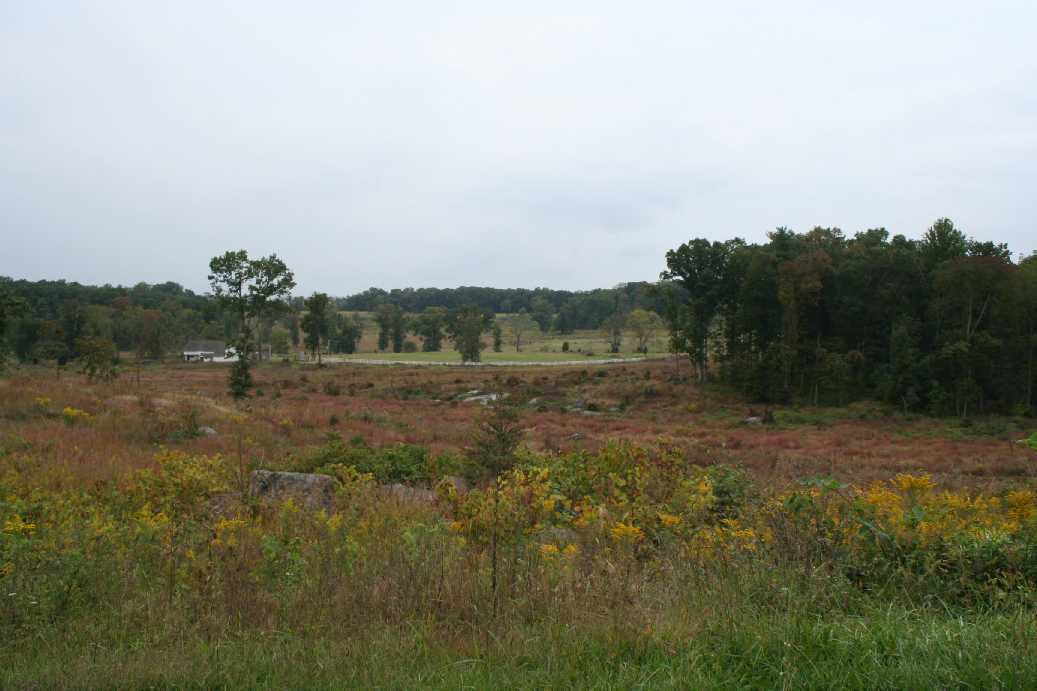
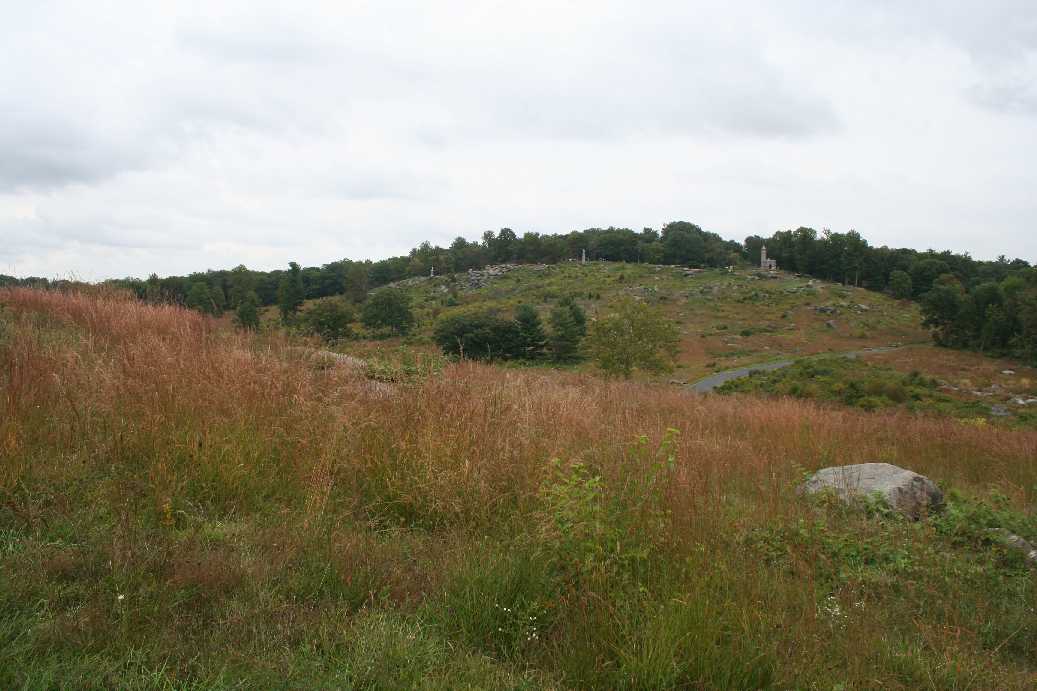
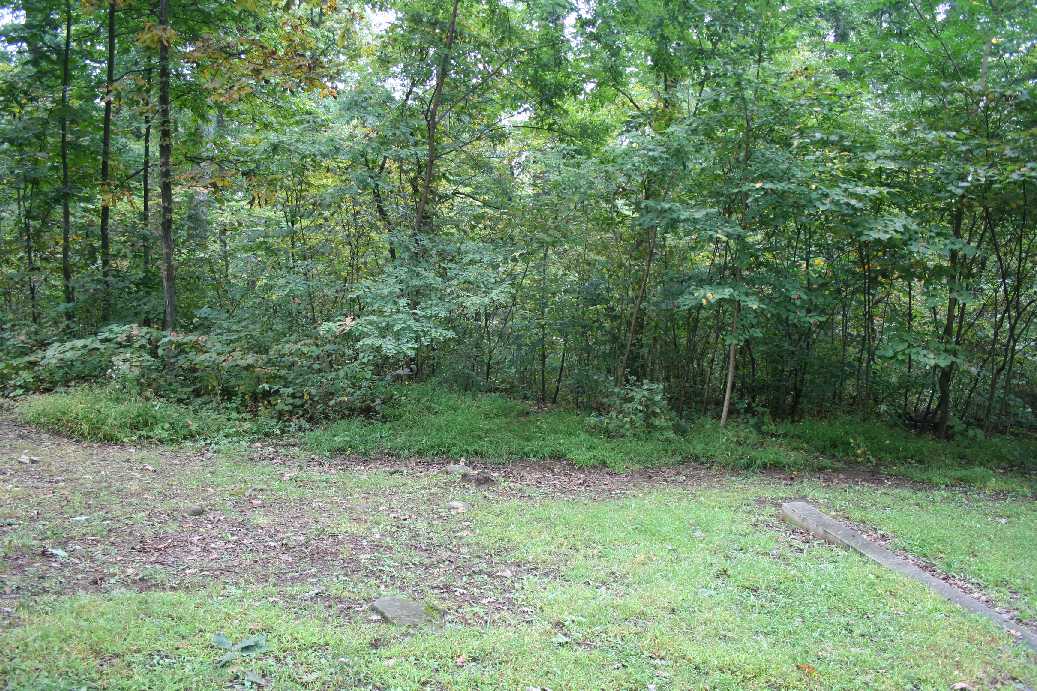
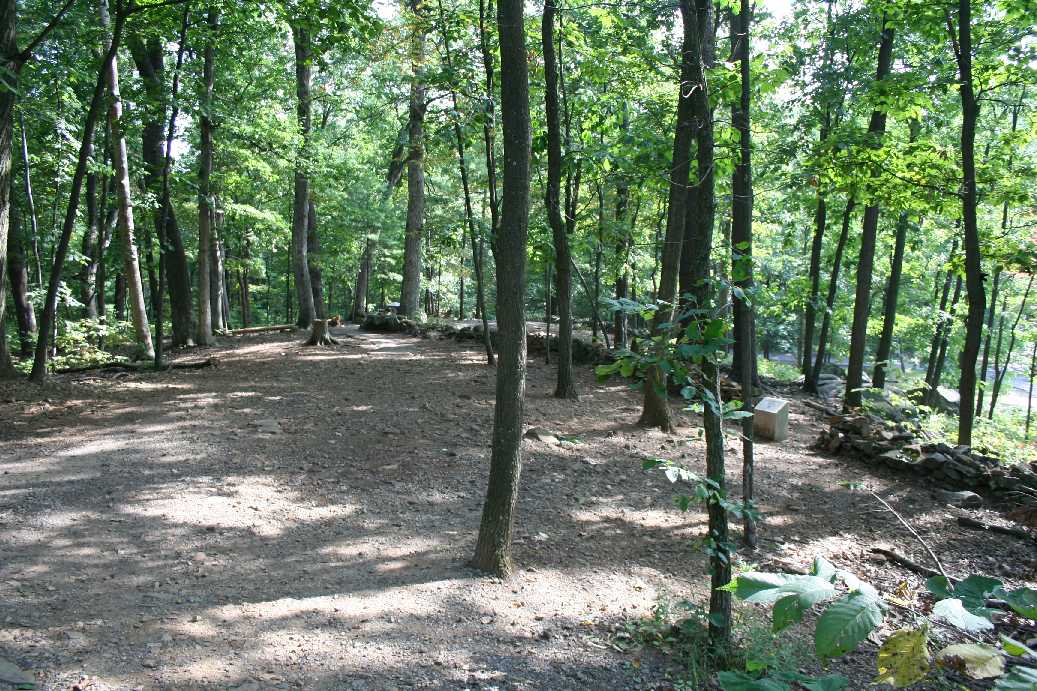
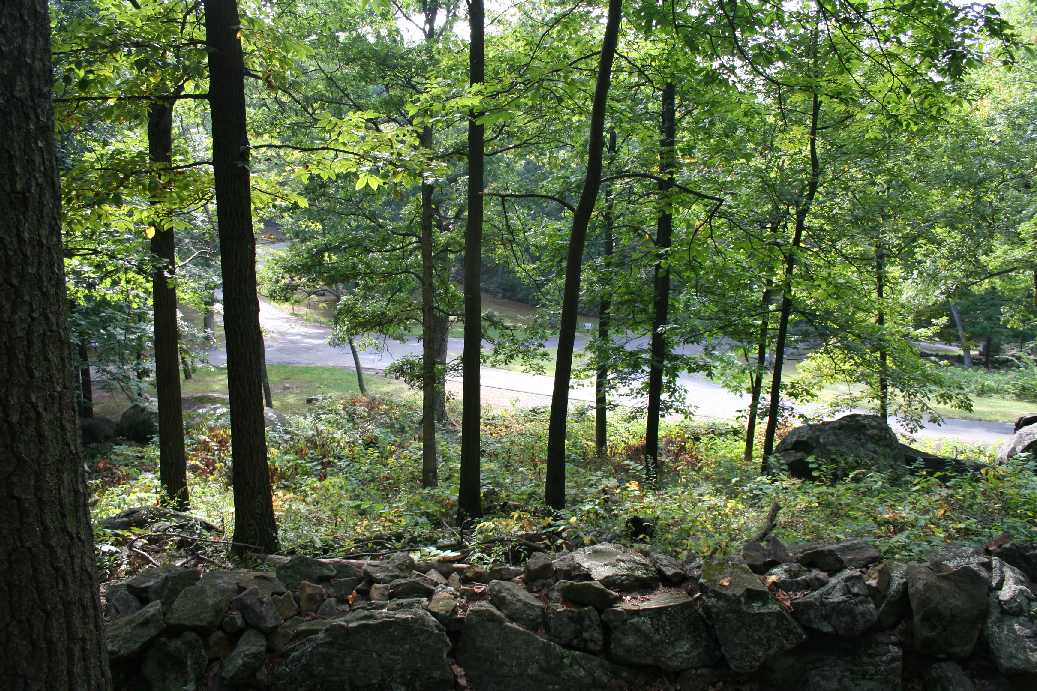
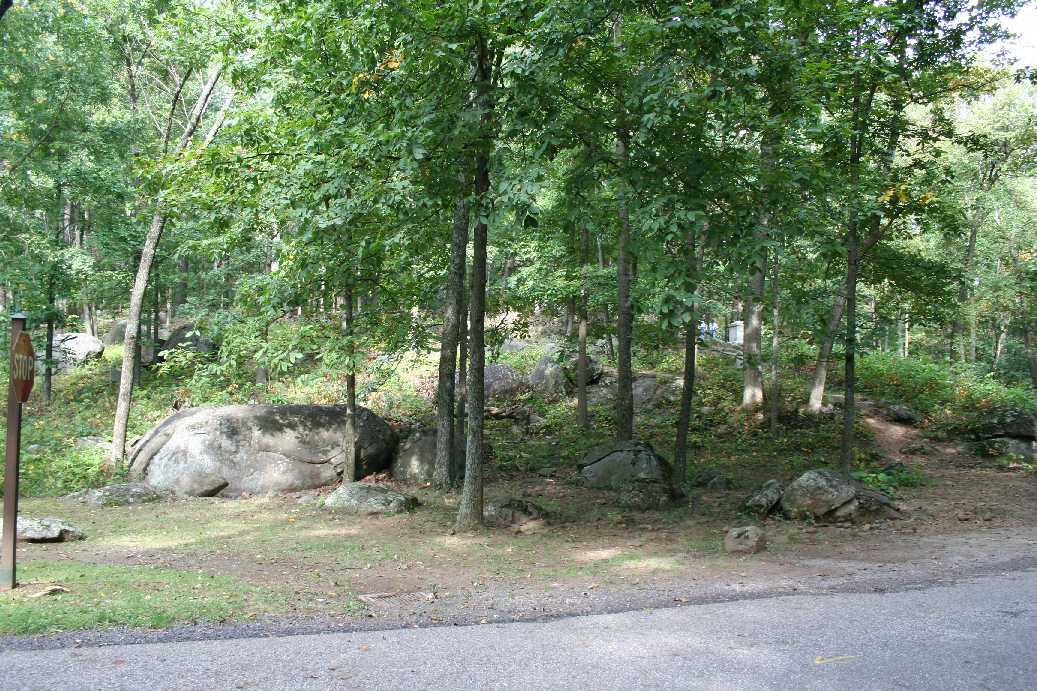
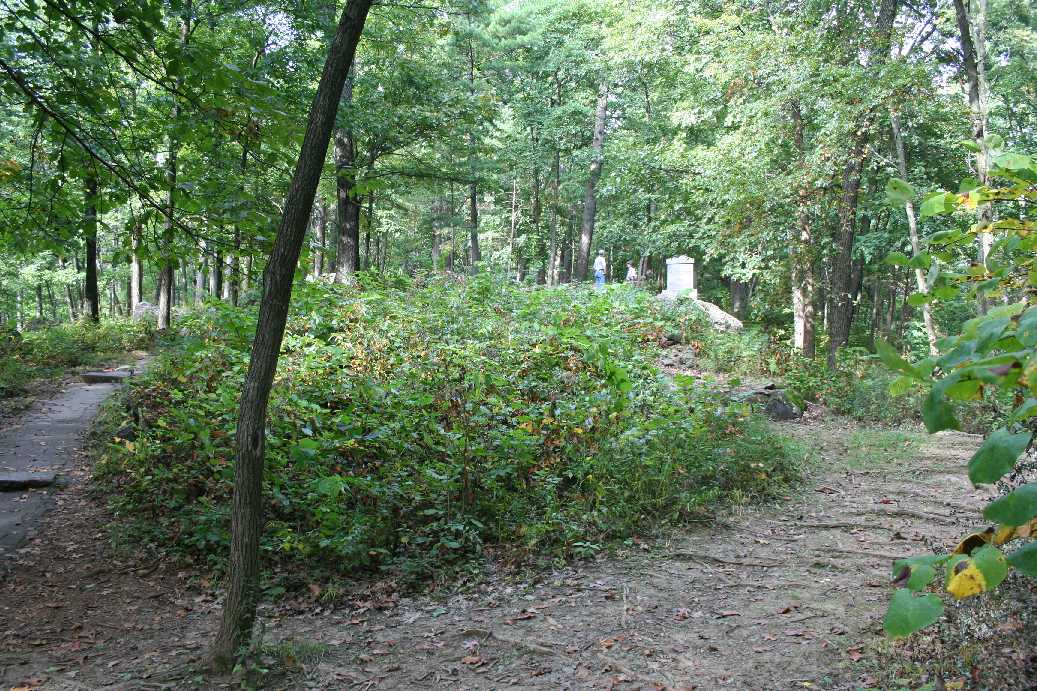
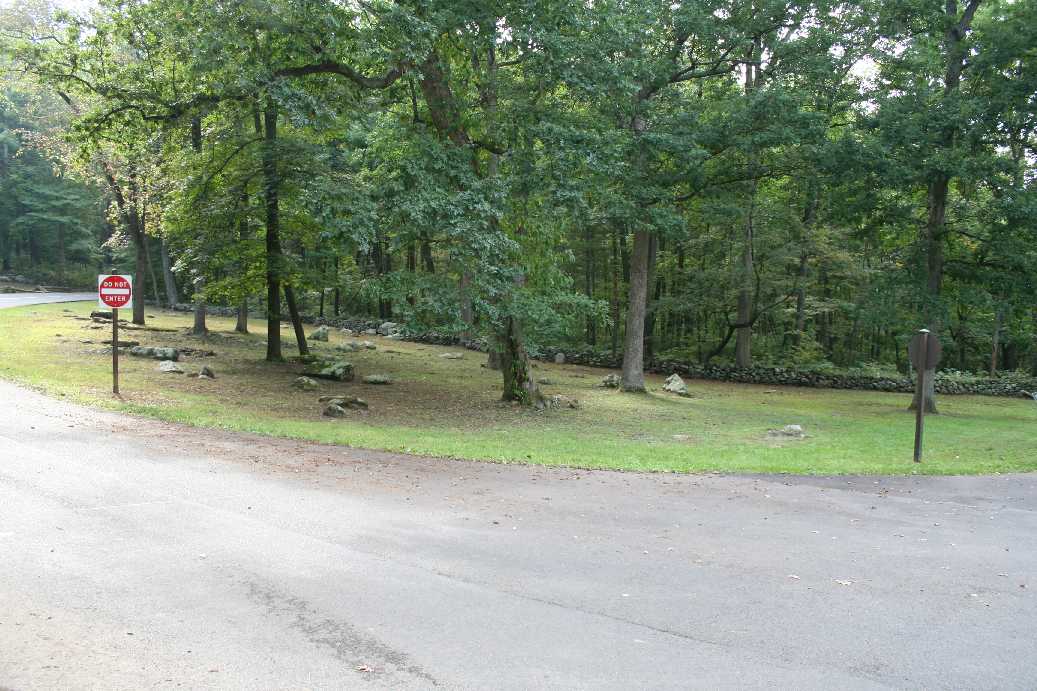
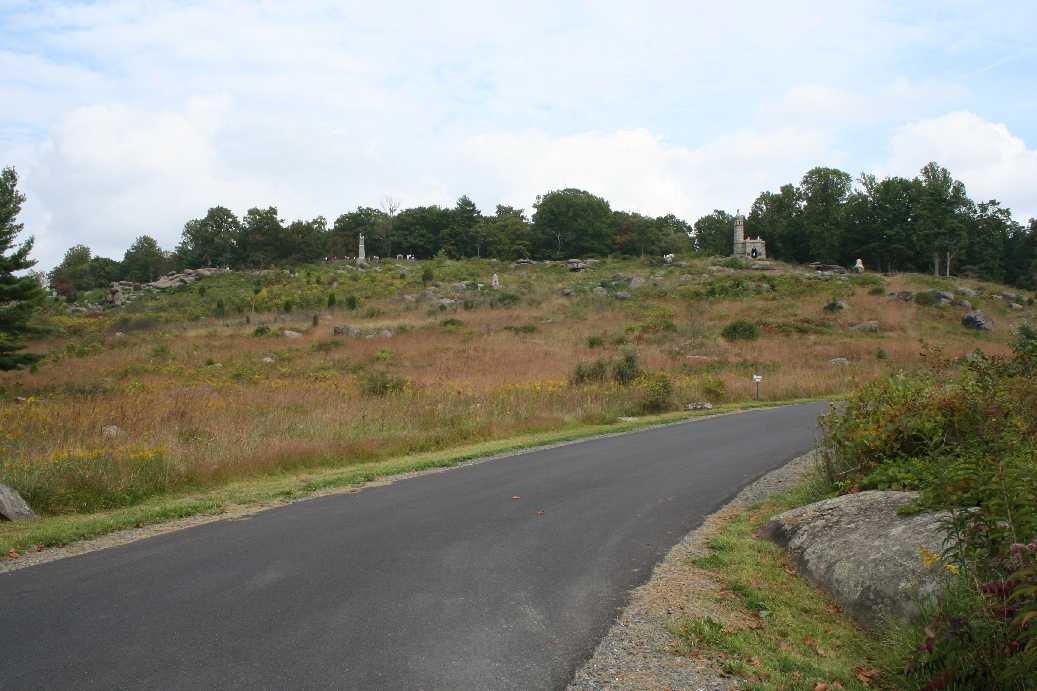
One of the interesting things we have been noticing over the years of
visiting the park, is the work they are doing on restoration. When I first
visited, I had a difficult time seeing how the battle unfolded, but as they
return the land to the way it was at that time, it is easier to understand the
tactics and movement. Above you will see a couple shots of a hill that was
once heavily wooded.
|
(Click on Images for Larger Picture)
|
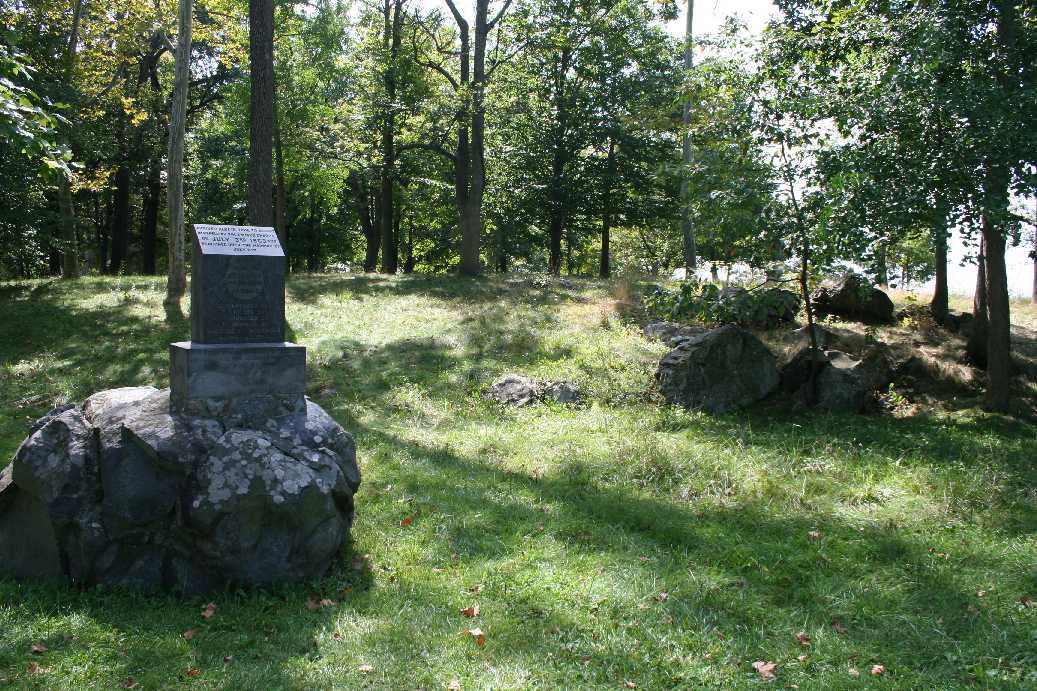
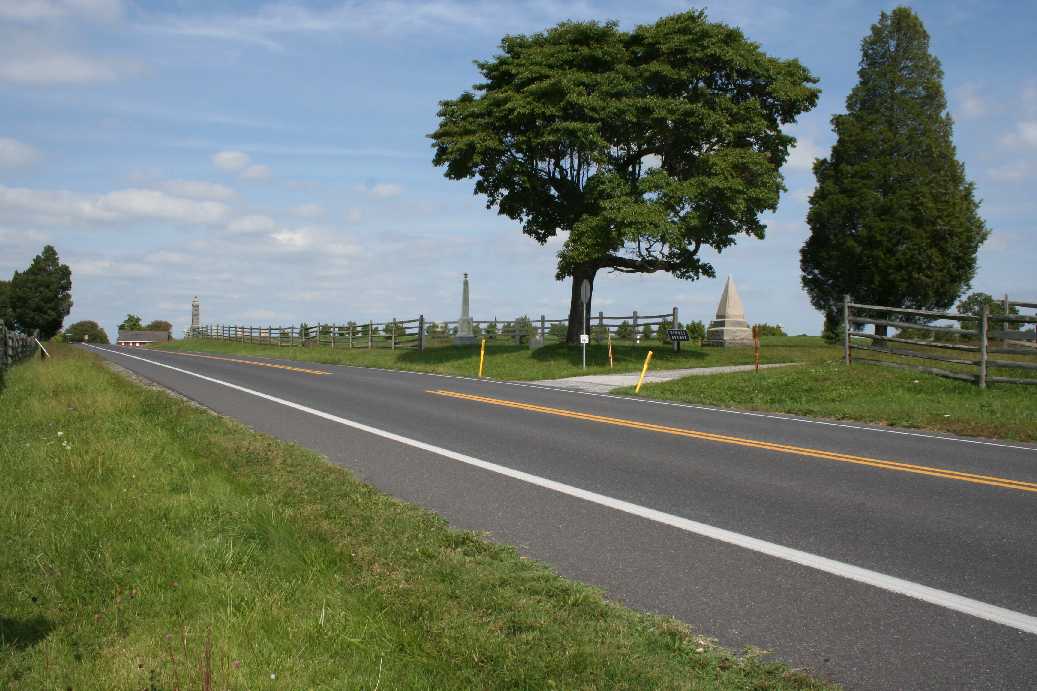
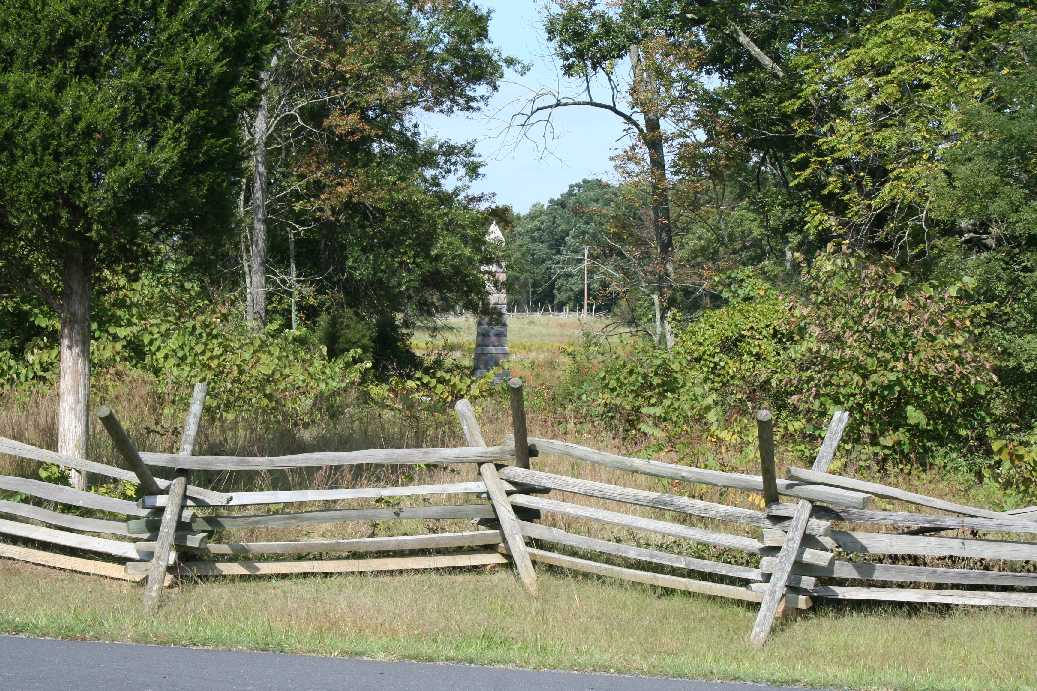
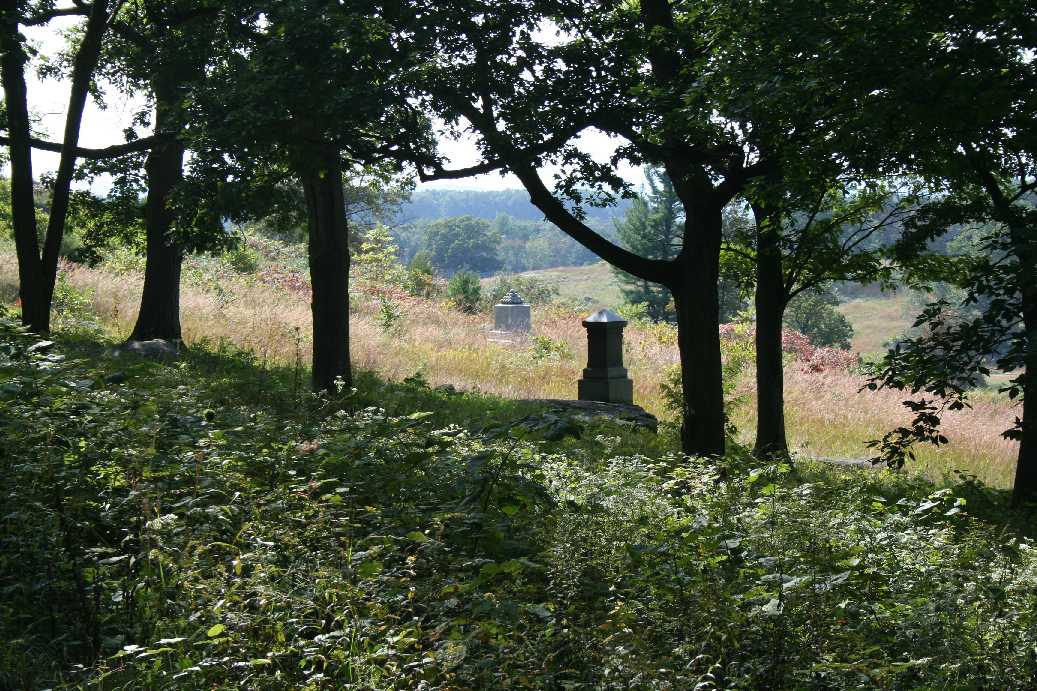
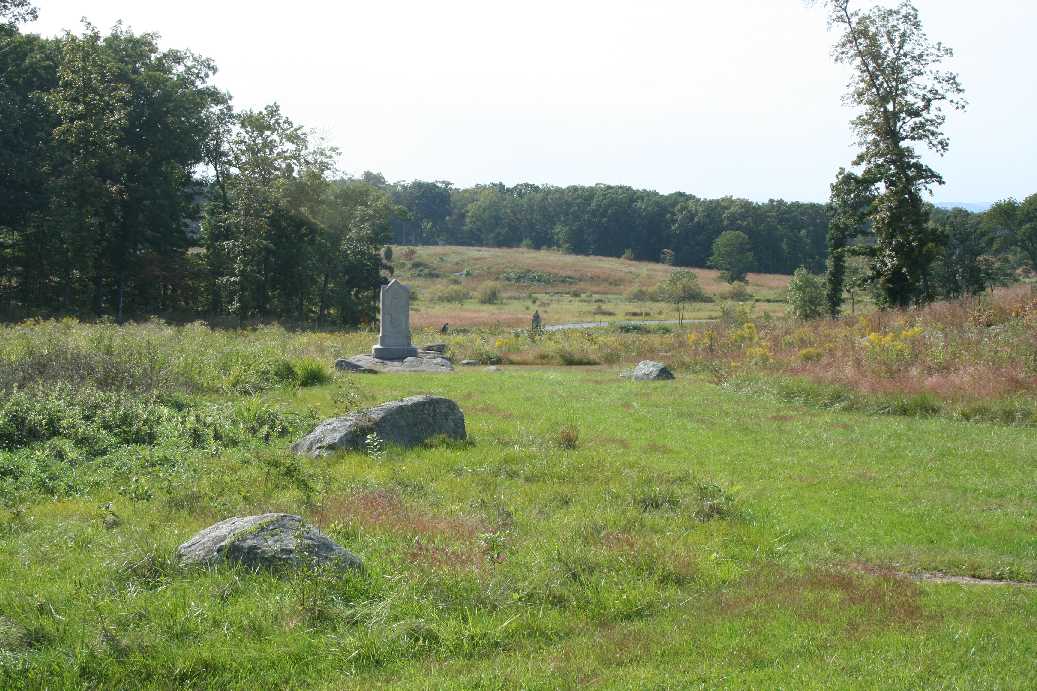
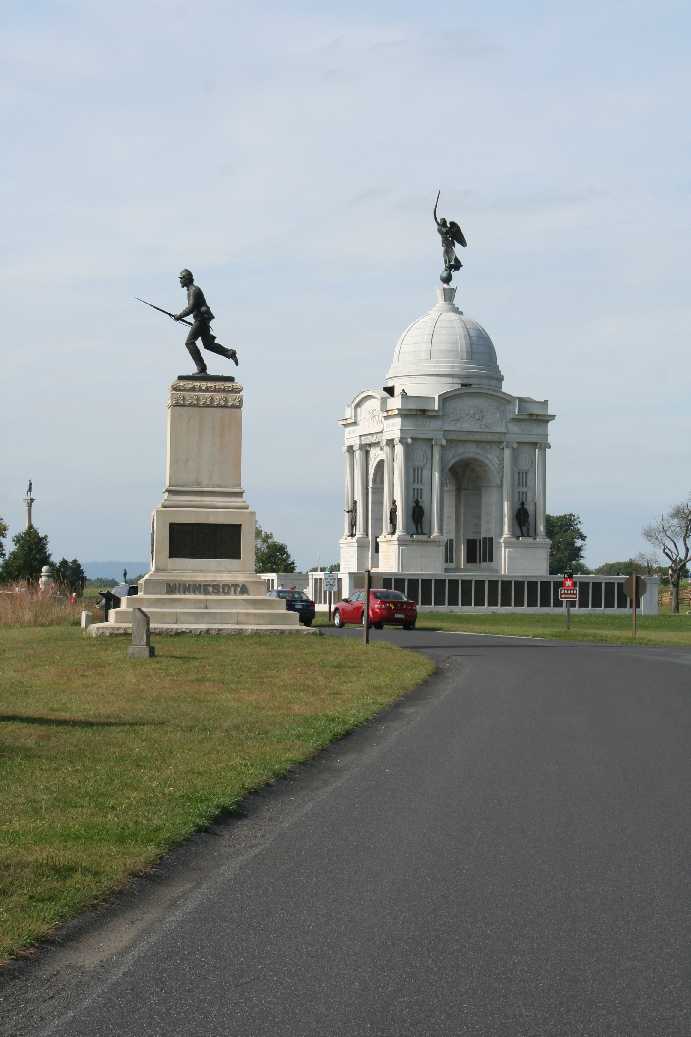
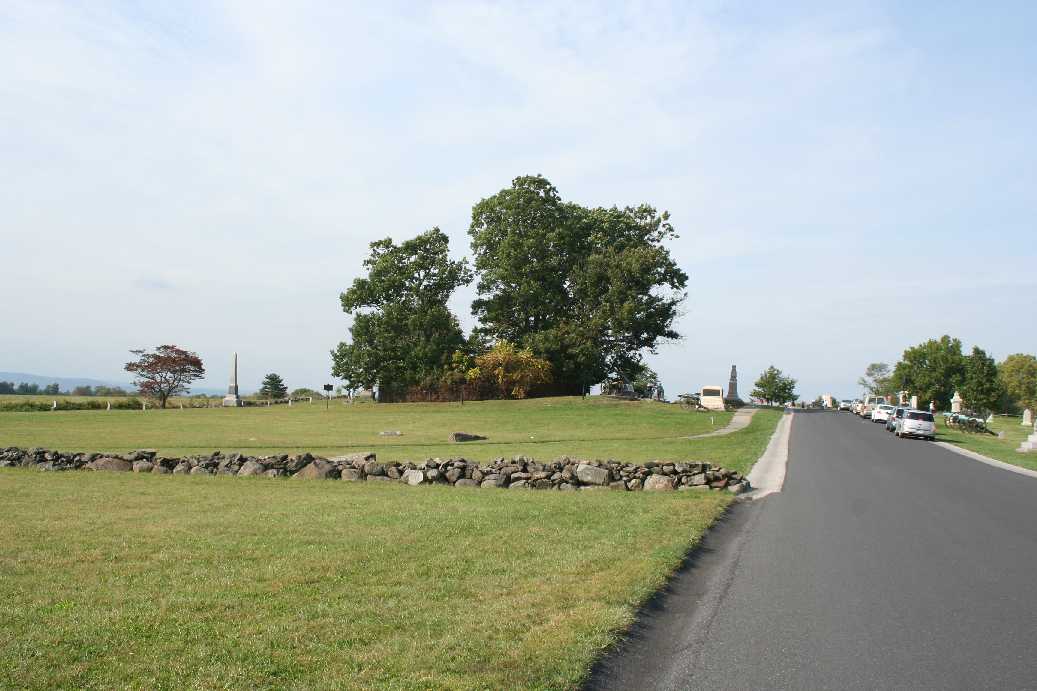
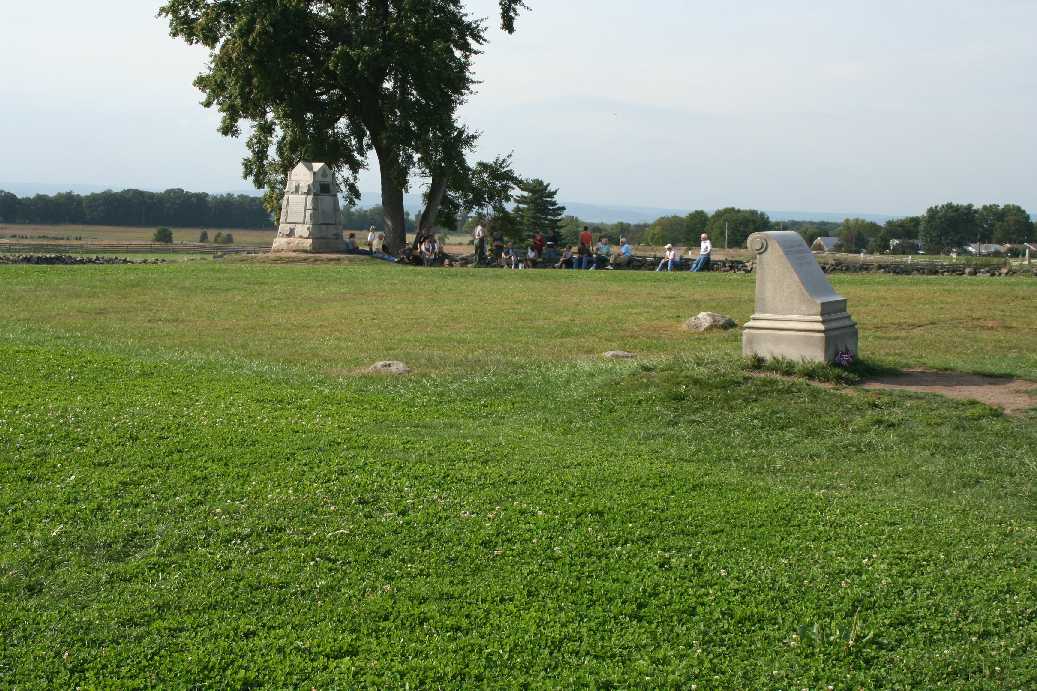
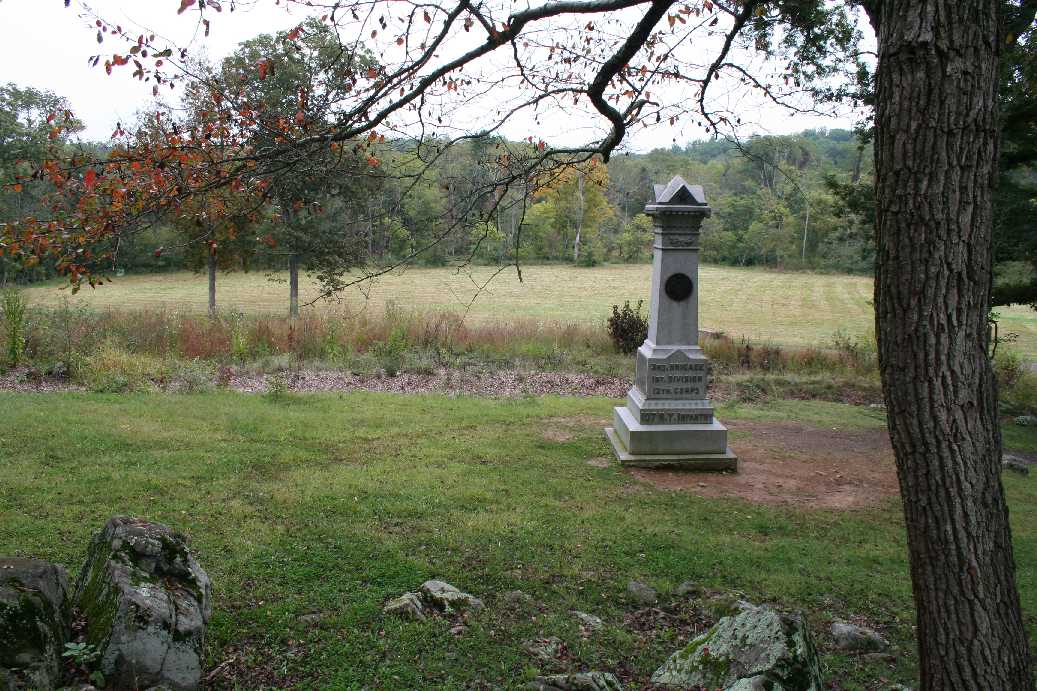
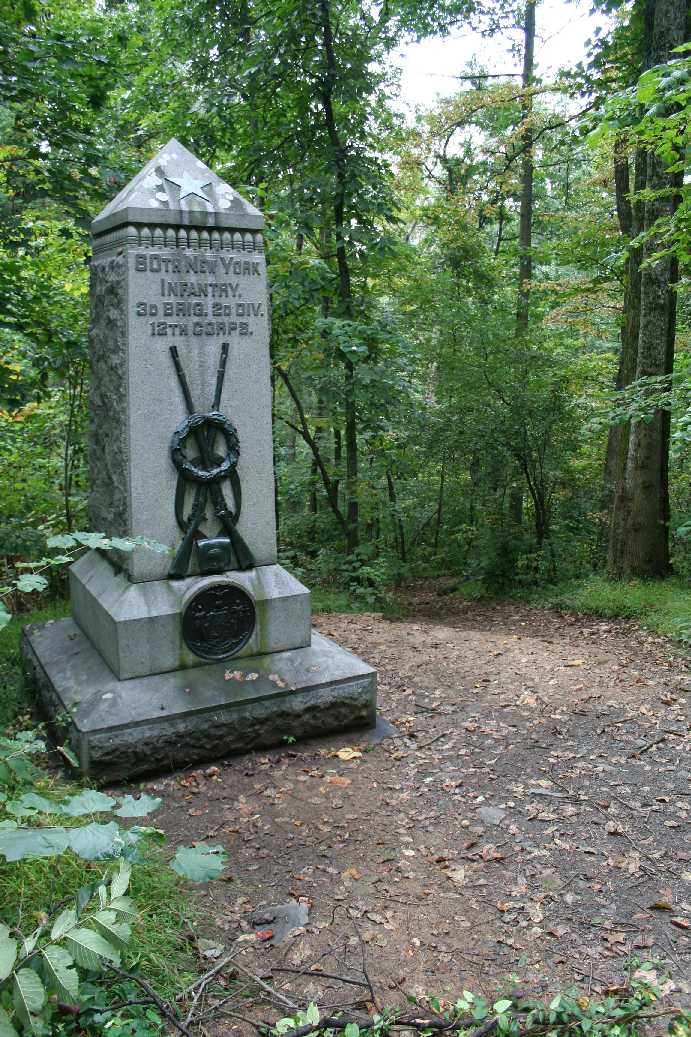
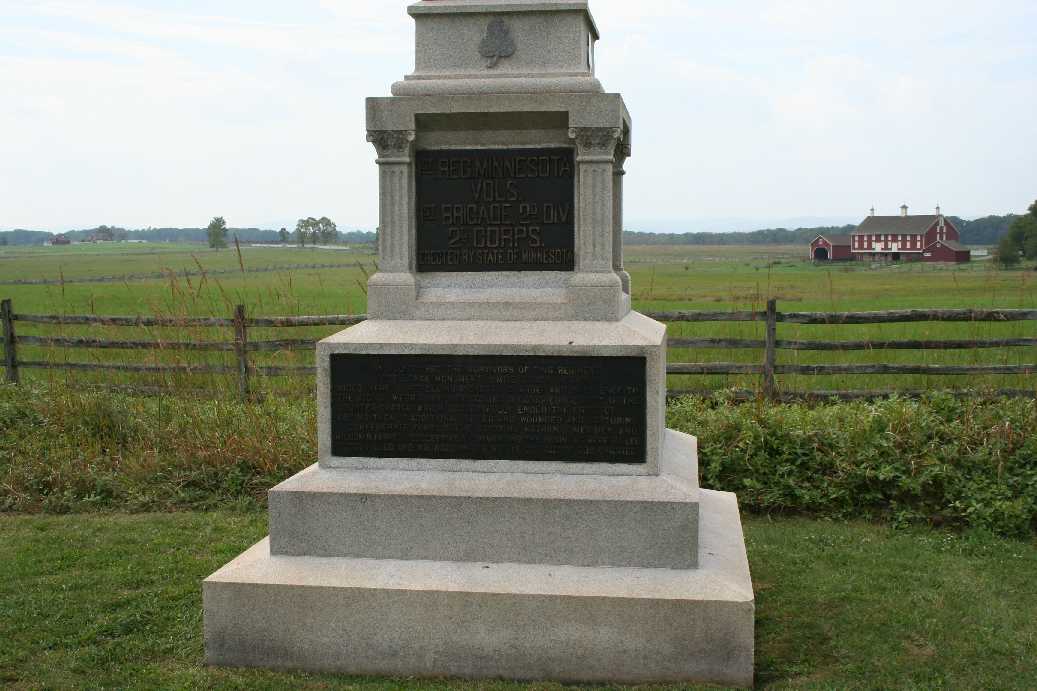
The photos above are of our hike back up Cemetery Ridge toward our original
starting point. A couple things to note: the second and third picture are
of the location where the 1st Minnesota went into action on the second day of
the battle. Despite being heavily outnumbered and taking heavy losses,
they were still able to repulse Confederate troops that had broken through at
the Peach Orchard. The memorial in the last picture is
dedicated to this group. The memorial in the center is the one dedicated
to the Pennsylvania troops. This is the memorial that I mentioned in
earlier pictures.
|
(Click on Images for Larger Picture)
|
We completed this hike by walking up Cemetery Ridge toward the High
Water Mark. A couple of places of note are in the first picture
above. This is where Union General Winfield Scott Hancock, commander of the Union 2nd
Corps, was wounded during Picket's Charge.
The red barn in the picture next to it was the site where Confederate General
George E. Picket commanded the charge. The next picture is the copse of trees that was the
focal point for the final battle. The second picture in the second row is where Confederate
General Lewis Armistead fell mortally wounded after breeching the Union lines (the breech occurred where the
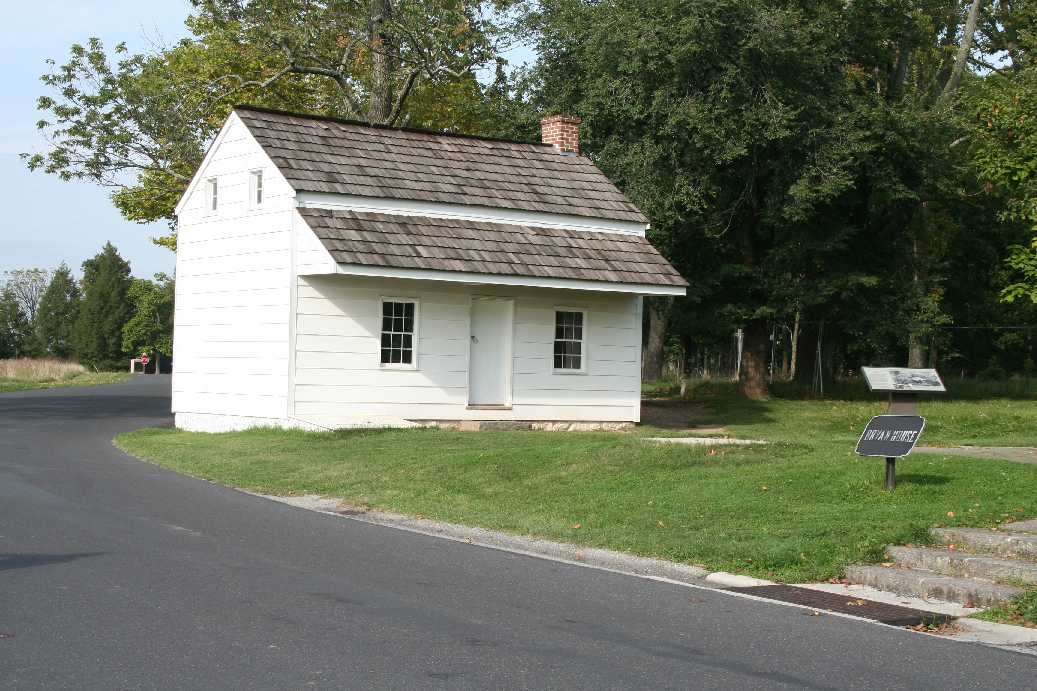
trees are growing near the center of the picture.) And the last two pictures are of farm buildings owned by
an African American farmer during the battle of Gettysburg.
|
First Auto Tour
(Click on Images for Larger Picture)
|
The second day we decided to take an auto tour of the
battlefield. While we both love to hike, trying to hike
the entire battlefield would take more time that we could
afford. The auto tour alone is roughly eighteen miles
long. The images above are of the area east of
Gettysburg, where a good portion of the first day's battle took place.
The forces that faced each other were made up of Confederate Troops from
Alabama, Mississippi, and Tennessee, and Union Forces from Indiana, Michigan,
New York, and Wisconsin. The third picture is the woods where General John F. Reynolds, commander of the
Union 1st Corps, was shot off his horse and killed. The last picture shows the memorial erected on the site
where this happened.
|
(Click on Images for Larger Picture)
|
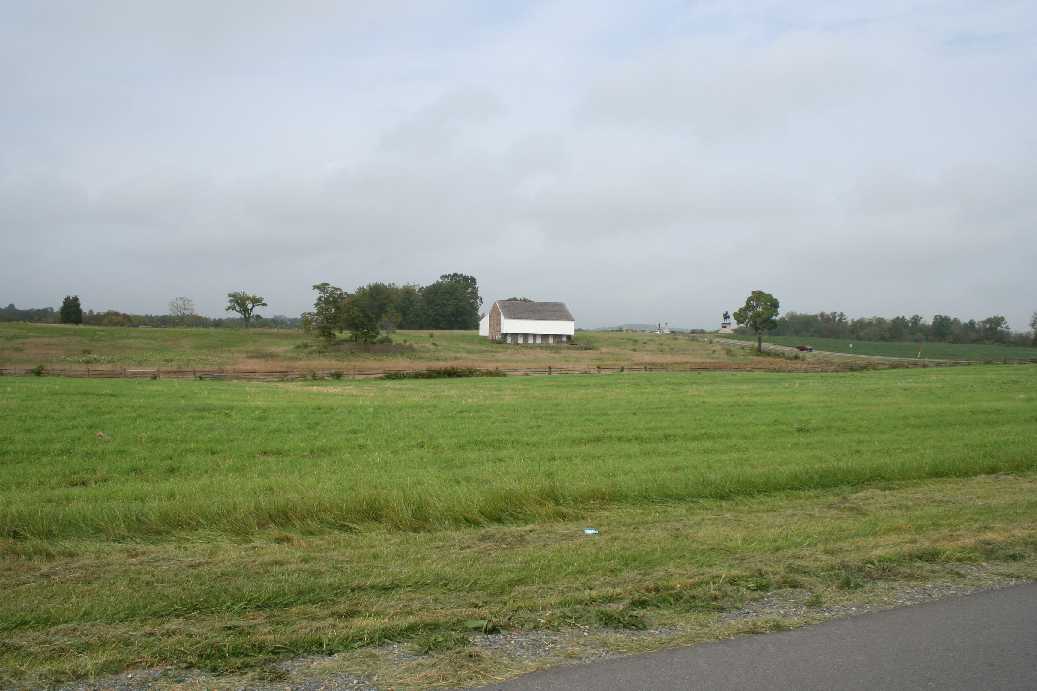
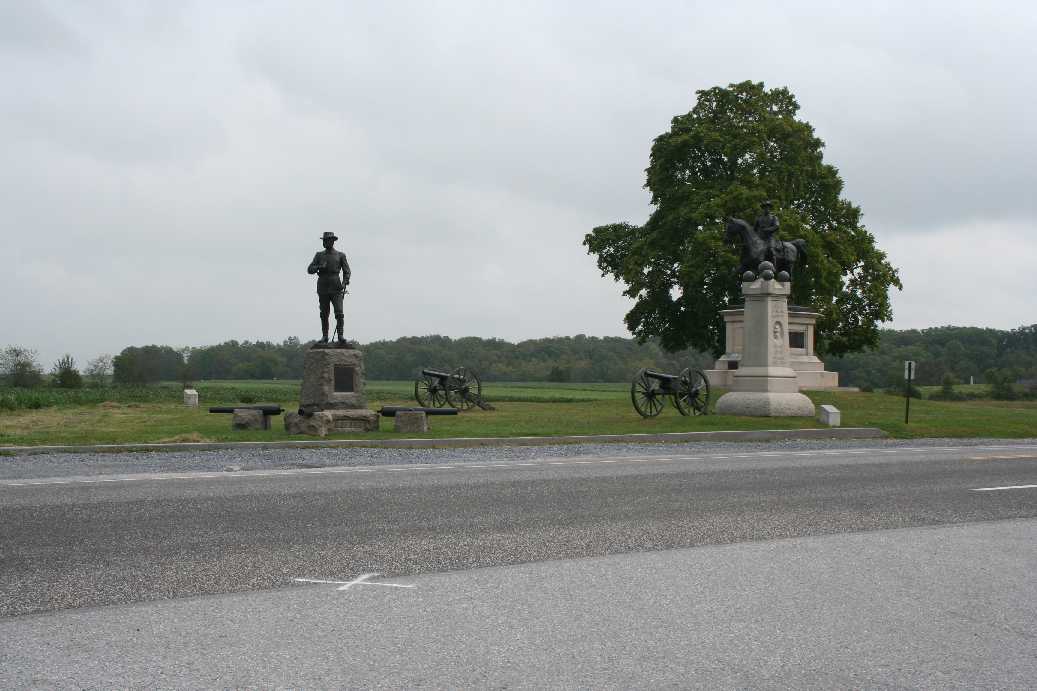
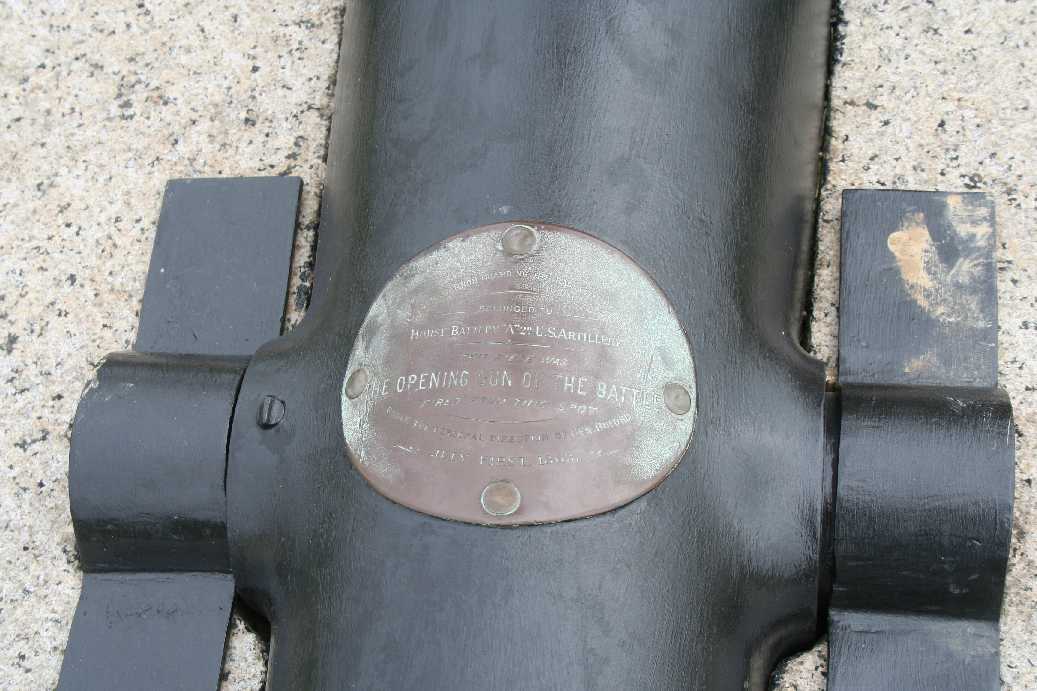
The next series of photos shows the location of the start of the
battle. This is the sight that General John Buford made the fateful
decision to stand and hold until the rest of the Union Army could be brought up.
With roughly twenty-five hundred men, General Buford held Confederate soldiers
at bay until he was joined by General Reynolds and the Union 1st Corps.
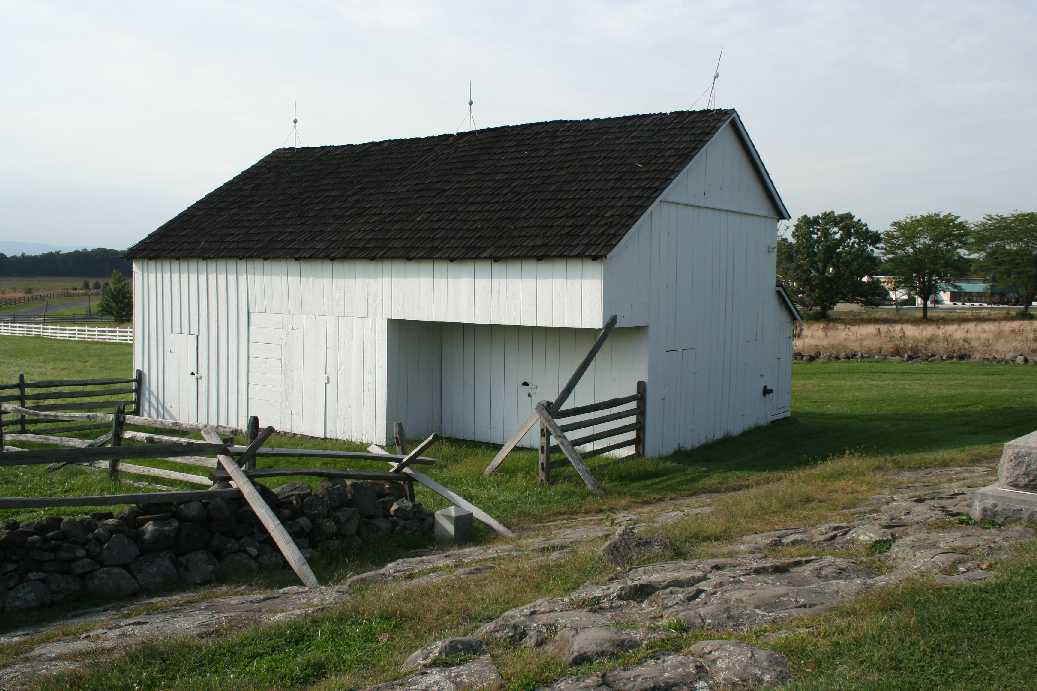
The barn pictured in the second photo was used as a field hospital
for most of the battle. In the third picture, located beneath the statue
of the soldier standing, are three canons. The one in the middle was the
first canon to open the battle. The plaque can be seen in the last image.
|
(Click on Images for Larger Picture)
|
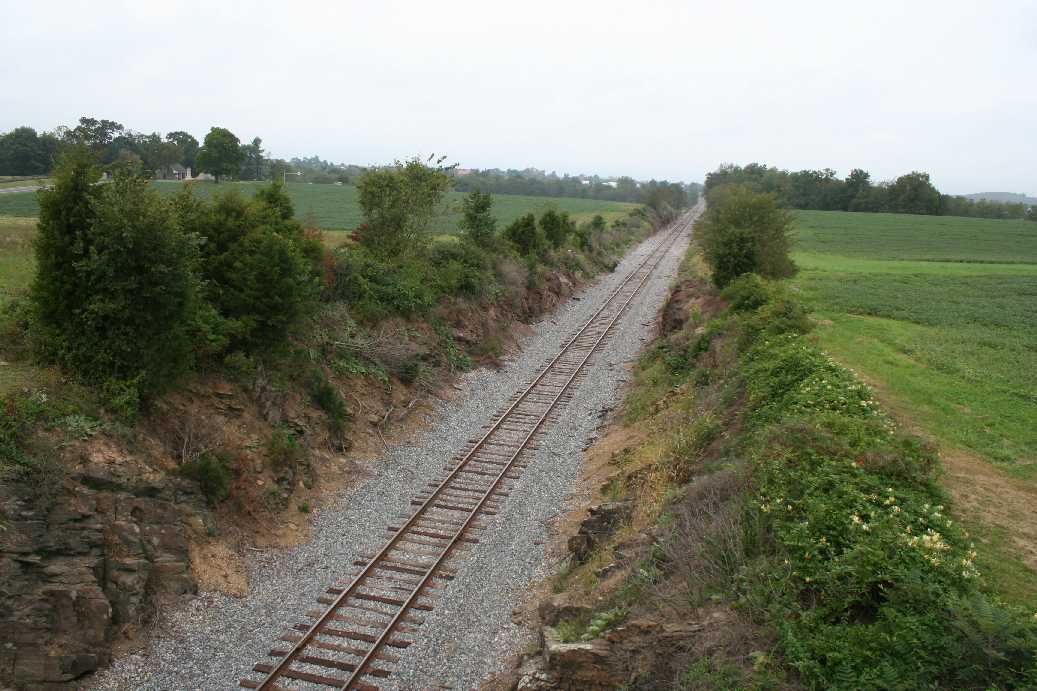
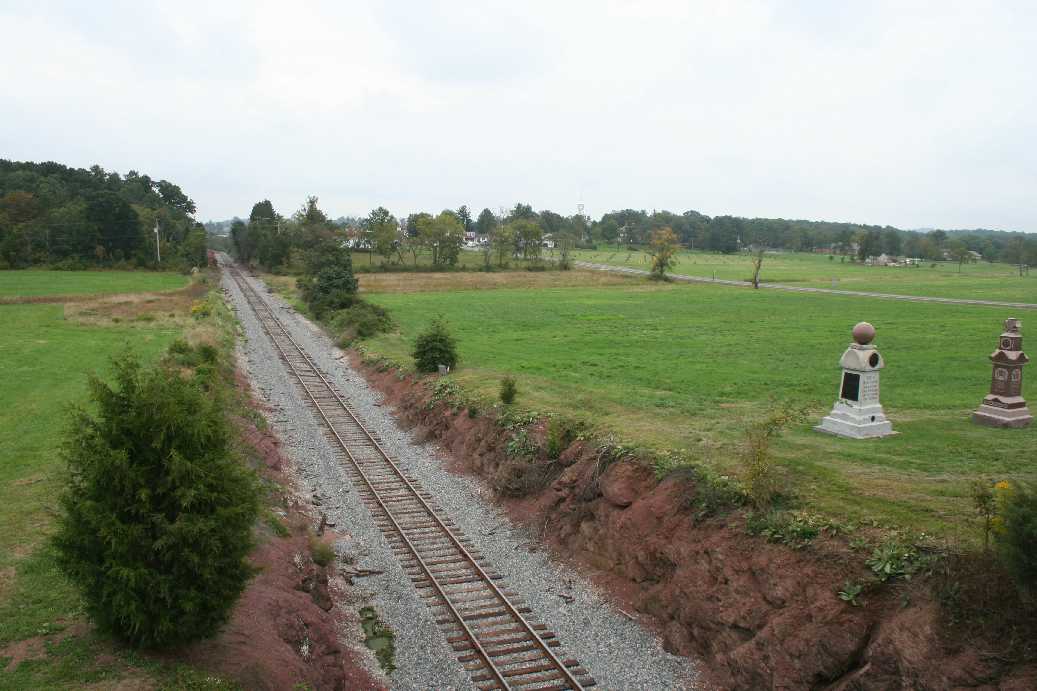
The railroad cut, shown in the first two photos above, witnessed some of the
worst fighting on the first day. The first photo looks west and the second looks
east. Confederate troops tried to use it to get around the Union, but the
Union discovered them and many were cut down. Of course the Union also
suffered here when they were eventually routed by the Confederates late in the
first day of battle. The next two shots are from the Eternal Peace Light
Memorial located on Oak Hill. It looks down on the fields northwest of Gettysburg.
Although the fields were large and open, they changed hands many times during
the first day of battle, eventually ending up in Confederate hands as the Union
Troops broke and ran back through town.
|
(Click on Images for Larger Picture)
|
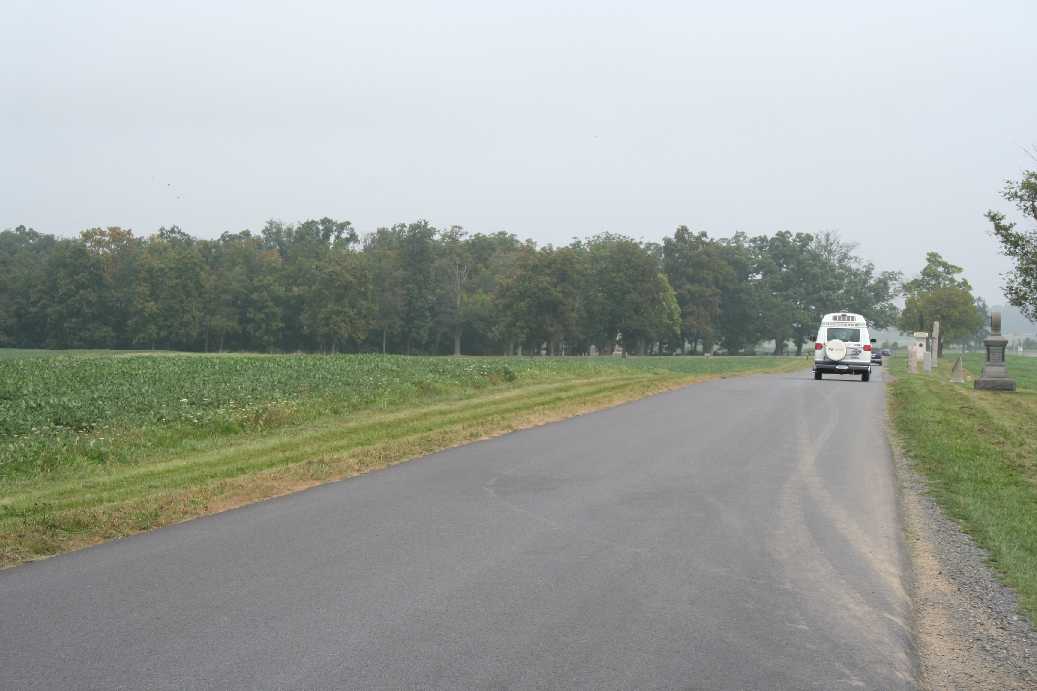
The above series of photos shows the battlefields north of Gettysburg.
The Confederate Troops came into Gettysburg from the west and the north.
Some say it was the only time the North came in from the south and the South
from the north. If you look closely in some of the pictures, you can get a
sense of where the Union line ran by following the line of white monuments.
In the last picture, near the center of the image, you can see a monument in the
distance. This has become known as Barlow's Knoll. This was the
extreme right of the Union lines on the first day, and when this position fell,
the Union Troops collapsed, and the lines were quickly rolled up. Many Union
Troops were captured or killed, but their sacrifice was not in vain. They
held the Confederates back long enough for the other Union Troops, coming up
from the south, to fortify the ridges south of Gettysburg. If hey had not,
the Confederates would have had a clear shot at Washington, DC.
|
(Click on Images for Larger Picture)
|
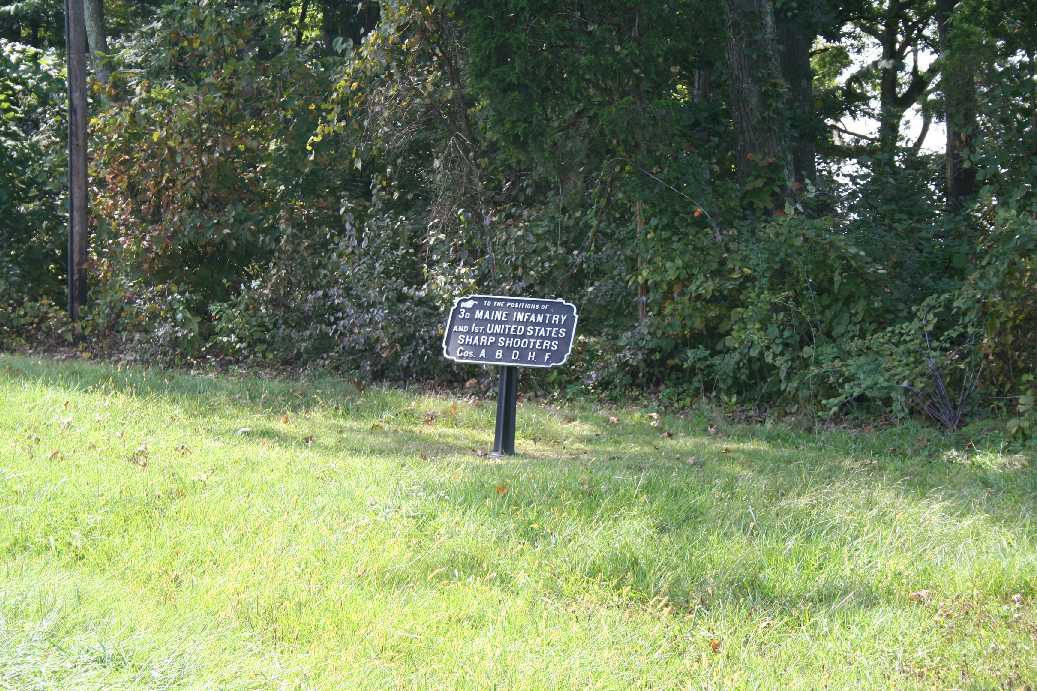
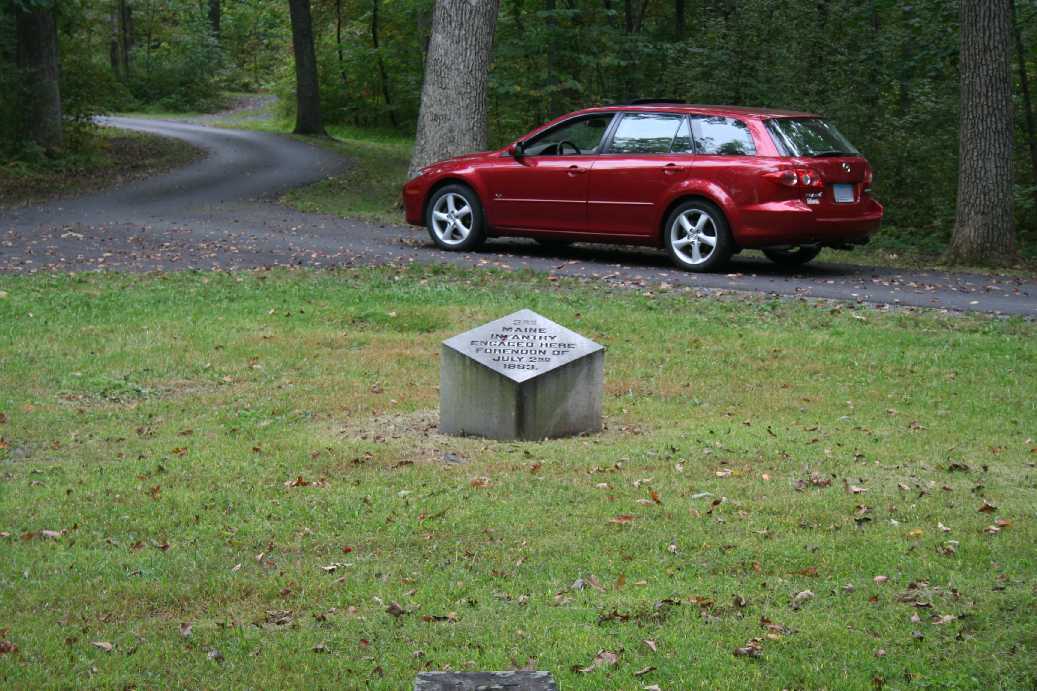
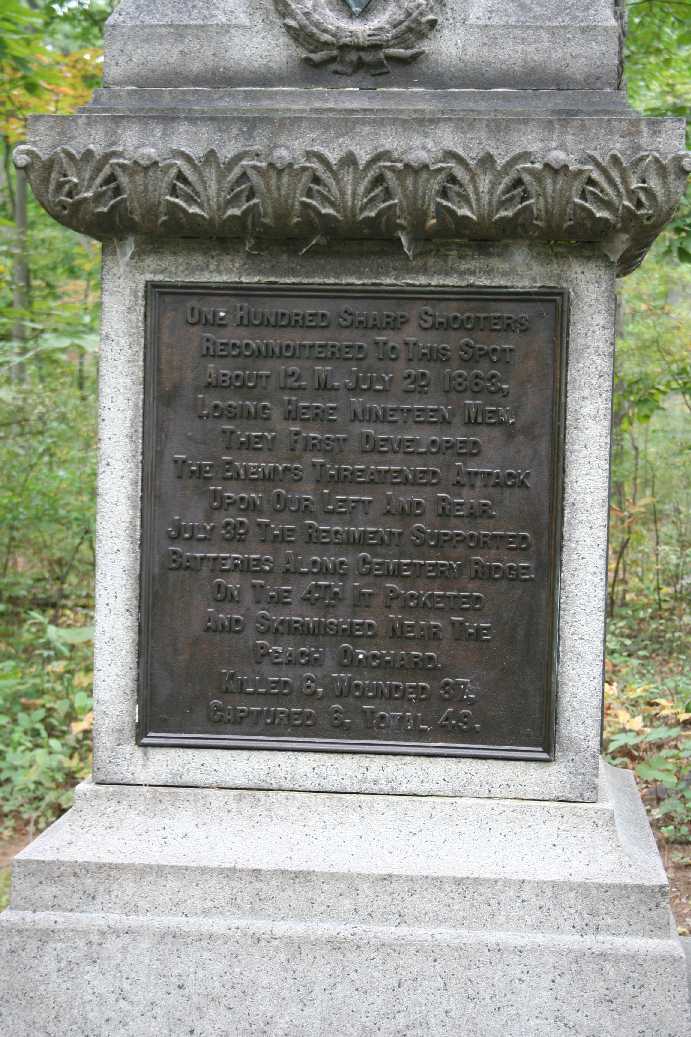
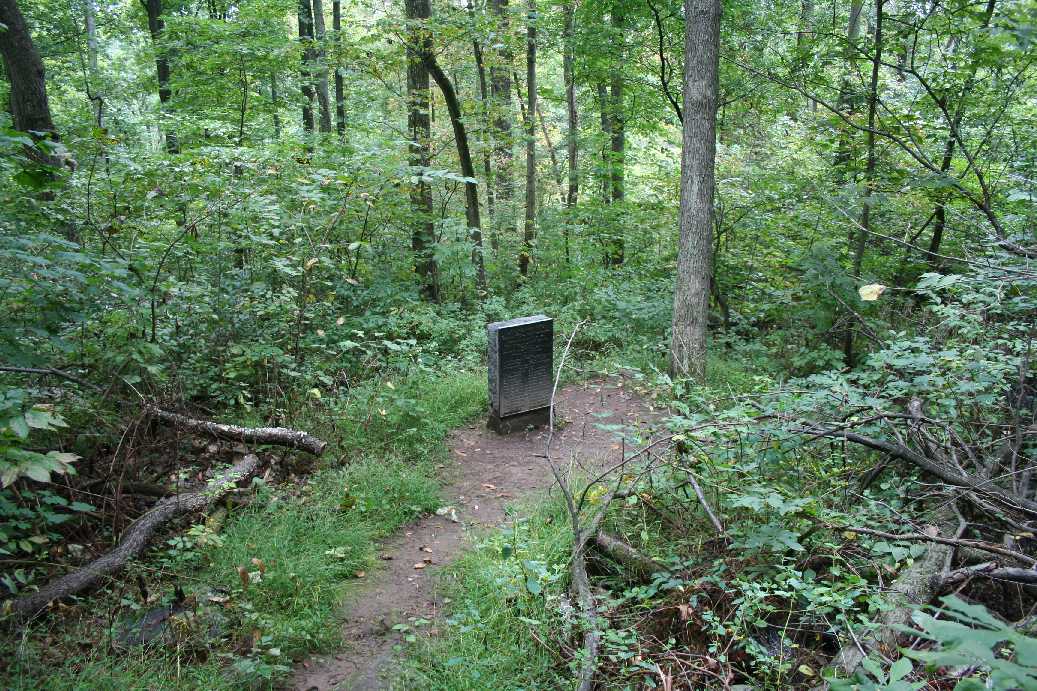
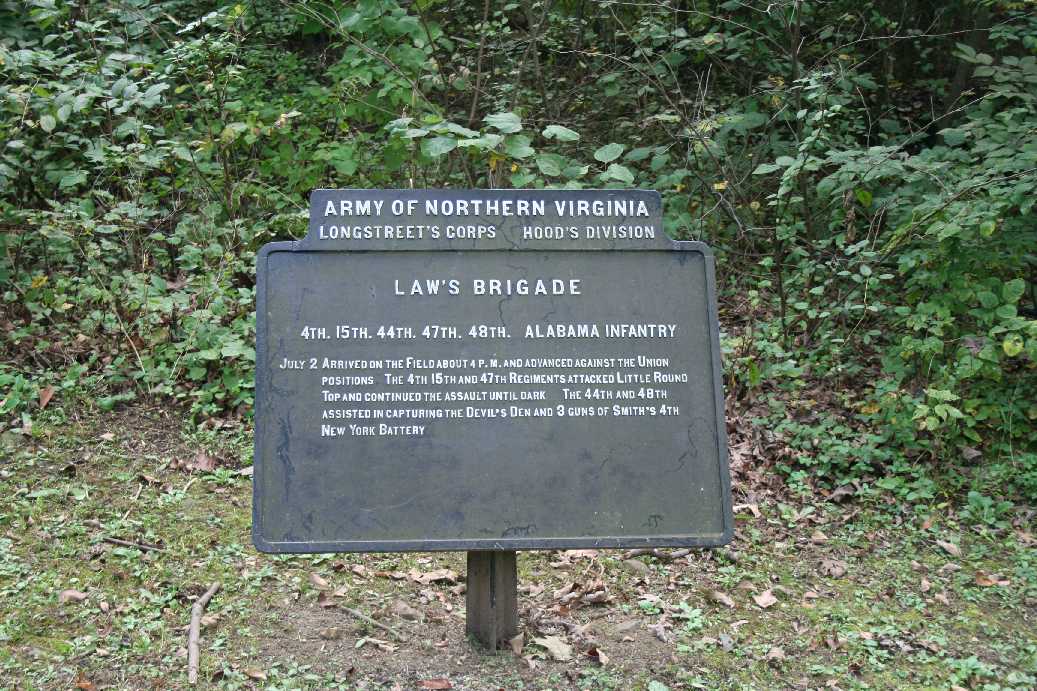
On the first day's hike, I had taken a picture of the marker in the
first photo. It indicates a position held by sharp shooters of the 3rd
Maine Infantry. What is unusual about this marker was that it was deep within Confederate
held territory. When we came back on our auto tour, I notice there was
small site nestled back within the woods. We followed it and found the
explanation of why they were here. the story is on the plaque in the third photo.
|
(Click on Images for Larger Picture)
|
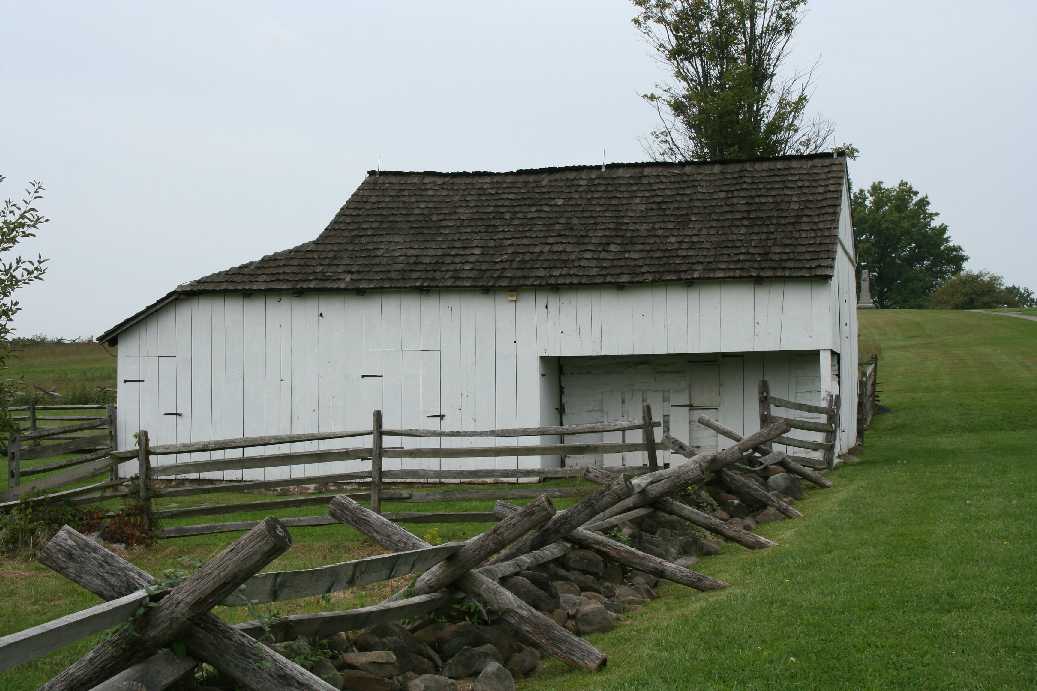
The last series of photos is the south end of the battlefield again.
The Round Tops can be seen in the distance in the first image. The second
one is the face of Little Round Top from the top of Devil's Den. The third
is the terrain looking back toward Confederate held territory and some of the
ground they had to cover to reach this point. The third and forth are of
the valley beneath Little Round Top. The forth also shows a clear picture
of what became known as the Slaughter Pen. Many Confederates met their end
here. An interesting point is that only a few years ago, the little hut in
the picture was surrounded by a thick cover of trees. The last picture is
of the barn on the Trostle Farm. It was near this site that General
Sickles was wounded. While commanding his troops from horseback, a canon
ball flicked his right knee. He was pulled from his horse, placed on a
stretcher, but despite his wound, he continued to command. Later
that evening, his leg was amputated. One thing to note about General
Sickles is that later on in life he became one of the key figures that worked to
preserve this battlefield and setup the National Park. If you look
closely at the barn, you can see a hole in the brickwork that is from a
Confederate canon ball.
|
Museum Tour
(Click on Images for Larger Picture)
|
Of course, as with many of our trips, the weather turned and was
not suitable for hiking this day, so we decided to visit the new
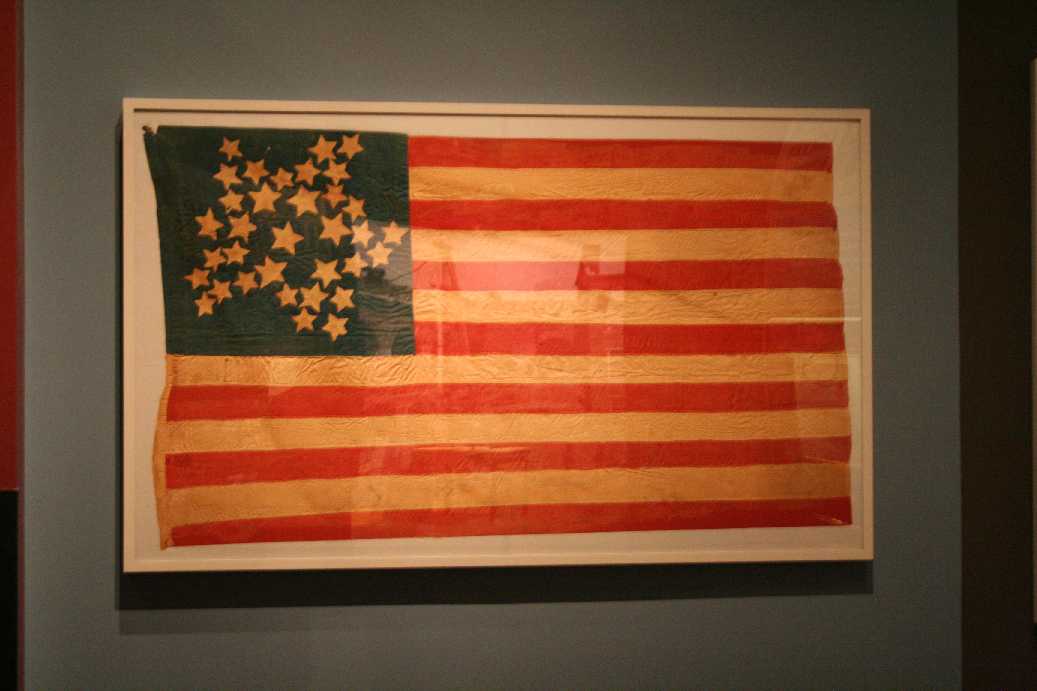
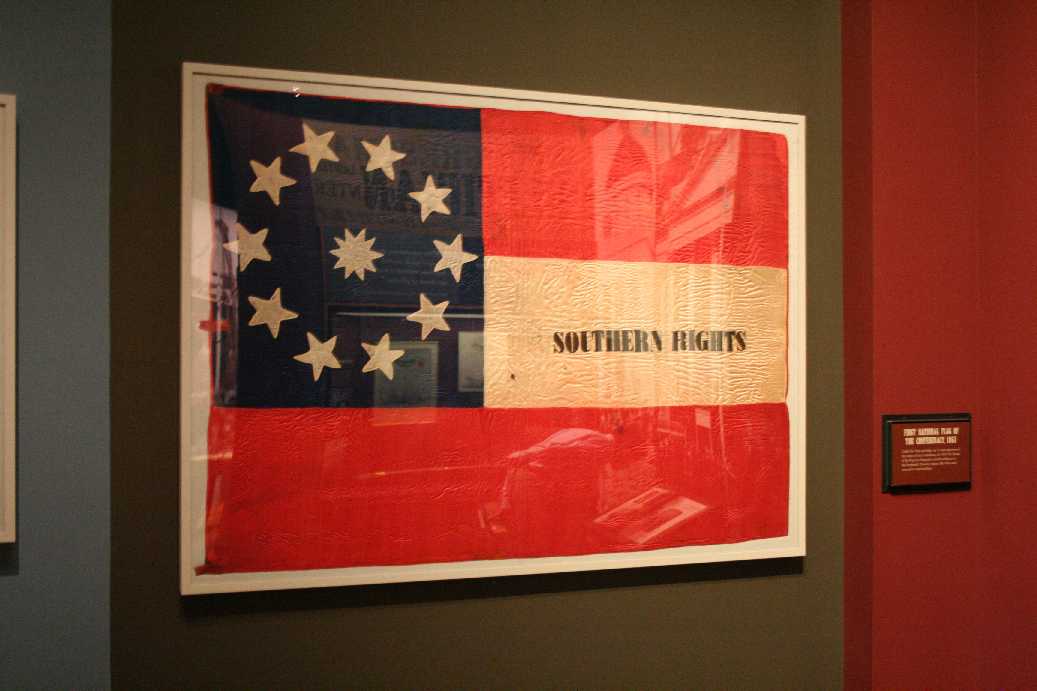
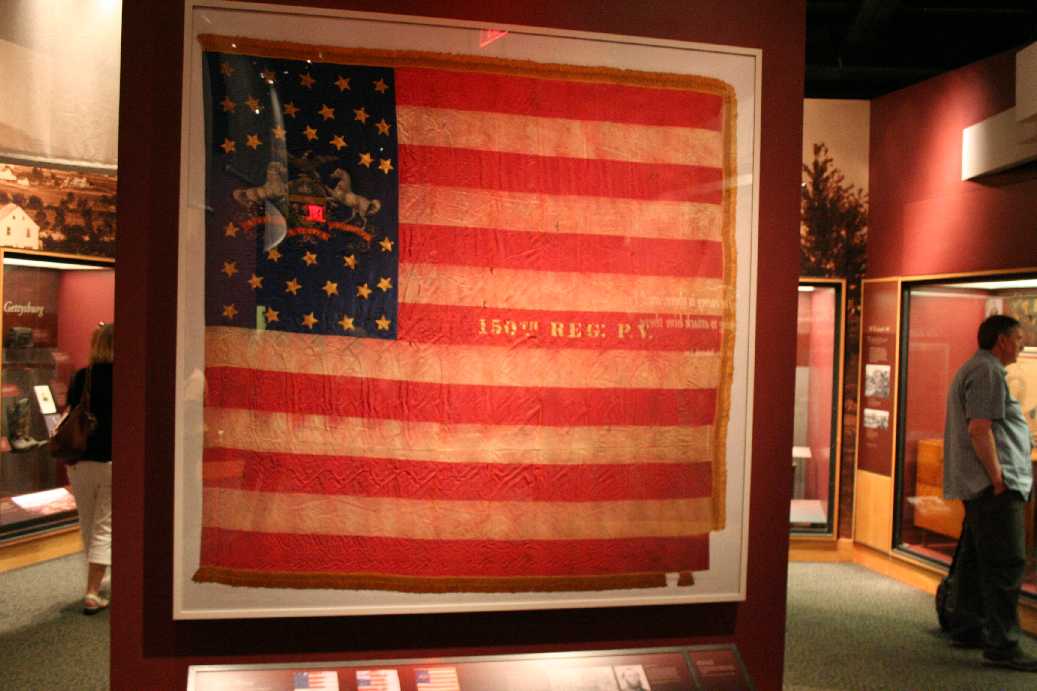
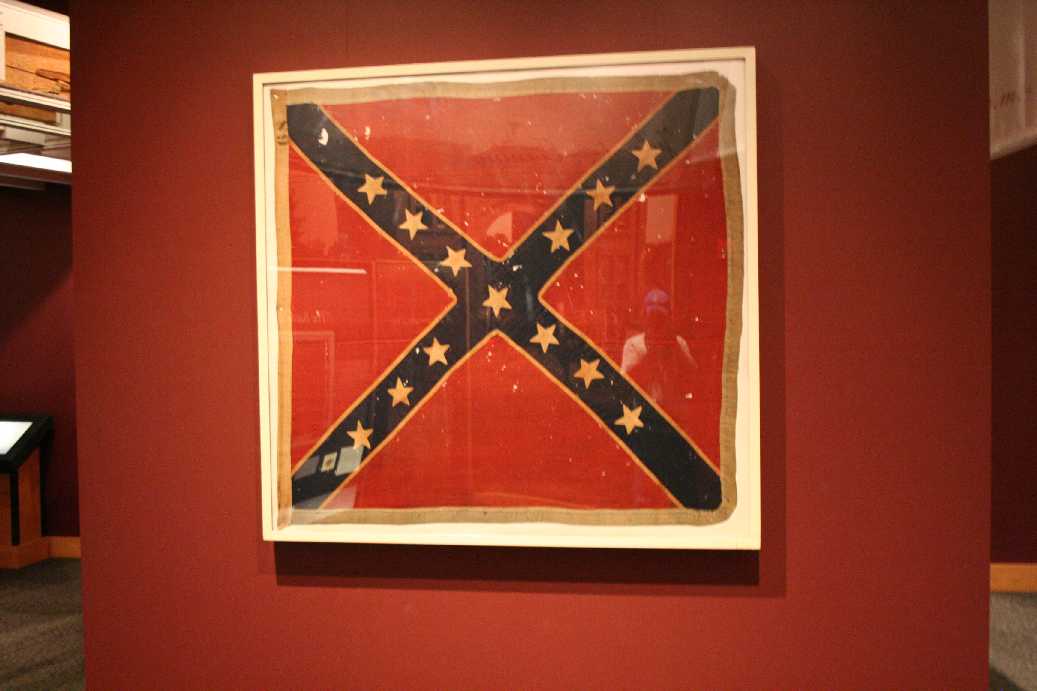
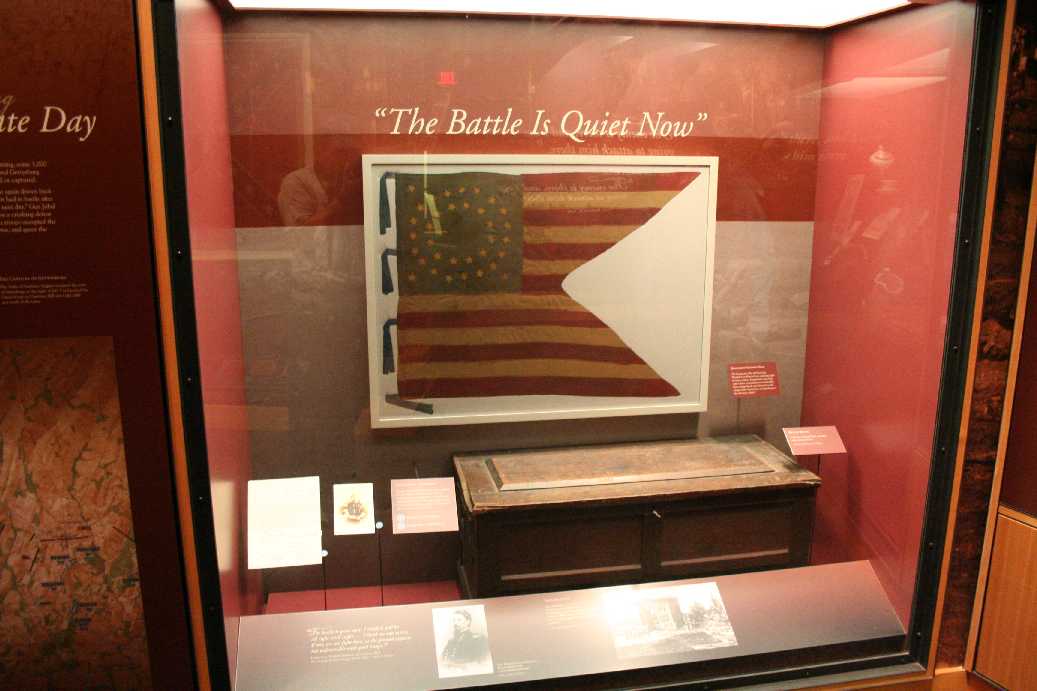
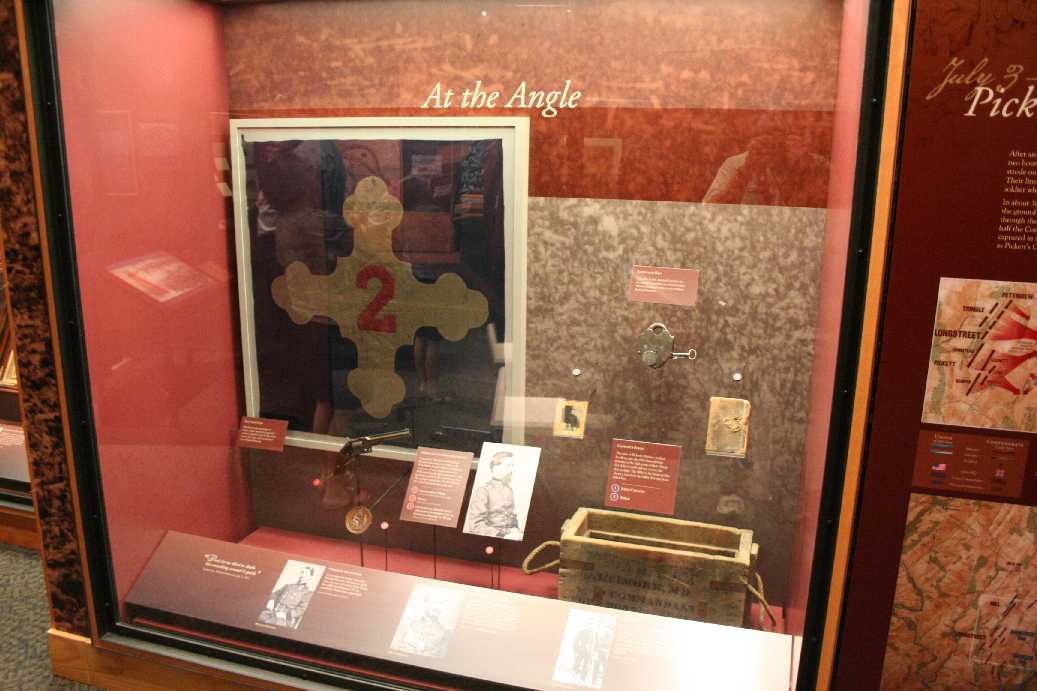
museum. One thing I was impressed with is the type of
artifacts they have on display. Many items were found
during the battle, or on the fields afterwards, and eventually
found their way to the museum's collection. I should have
done a better job of taking notes about the items in the
pictures, but I will try to explain them to the best of my
recollection. Most, if not all, of the flags and banners
above were here during the battle.
|
(Click on Images for Larger Picture)
|
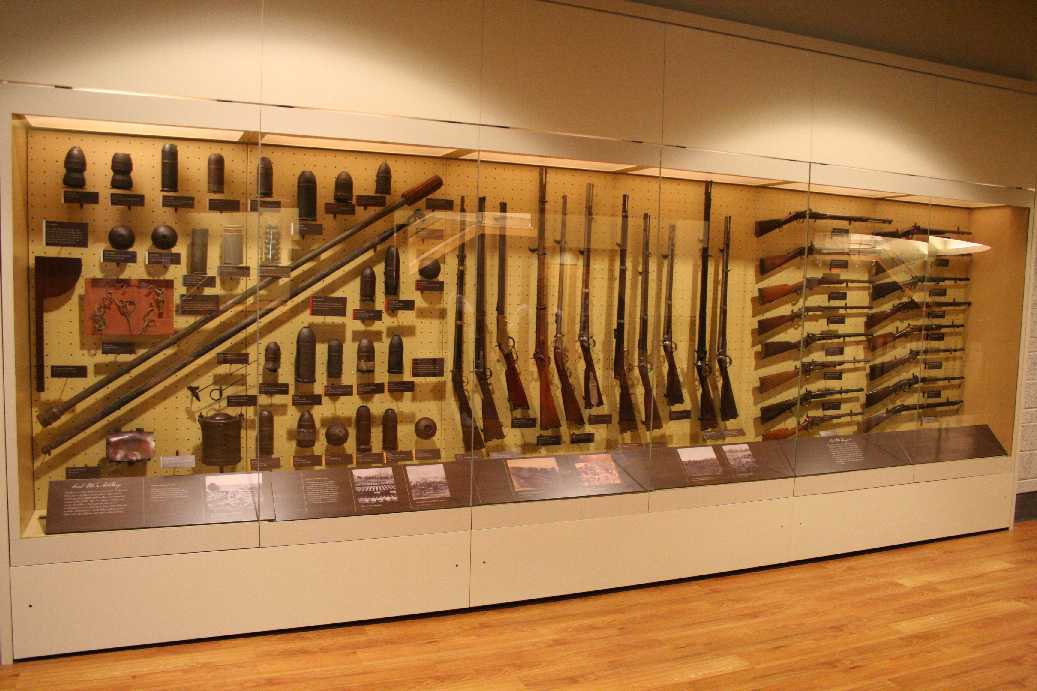
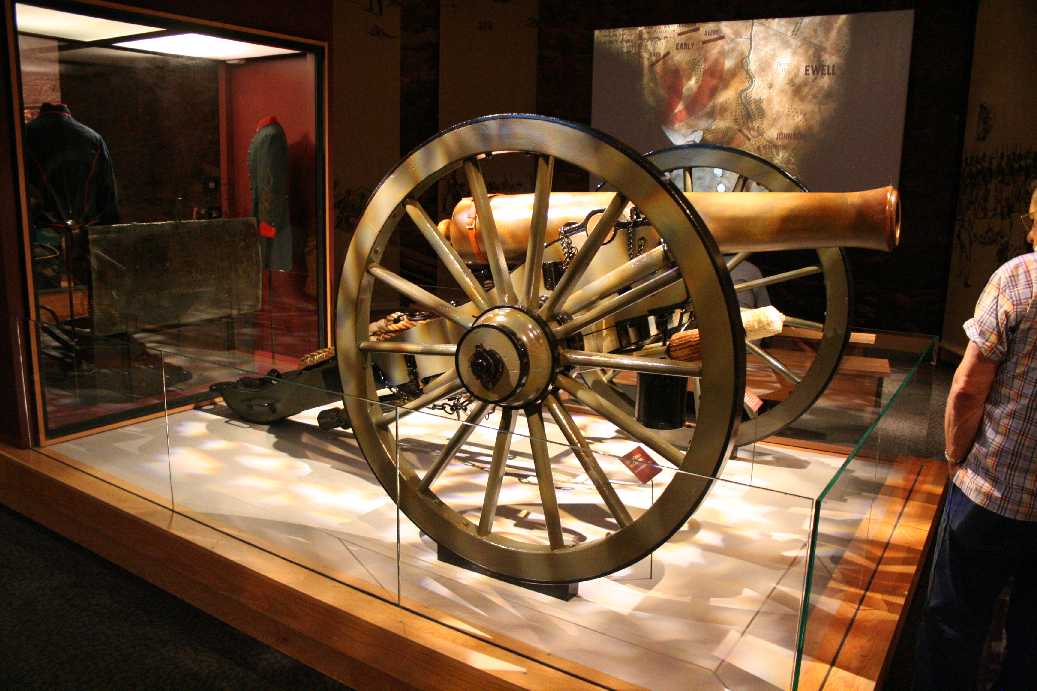
Here are some samples of weapons used during the battle. I
believe the canon balls were found on the battlefield afterwards. You can
also appreciate the power of the handheld weapons by looking at how the barrel
exploded in the musket. I do not remember if that was found on this
battlefield or not.
|
(Click on Images for Larger Picture)
|
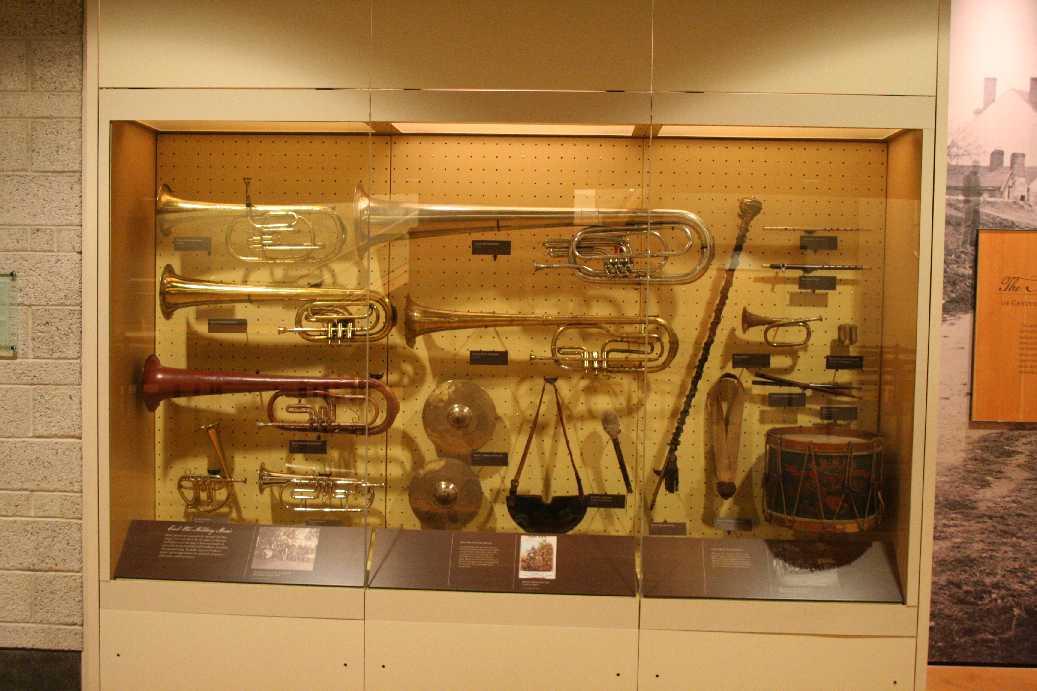
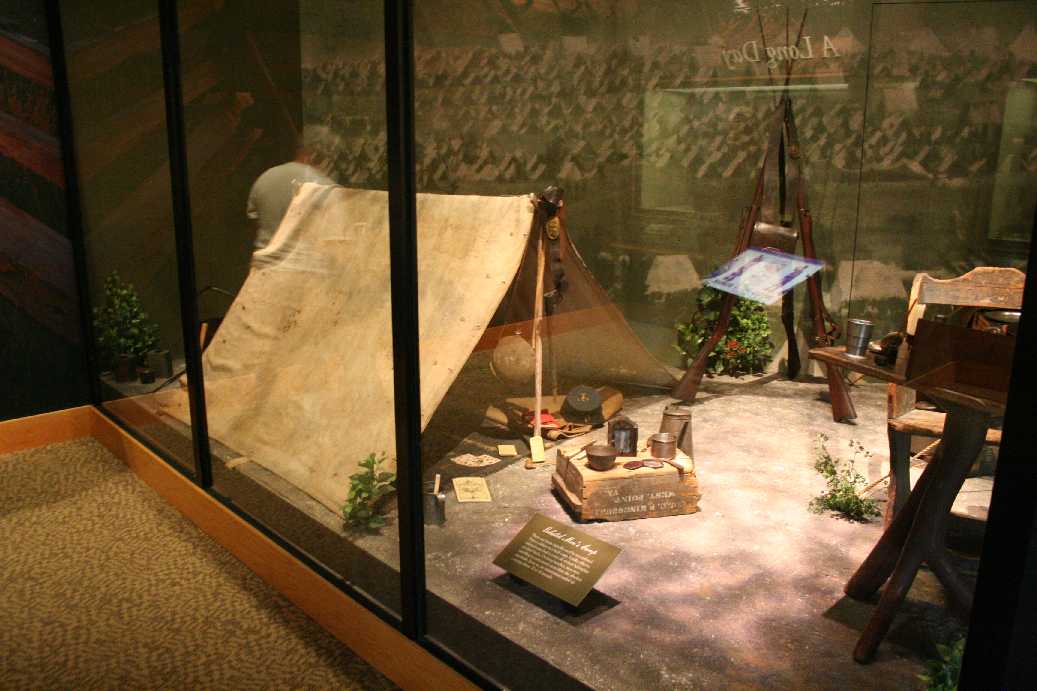
There are many examples of items that the soldiers carried with them
throughout the war. The first picture is of some of the musical
instruments that were used. The second is the typical kit of the common
soldier. The last two pictures are of some of the items used by General
Robert E. Lee himself.
|
(Click on Images for Larger Picture)
|
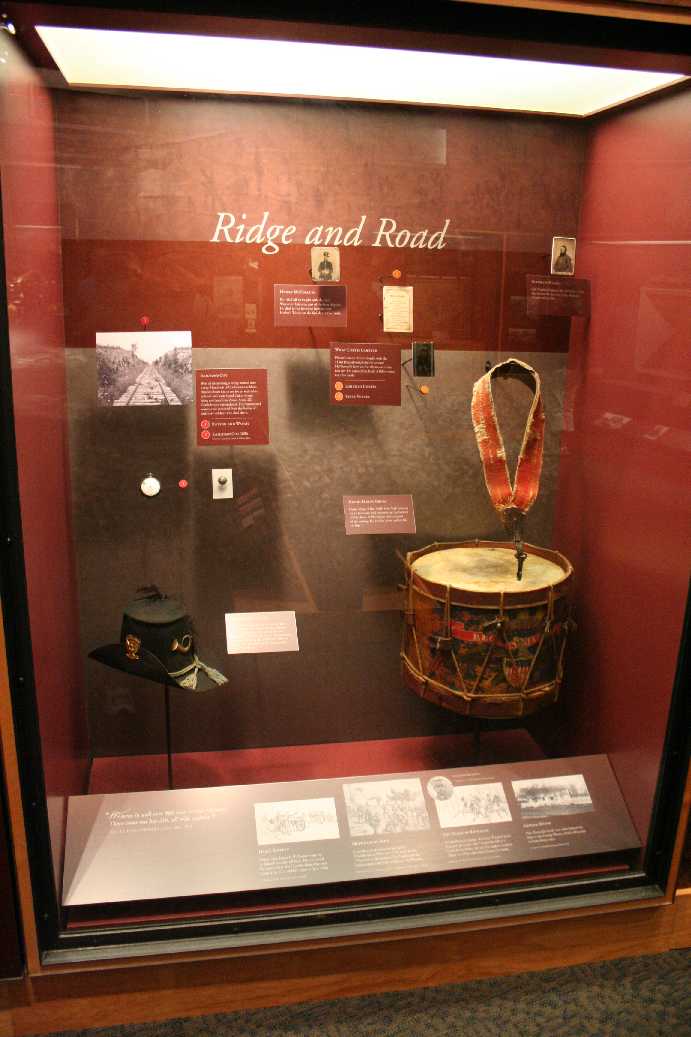
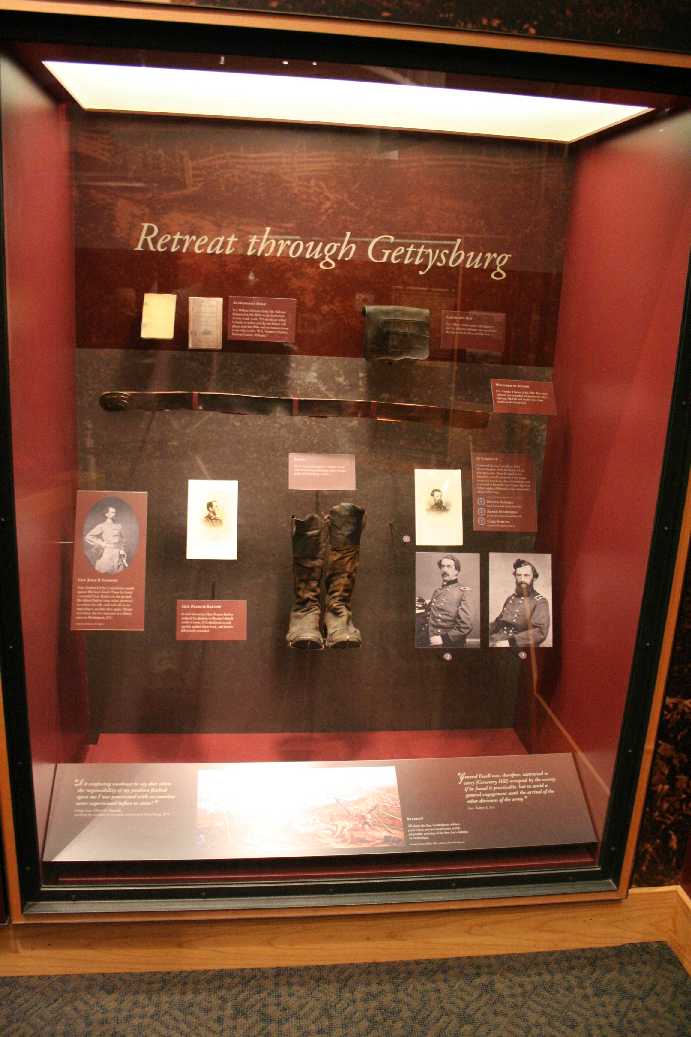
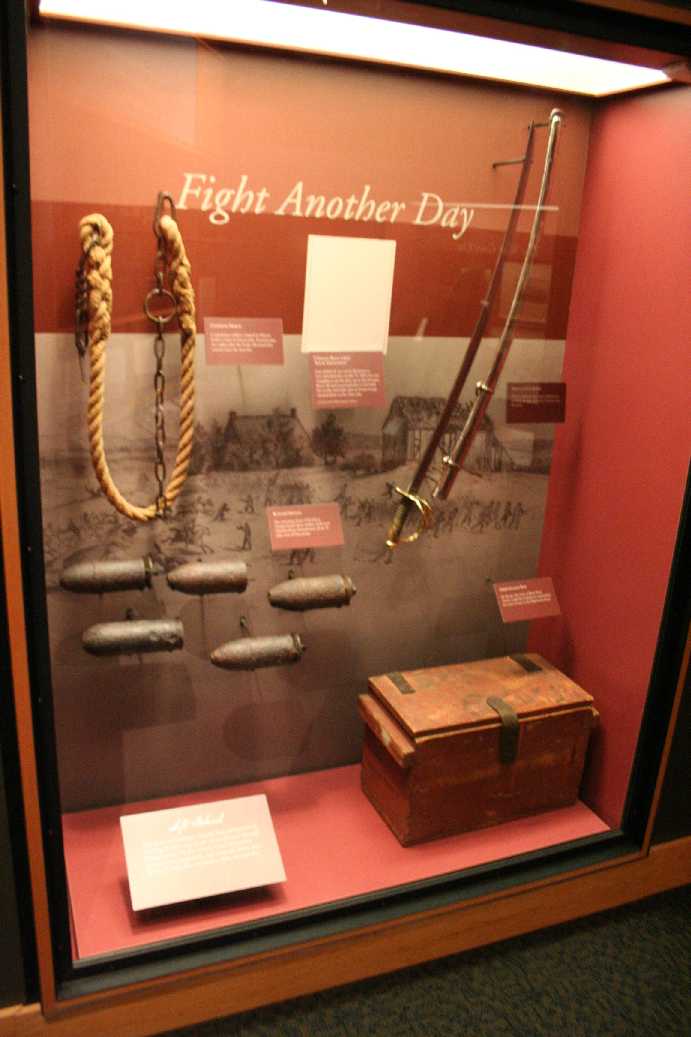
More items of the times. A couple items of note, the first photo
shows some artifacts and discussed the battle at the railroad cut on the north
side of town. The second photo is of a display that discusses the
disorganized retreat through the town of Gettysburg by Union soldiers after they
were routed. The third photo shows some common field artillery items used
by units on both sides. The last is of a uniform of a
fallen Confederate officer. The officer was shot in The Wheatfield and
died sometime later. The uniform still contains the blood stain on the
collar from his wound.
|
(Click on Images for Larger Picture)
|
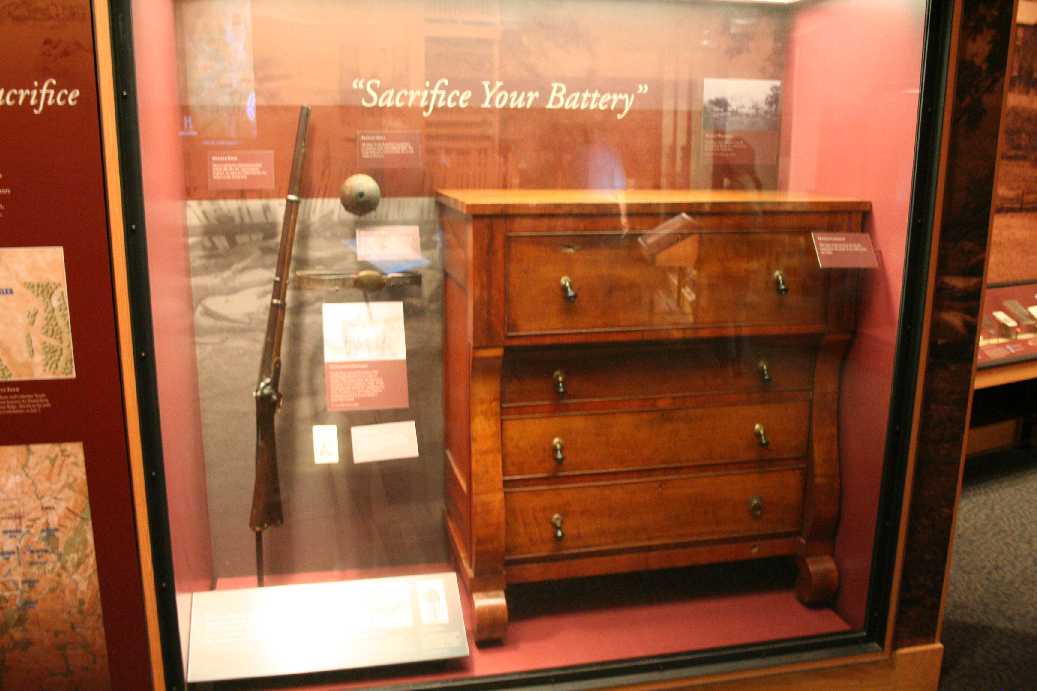
If furniture could only talk, these items would have some stories to
tell. The table in the first photo was used in town as protection from
sharp shooters. You can see the bullet hole in the front. The second
was a dresser that took fire as well. The third photo of items that were
not here at Gettysburg, but still have a story to tell. The stretcher is
believed to be the one that Confederate General "Stonewall" Jackson was carried
to the field hospital after being mortally wounded by one of his own soldiers at
the battle of Chancellorsville. The forth photo is of four tavern chairs
that Union General Reynolds used to sleep on the night before he was killed in
action. And the last photo shows the items that were in the farm housed
used as field headquarters by Union General Meade. They were witness to
the council of war in which the decision was made to stay and stand against the Confederate invaders.
|
Hike Uptown
(Click on Images for Larger Picture)
|
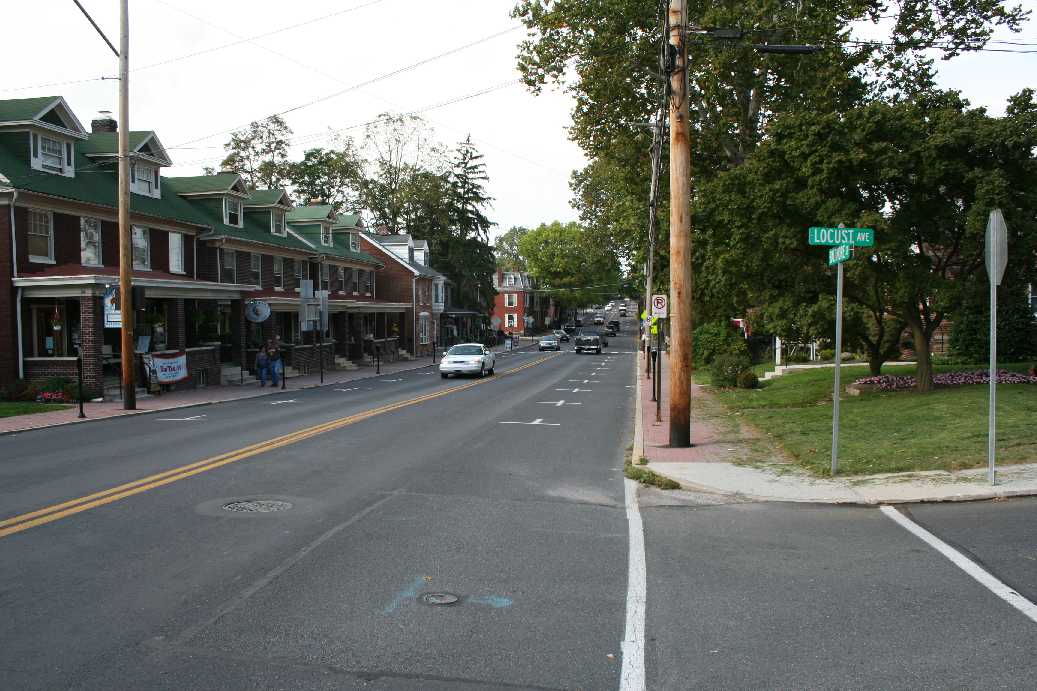
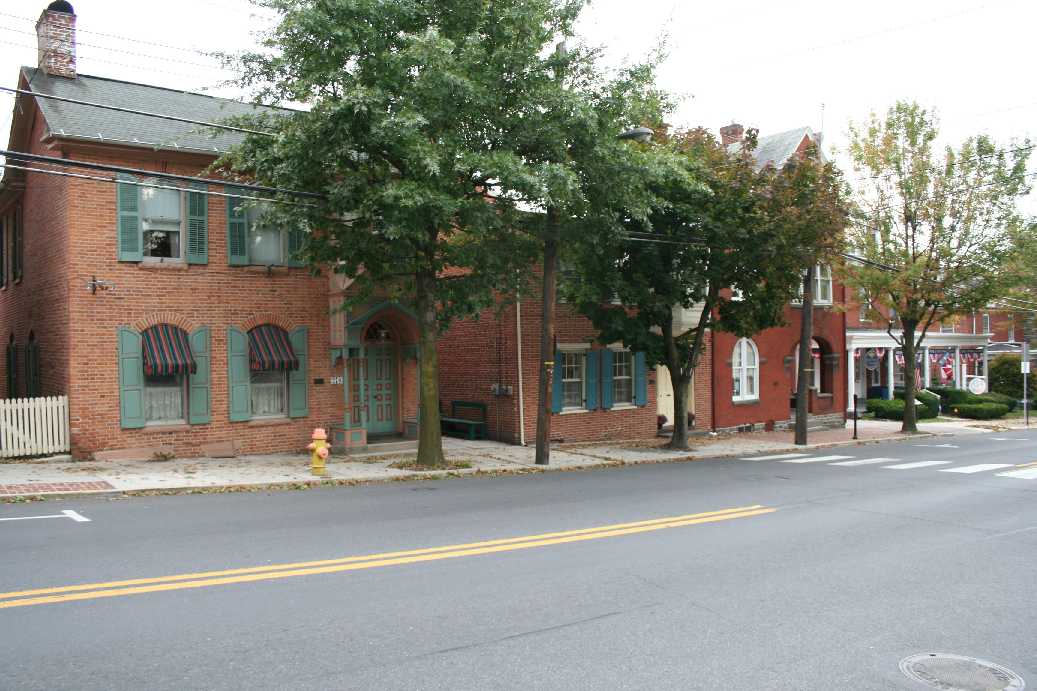
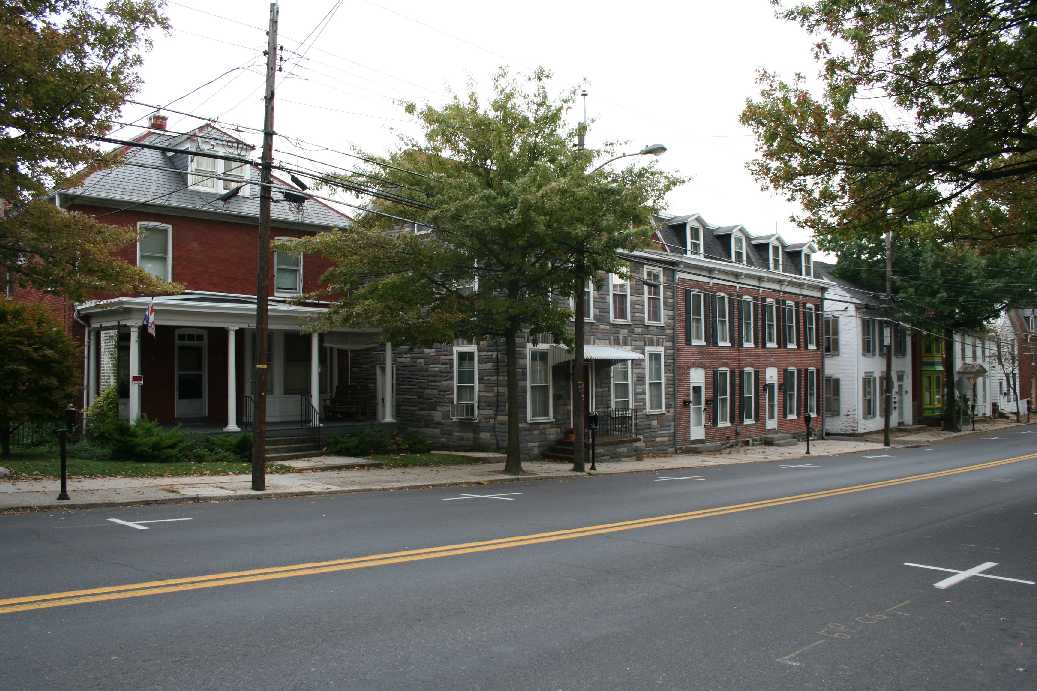
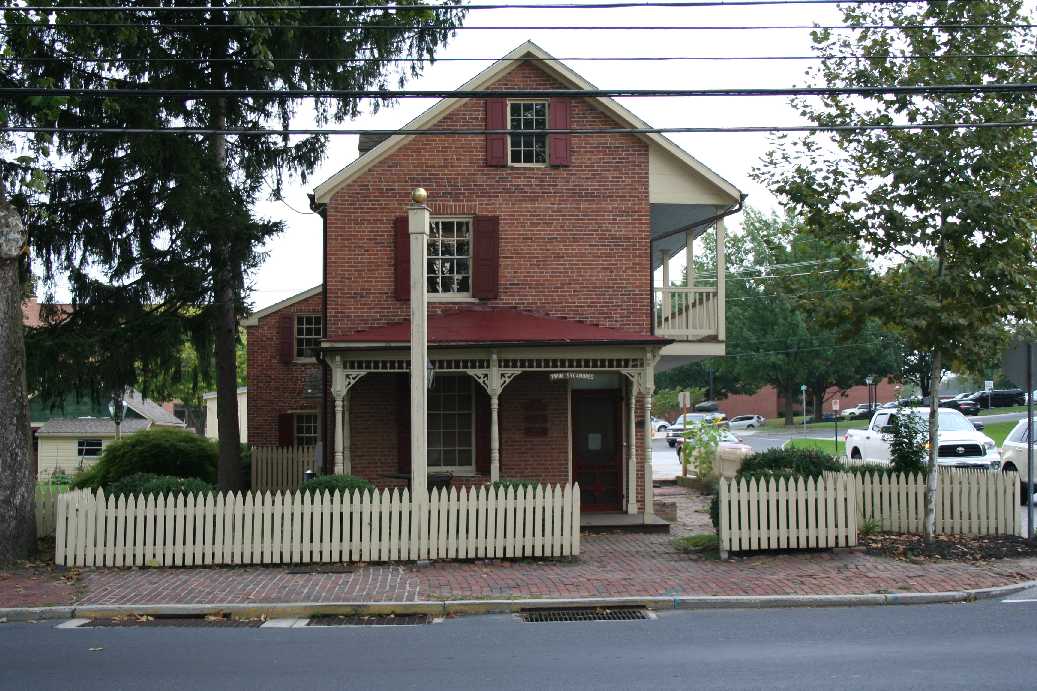
A nice short little hike to take is the one from the hotel to the center
of town. While there are more homes and buildings now than were around at
the time of battle, there are still quite a few structures remaining from 1863.
Those buildings and homes that were around are marked with a plaque.
|
Culp's Hill Hike
(Click on Images for Larger Picture)
|
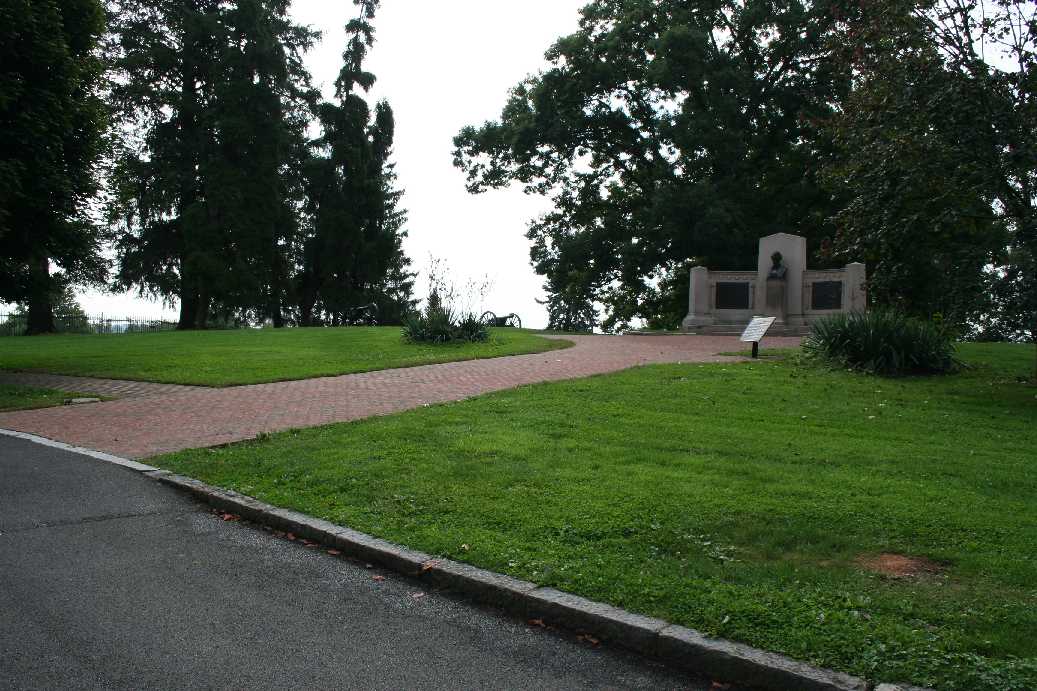
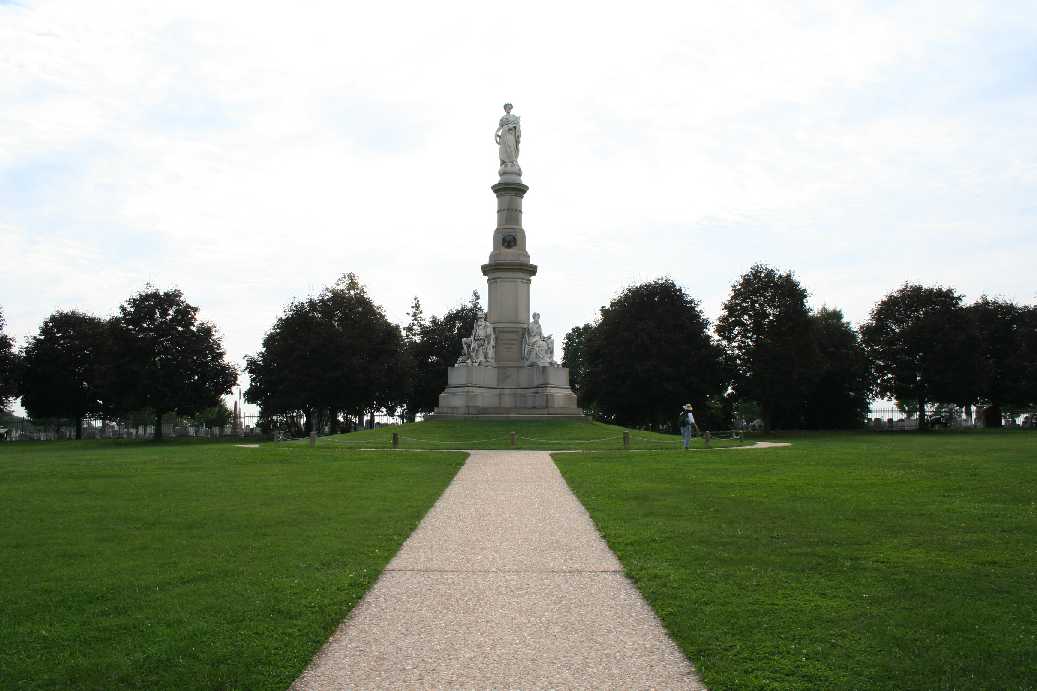
We started our hike to Culp's Hill by touring the National Cemetery.
The first photo is of a marker that commemorates President Lincoln's Gettysburg
address and is located on the site where this took place. The second is of
the Soldier's National Monument located at the center of the cemetery.
|
(Click on Images for Larger Picture)
|
There are only a few places on the battlefield that saw fighting all
three days. One of them was East Cemetery Hill and Culp's Hill, the
extreme right of the Union lines These places were hotly contested all
three days and combat finally ended shortly before Picket's Charge.
The outcome of battle of Gettysburg could have been drastically altered on the
first day of battle. With the Union rout late on the first day, and the
confusion that it caused, Confederate General Richard S. Ewell was given a direct order
from General Lee "to take the hill if practicable." Fortunately for the
Union, General Ewell believed that his troops were too worn to try and take the
hill. Had he moved his troops up the hill, they would have taken it
virtually uncontested. Instead, over the next two days, they attempted to
take the hill; however, they were repulsed each time. This cost many lives
on both sides, but the Confederates finally withdrew to holding positions on the
third day, and pulled out on the forth.
|
(Click on Images for Larger Picture)
|
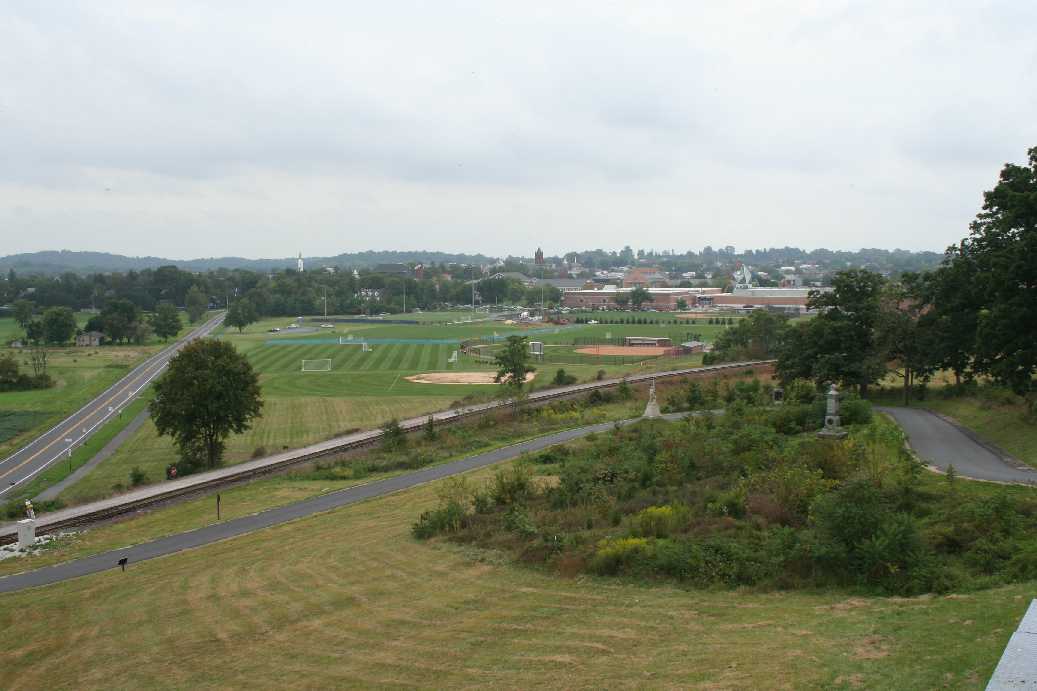
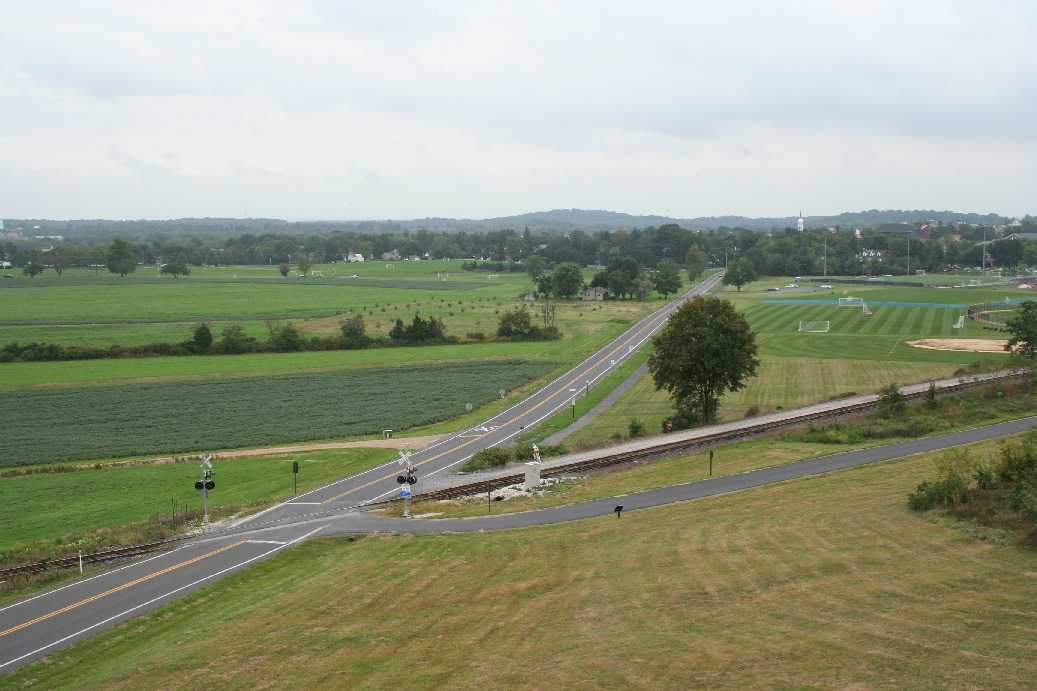
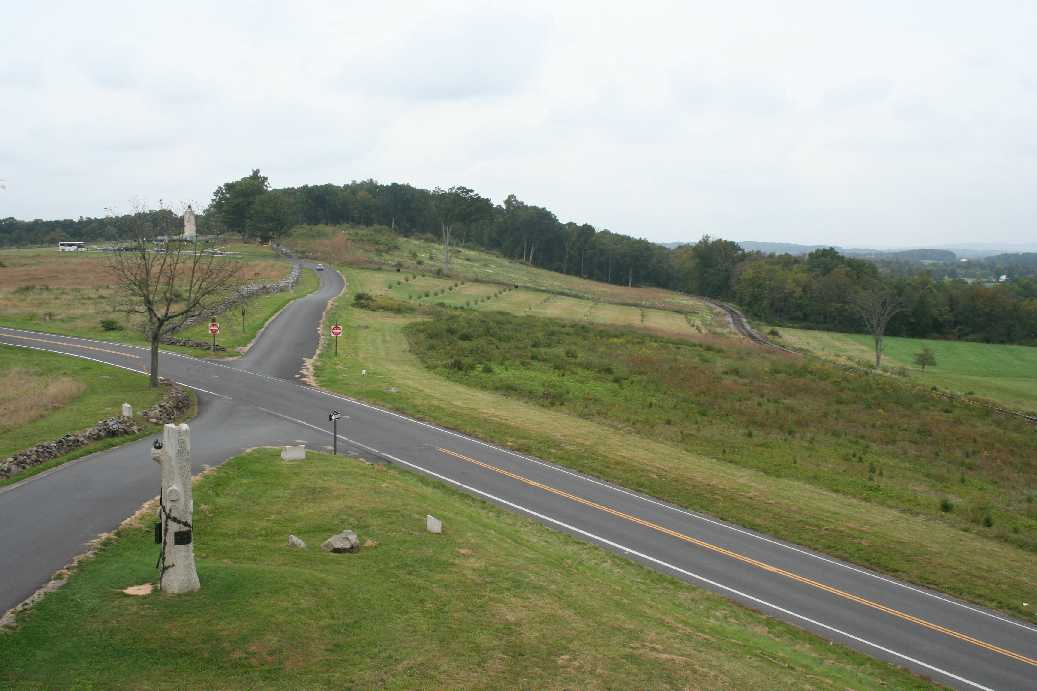
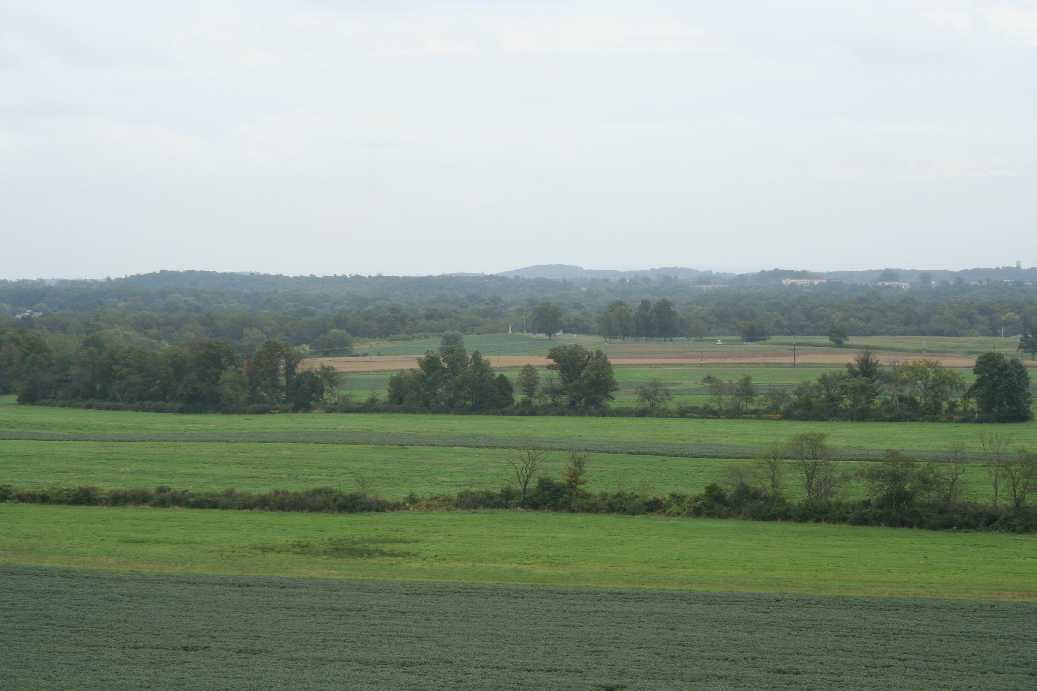
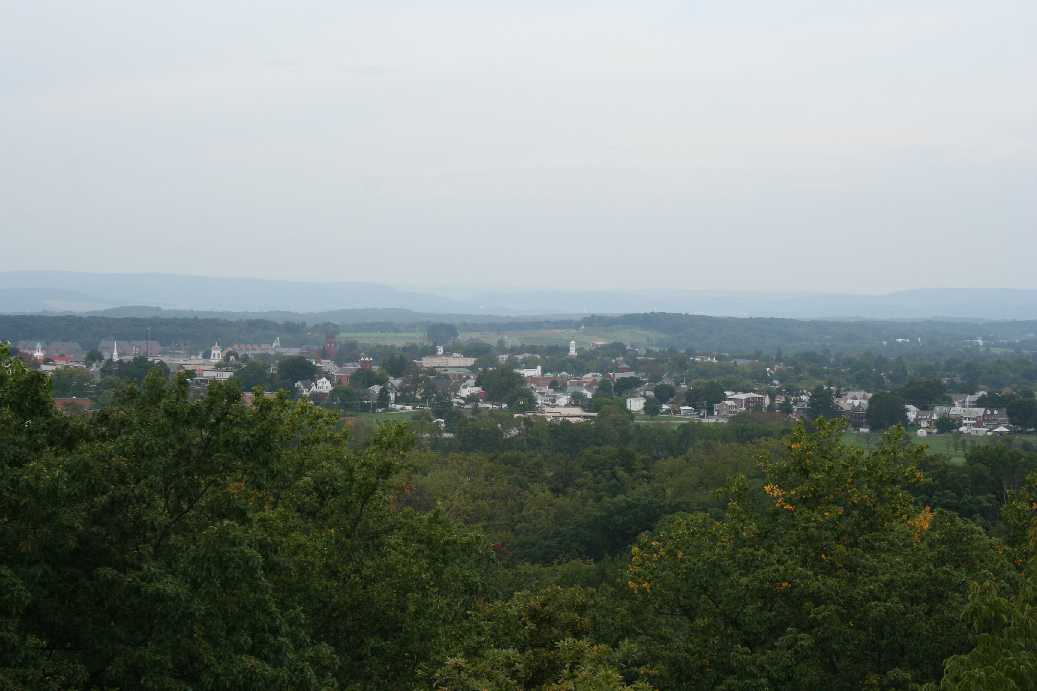
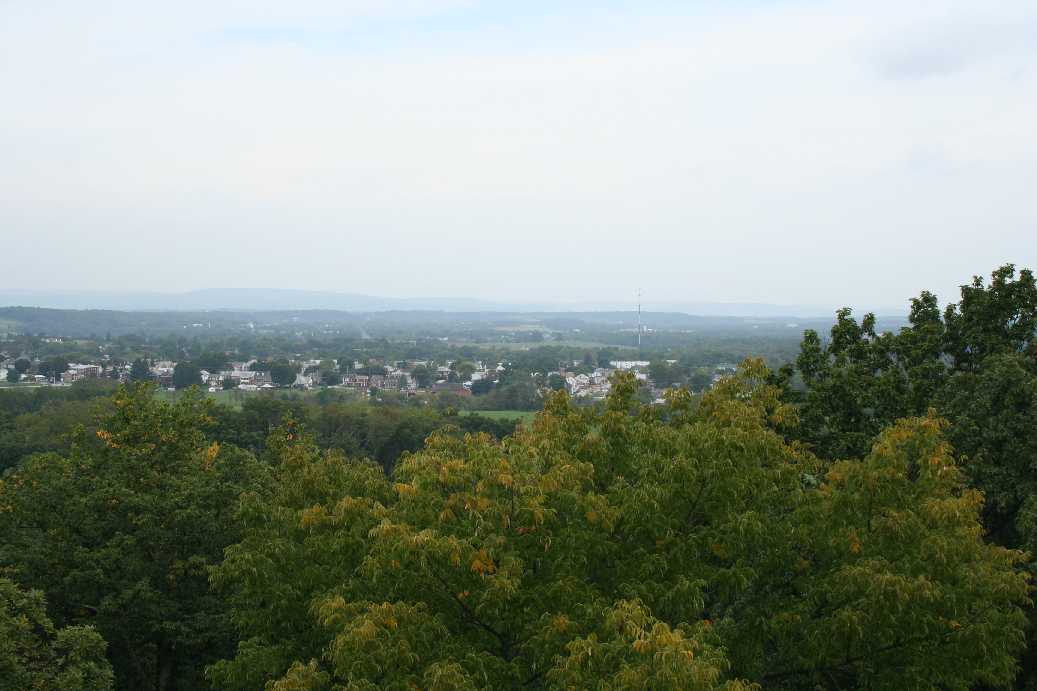
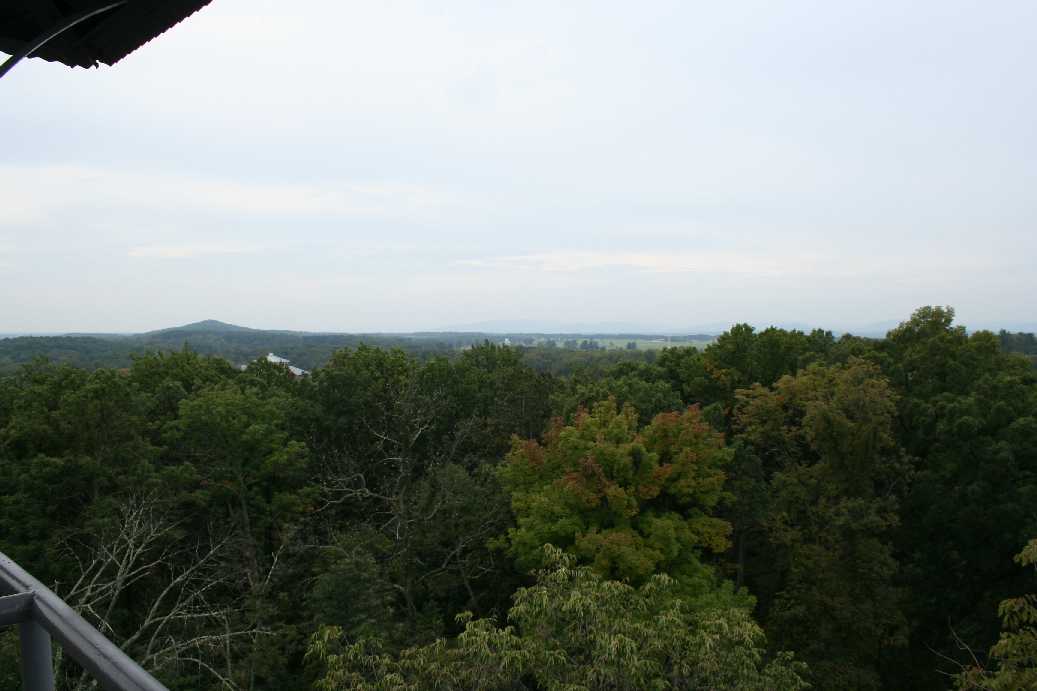
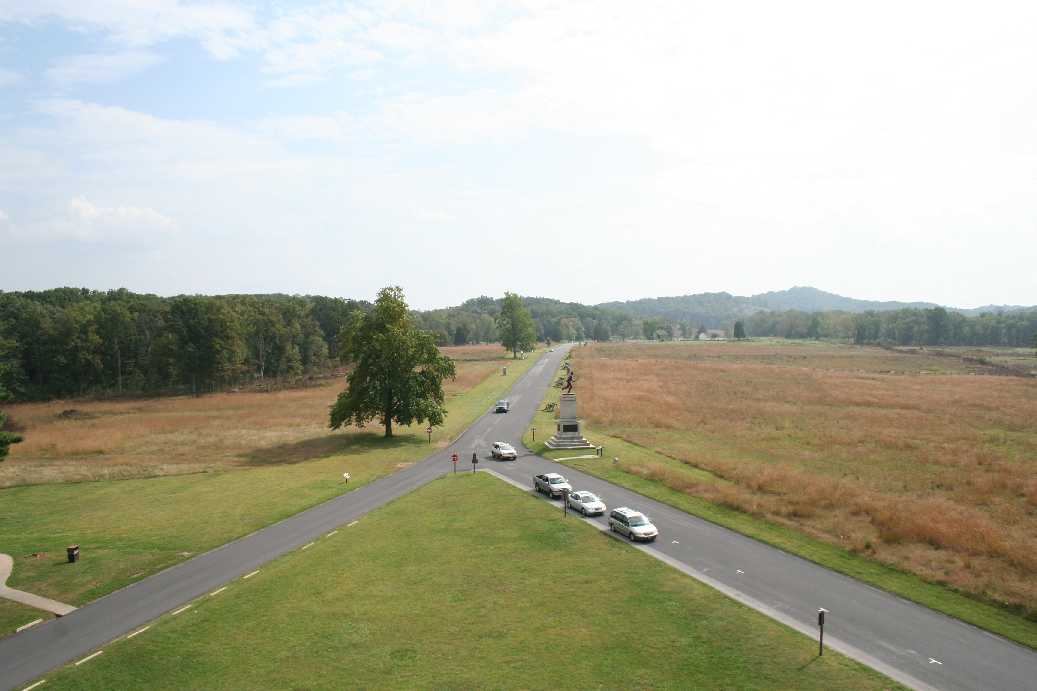
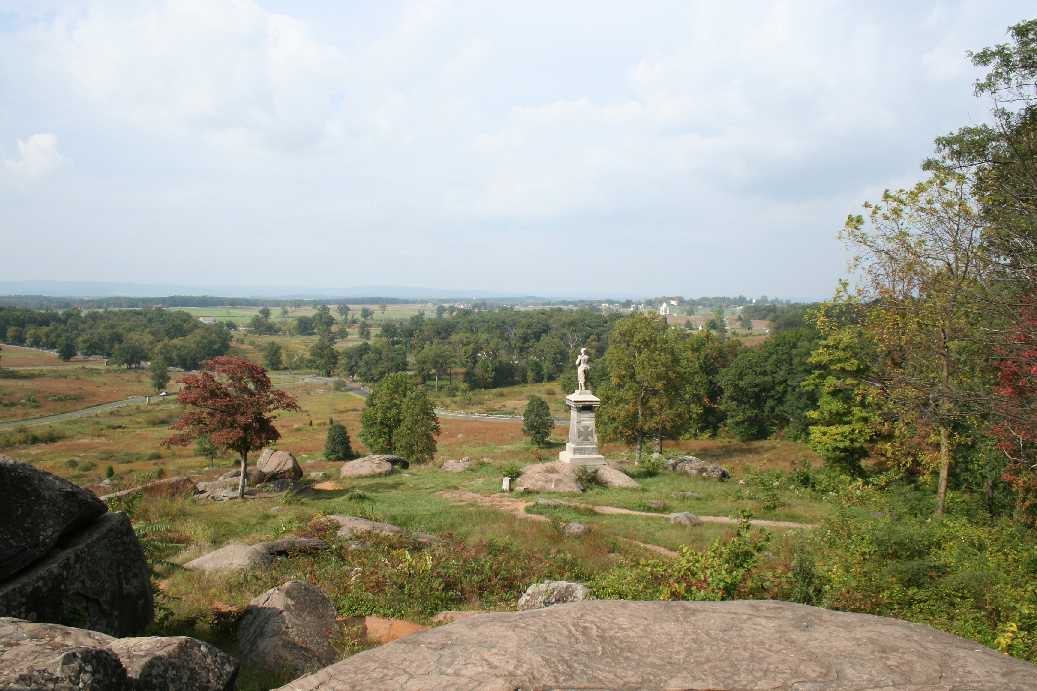
The photos above were taken from a tower on top of Culp's Hill.
The terrain on this side of the battlefield really contrasts with that on the
other side. This really aided the defense of these positions since the
Union could use natural obstacles and barriers for protection, and they didn't
need nearly the same amount of troops to defend the position. In fact, at
one time in the battle, Union troops were pulled from this hill to help defend
on the left. When they were ordered back to the hill, they had found that
Confederate troops had moved into their breast works. Within a short
amount of time, the Union troops were able to repel the Confederate troops and
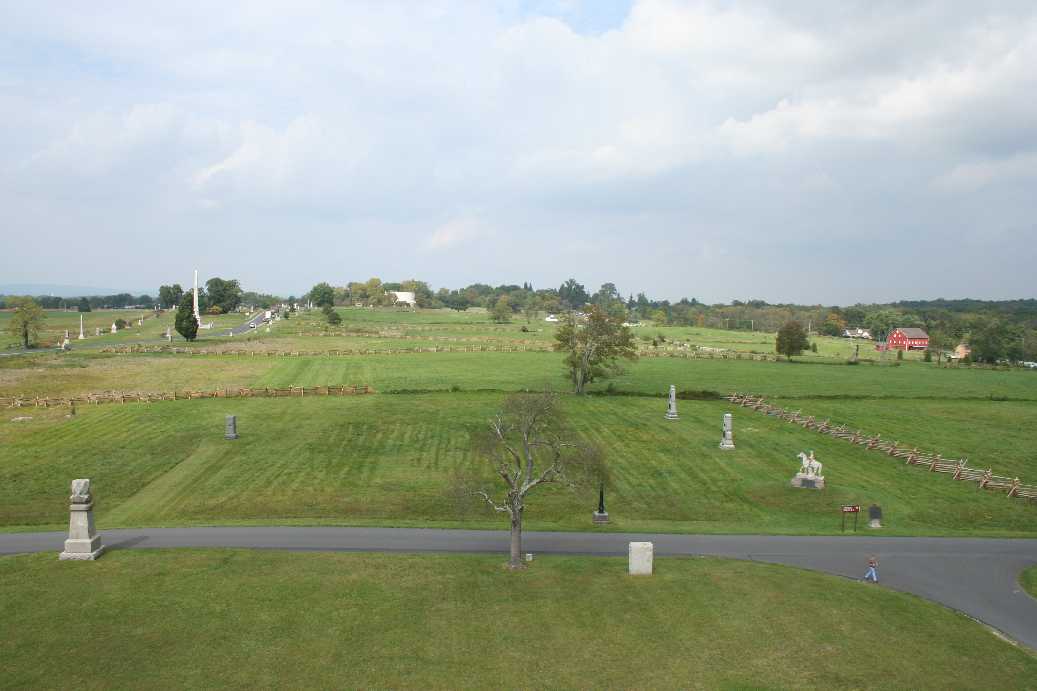
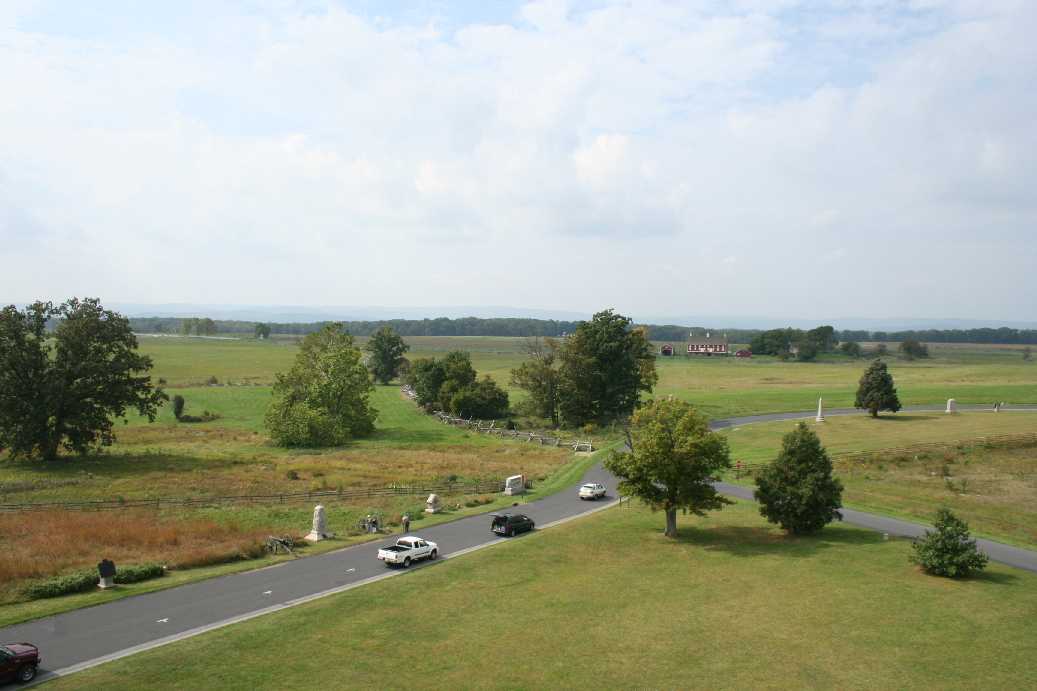
take back their positions. In the first photo below, you can see the
Eternal Peace Light Memorial on Oak Hill in the center of the picture in the
distance. The second photo is of the north part of town. You can
just barely make out Barlow's Knoll just to the left of the red and white cell
phone tower. The third is of the southern battlefield with the top of Big
Round Top visible in left side of the picture. Near the center, if you
look closely, you can see the Pennsylvania Memorial. The last
picture is a closer view of the previous and you can see the top of the new
museum and visitor's center.
|
(Click on Images for Larger Picture)
|
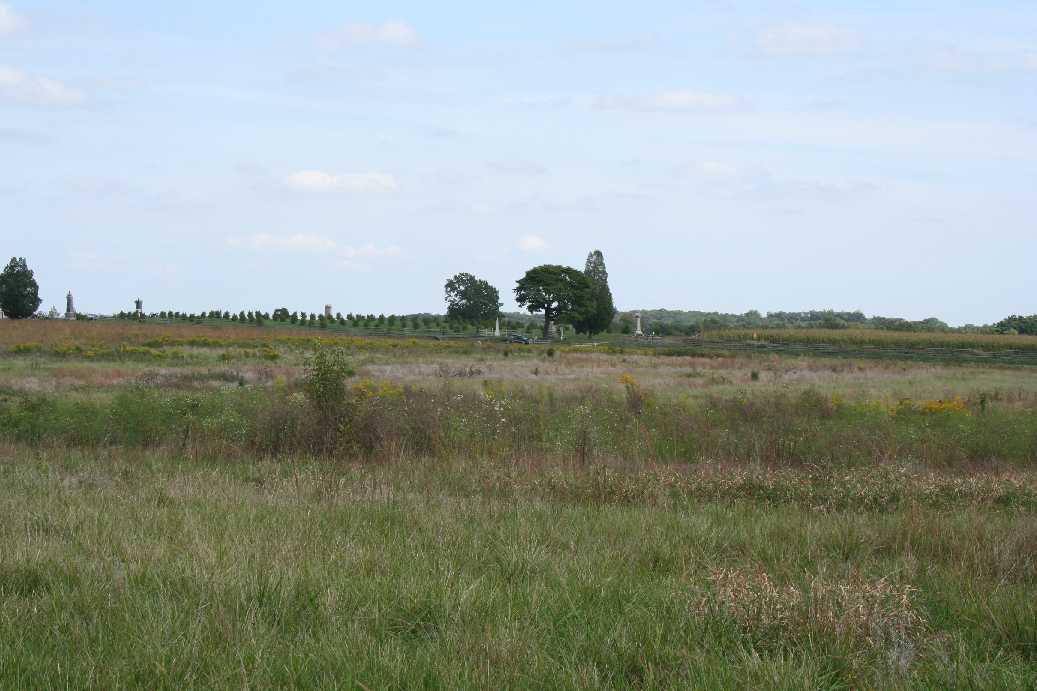
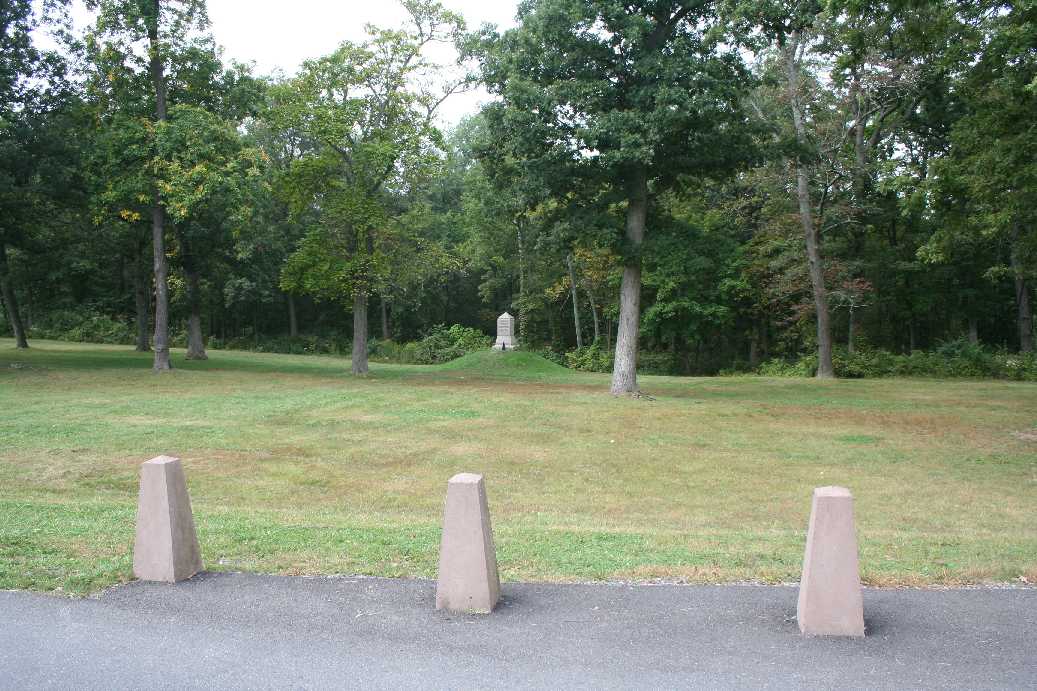
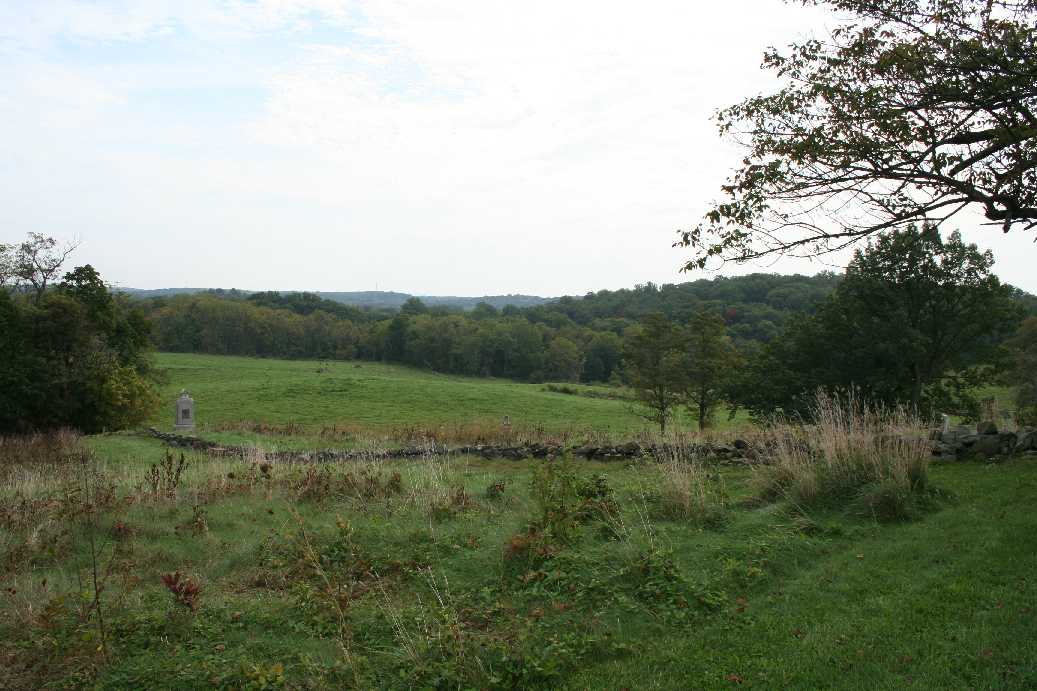
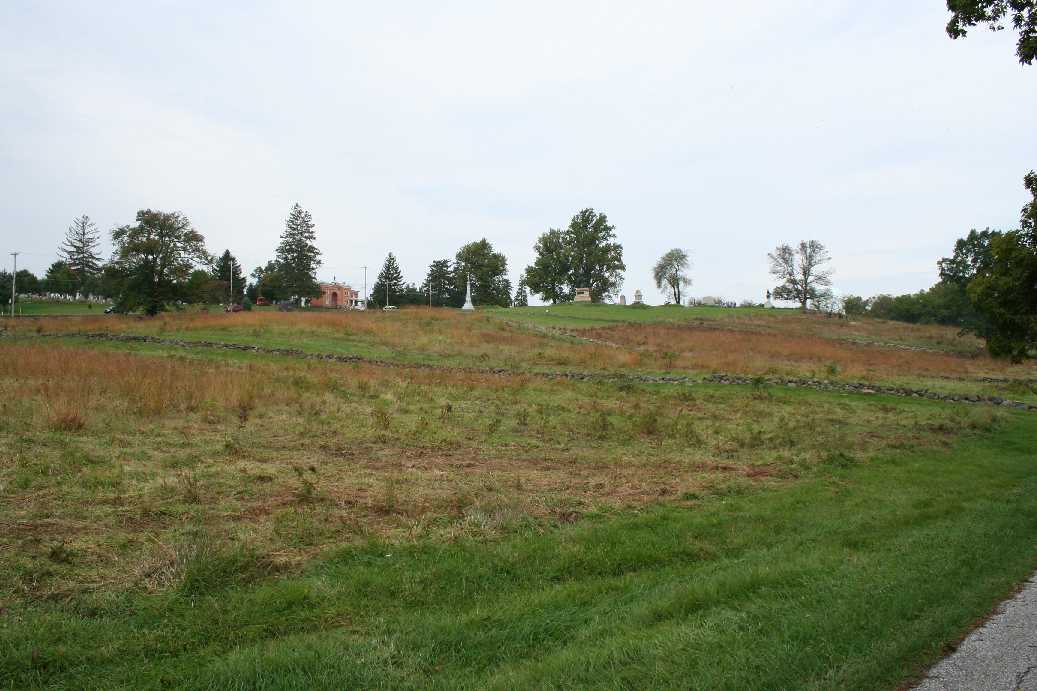
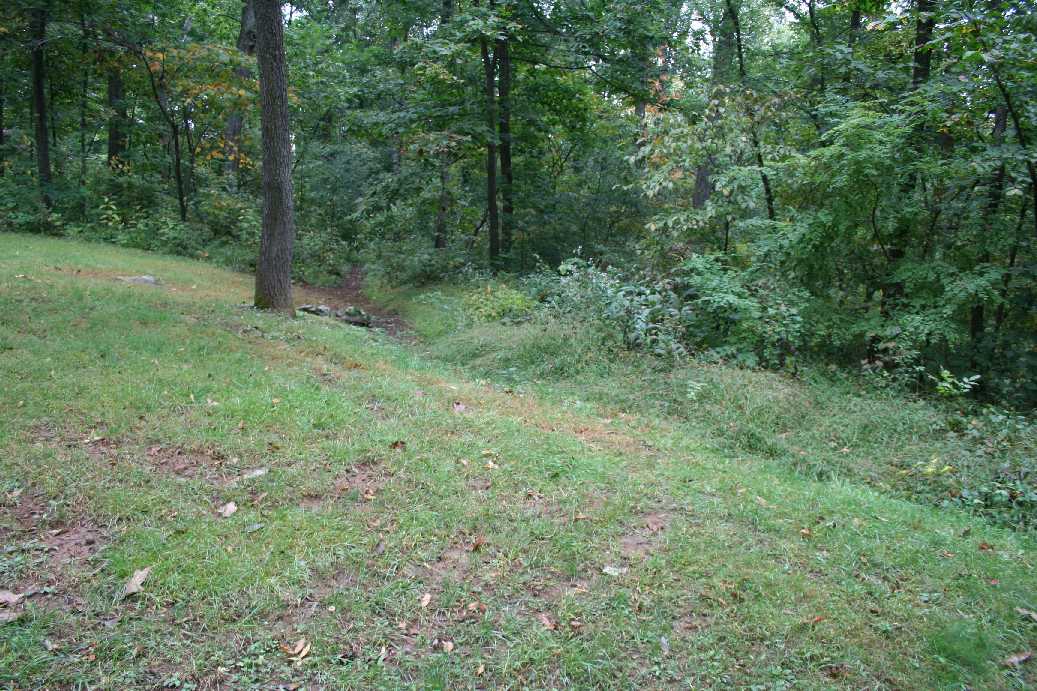
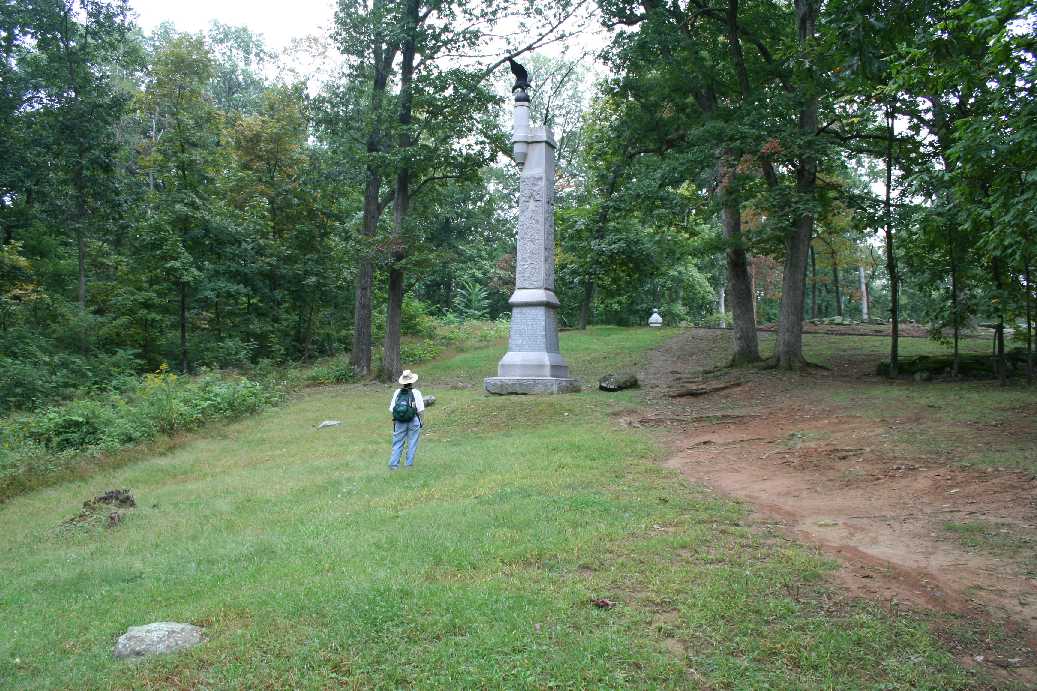
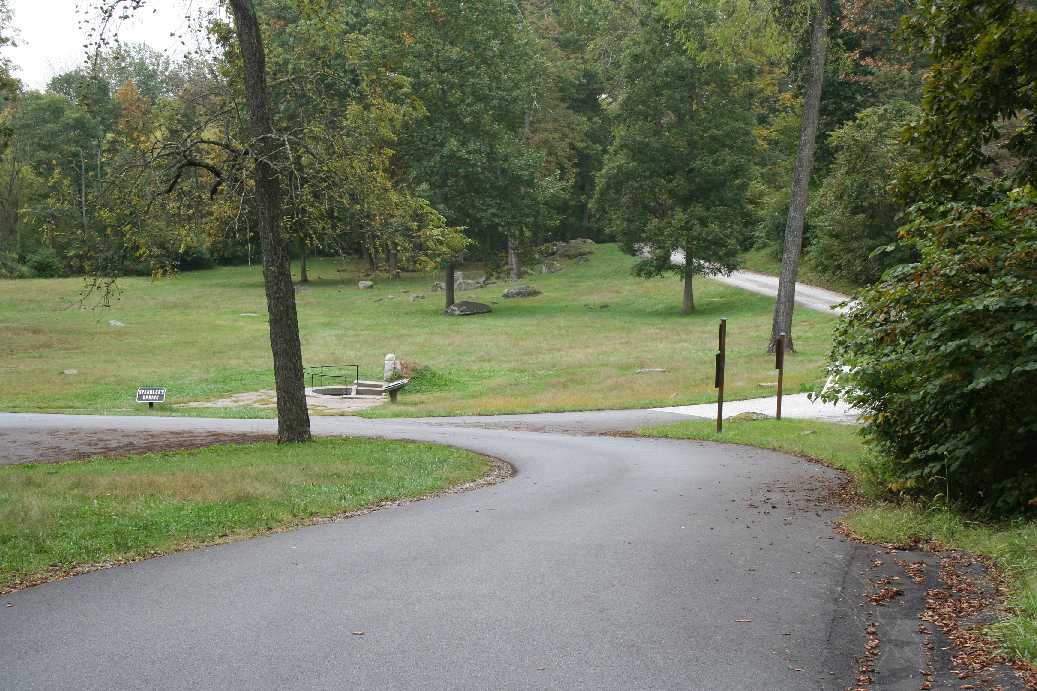
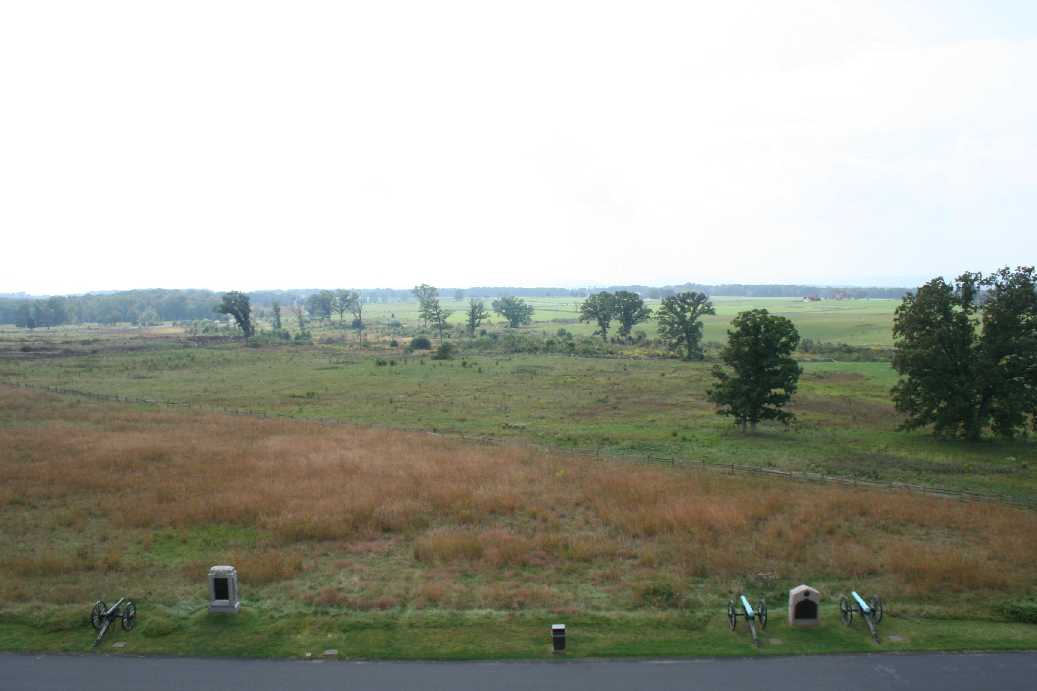
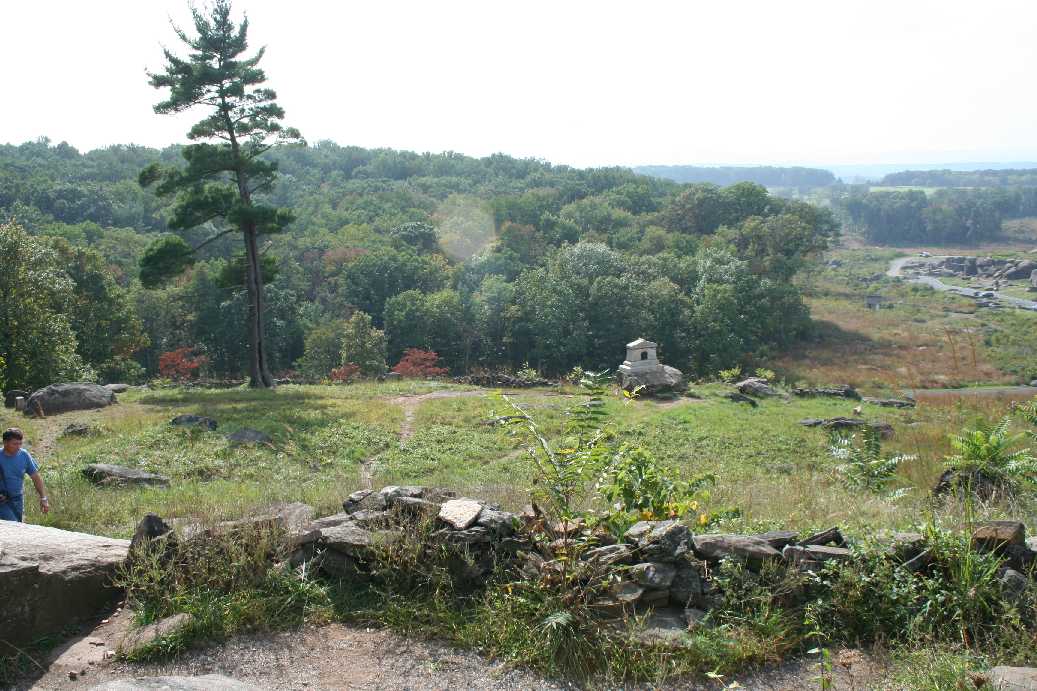
The pictures shown above are from along the lines of battle on
Culp's Hill. If you look closely in the photos, you will
see low long mounds running along the edge of the woods.
These are actually remnants of the breast works built by Union
troops. Another advantage the Union had was this part of
the hill had been under the command of a Union general who had
been trained as an engineer. This was a huge advantage in
setting up the defense and may have been one of the leading
reasons the Confederates were denied victory. The sixth
photo above is of Spangler's Spring. This
spring was used by both Union and Confederate troops during the battle.
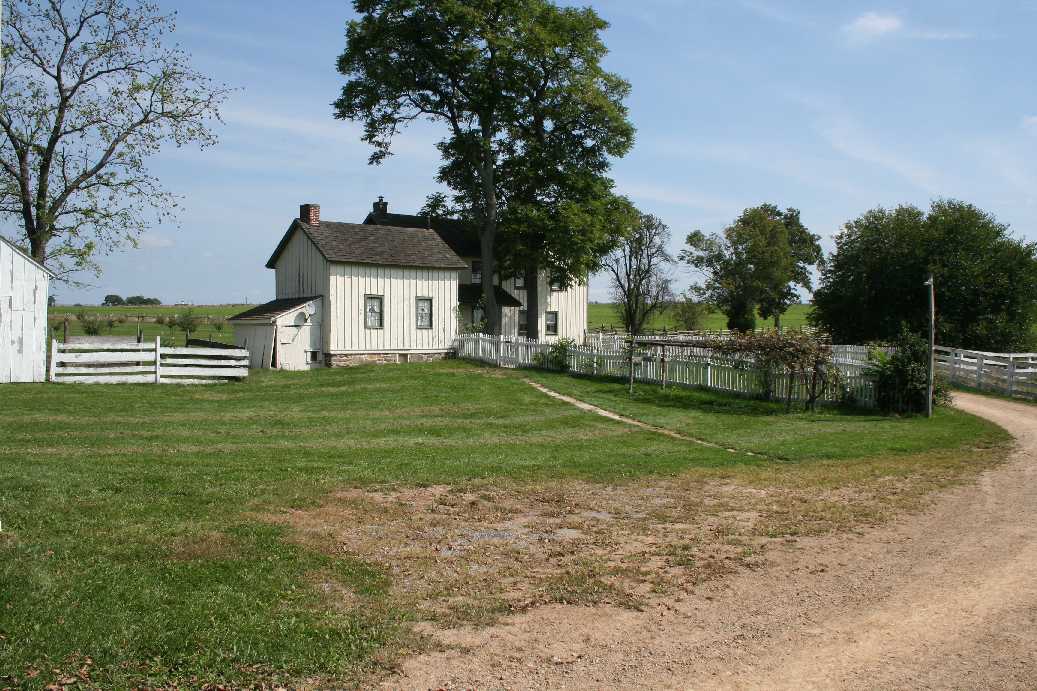
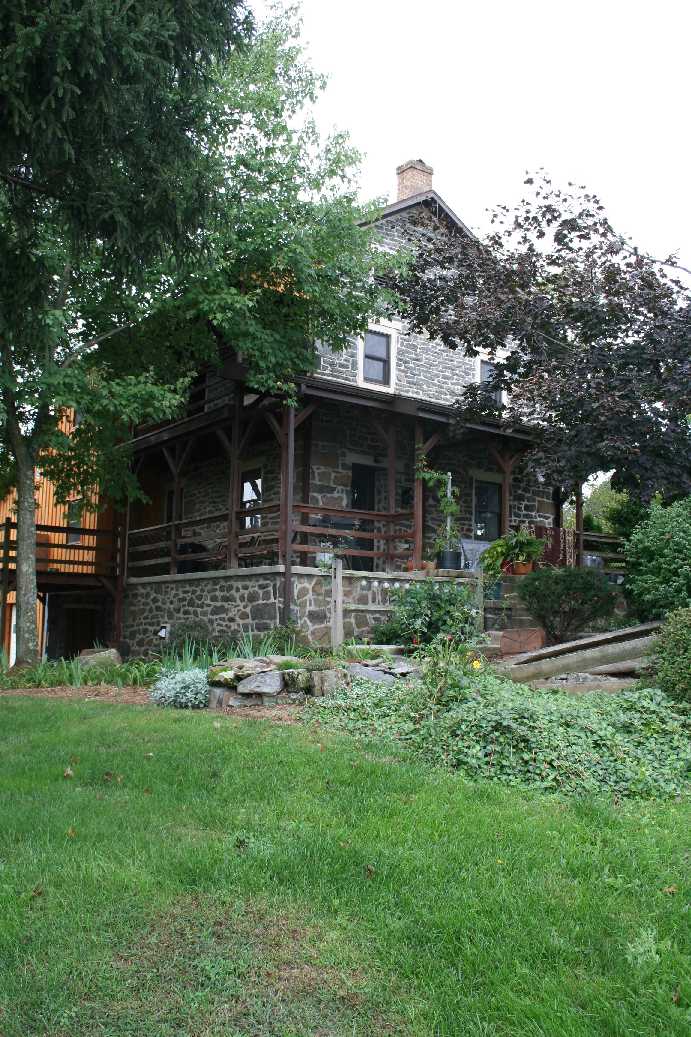
The second to last picture in this series is a house that was used as a Union Field
Hospital.
|
(Click on Images for Larger Picture)
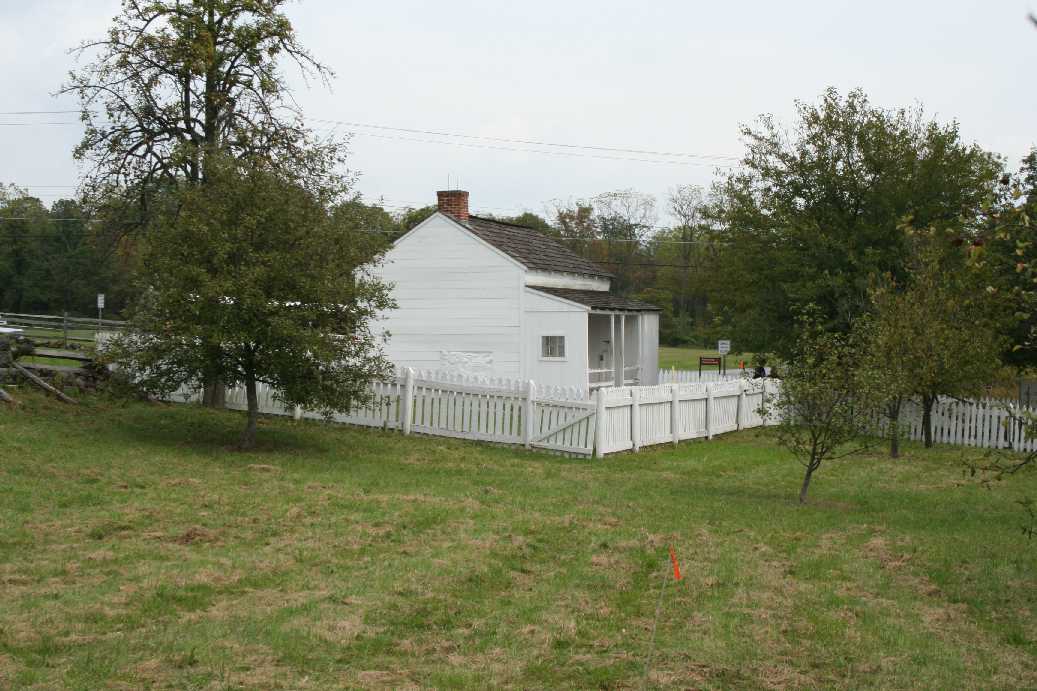
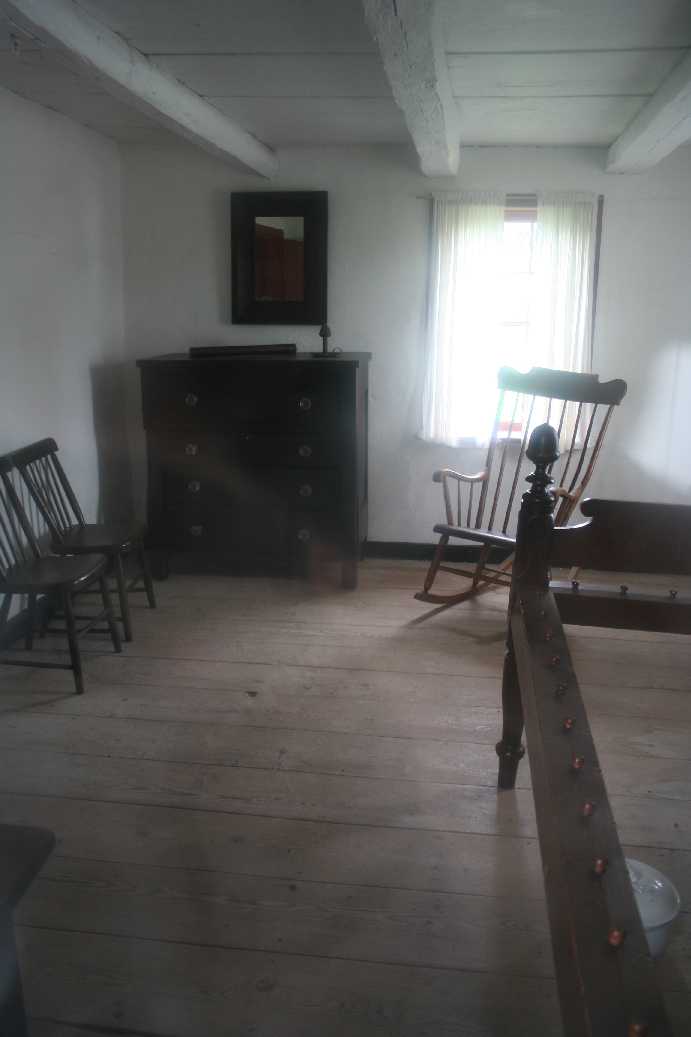
|
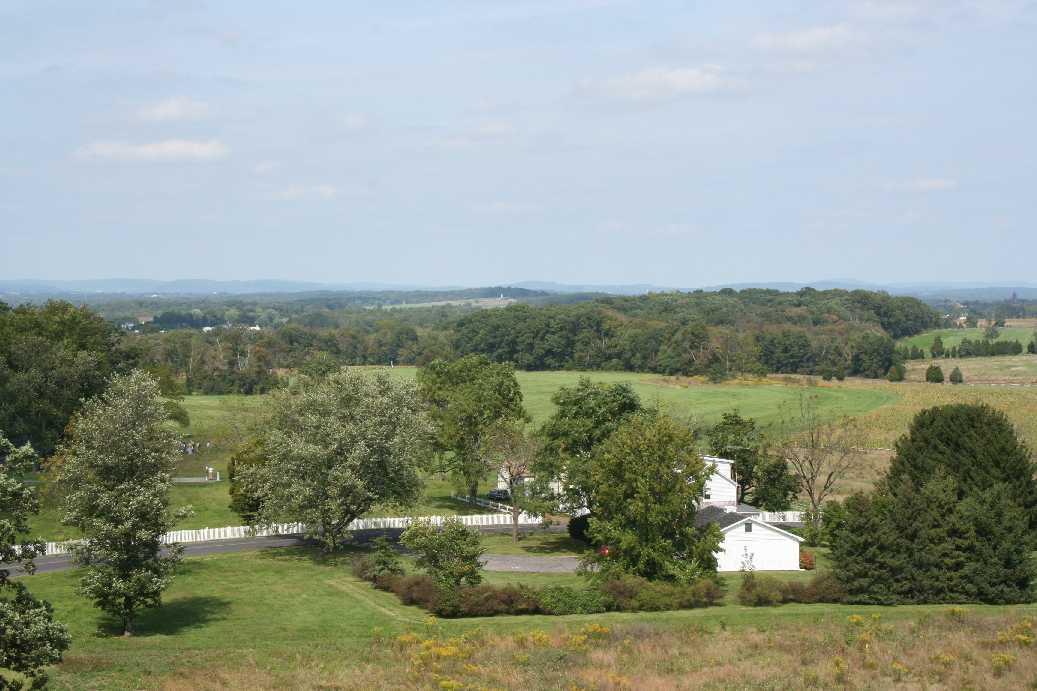
The Commanding General of the Army of the Potomac, General
George G. Meade, used the house in this series of photos for his headquarters. On the third
day of battle, during the opening Confederate canon barrage, this house was
slightly damaged by a canon that over shot it's target on the ridge above.
The furniture that is now inside the house are replicas and the original pieces
of furniture are in the National Museum (shown above.)
|
(Click on Images for Larger Picture)
|
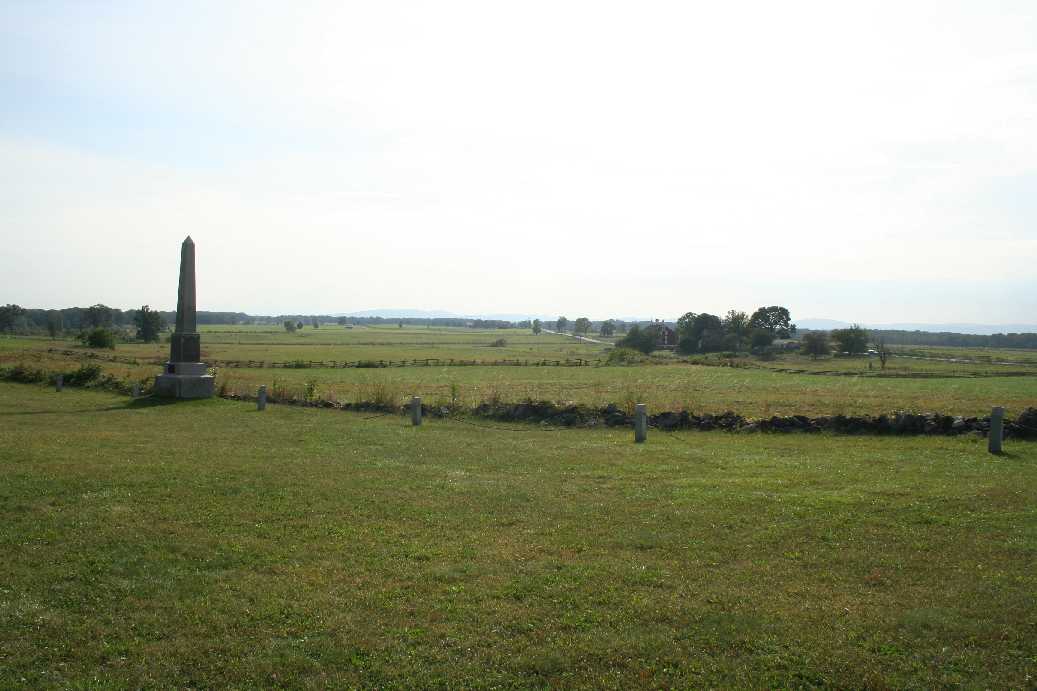
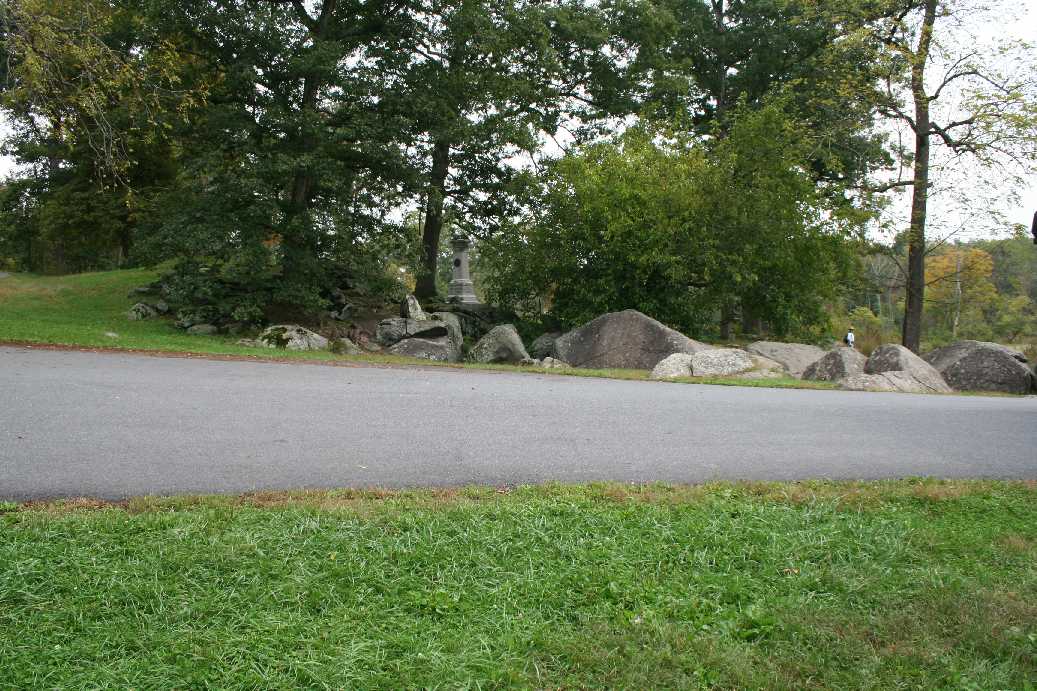
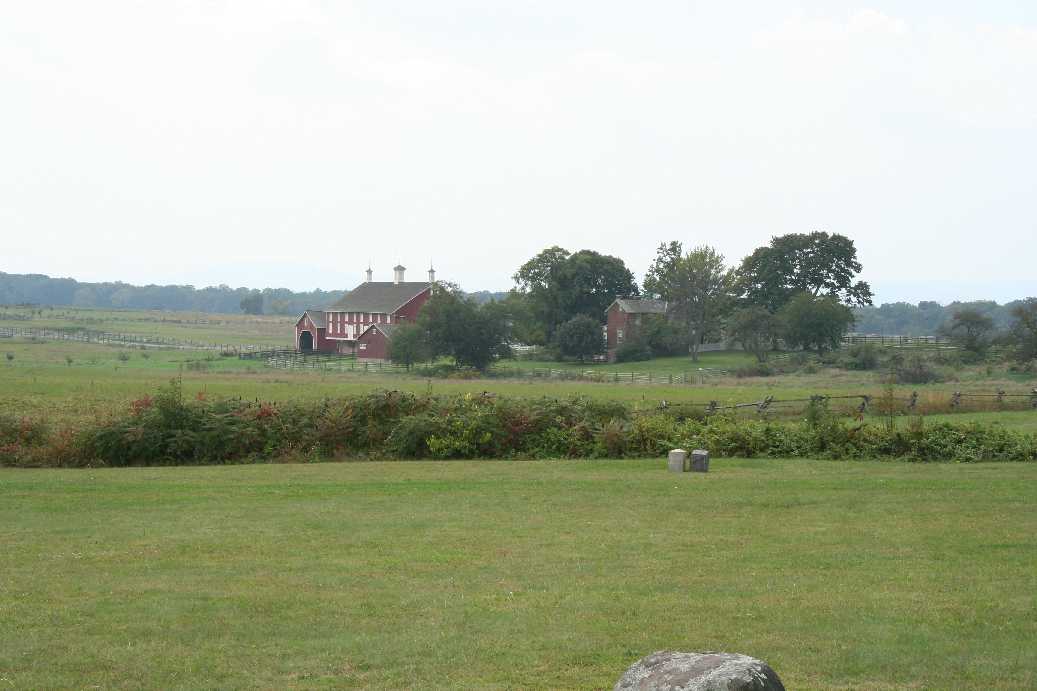
The last series of photos above are of the final hike we took along
Cemetery Ridge down to the top of Little Round Top and ending in the Devil's Den
area. The first picture below is a closer picture of the Codori Farm, the
site from which General Picket commanded the final charge. The next
picture is the base of the memorial dedicated to the 1st Minnesota. The
last is of the Trostle Farm. If you look just a little beyond that, you
can see a portion of the Peach Orchard.
|
(Click on Images for Larger Picture)
|
The photos above were taken from the top of the Pennsylvania Memorial.
the first photo is looking down the ridge toward Big and Little Round Top.
The second is looking north toward the High Water Mark. General Meade's
headquarters is behind one of the trees near the center of the photo.
The third photo is looking west toward General Lee's position during Picket's
Charge. The last is looking west toward the Confederate positions along
Seminary Ridge.
|
(Click on Images for Larger Picture)

|
|
|
From the top of Little Round Top, you get commanding view of the area.
When the battle started on the second day, the only troops here were a Union
Signal Corp. General Gouverneur K. Warren rode up to this position and spotted
Confederate solders moving toward this position. He quickly grabbed Union
Troops coming up from the south and moved them to this position. By
the end of the day, the Union line stretched from here to the top of Big Round
Top. The first photo looks back along the Union line up to the High Water
mark. The second looks out over the valley toward the Confederate position
on Seminary Ridge. Just beyond the trees in the center of the photo is the
Wheatfield, and just beyond that is the Peach Orchard. The third and forth
photo is of The Devil's Den. This is were the Confederate advanced slowed.
Since they were unable to move up the open face of this hill, they moved to the
left of Devil's Den and attempted to use the woods to screen their movements.
The last photo is of the Slaughter Pen and the woods the Confederate troops
moved through.
|
(Click on Images for Larger Picture)
|
One of the most pivotal battles was fought on Little Round Top by the
20th Maine under the command of Colonel Joshua Chamberlain. They
were one of the groups of Union Troops moving into Gettysburg when they were
placed into battle here. The 20th Maine was already greatly under strength
when they were given the position of the extreme left of the Union Army.
Had they run from their position, the entire army could have been rolled up and
defeated. After hours of battle, running low on ammunition, and
stretching their lines nearly to the breaking point to meet the Confederate
flanking maneuvers, Colonel Chamberlain called out an order that astounded
everyone involved. "Fix Bayonets!" Using the advantage of being
uphill, he ordered the bayonet charge into oncoming Confederate forces.
The Confederate Troops were repelled and pushed back to the Devil's Den area.
For his action during the battle, Colonel Chamberlain received the Medal of Honor.
|
(Click on Images for Larger Picture)
|
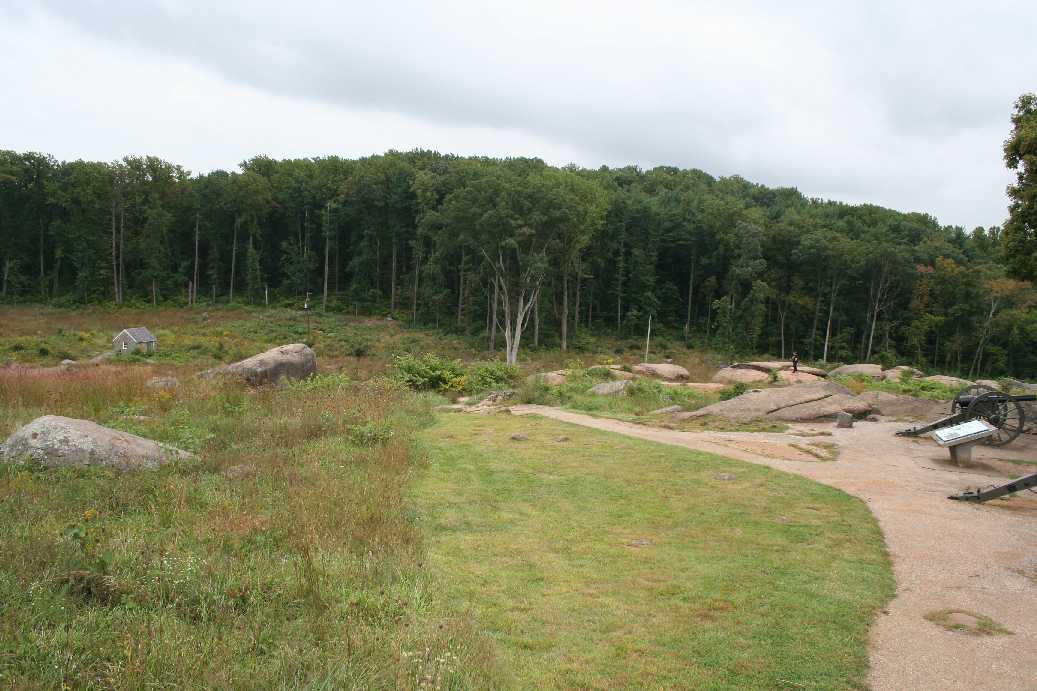
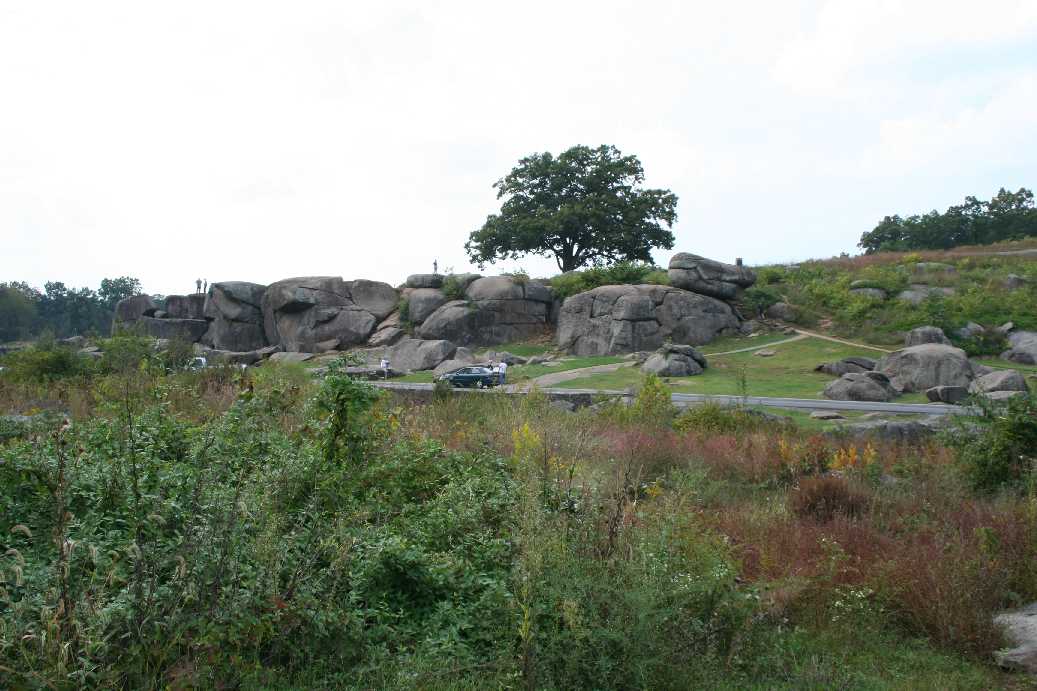
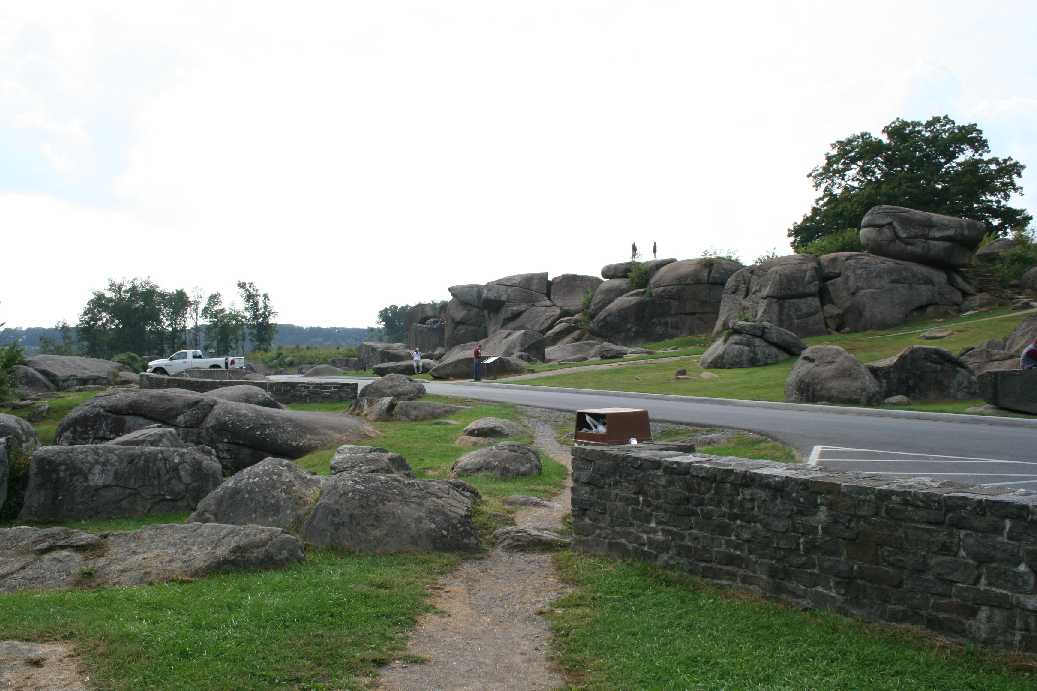
A very impressive portion of the battlefield is that of The Devil's Den.
The Confederate Generals did not realize how rough the terrain really was until
they were engaged. While it gave them good cover from fire received from
Little Round Top, the valley was far too open and offered little to no cover.
With the Union in command of the heights, the Confederate advance was stopped cold.
|
(Click on Images for Larger Picture)
|
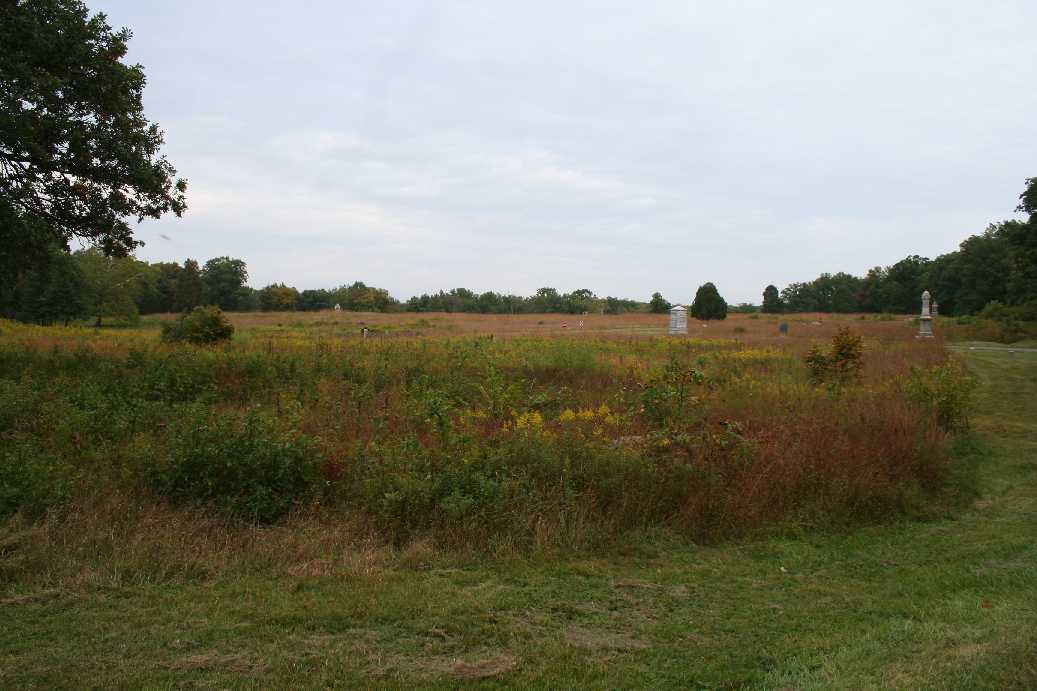
The final two pictures are of the Wheatfield. I have mentioned
this location before, but didn't explain the significance of the action
witnessed here. After the Union Troops retreated from the Peach Orchard,
the Confederates attempted to move through this location to strike at the left
of the Union army. This was prior to the action on Little Round Top.
Confederate Troops ran into stiff resistance here by Union Troops. The
field changed hands many times during the afternoon of the second day of battle.
Even field artillery pieces changed hands over the course off the battle, but in
the end, the Confederates could not break through and the Union lines were
held. Combat action slowly moved toward the Round Tops.
|
|