Gettysburg 2012
This year, our
annual fall trip was to Gettysburg, Pennsylvania. One of
our goals this time was to explore the surrounding area a bit more.
We took a couple of driving tours, following a couple of scenic routes
shown on our map,
and we also hiked through town a bit more. Of course, we still
explored the battlefield, and even took a day to hike from our
campground, just behind Little Roundtop, all the way up to Oak
Hill and the Eternal Peace Light Memorial and back. Turned out to
be a nine and a half mile hike, but it was well worth it.
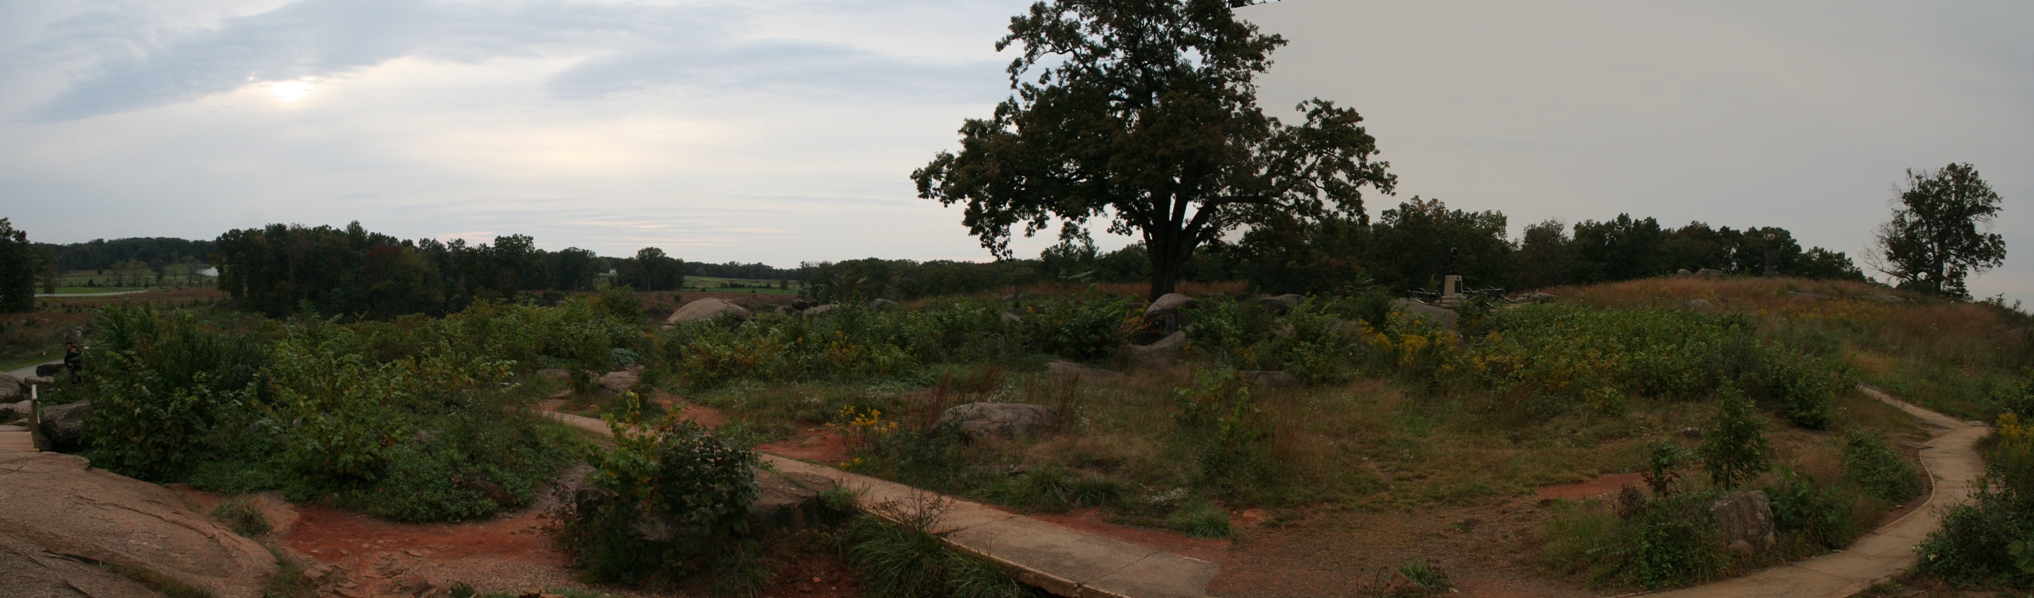
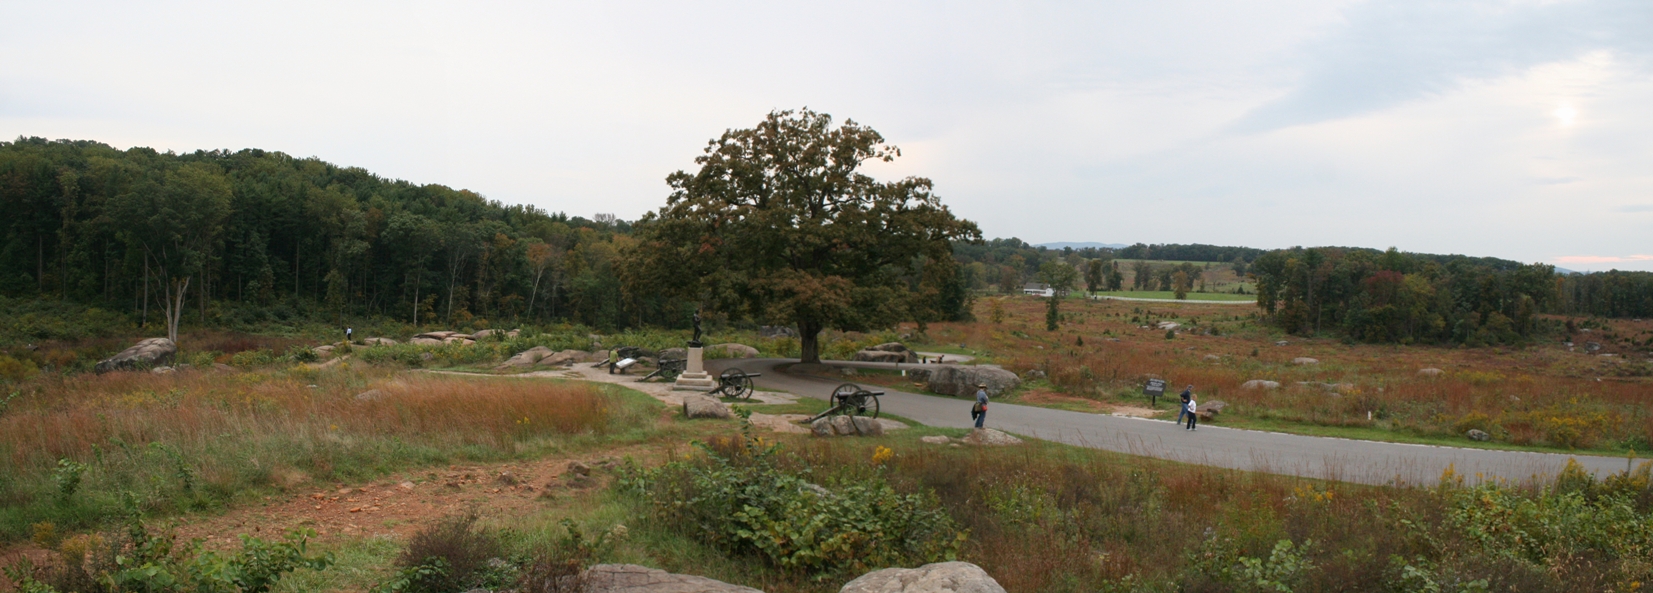
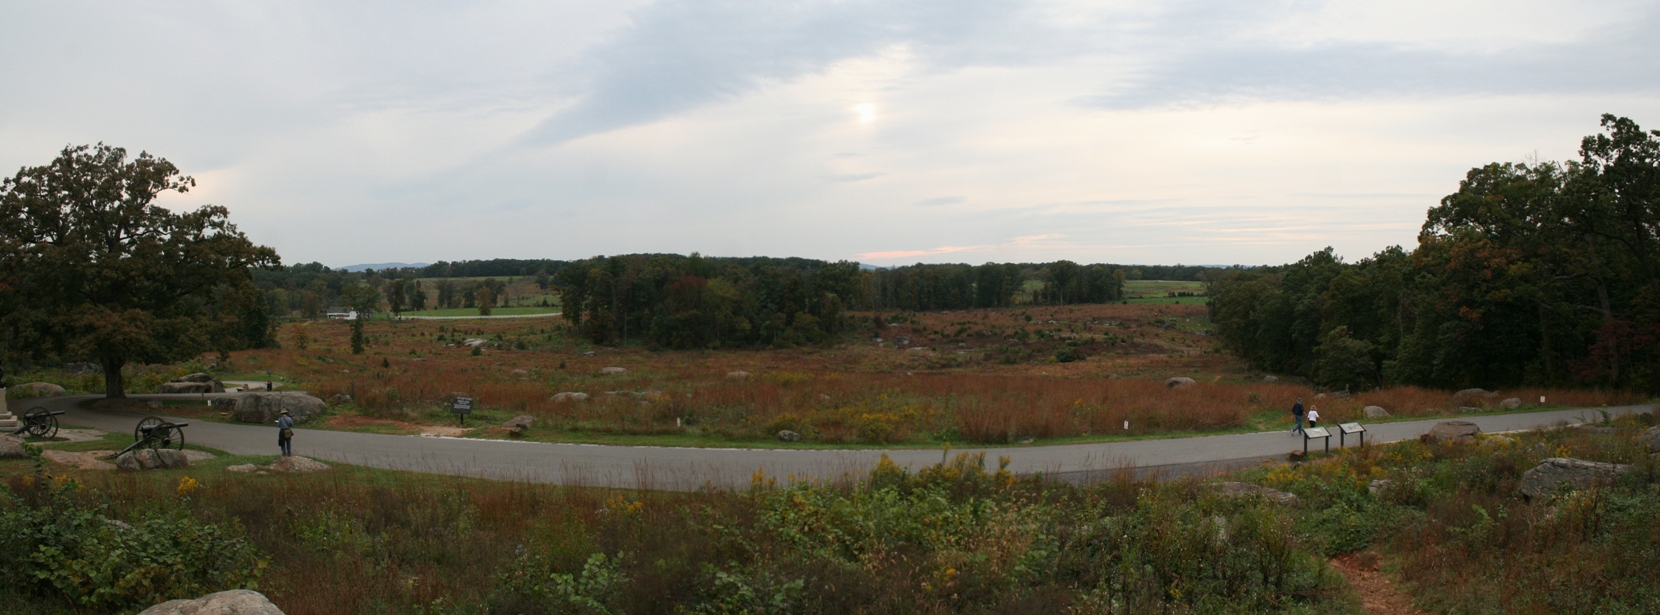
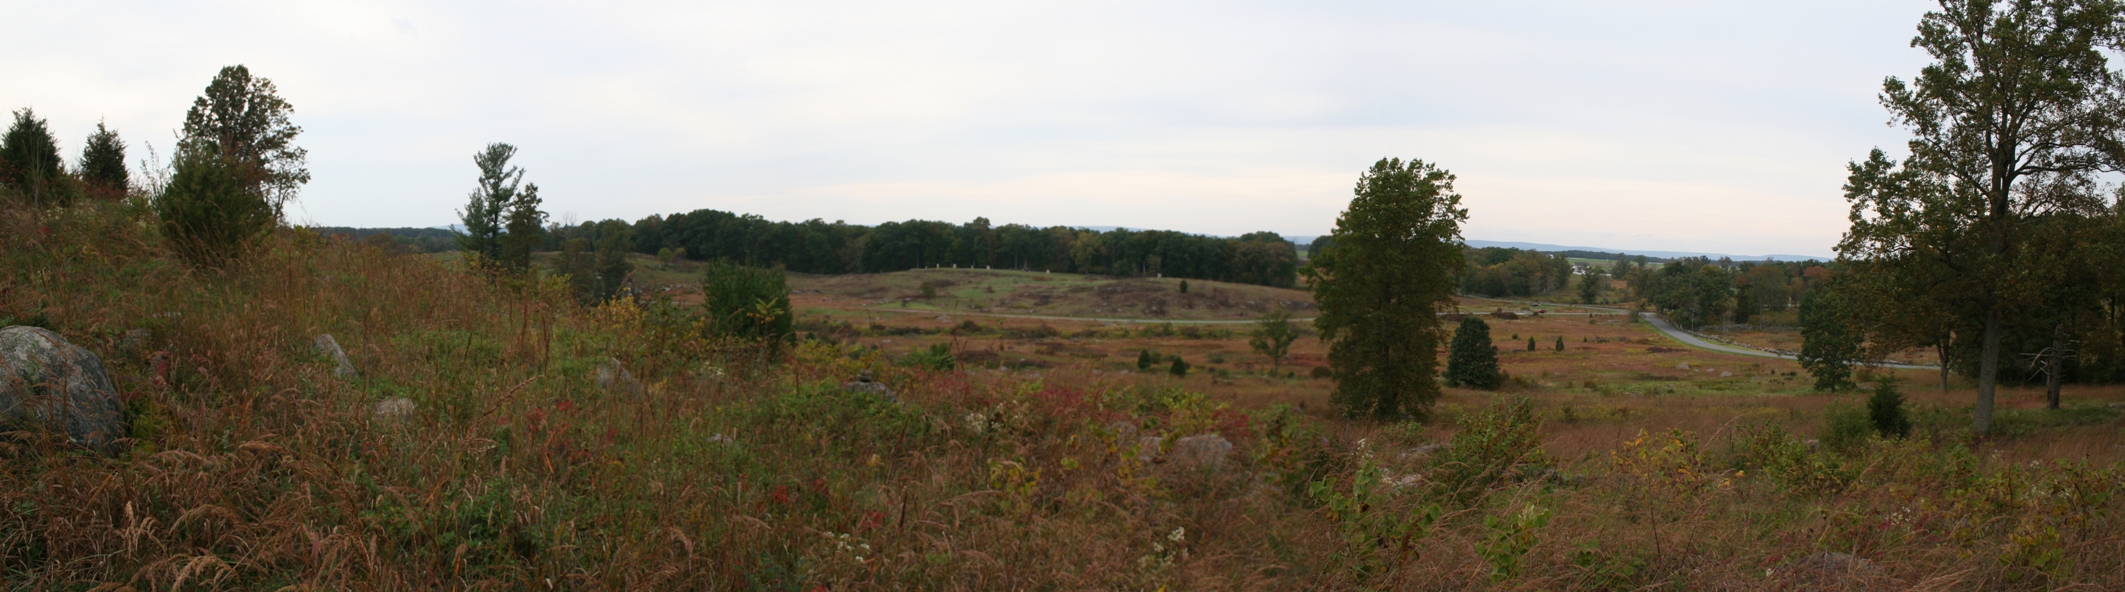
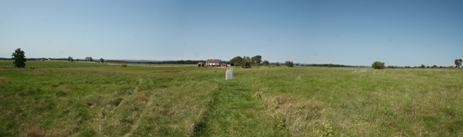
Also, new in this album is my first attempt at panoramic photos.
Eventually, I will be looking into a way to take a panoramic
photo, but for this album, I manually stitched a few photos
together. I hope you enjoy them.
Scenic Country Tour
(Click on Images for Larger Picture)
|
The
first day of our trip, we decided to take a driving
tour of the surrounding area. There is a lot
of history around Gettysburg that unfortunately gets
overlooked. We saw signs describing troop
movements, historical buildings, and monuments, as
well as other historical facts about the area not
necessarily connected to the battle. I did
capture a video of the driving tours and I
plan to eventually post them on the website.
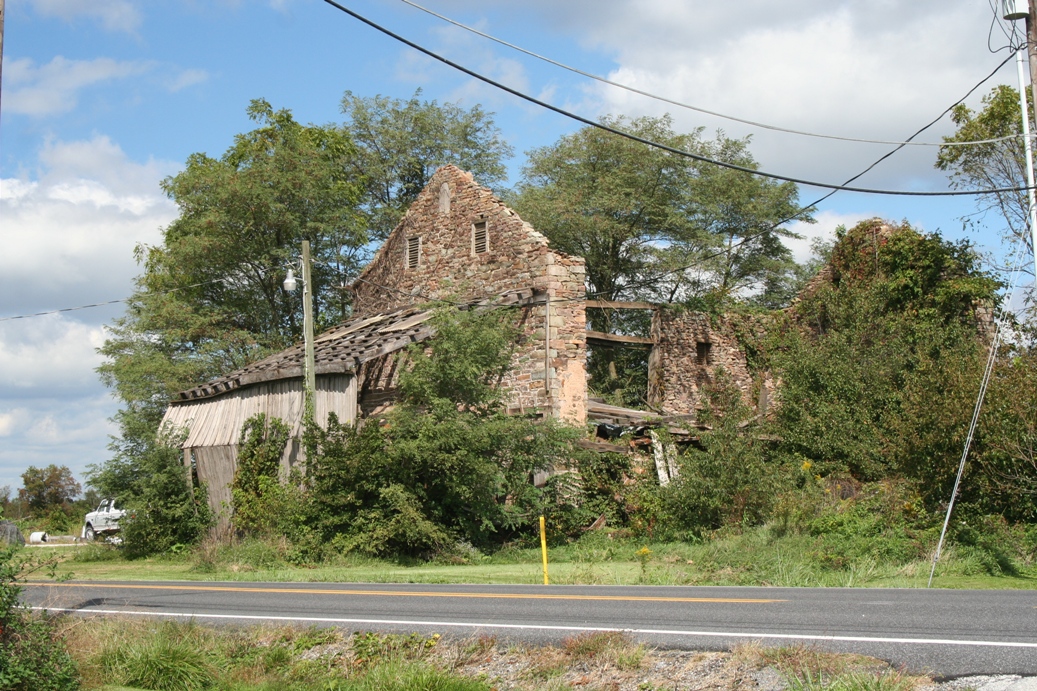
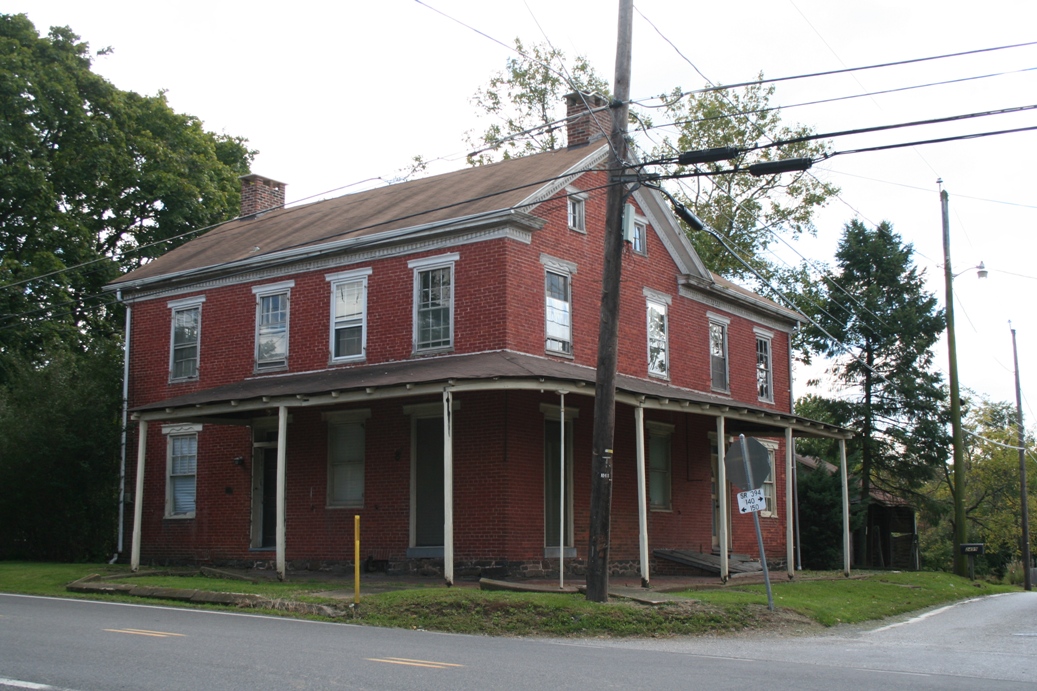
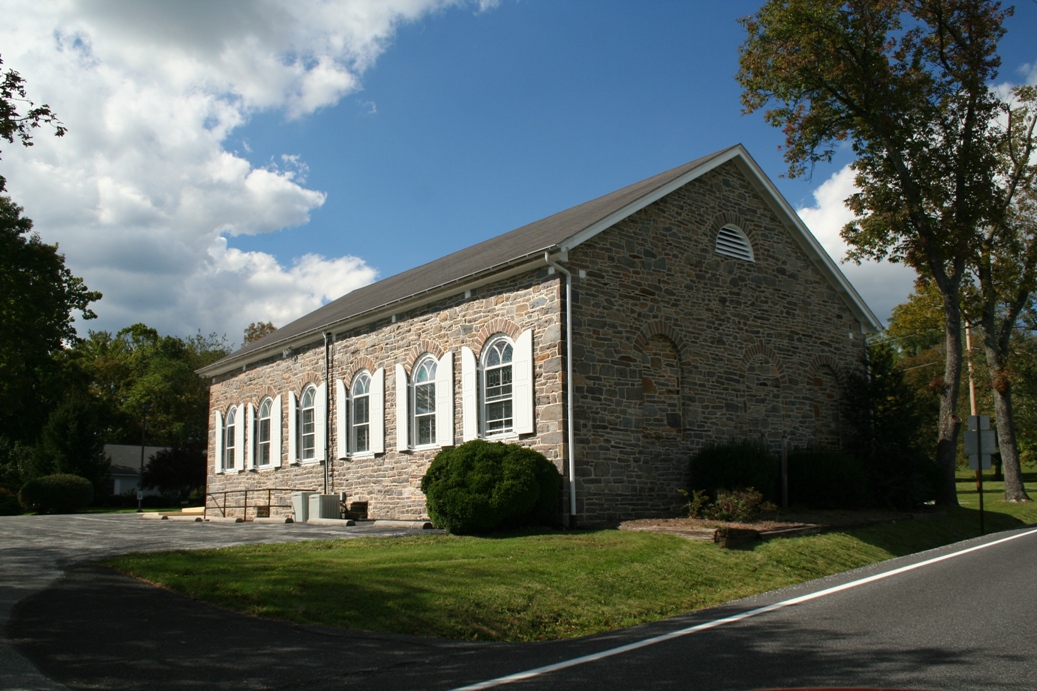
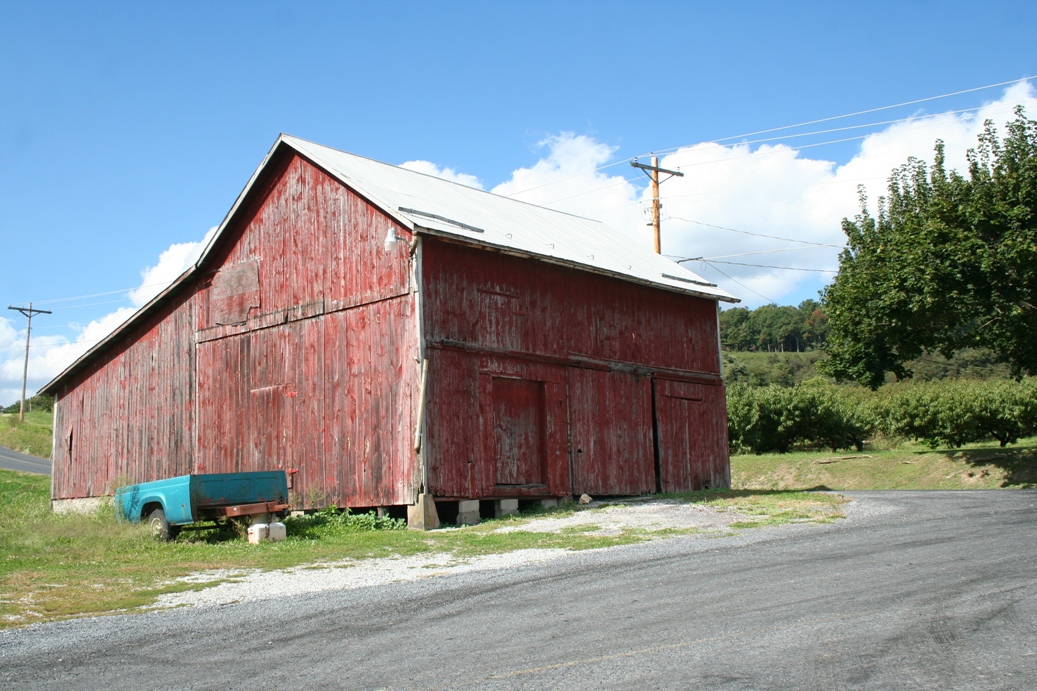
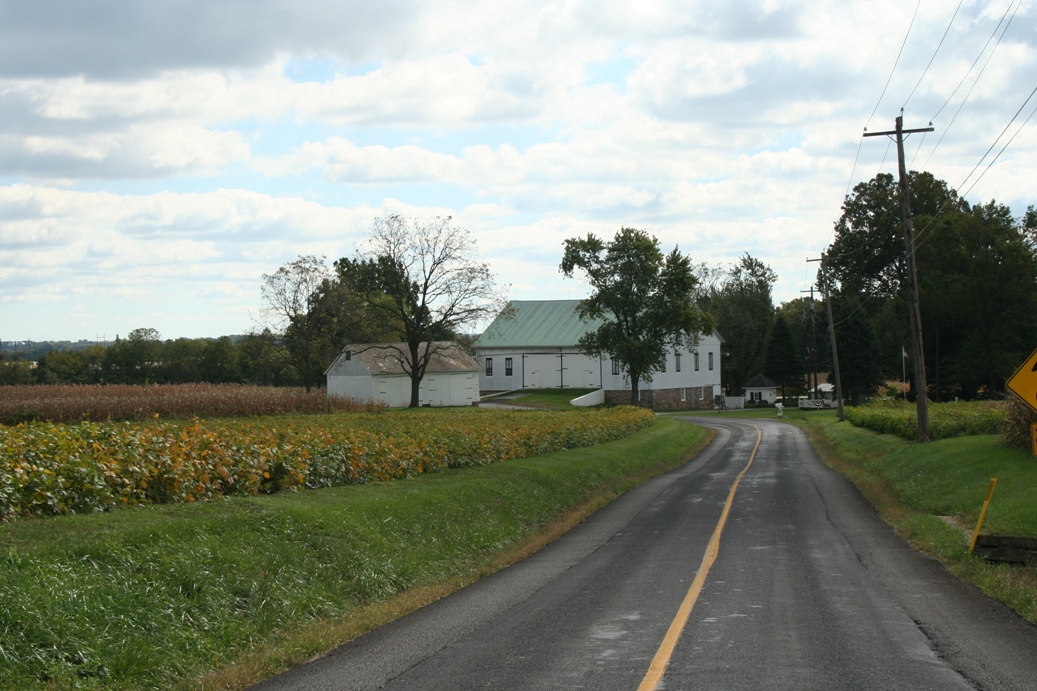
The
photos above are of some of the interesting
buildings that we discovered along the tour.
Some are buildings of the era, and some are just
interesting structures. The barn in the last
two pictures was interesting in how it is situated
so close to the road. Believe it or not, the
posted speed limit was 45 mph.
|
Sachs Bridge
|
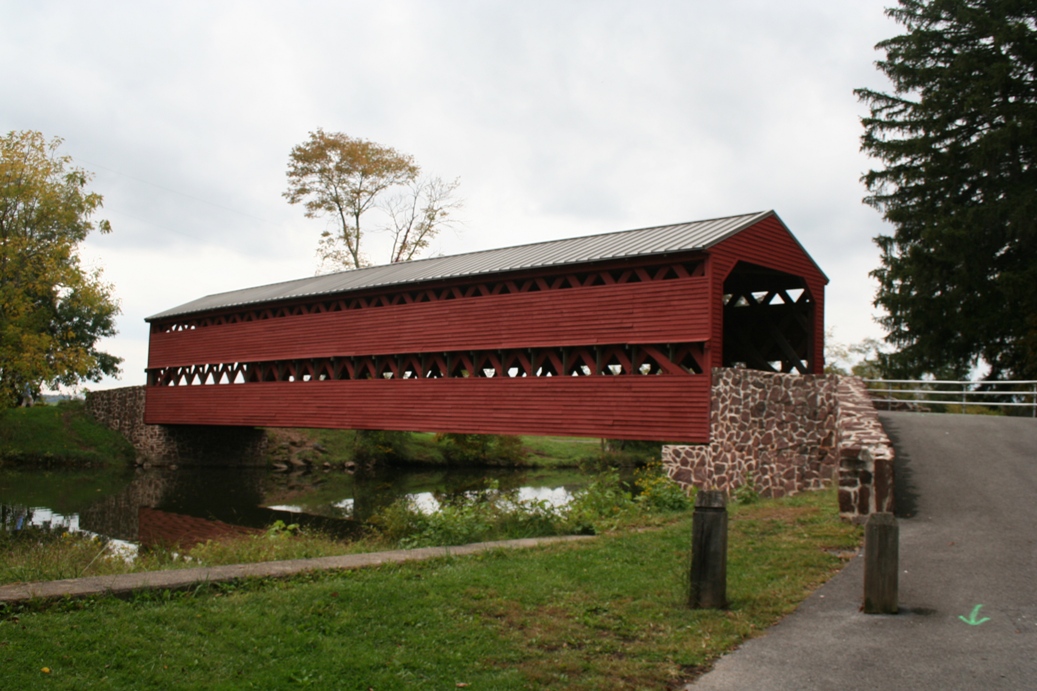
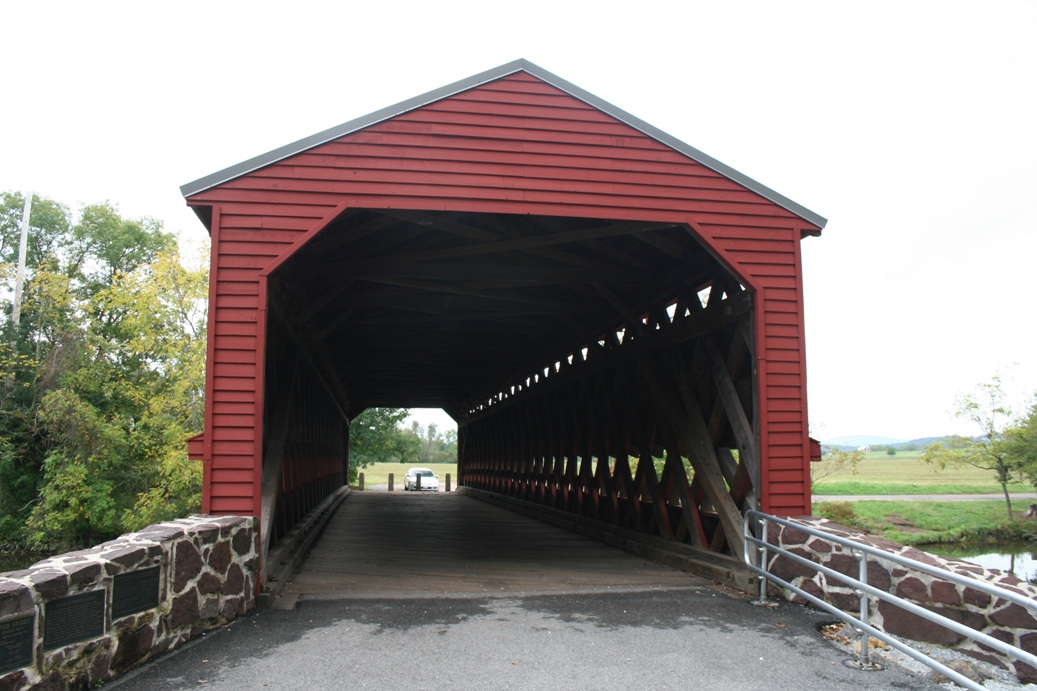
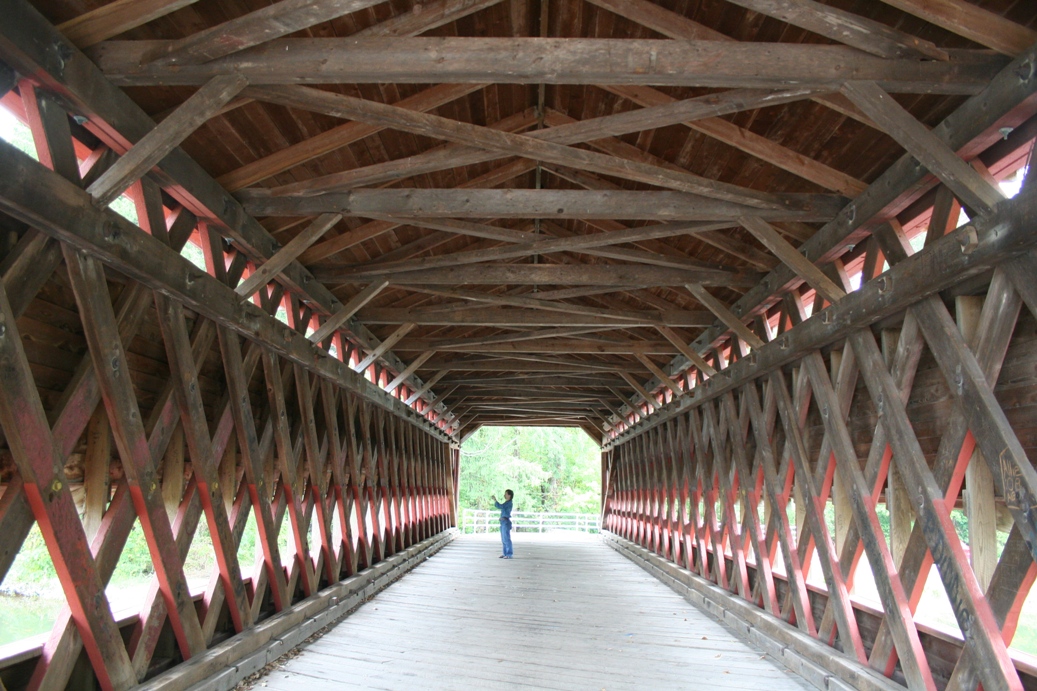
We
came across this bridge, located few miles southwest of
southern most line of the Confederates on Seminary
Ridge.
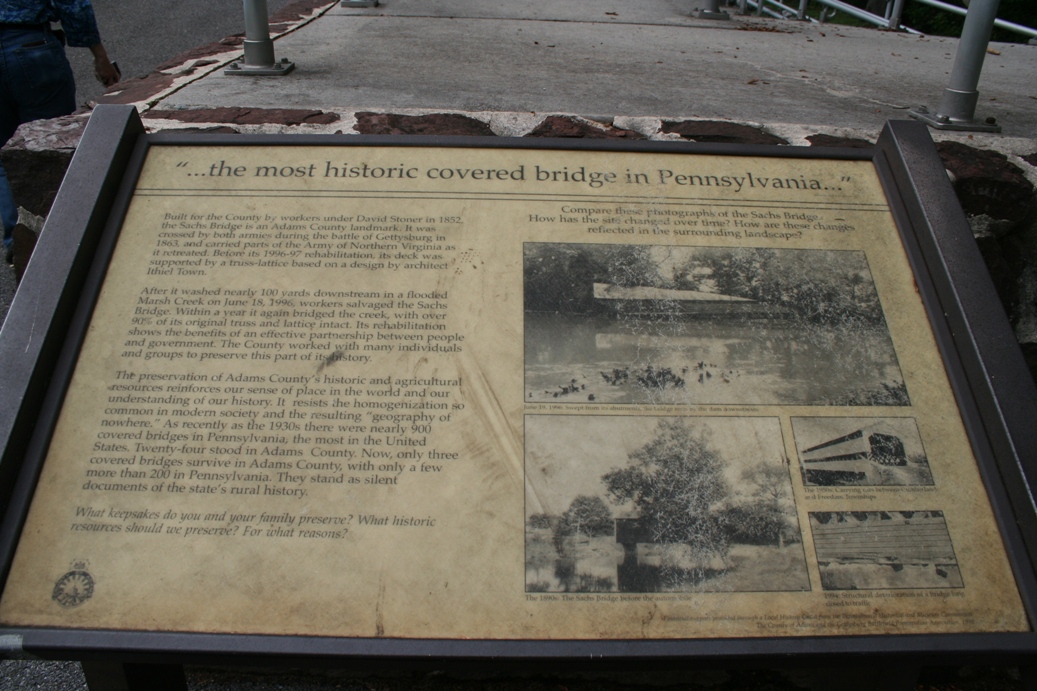
According to the informational marker, this bridge
is the most historic covered bridge in Pennsylvania.
One reason is that it was crossed by both armies
during the battle, and even witnessed the retreat of
some of the southern forces after the battle.
The bridge was nearly lost during a flood in 1996 as
it was washed one hundred yards down stream.
Since then, the bridge was raised above flood level,
and it was closed vehicle traffic.
|
Farm
Houses and Farmsteads
|
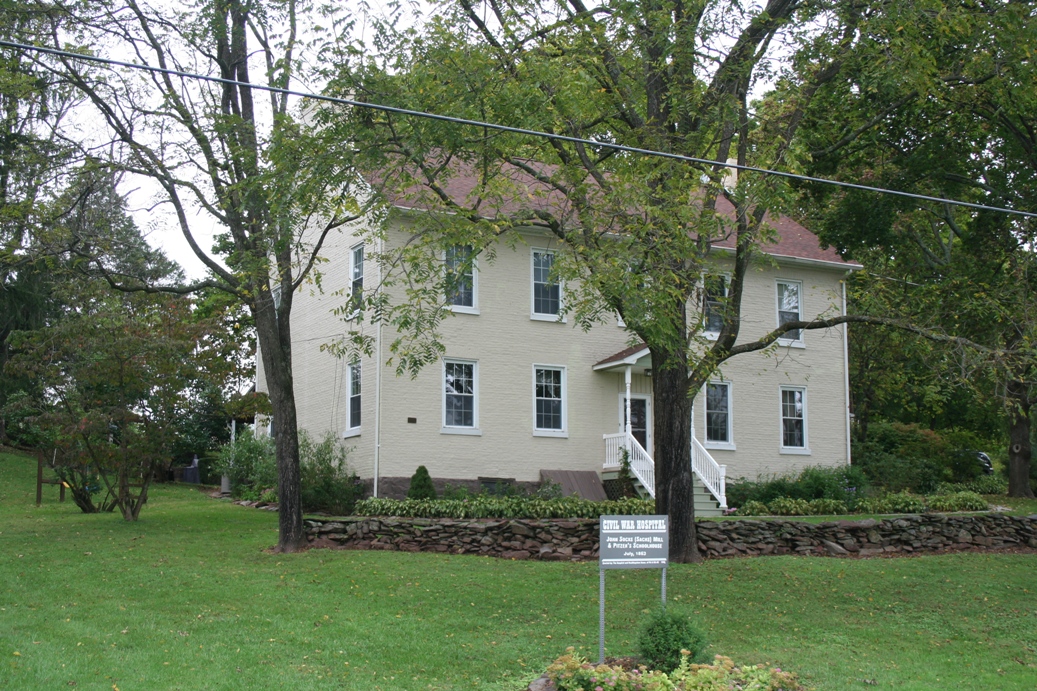
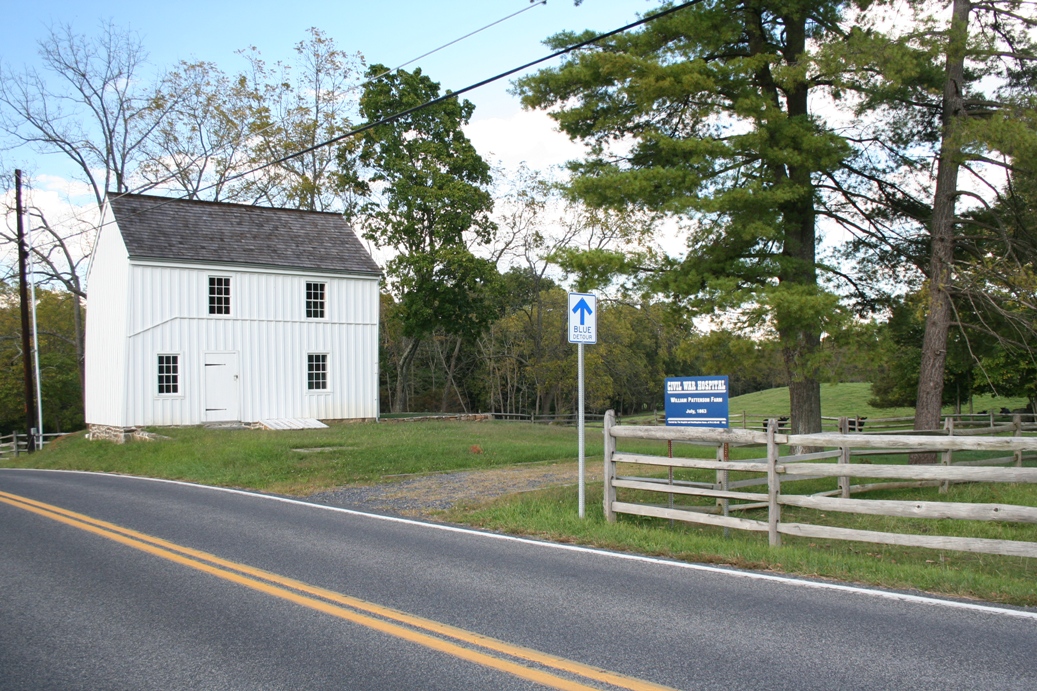
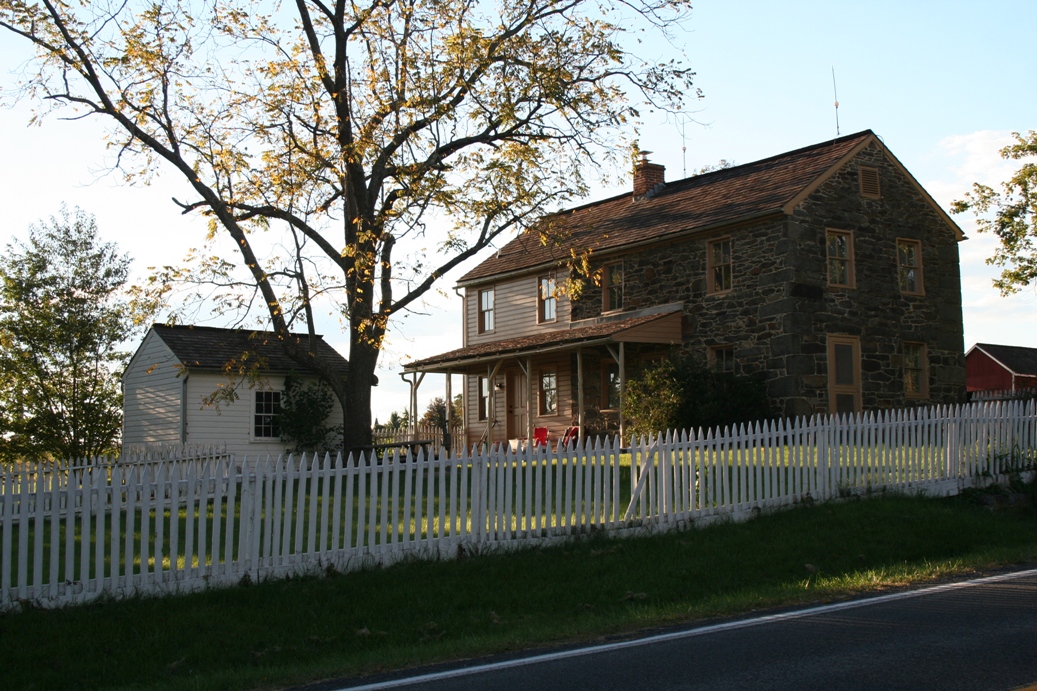
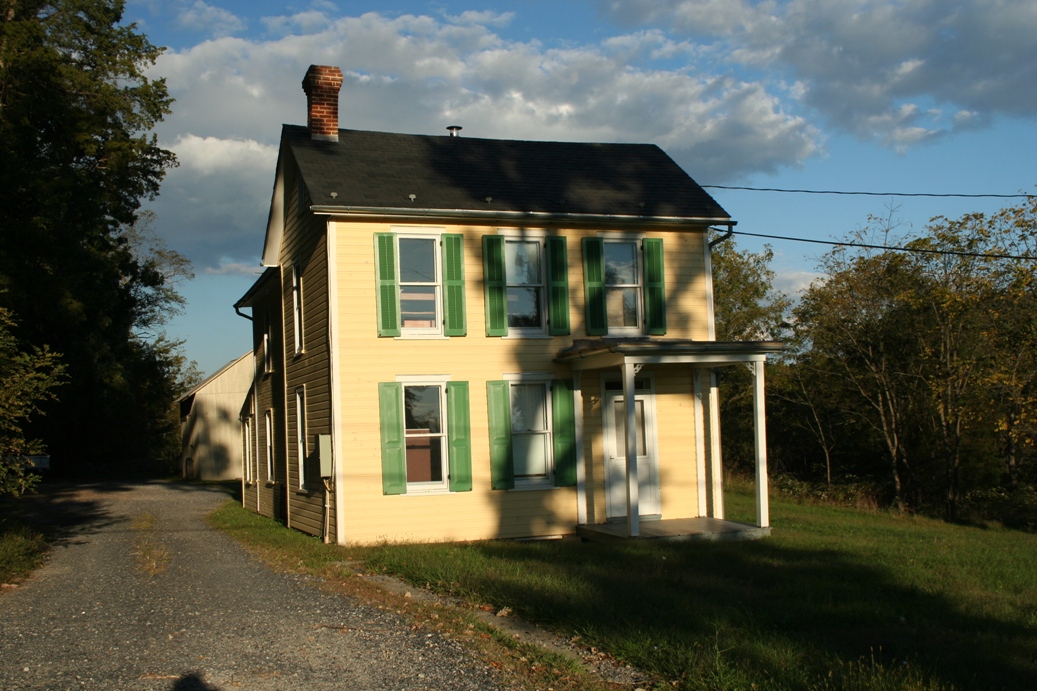
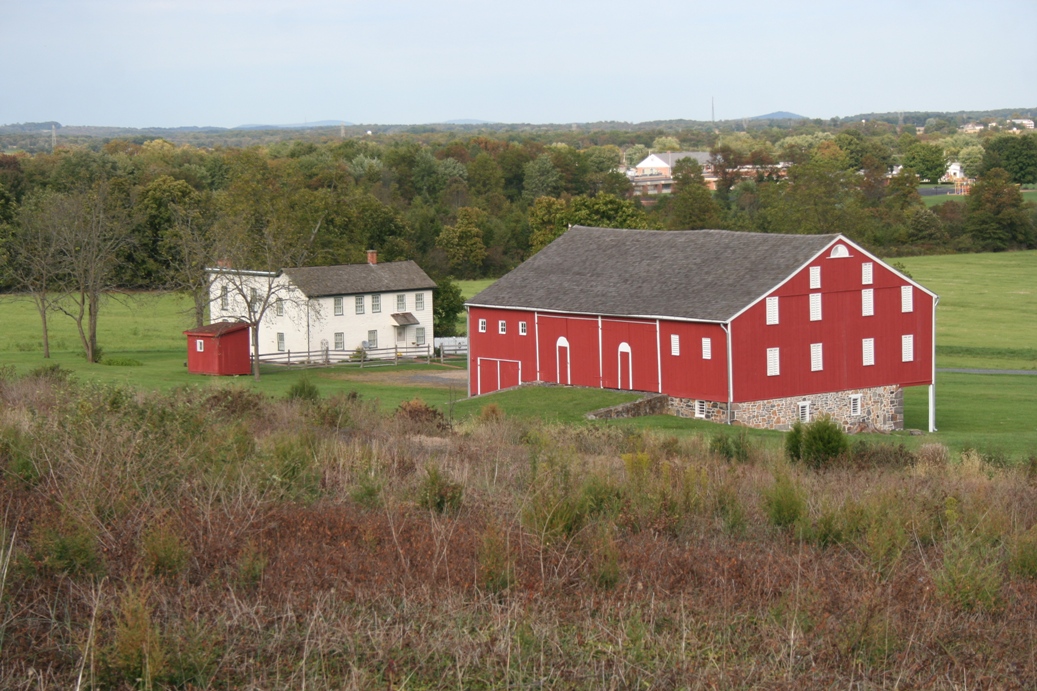
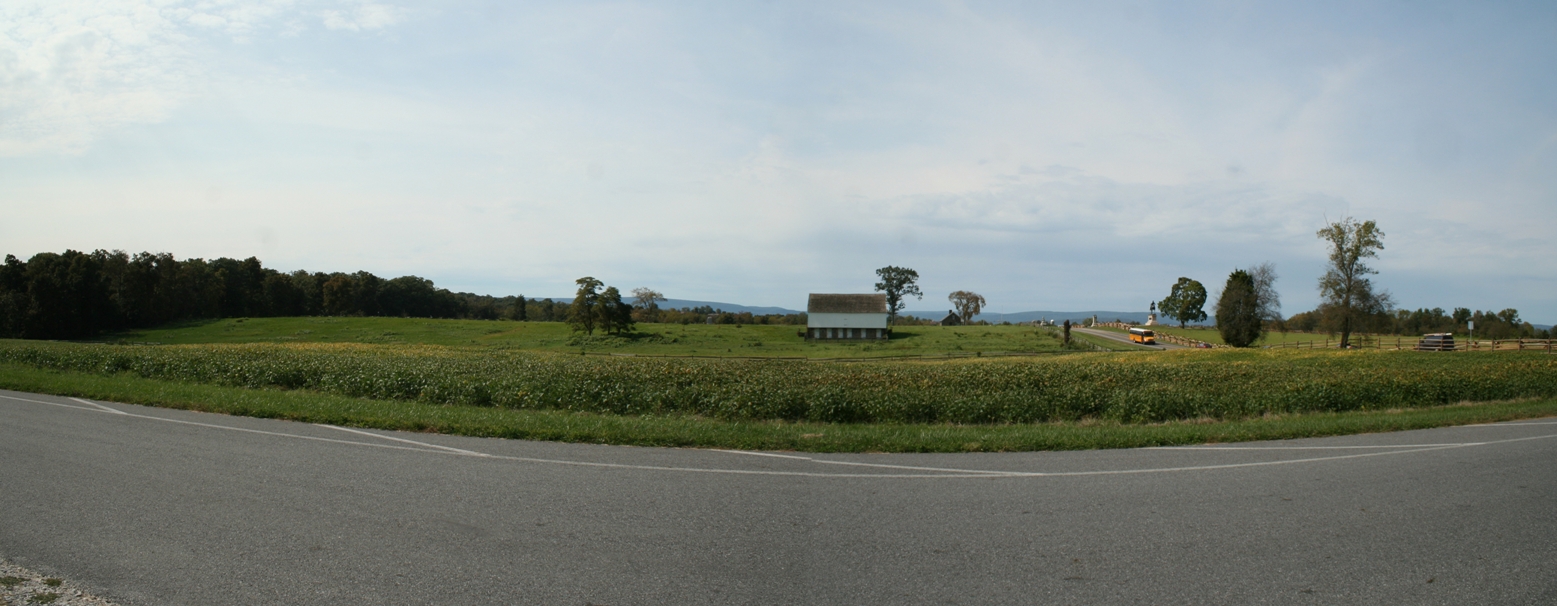
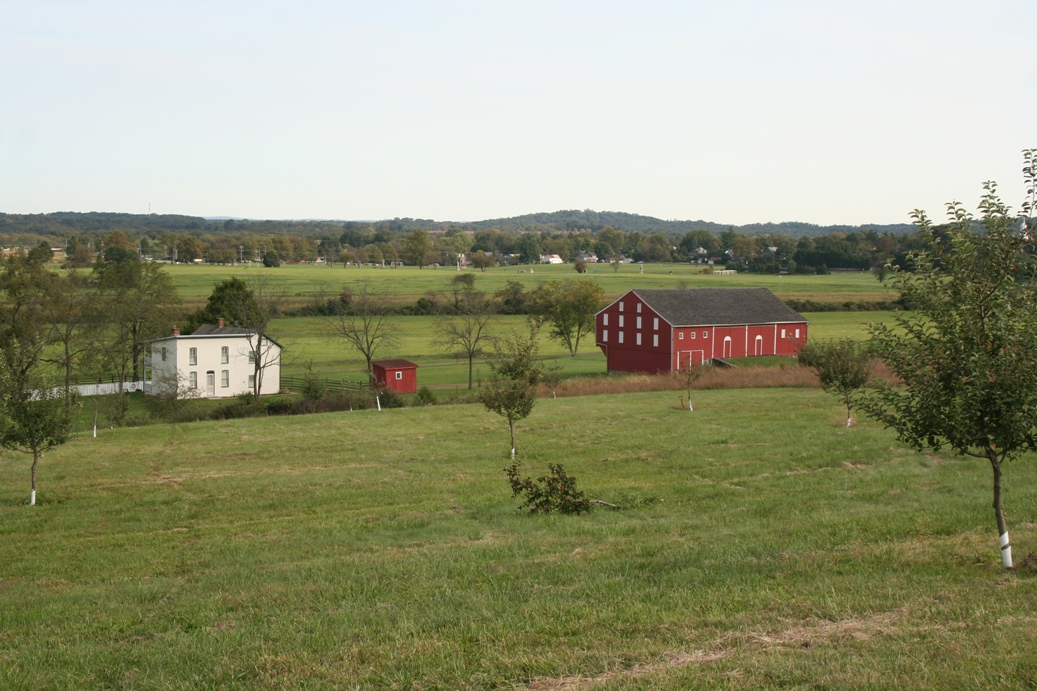
There are many farmsteads scattered around the
battlefield. Some are still privately own,
some are owned by the park and used for staff, and
others are preserved in the original Civil War Era.
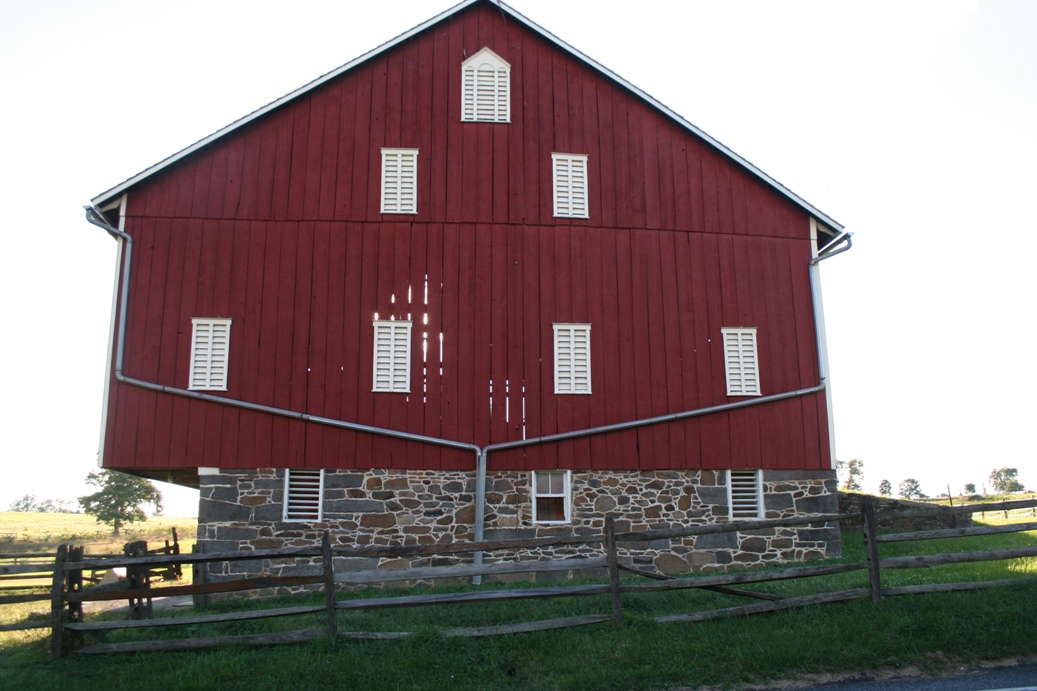
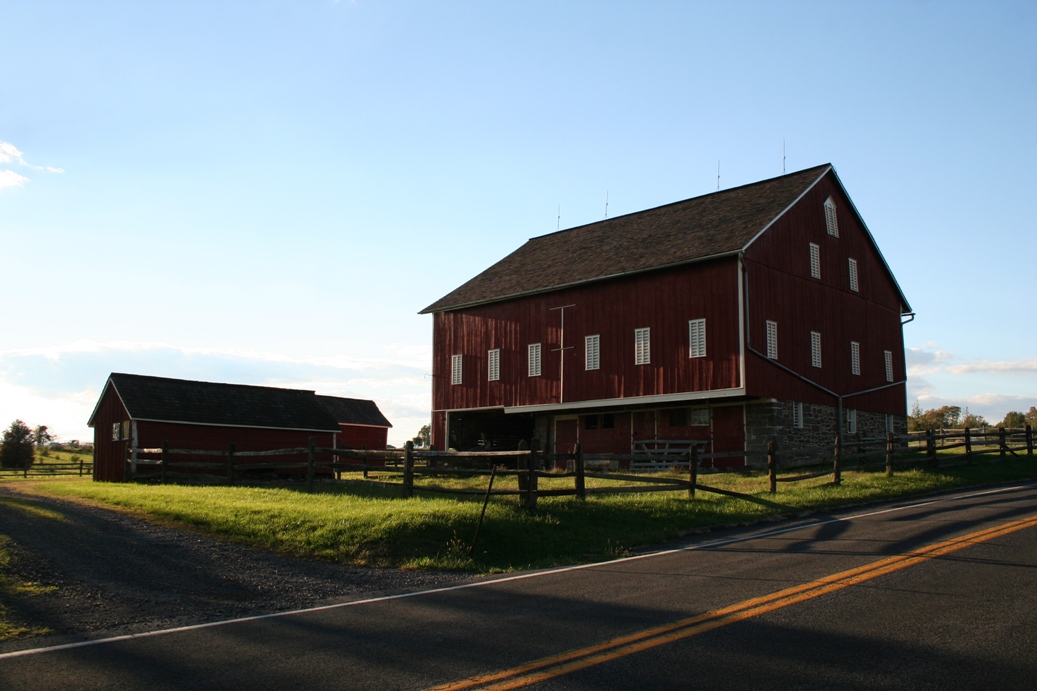
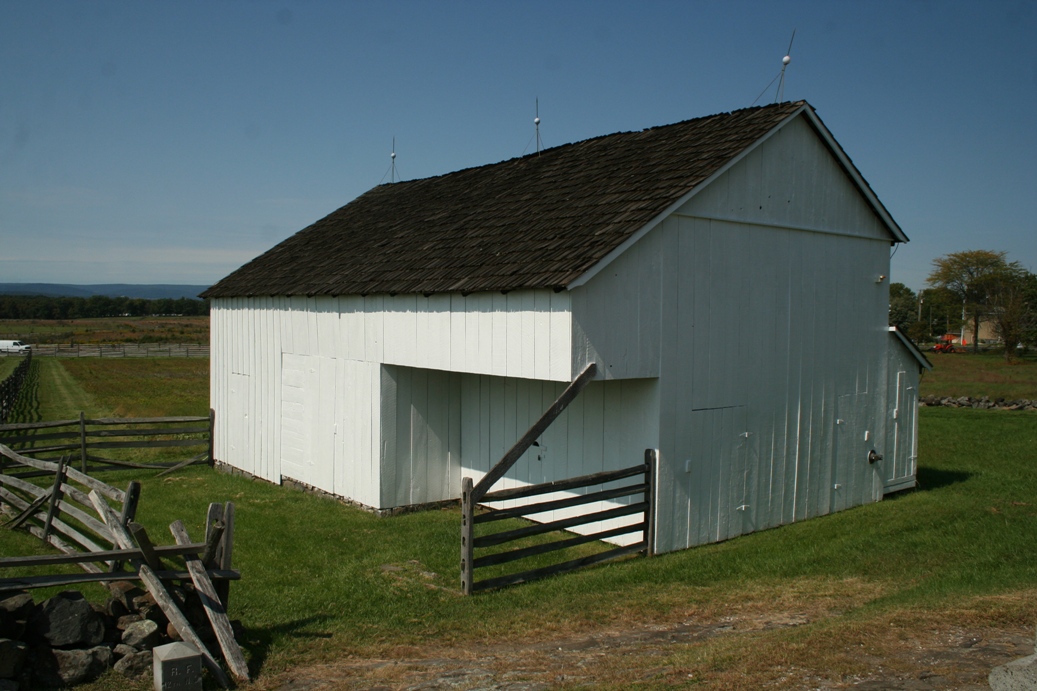
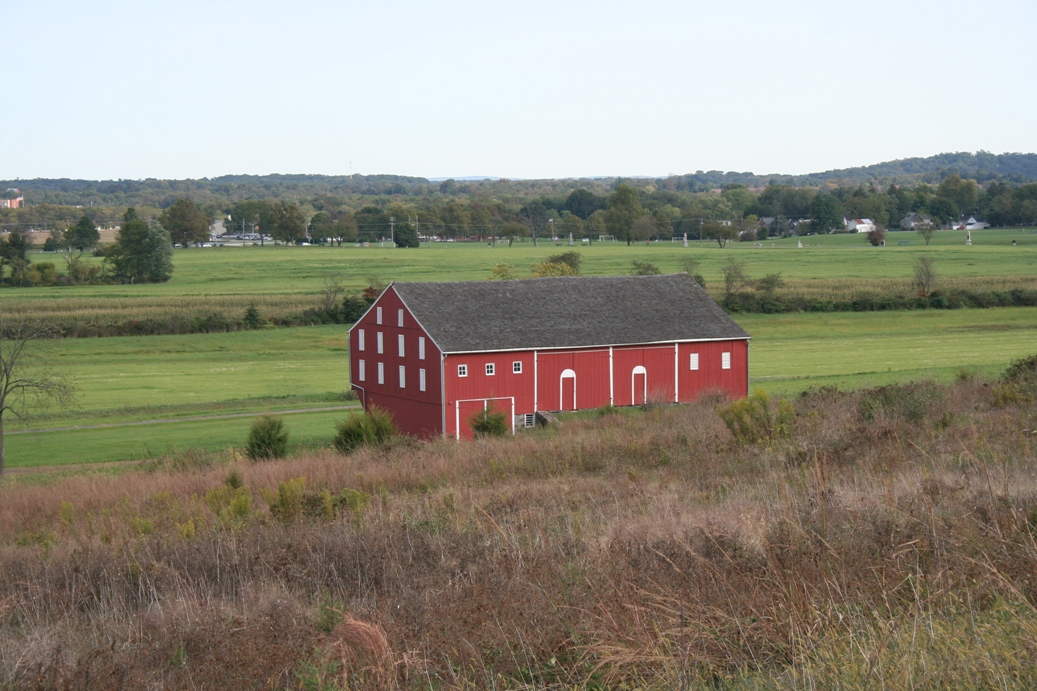
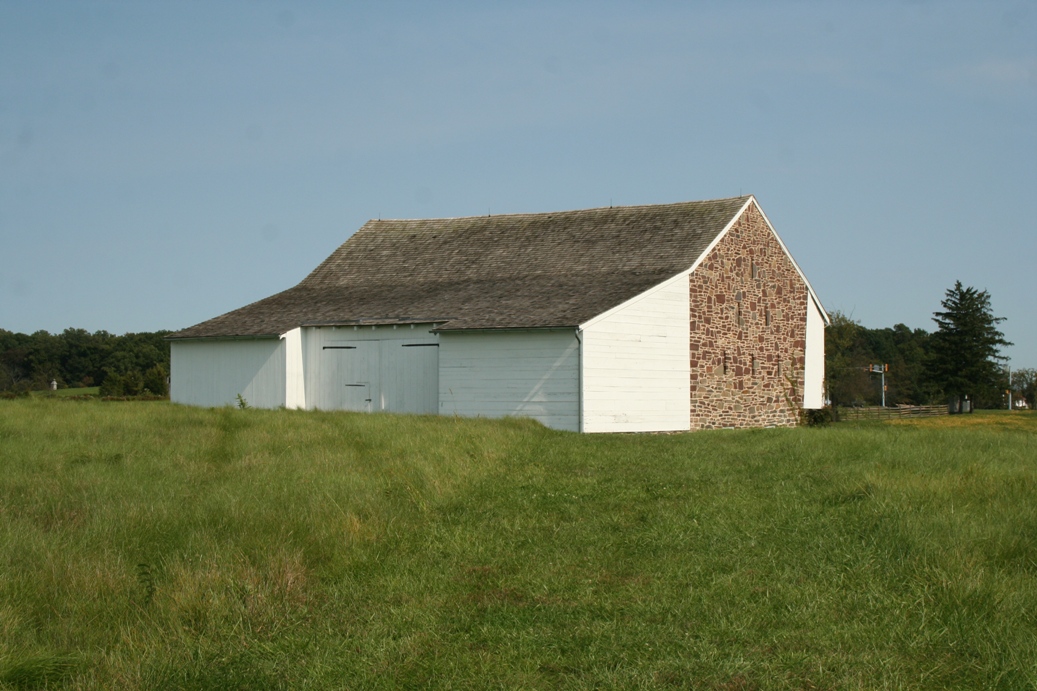
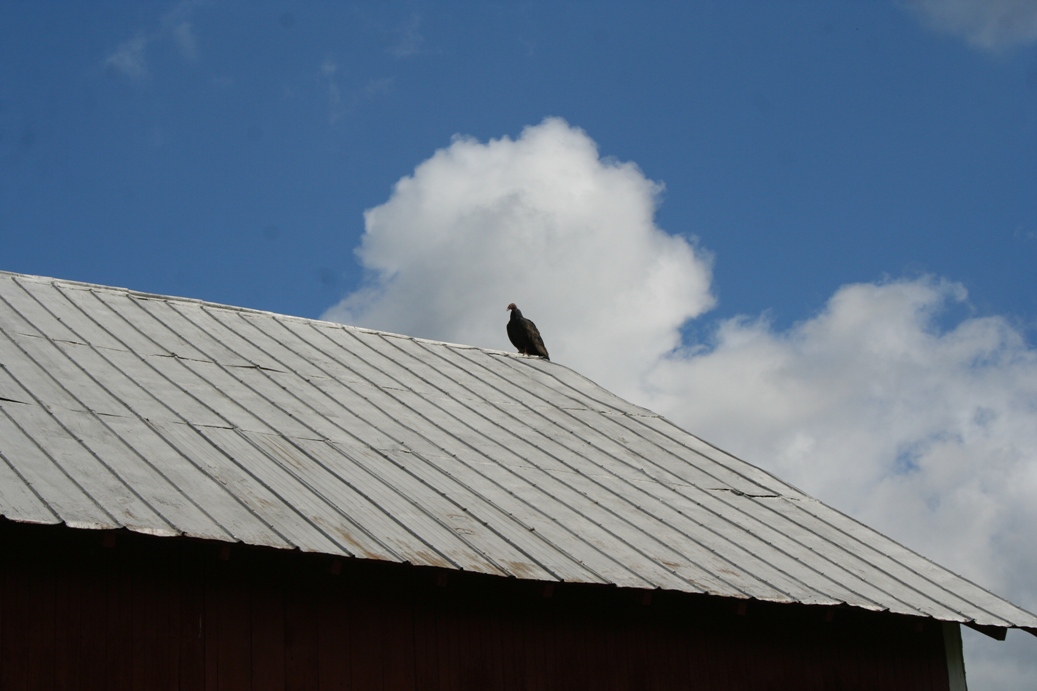
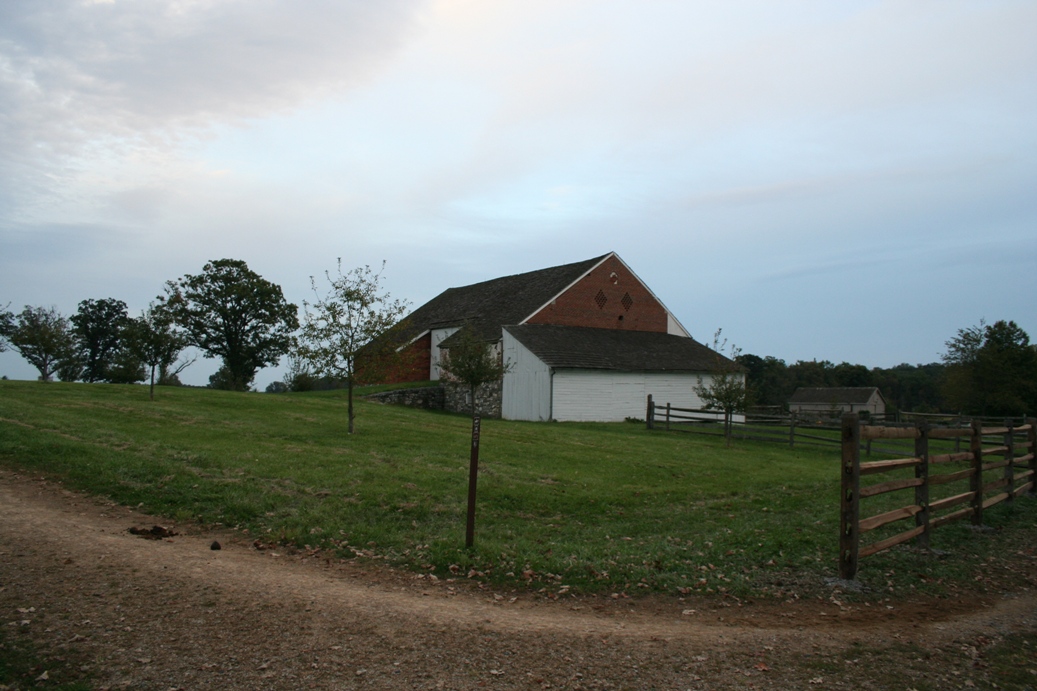
There are a few interesting features that need to be
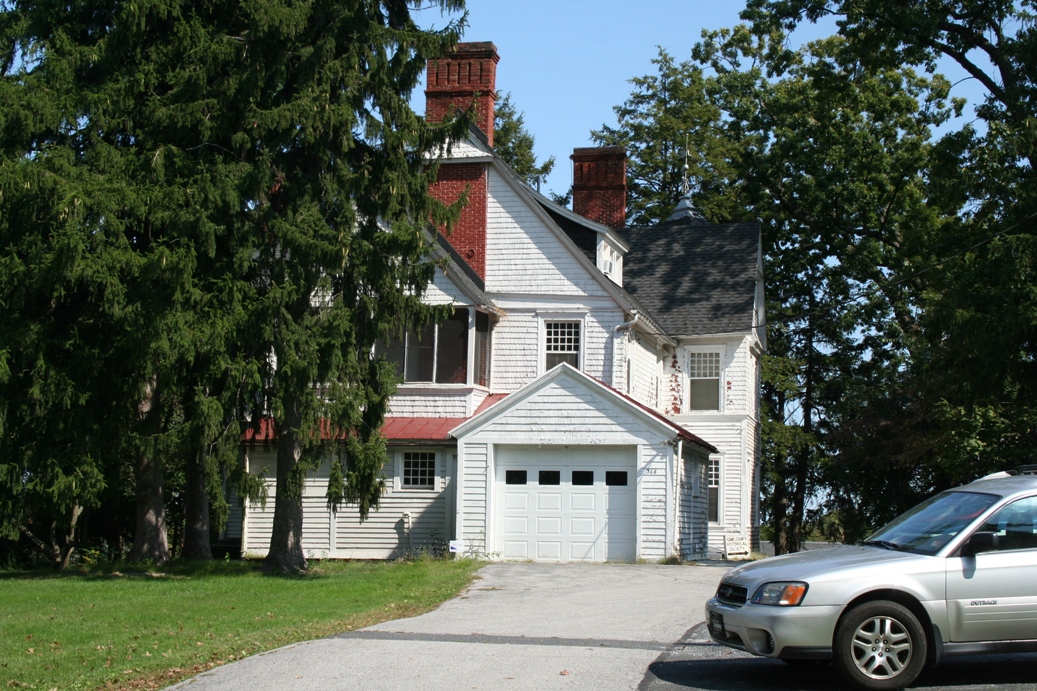
pointed out in the photos above. We were
walking by the red barn in the last two pictures of
the first row when we noticed the sunlight streaming
through the seams in the wood. We thought it
was kind of strange to see such gaps in the
structure.
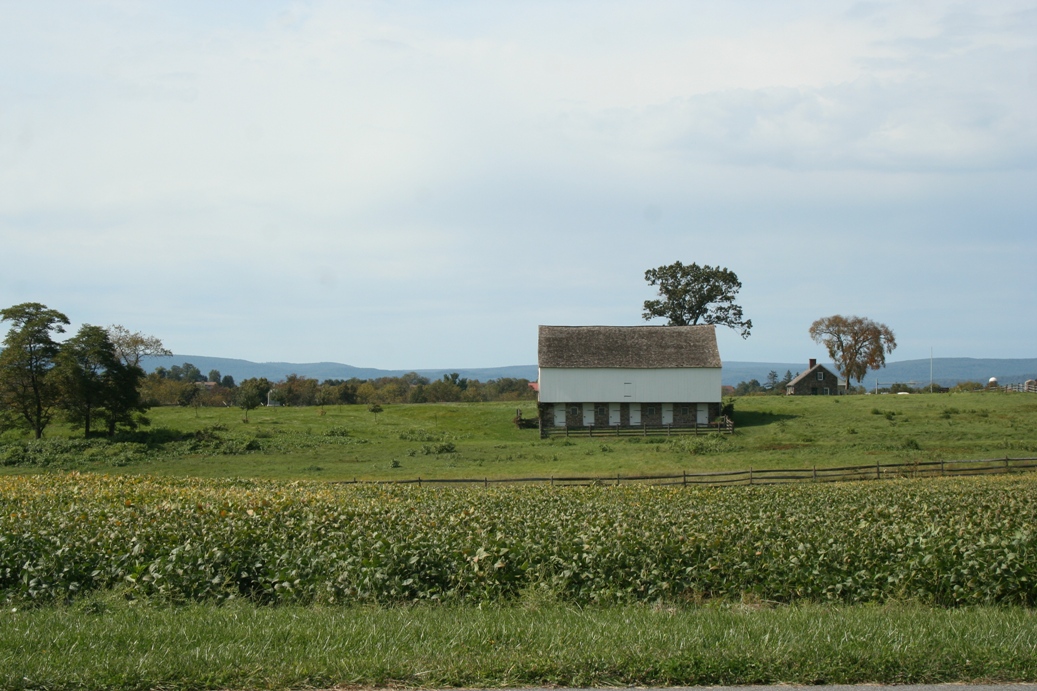
The white house and red barn in the series of three
photos was located just below Oak Hill on the
northern part of the battle field. Much
fighting took place around this farmstead, and the
barn was even used by snipers.
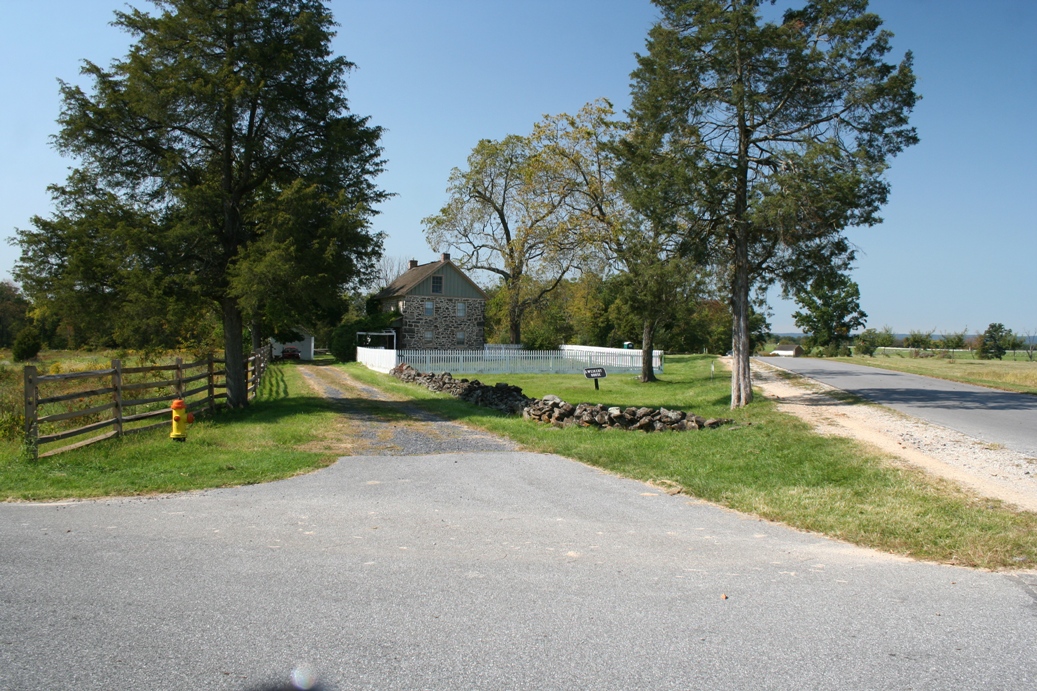
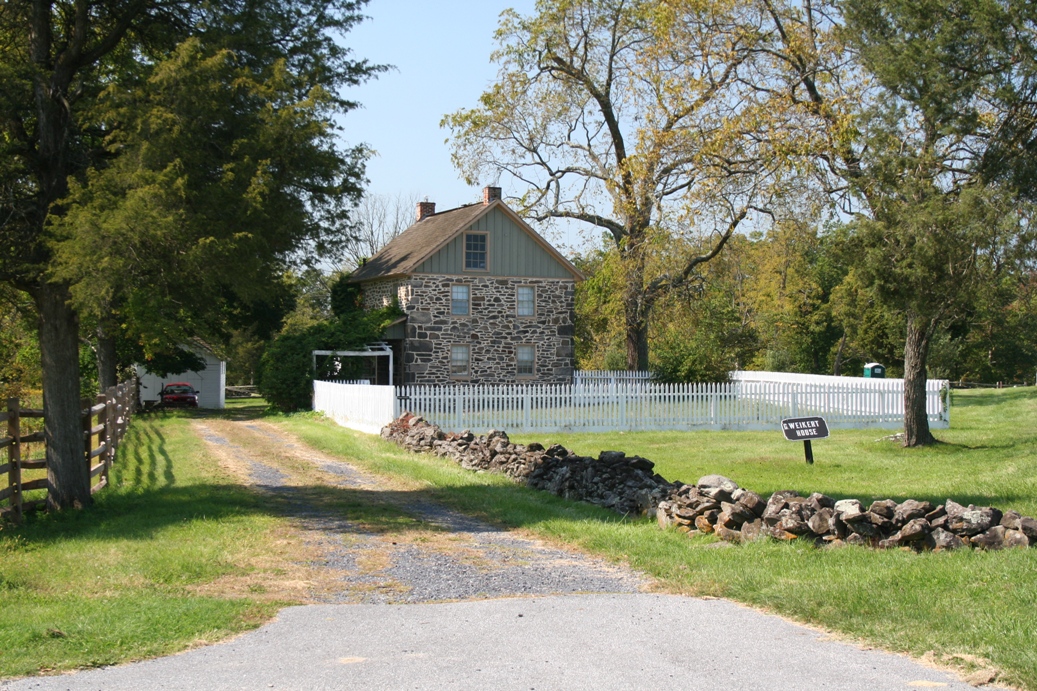
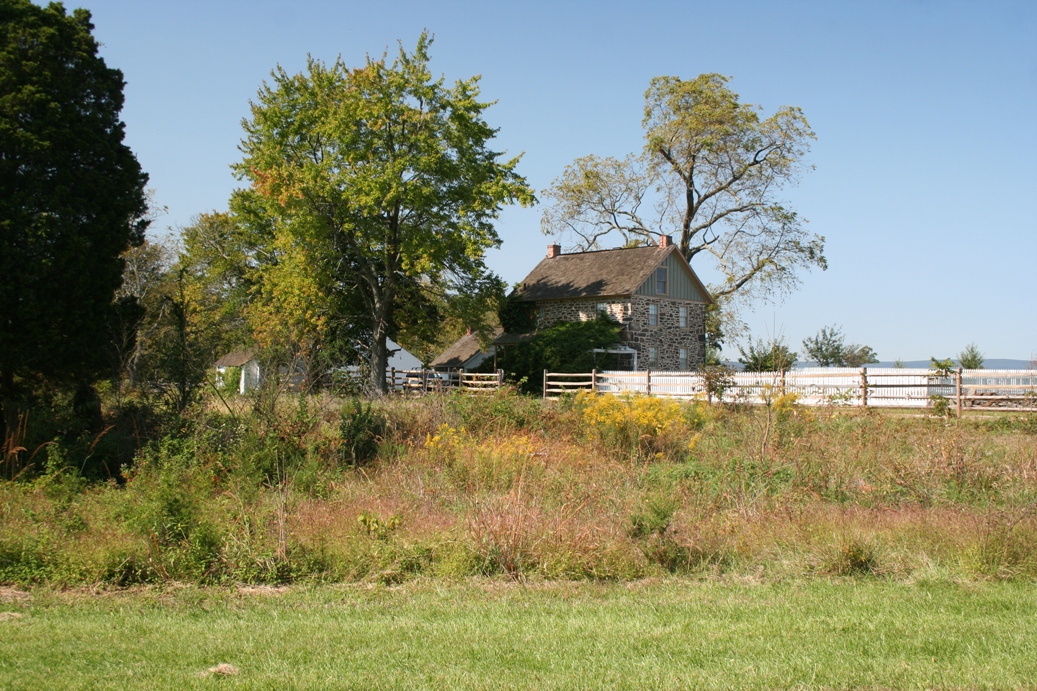
The
farm in the second to last row is the George Weikert
house. It is located nearly at the center of
the southern battlefields; Big and Little Roundtop a
mile or so to the south, and the High Water Mark
about the same distance to the north.
|
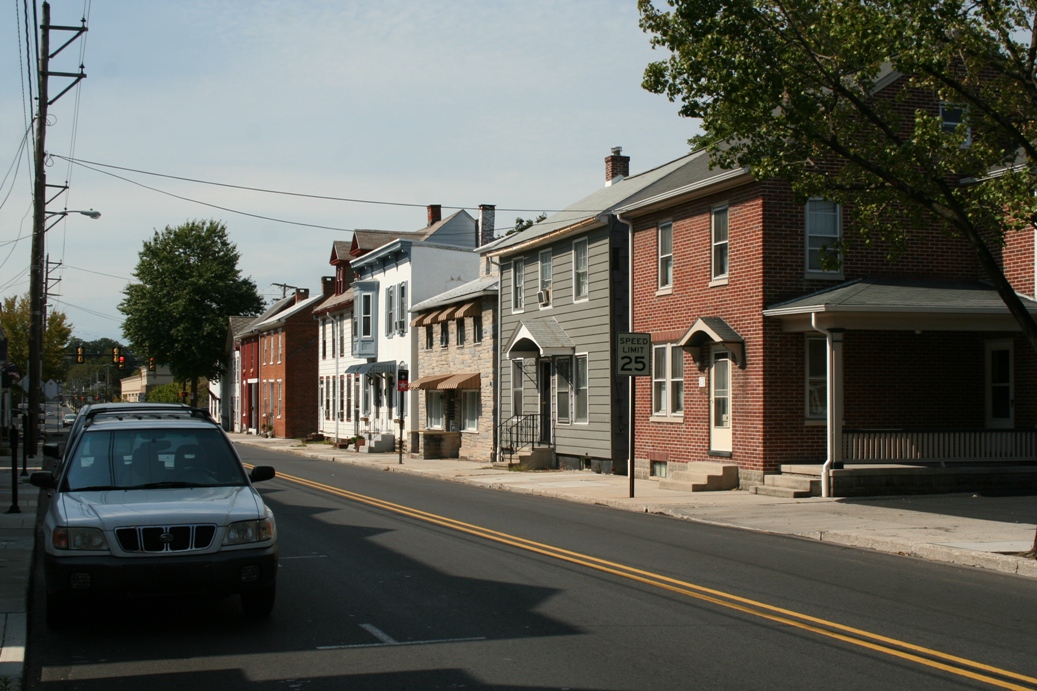
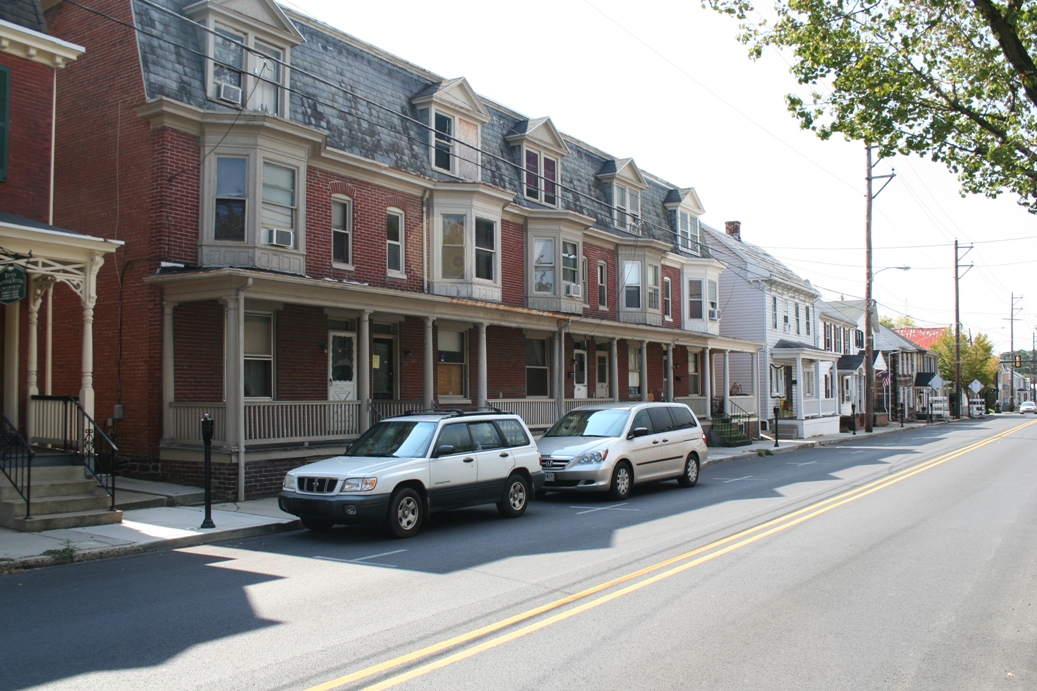
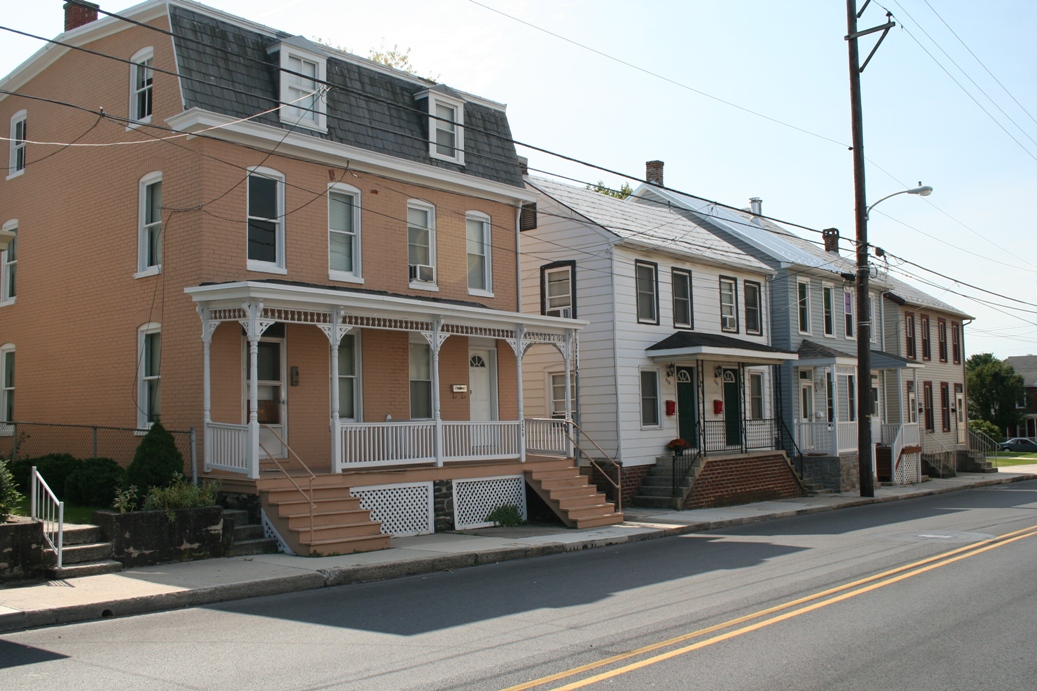
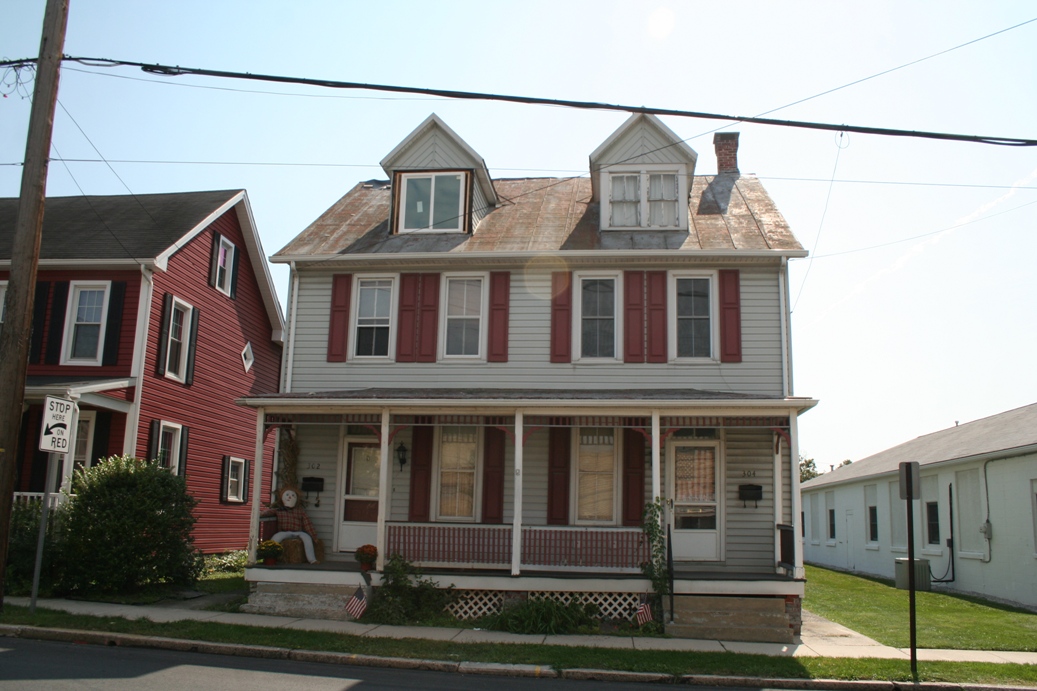
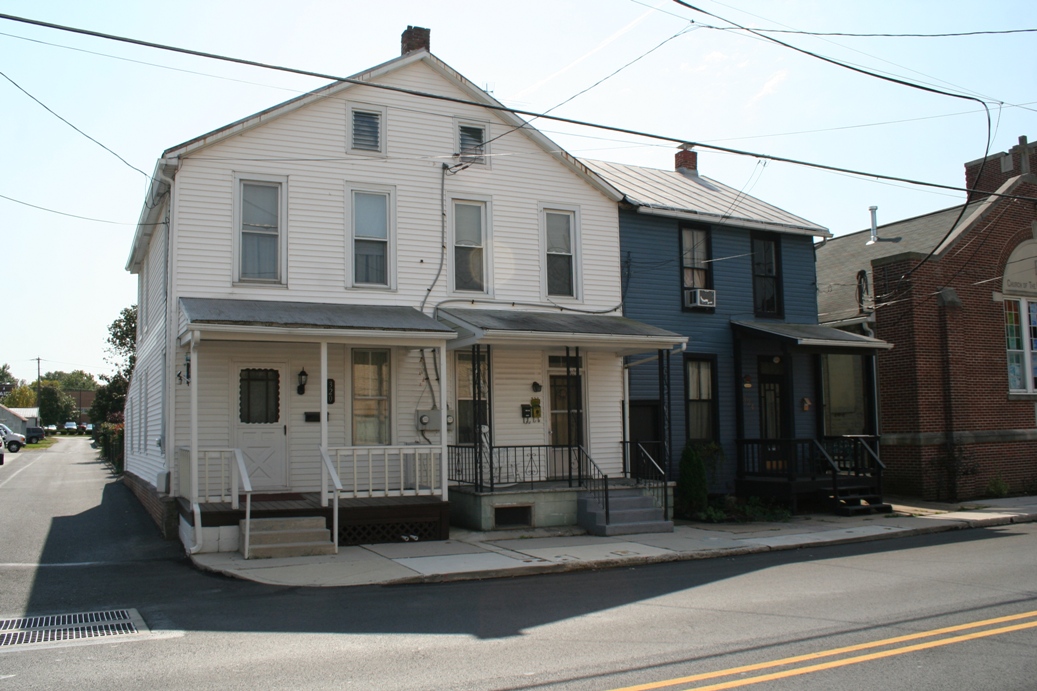
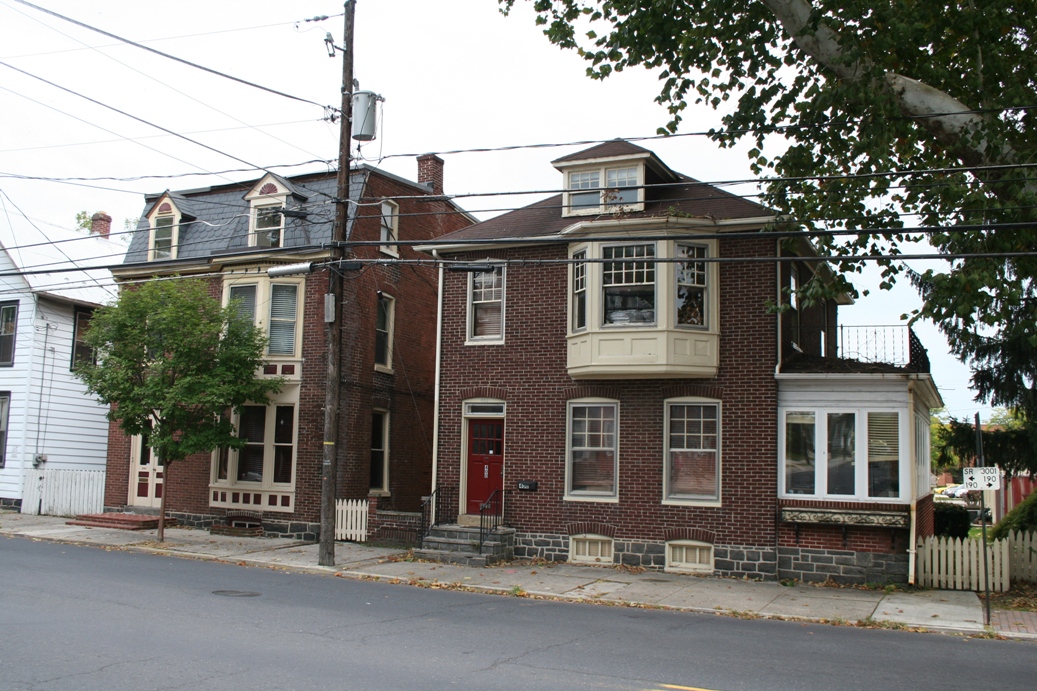
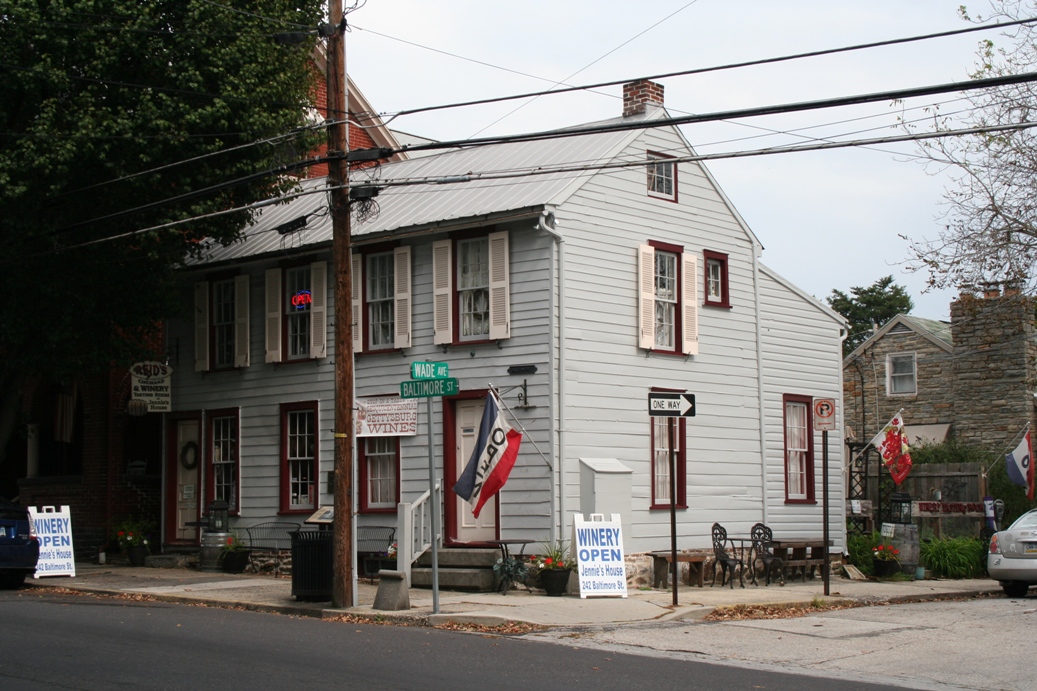
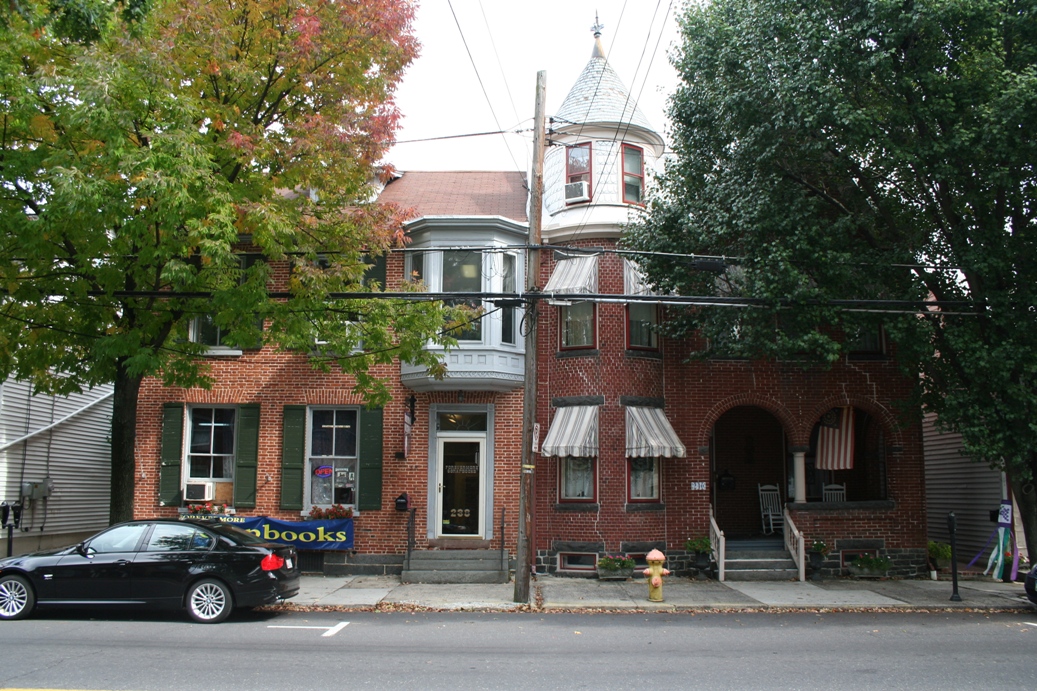
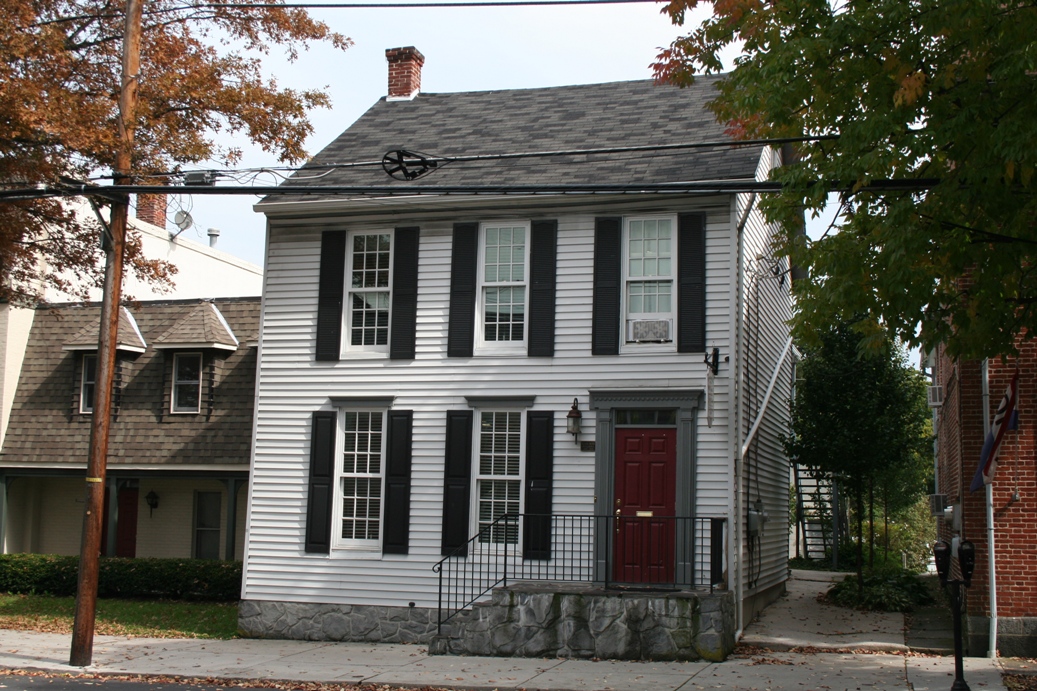
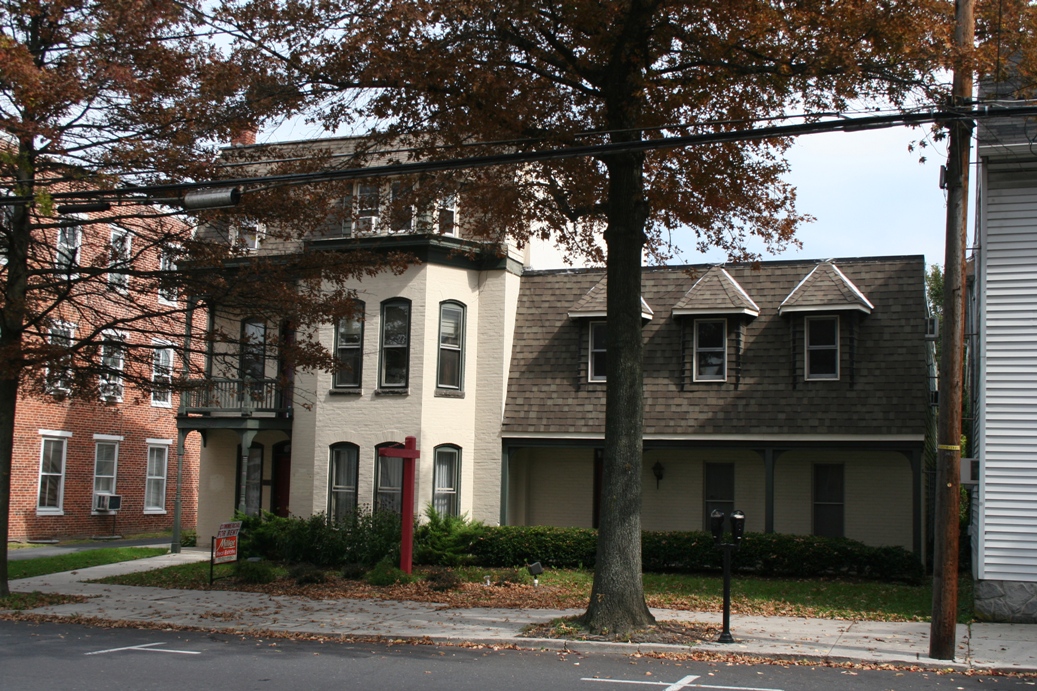
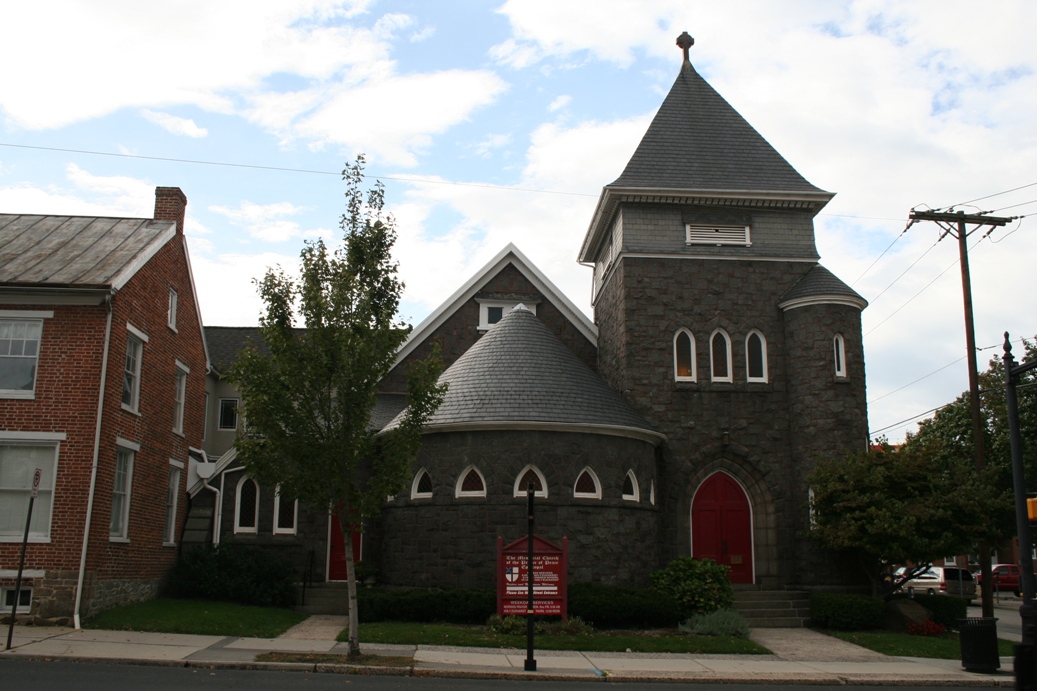
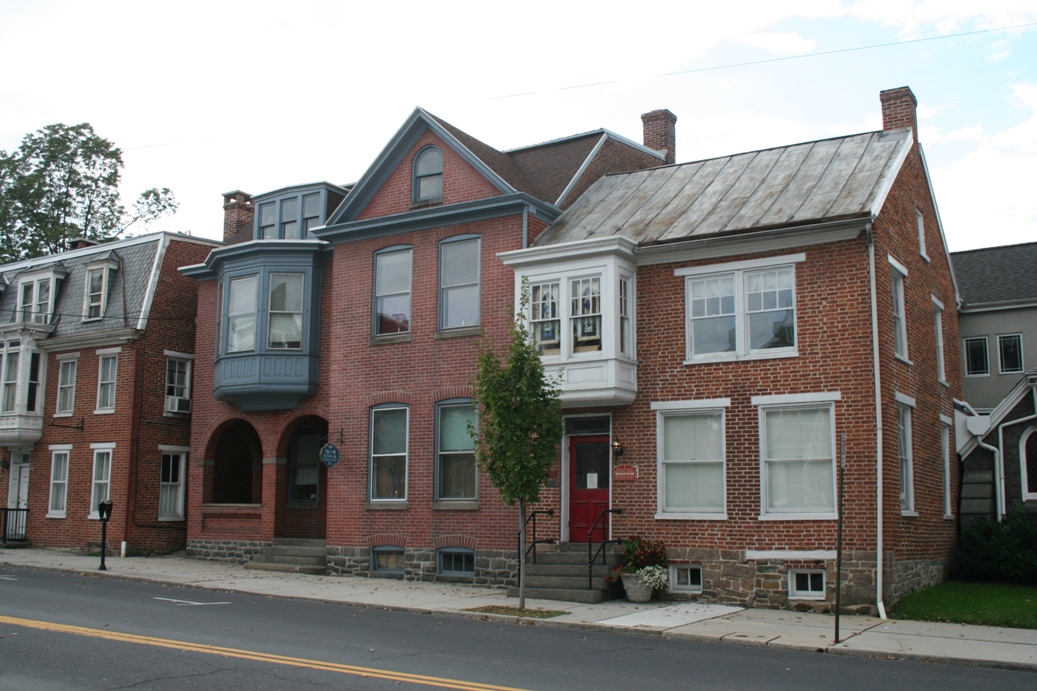
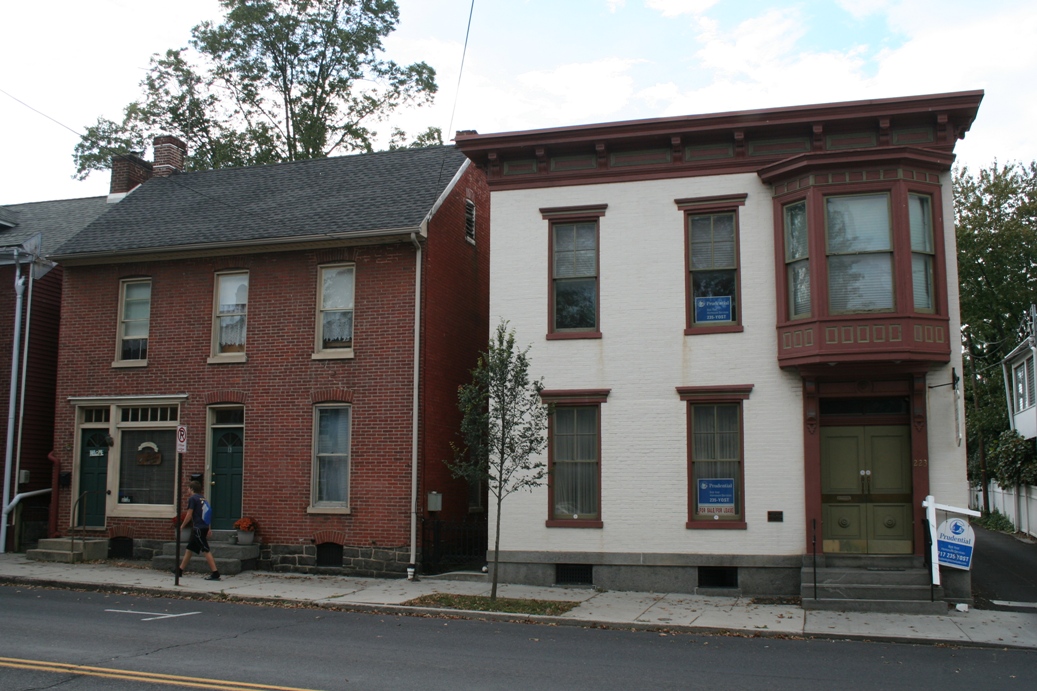
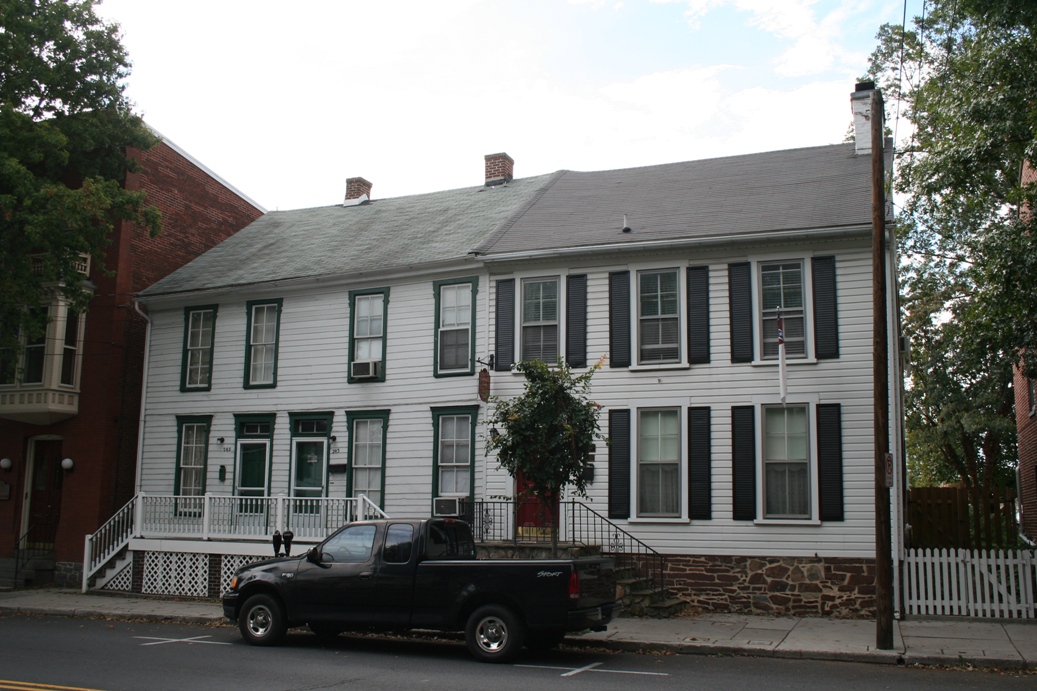
Walking Tour through Town
|
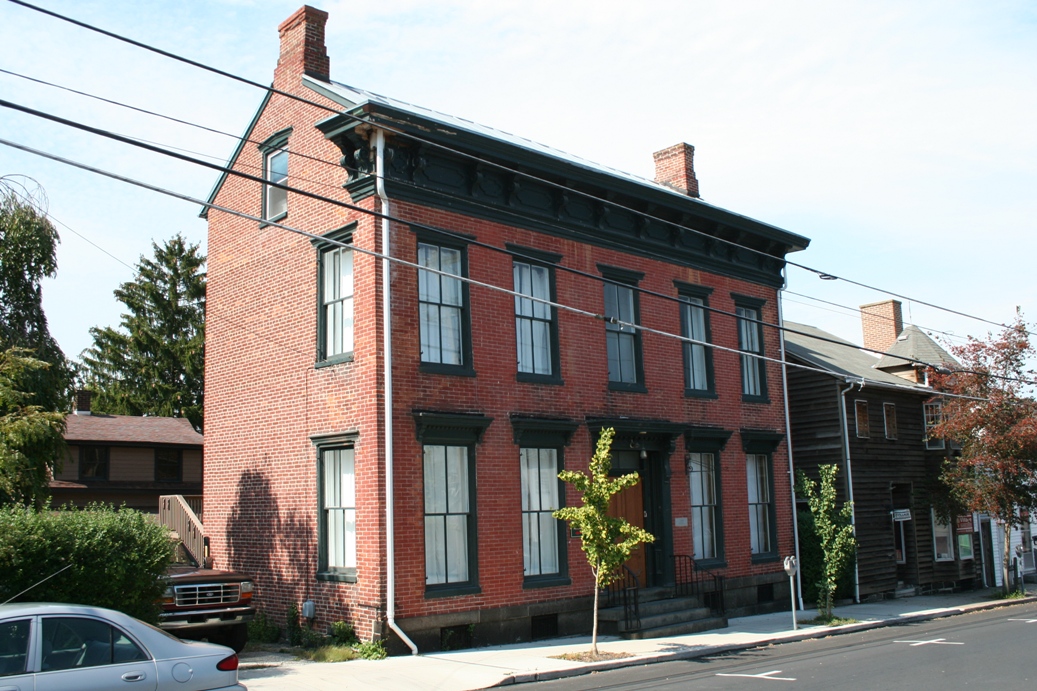
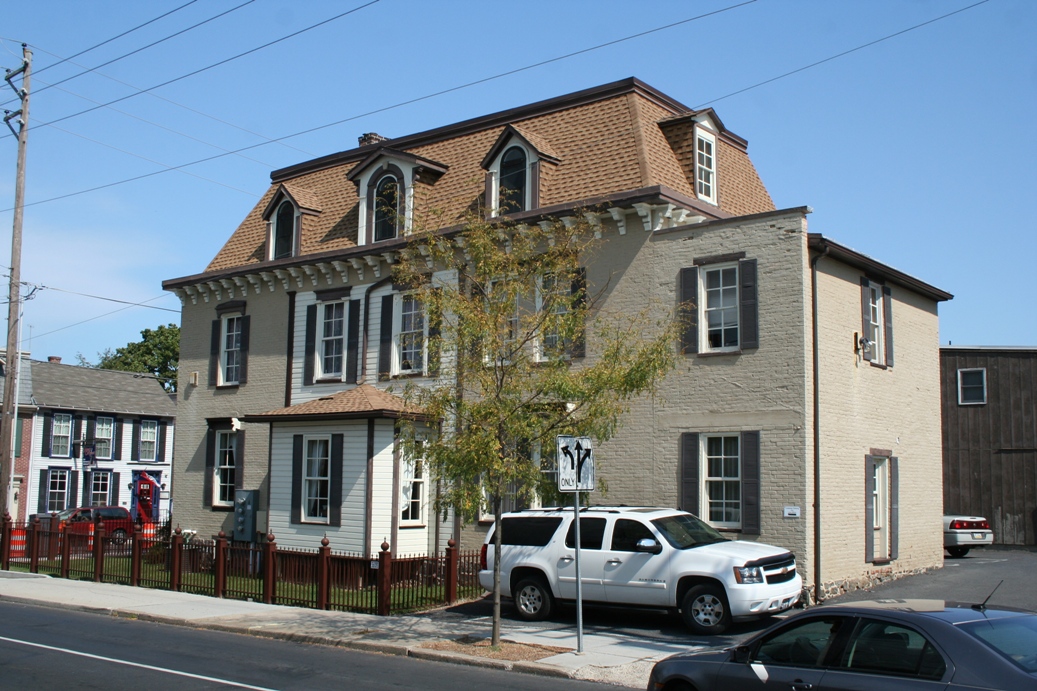
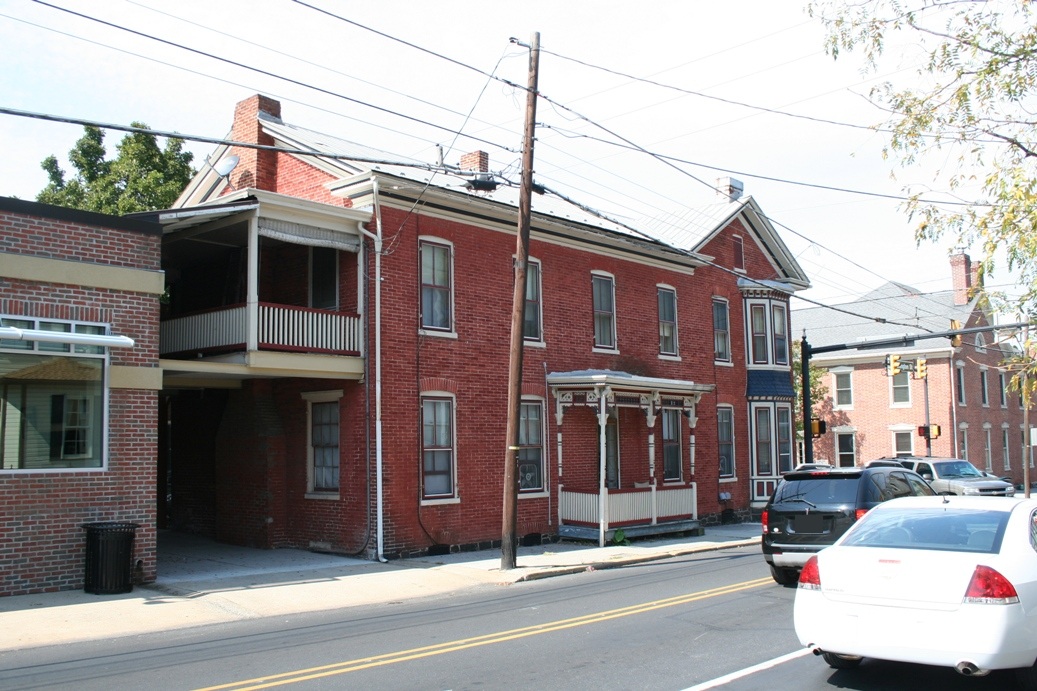
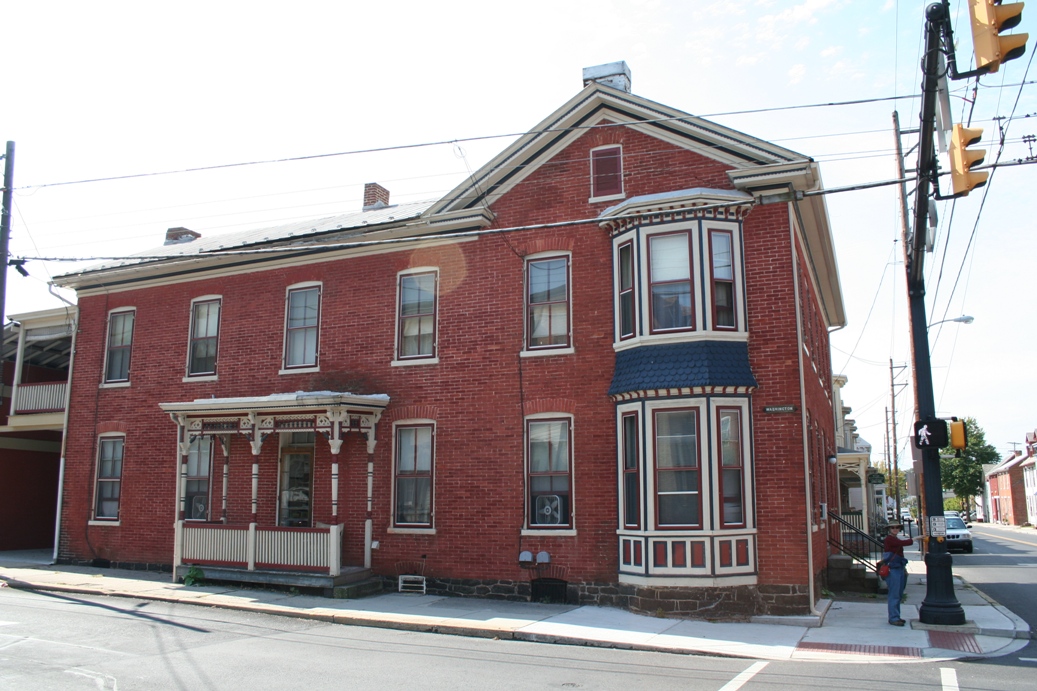
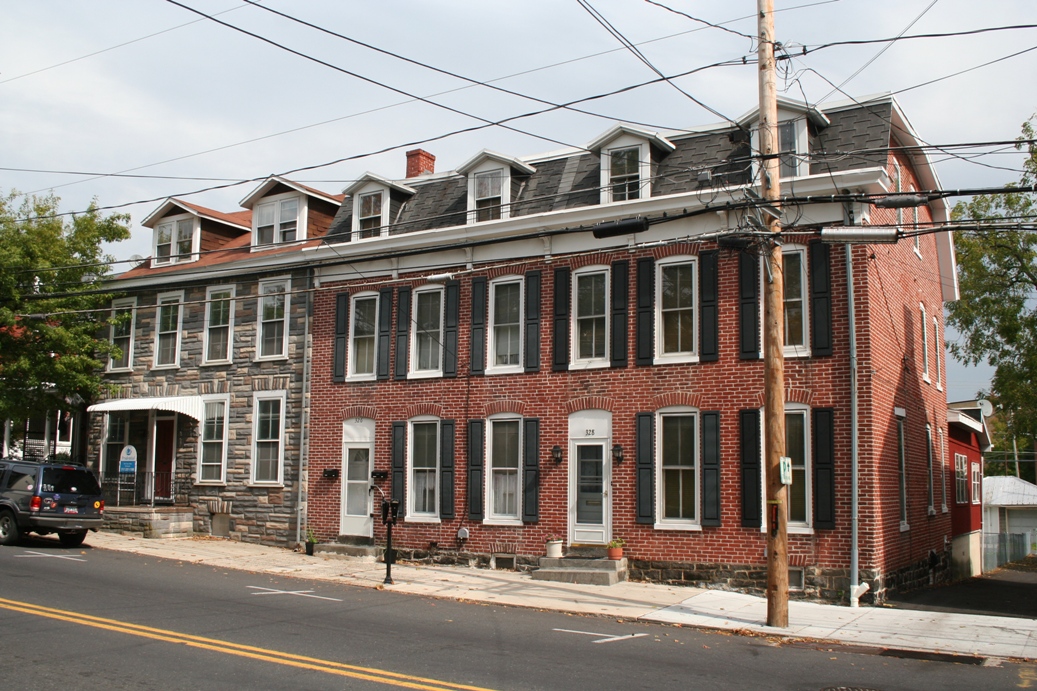
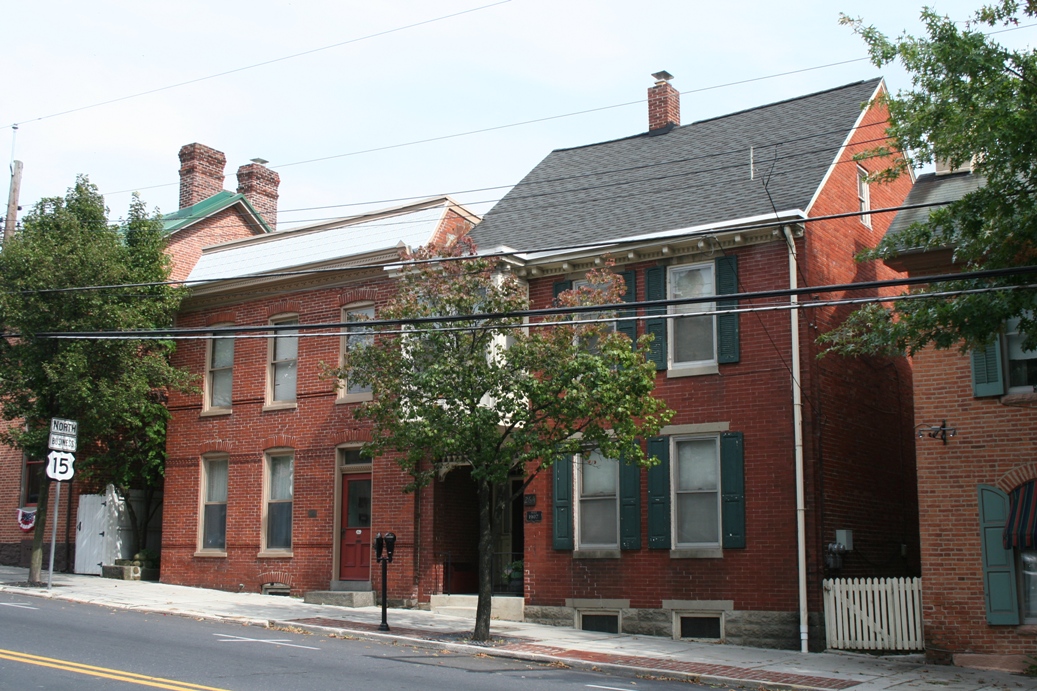
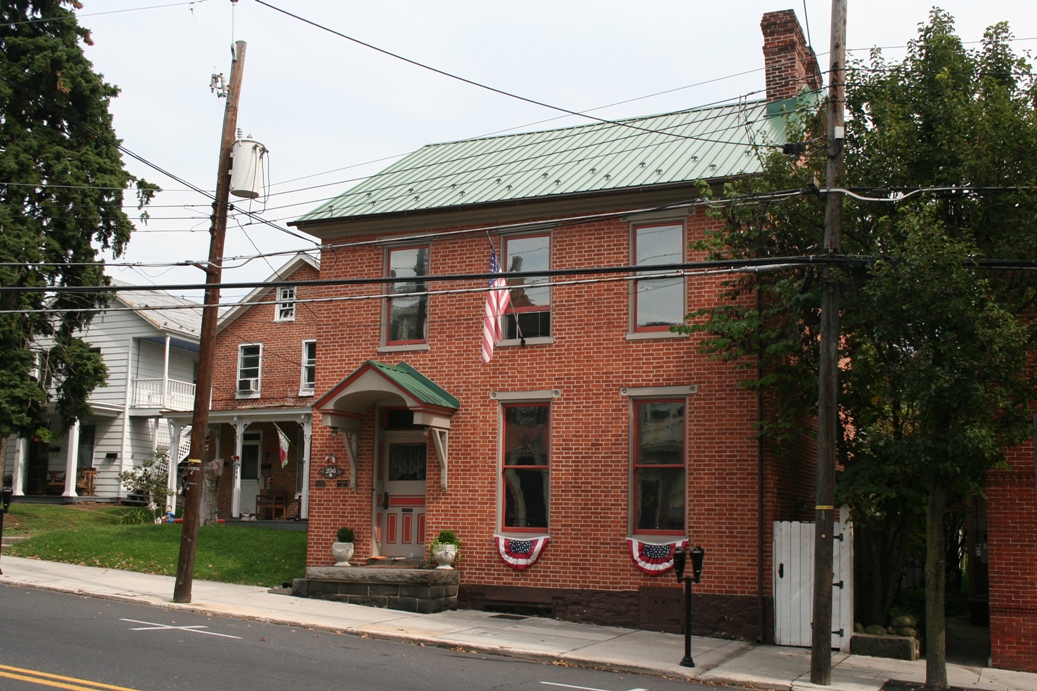
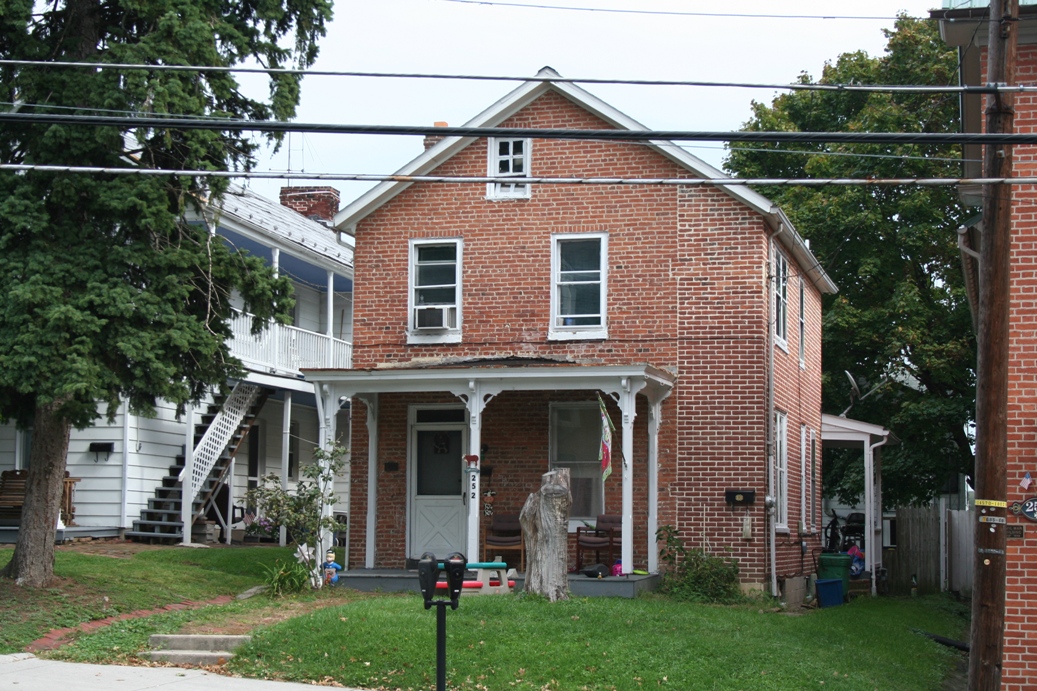
Gettysburg has some very interesting homes and
buildings throughout town, but I have never really
had a good chance to take some photos.
This year we decided to hike through town on our way
out to the Eternal Peace Light Memorial on Oak Hill,
and it gave me a great opportunity to capture a few
photos of these homes.
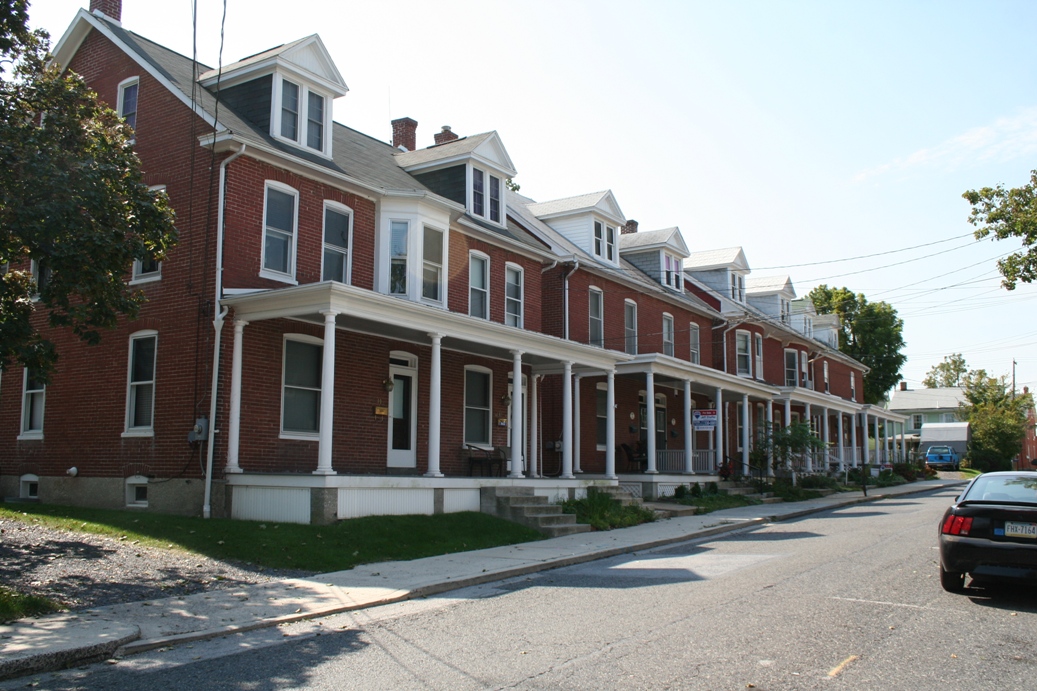
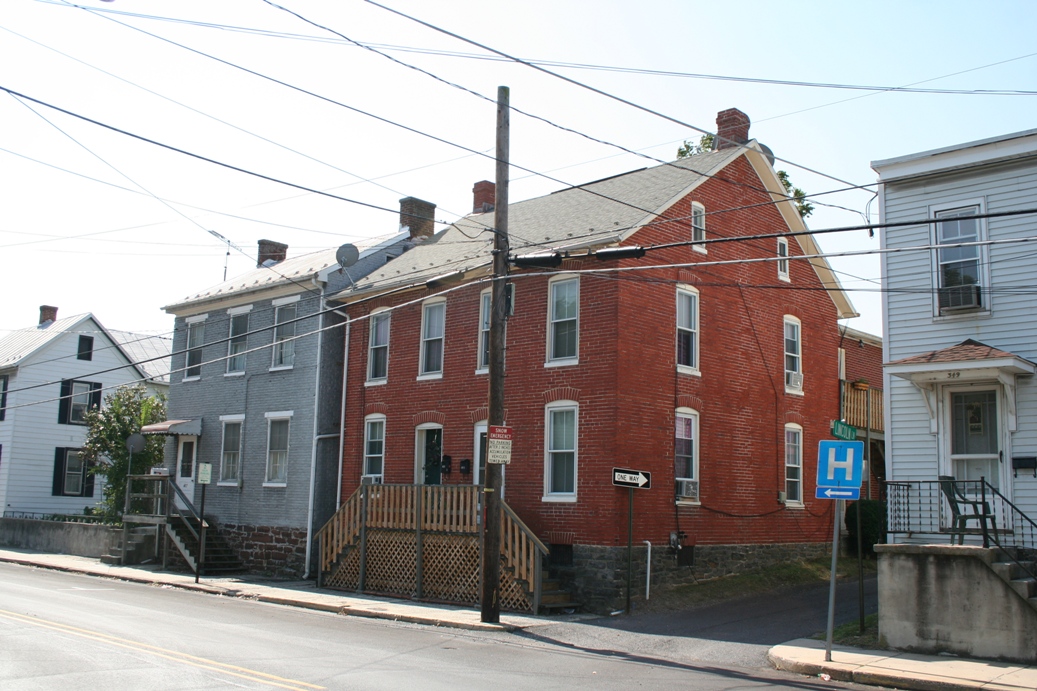
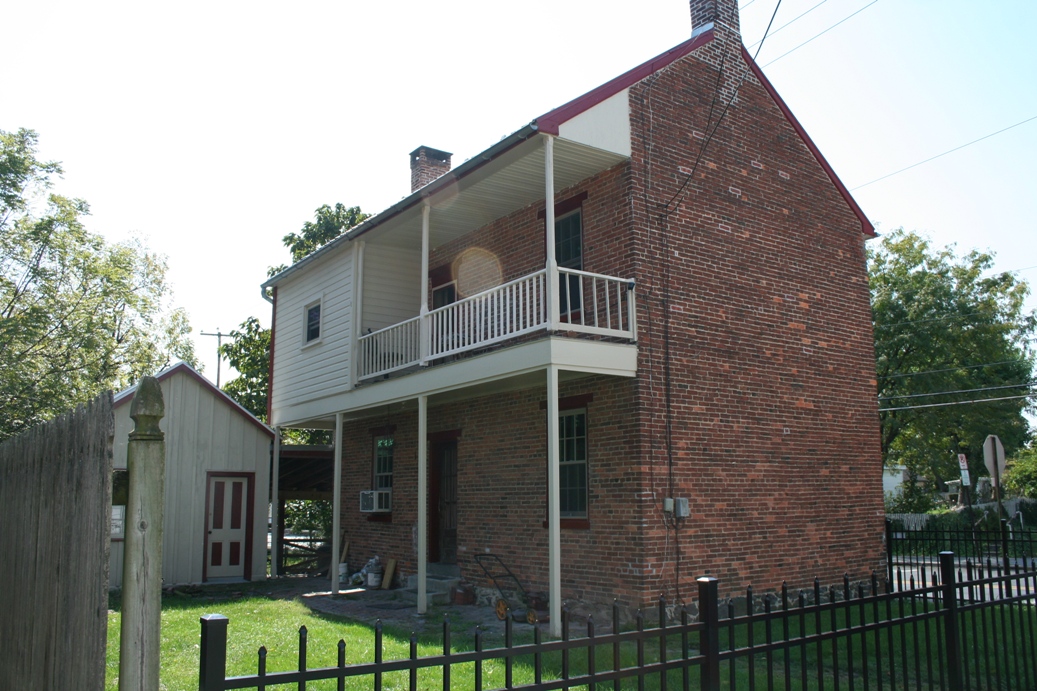
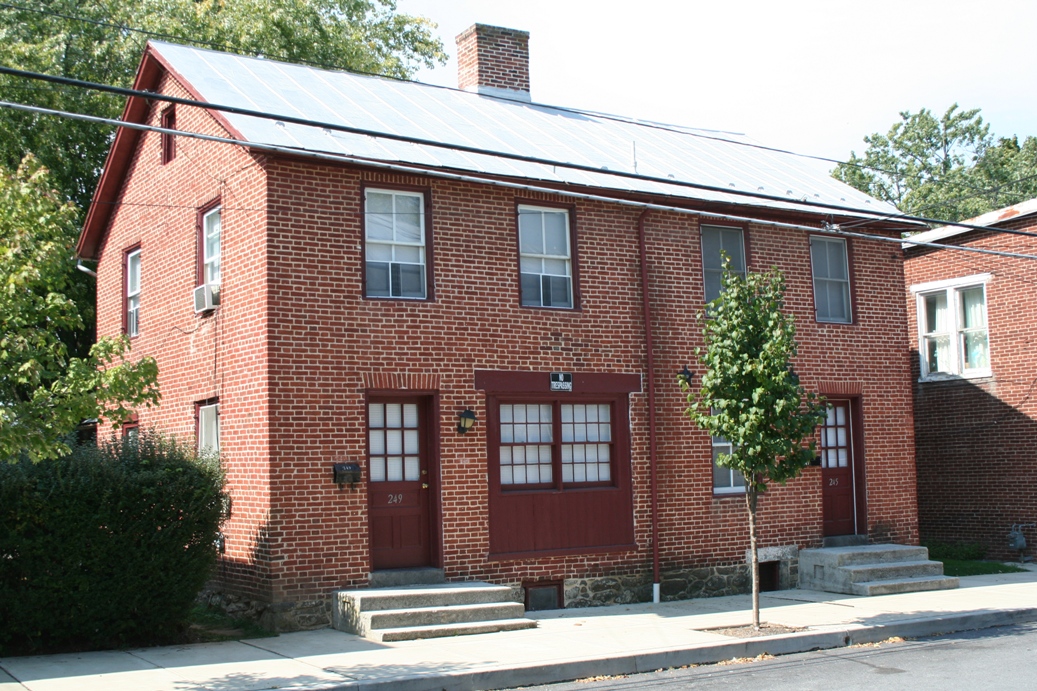
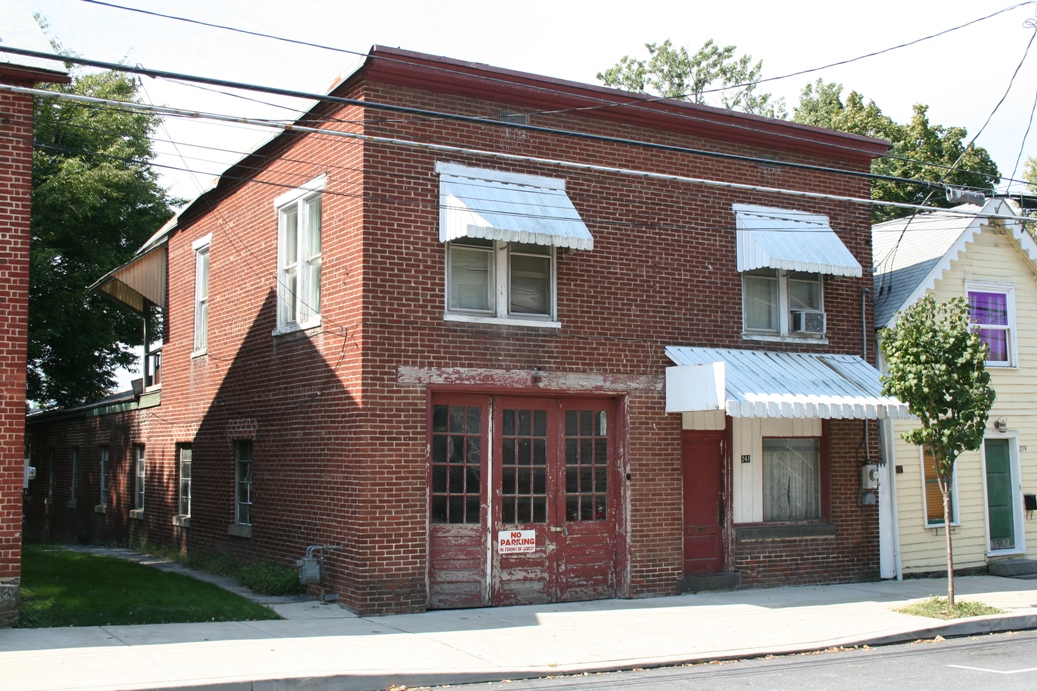
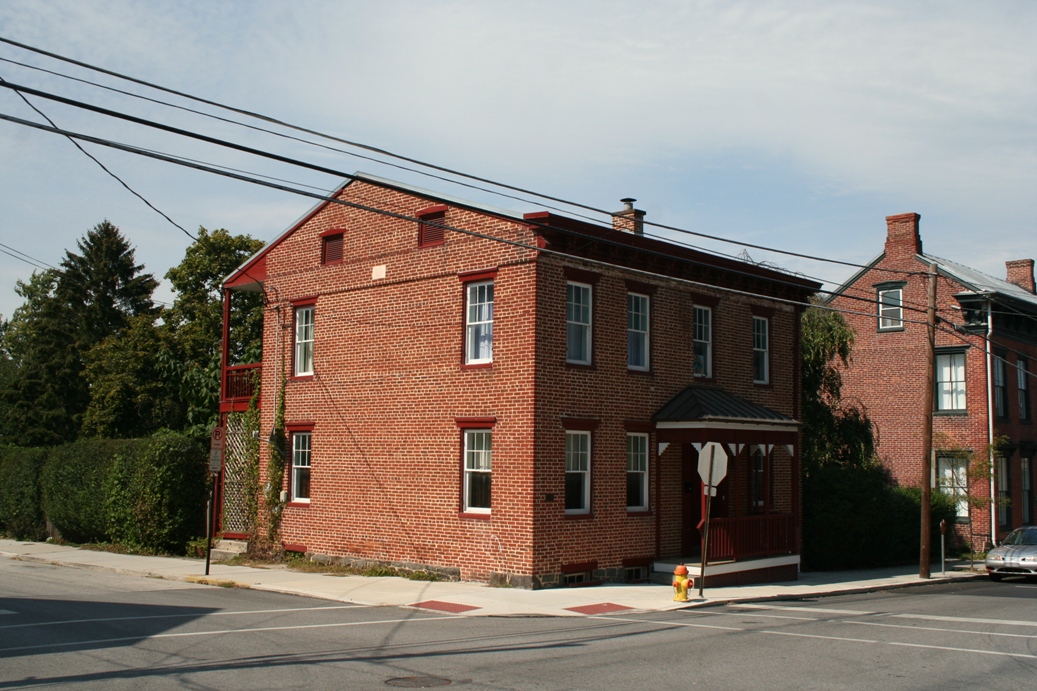
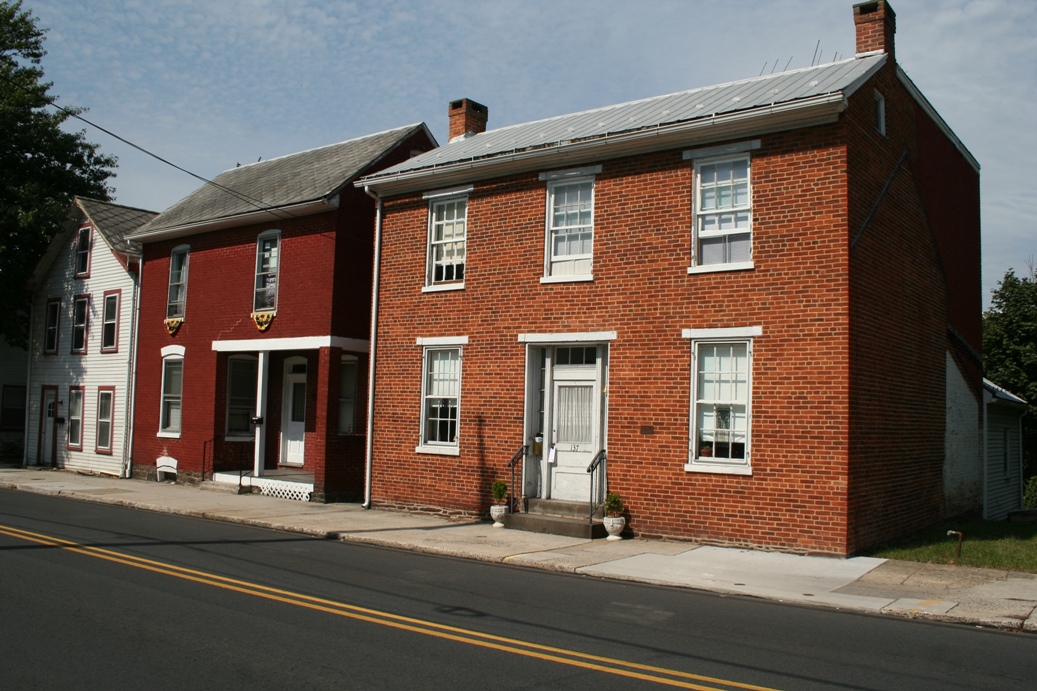
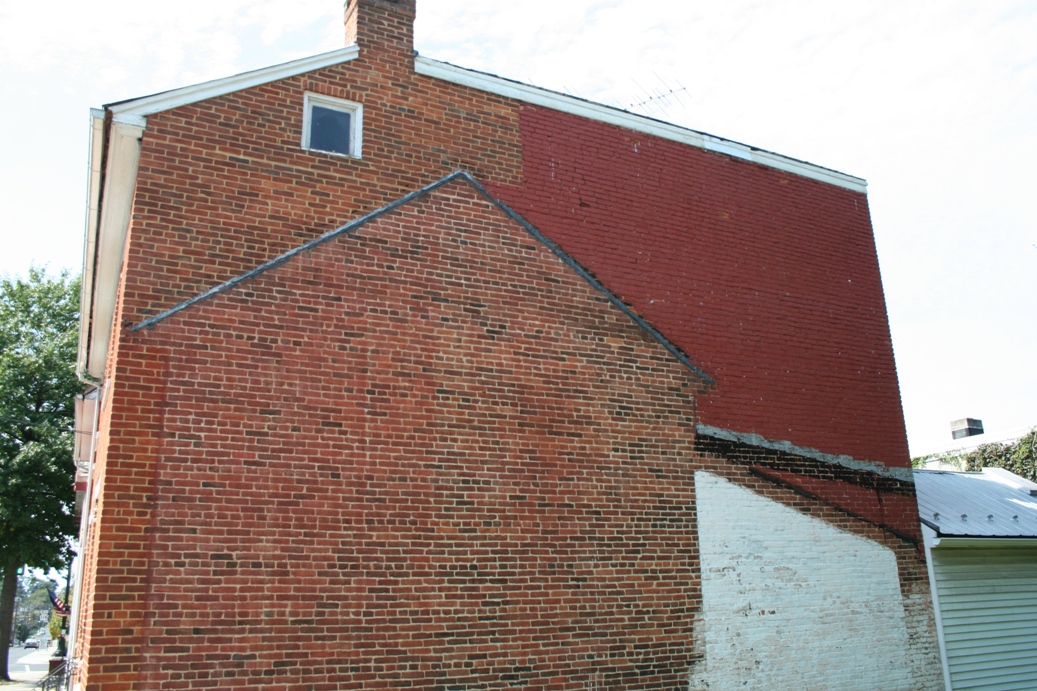
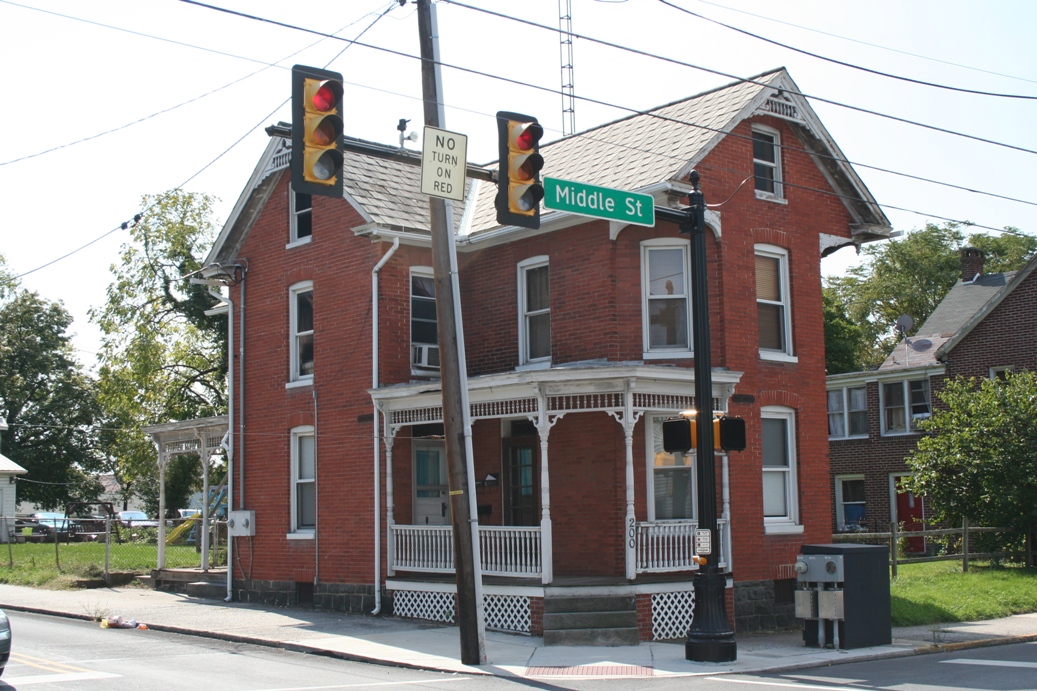
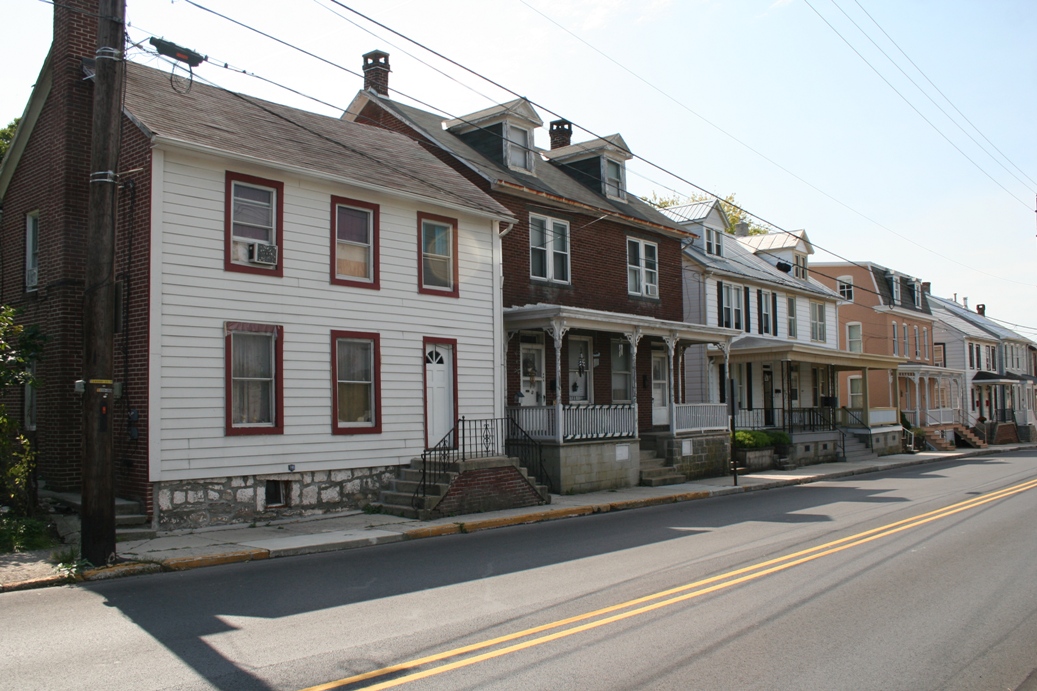
I
would like to point out that many of the homes and
buildings in the pictures were not here at the time
of the battle, but they are still interesting in
their own right. During the battle, Gettysburg
was a much smaller community than it is today.
But as it expanded over time, it looks as if they
wanted to maintain the same look as the era of the
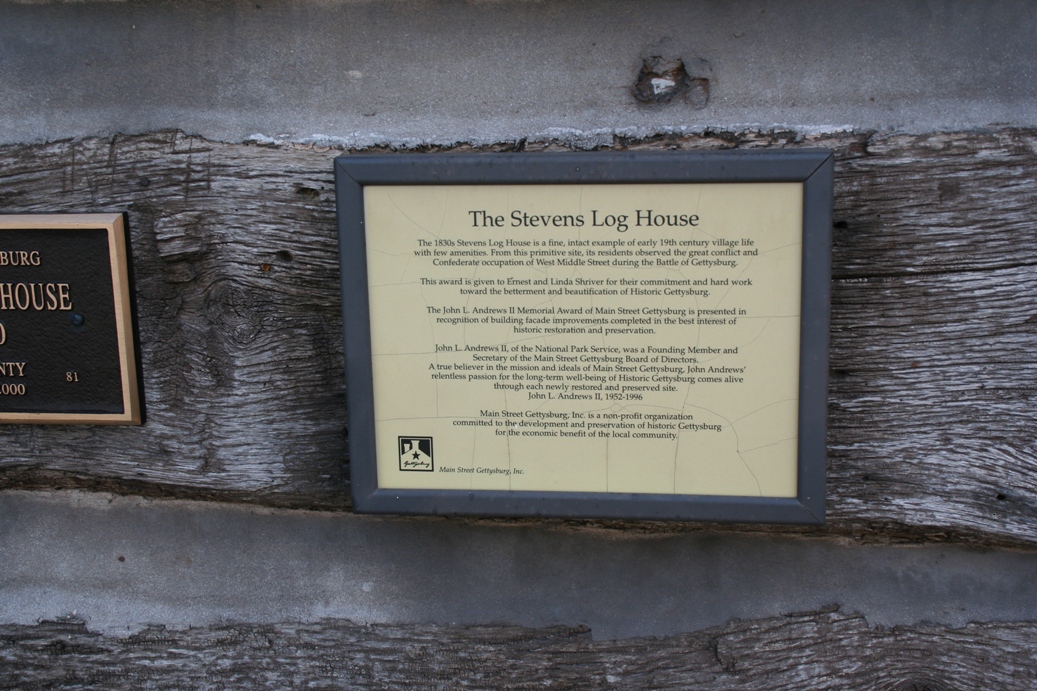
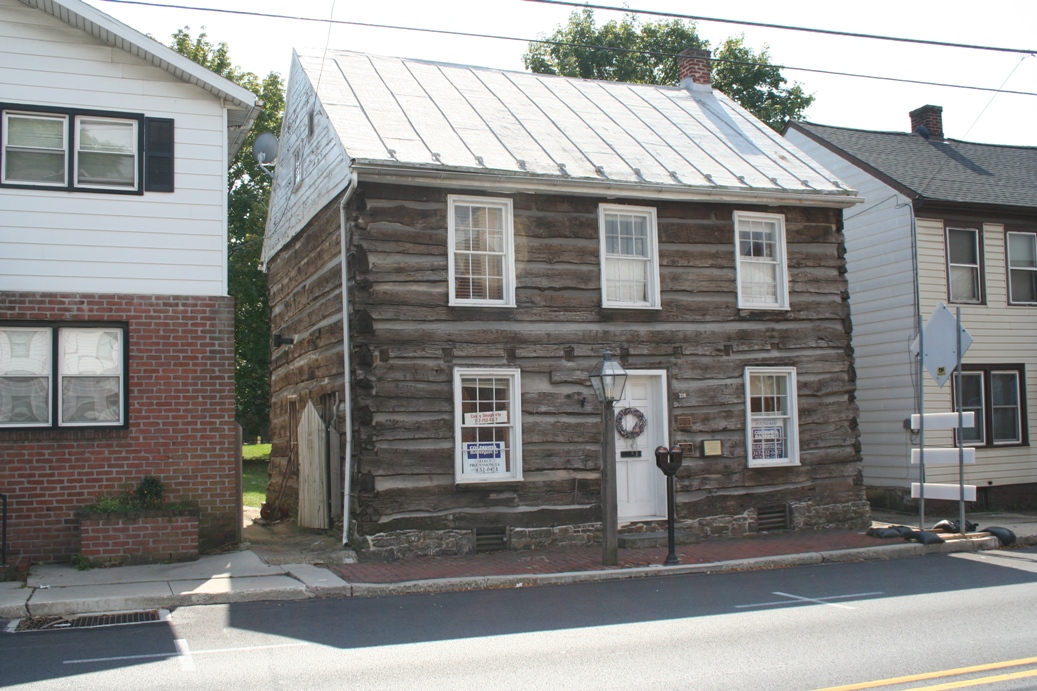
battle. If you want to know if a home or
building was present during the battle, those
structures have a plaque on them indicating as such.
|
Lutheran Seminary
|
|
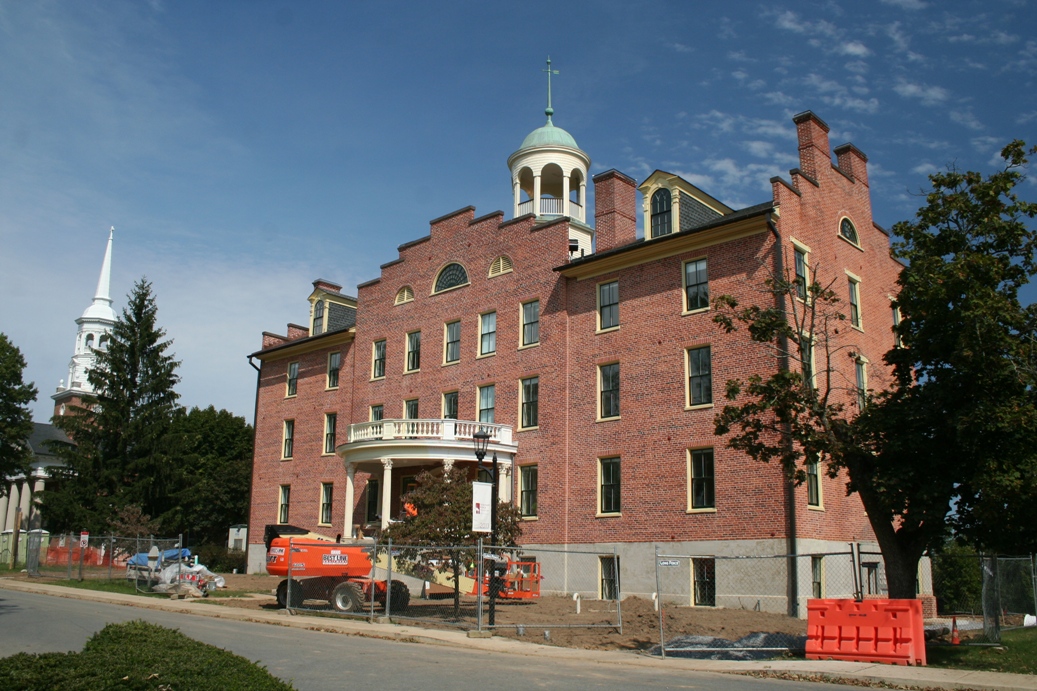
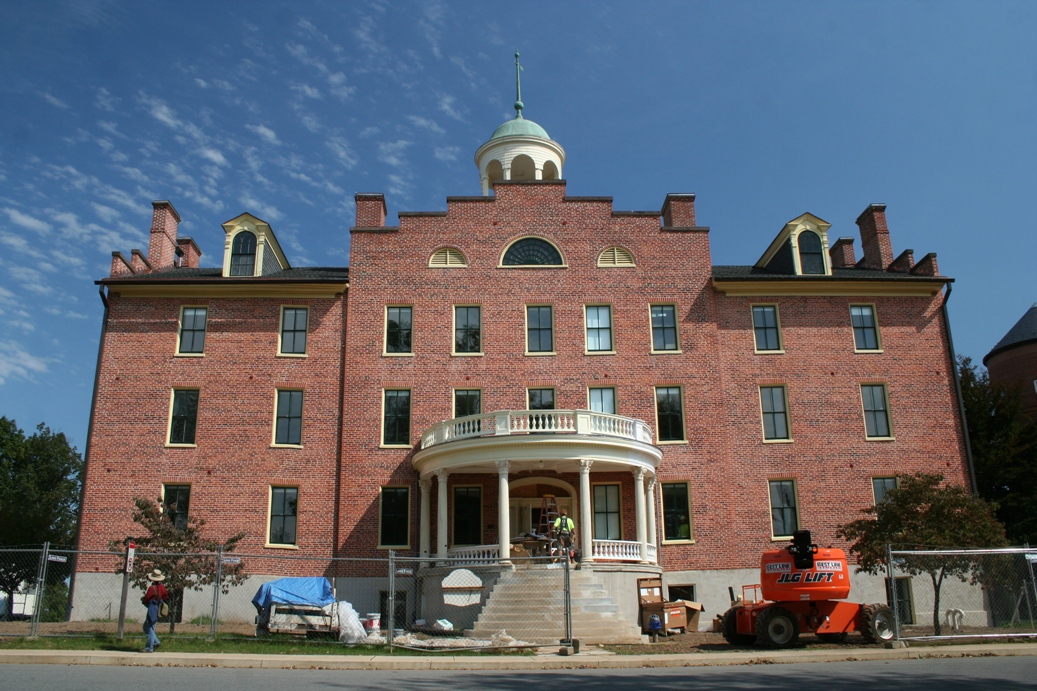
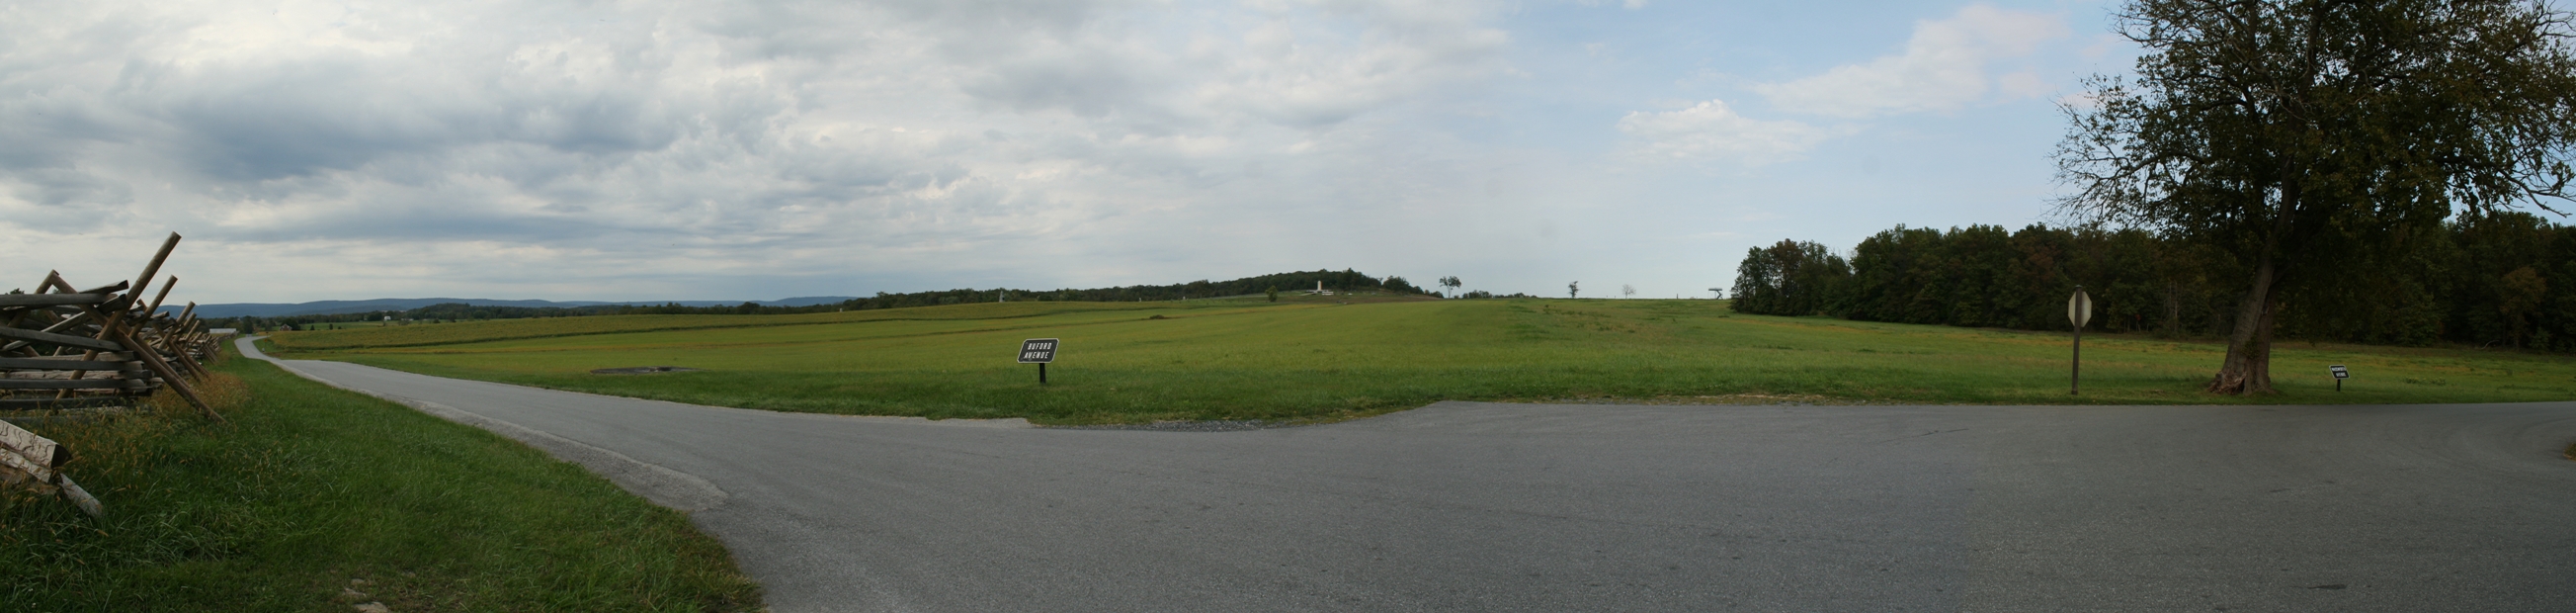
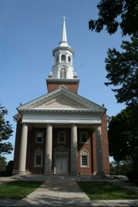
The
Lutheran Seminary witnessed many important and
historic events during the Battle of Gettysburg.
It was just west of here where the first Confederate
troops encountered Union troops on July 1st.
Union Major General John Buford decided to use
the ground northwest of town in a holding effort,
while the rest of the Union Army marched up from the
south. During the first day of battle, he used
the cupola, on top of the building in the second row
of photos, as a way to survey the battle unfolding
on the fields west and north of town. When the
Union troops were routed back through town,
Confederate troops used the cupola to observe the
battle on the east and south sides of town.
The
seminary today has many more buildings and homes
than during the time of the battle. There are
two buildings that sit to each side of the seminary
building with the cupola and each has their own
cupola. One thing that can be confusing, when
looking at this area from the west side of town, is
which cupola was the one used during the battle.
At the time, the trees were much shorter, but over
time, the trees have grown to obscure the original
cupola, and the two others have been built since the
battle. The one that is most noticeable from
the battle field is the one on top of the church
which is north of the original building. The
original one can be seen from a distance, but just
barely.
|
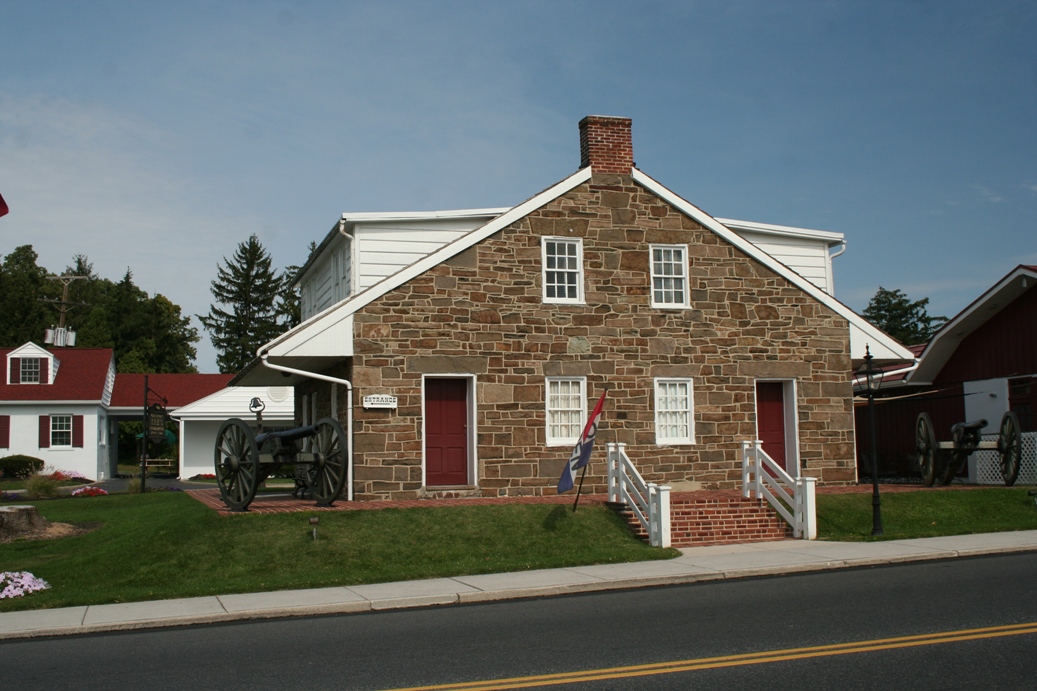
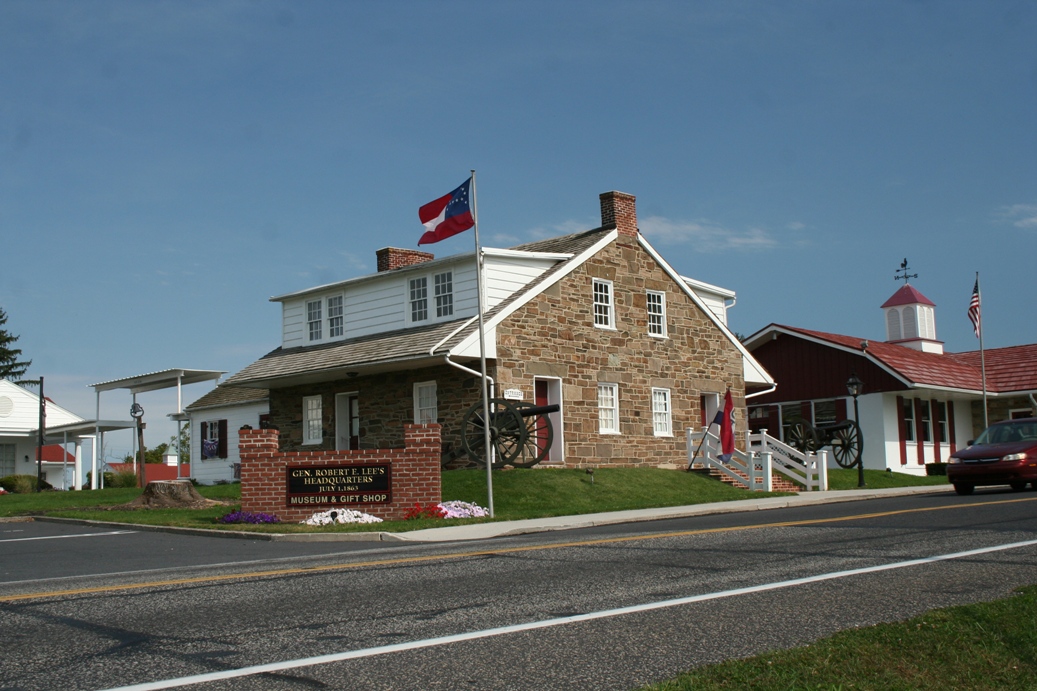
General Lee's Headquarters
|
General Lee's headquarters during the second and
third days of the battles still stands on the
Chambersburg Pike, in the northwest portion of town.
It is hard to believe that at one time, this
building was farm that was outside of town. If
you get a chance to visit Gettysburg, the museum at
General Lee's headquarters does have some
interesting pieces on display. At one time,
they had the saddle and riding gear that General
Reynolds was using when he was killed by a sniper
just a mile or so away from this spot.
|
|
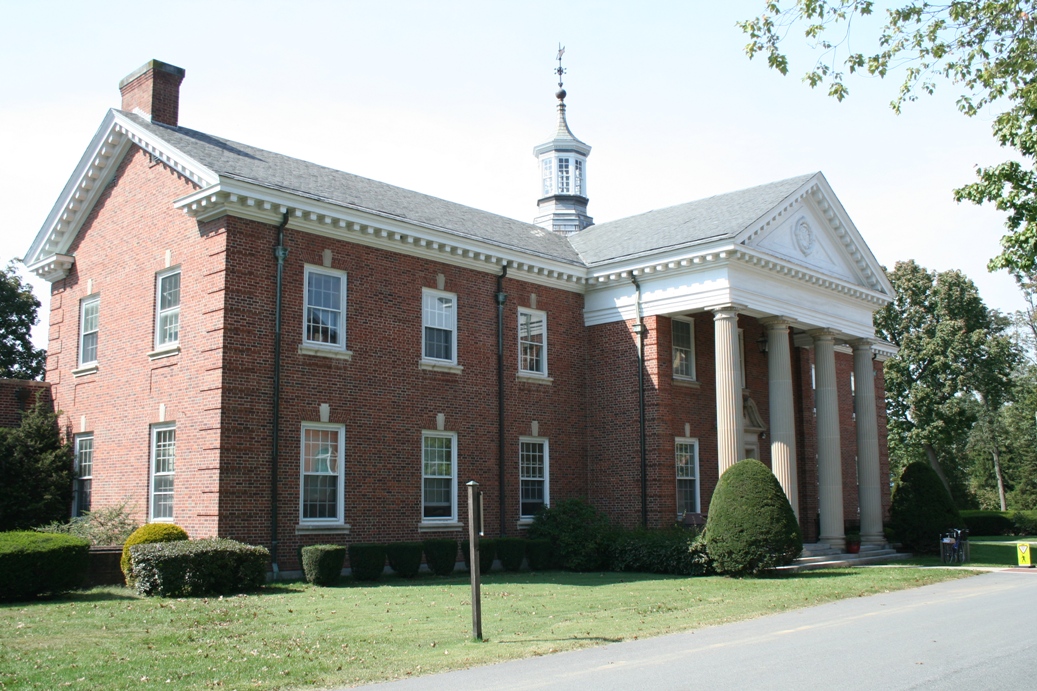
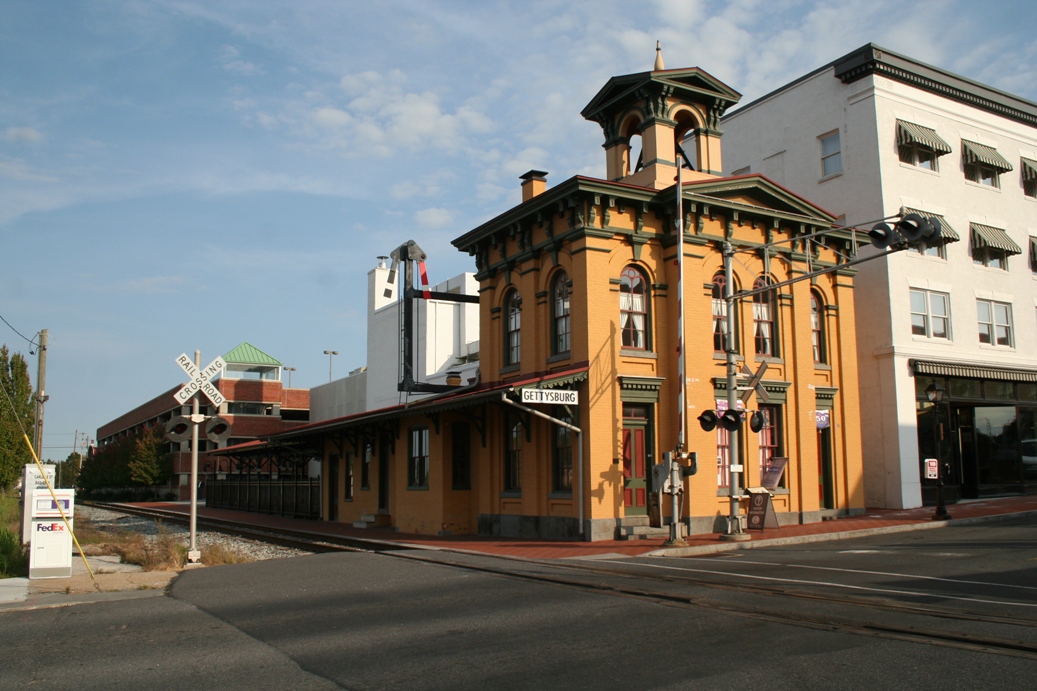
The
building on the left above is on the campus of the
Lutheran Seminary. Still used today by the
Seminary, I believe it was here during the battle.
The building on the right above is the train station
that was use during the time of the battle.
This is also the train station used by President
Lincoln when he arrived to give the Gettysburg
address.
|
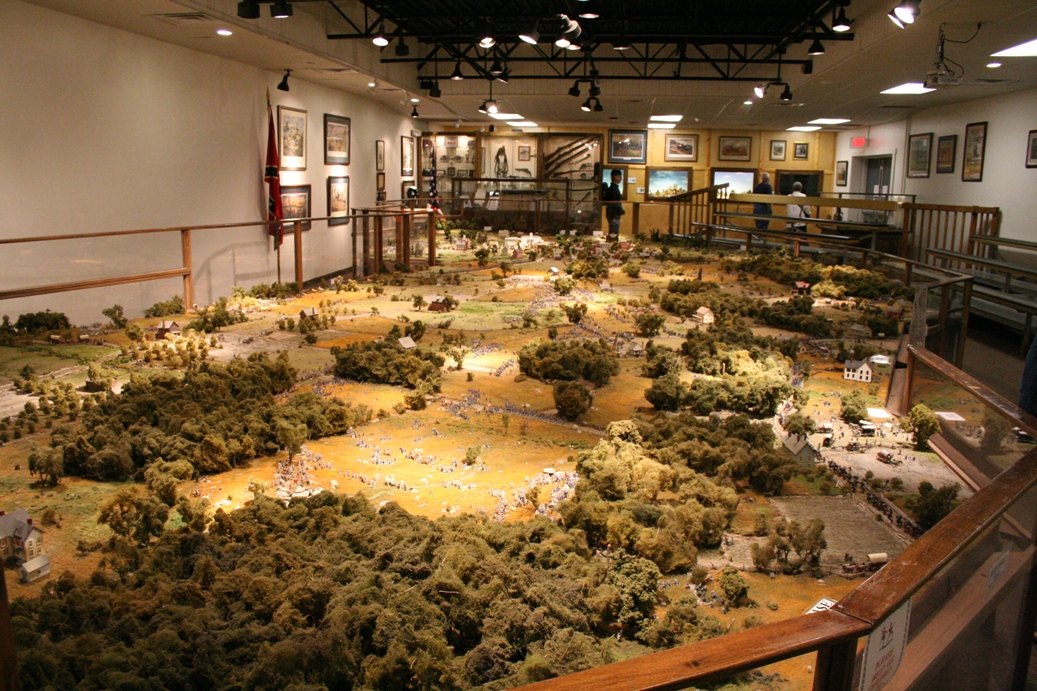
Gettysburg
Diorama
|
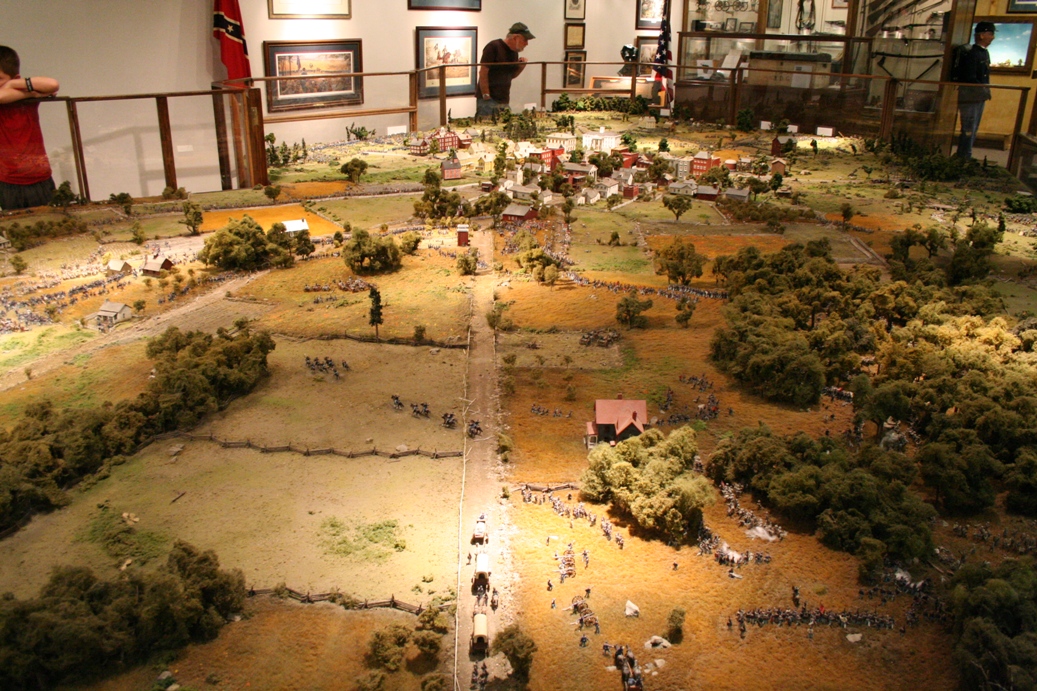
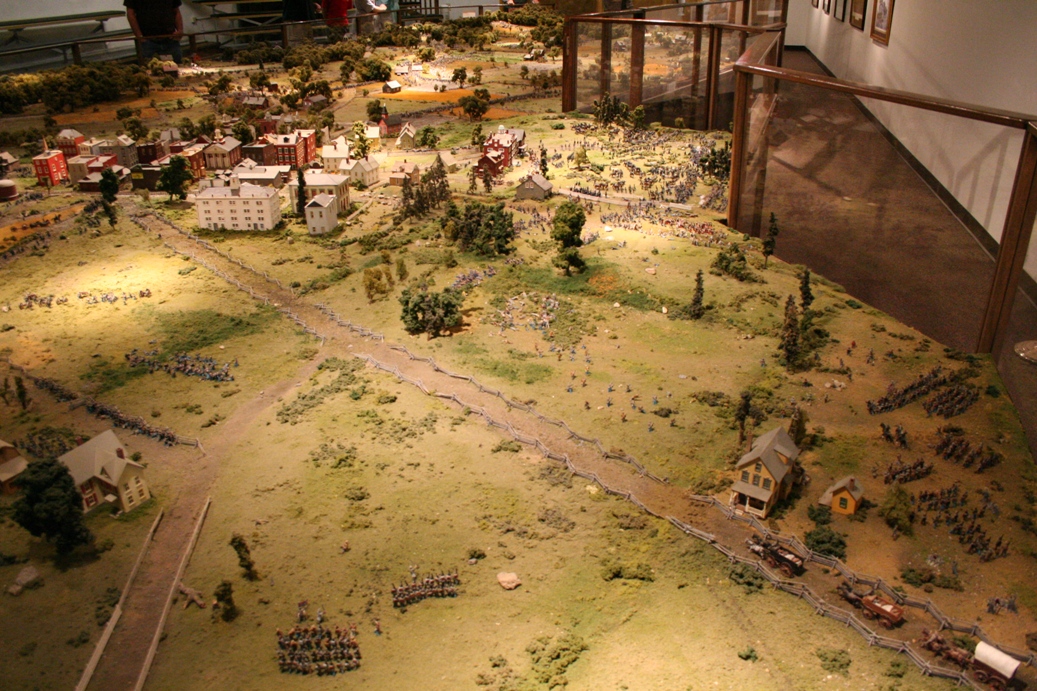
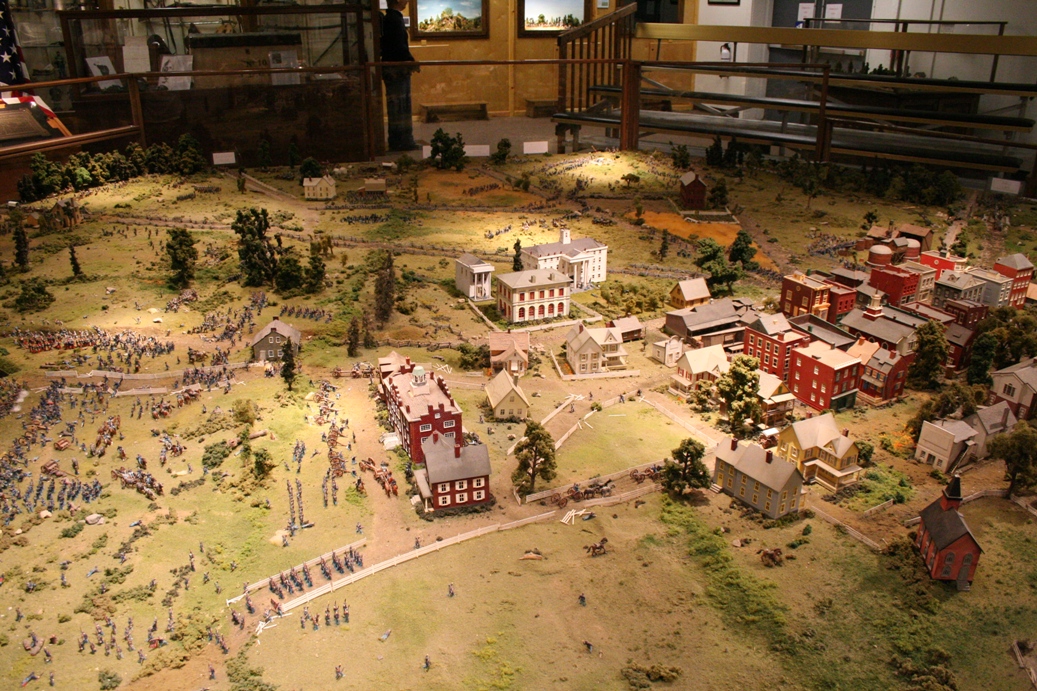
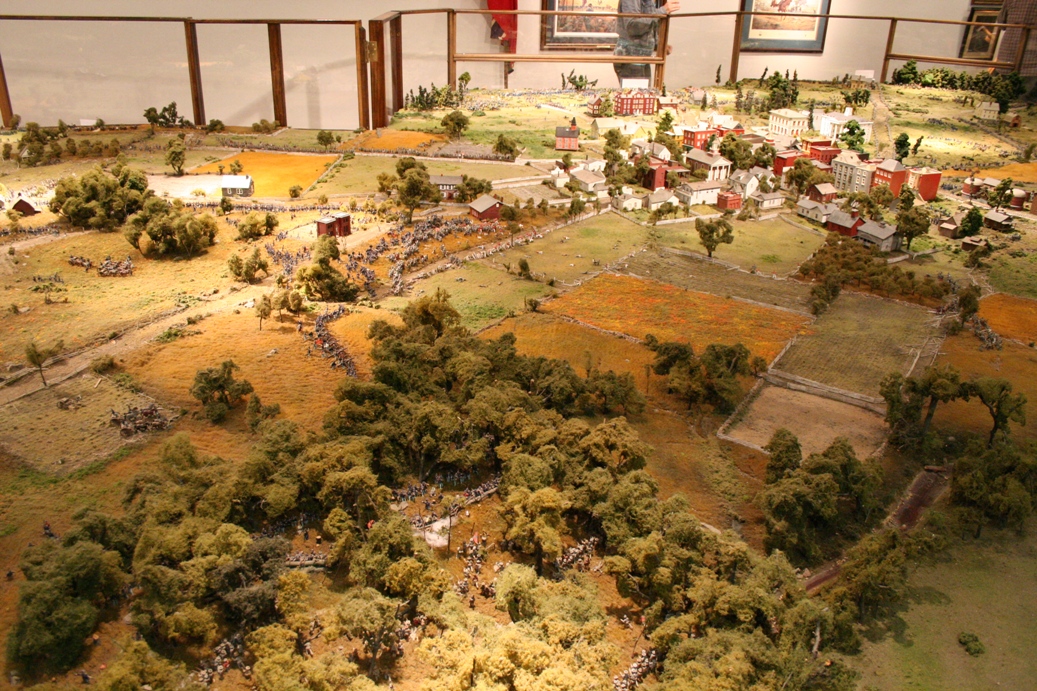
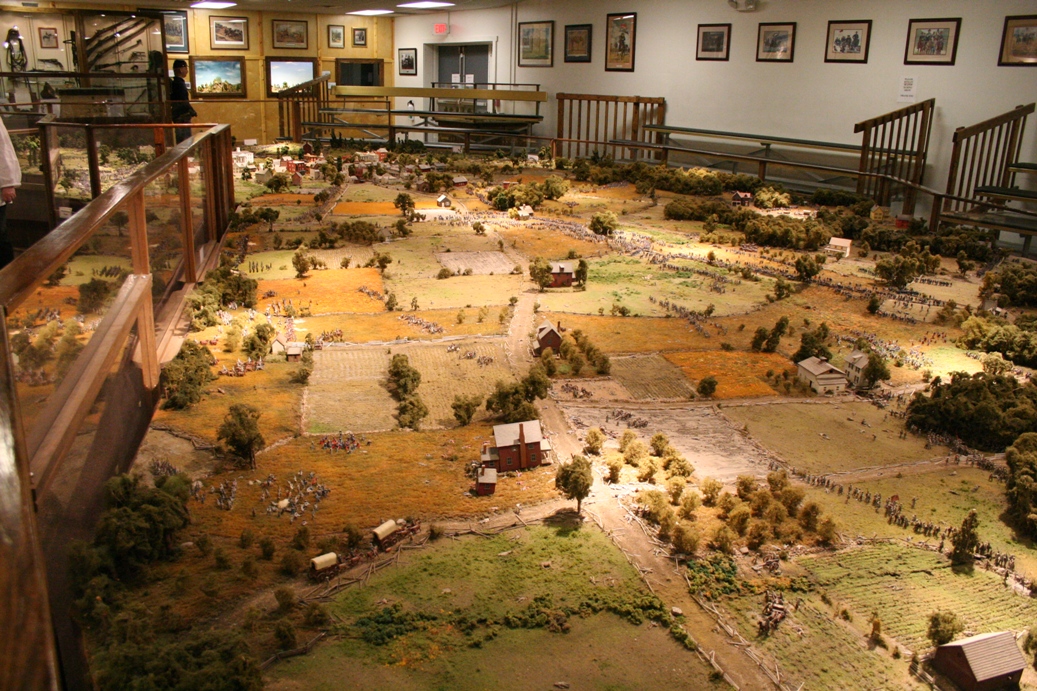
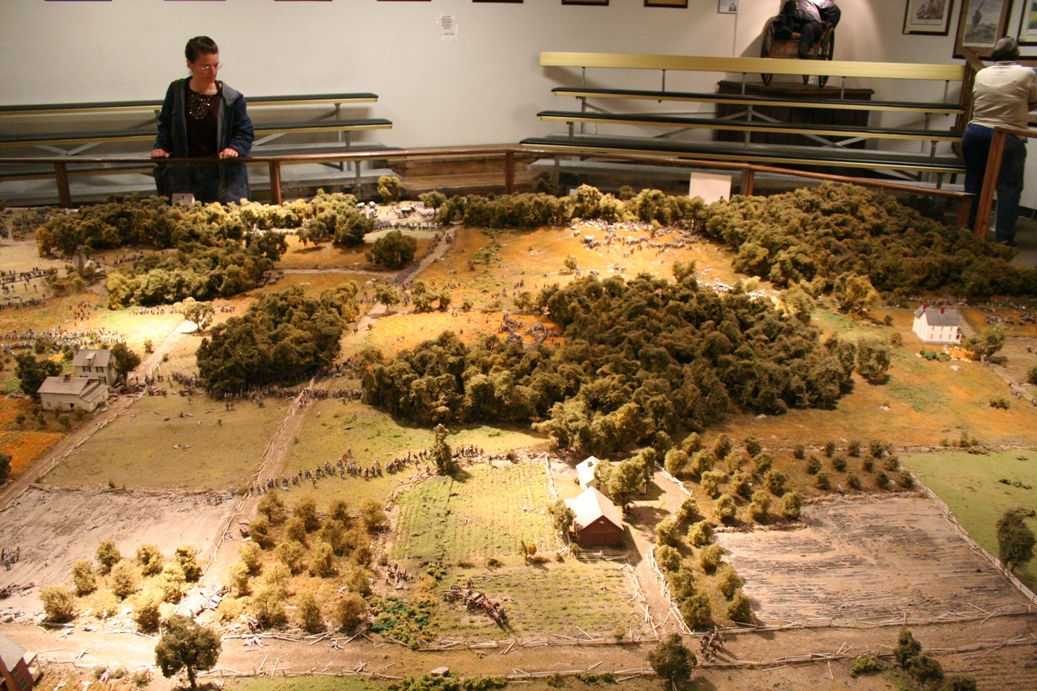
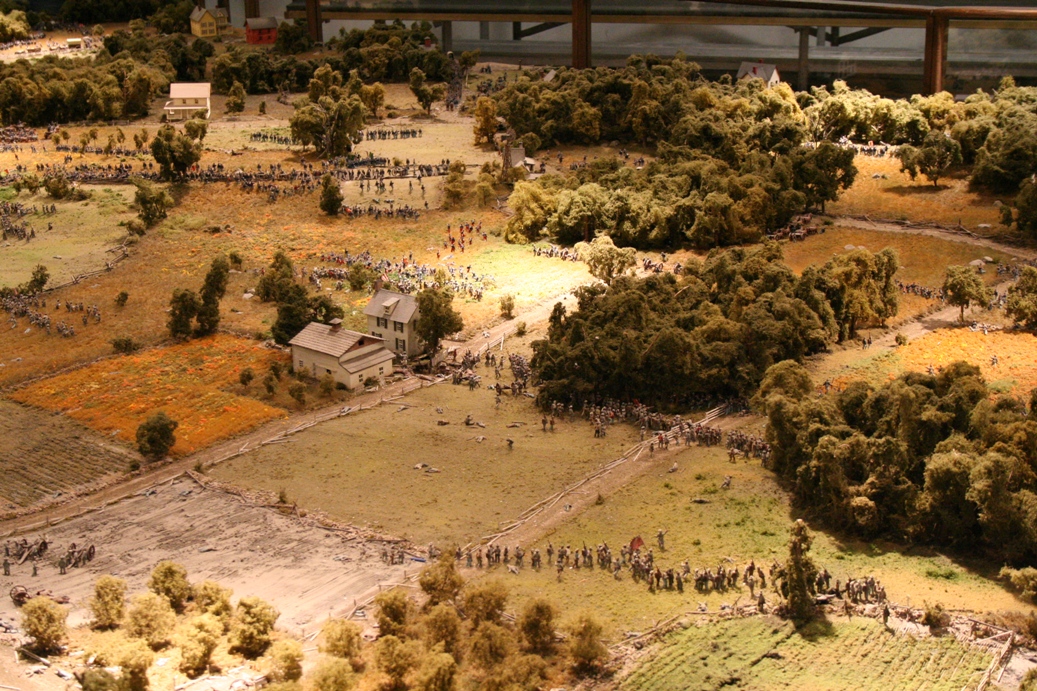
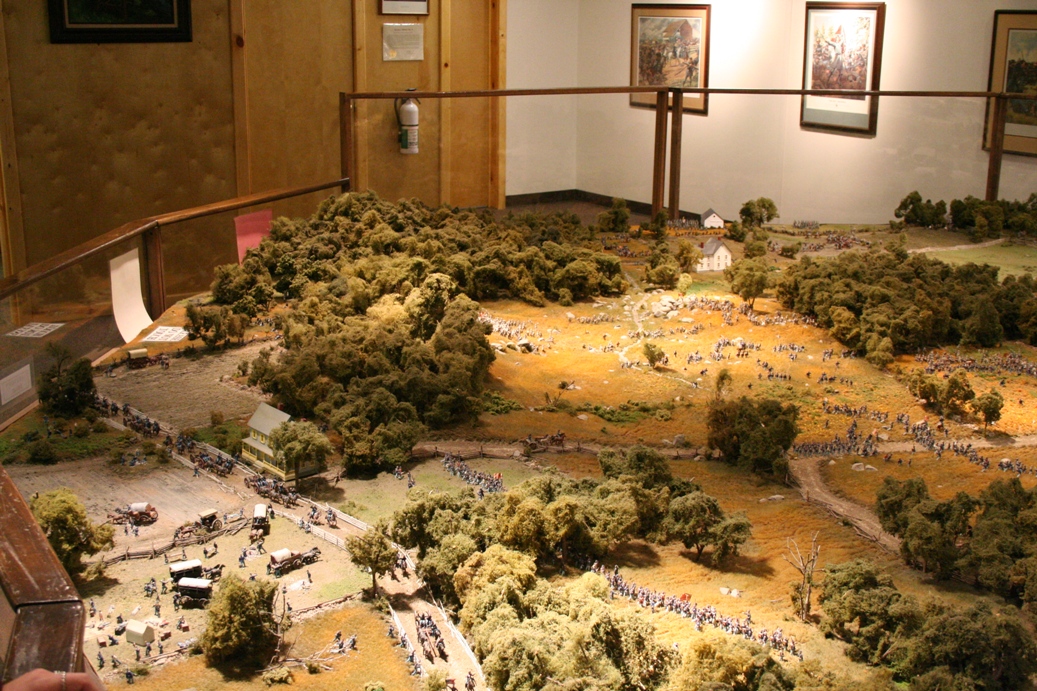
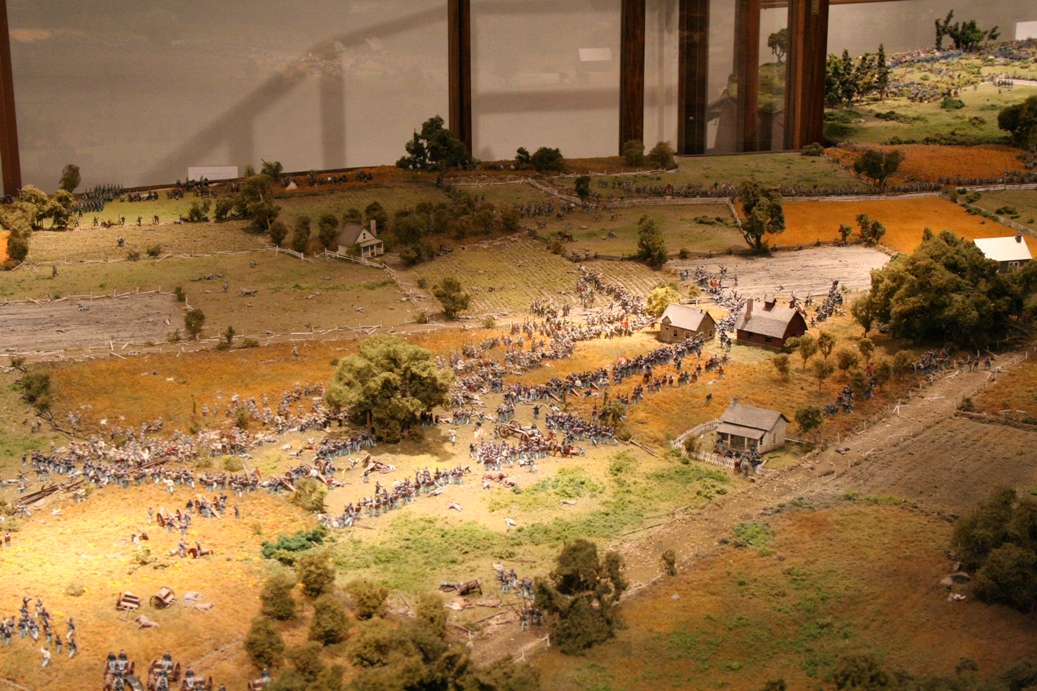
One
of the places that we have heard of, but never
visited, was the Gettysburg Diorama. This year
we decided to stop and take in one of the showings.
When you first go in, you are invited to take time,
explore the diorama, and take photos if you wish.
Then, there is a half hour presentation that covers
the Battle of Gettysburg using the diorama to
illustrate the battle.
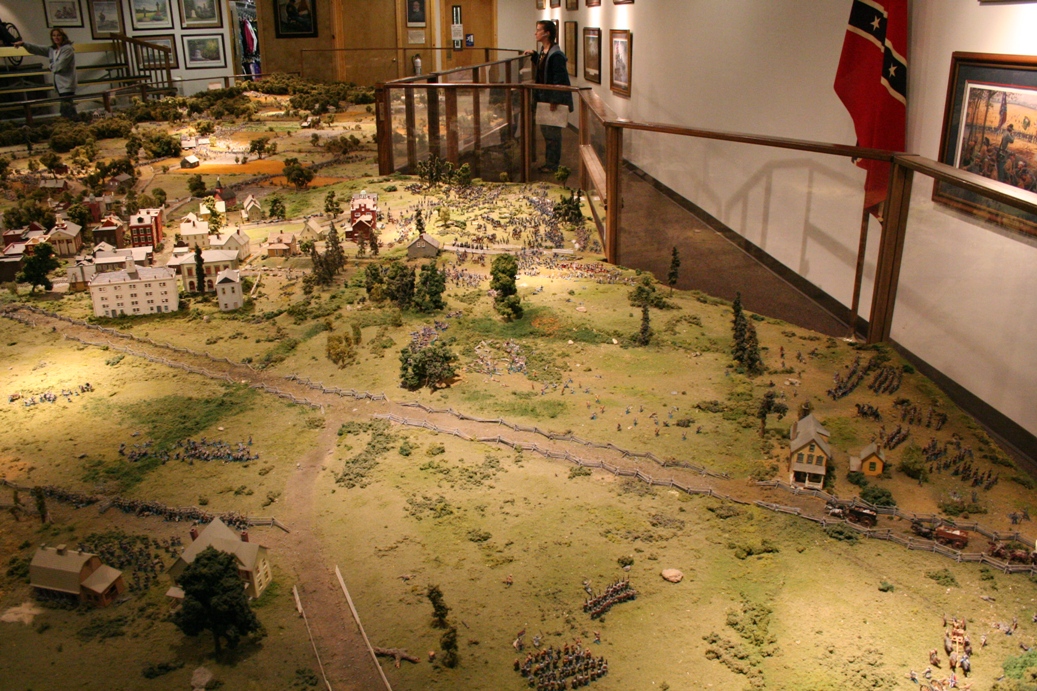
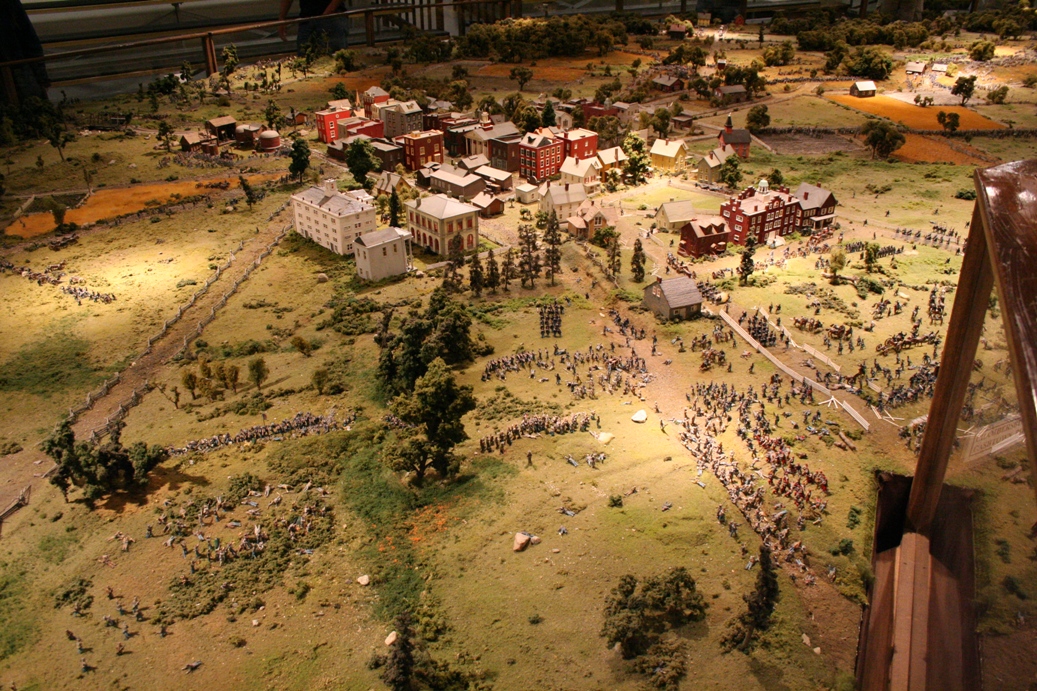
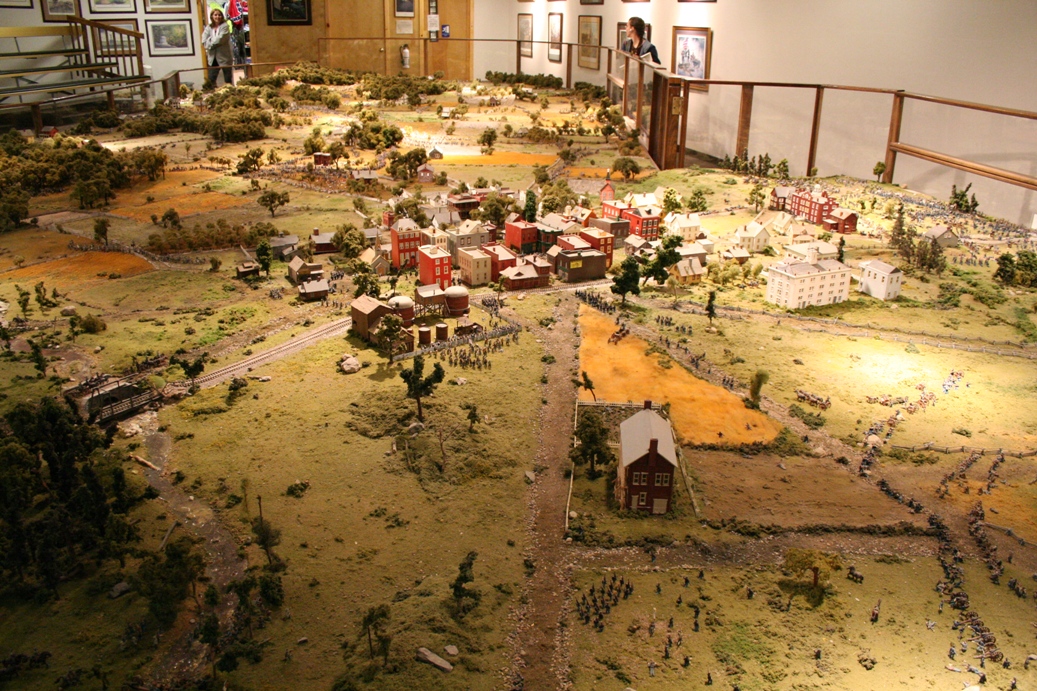
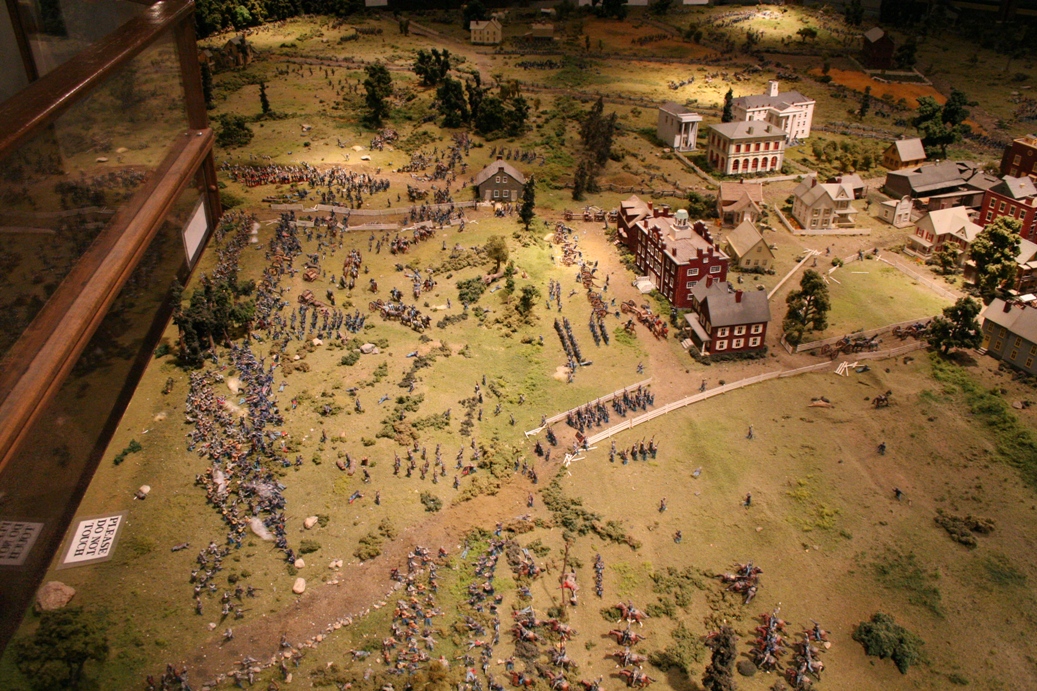
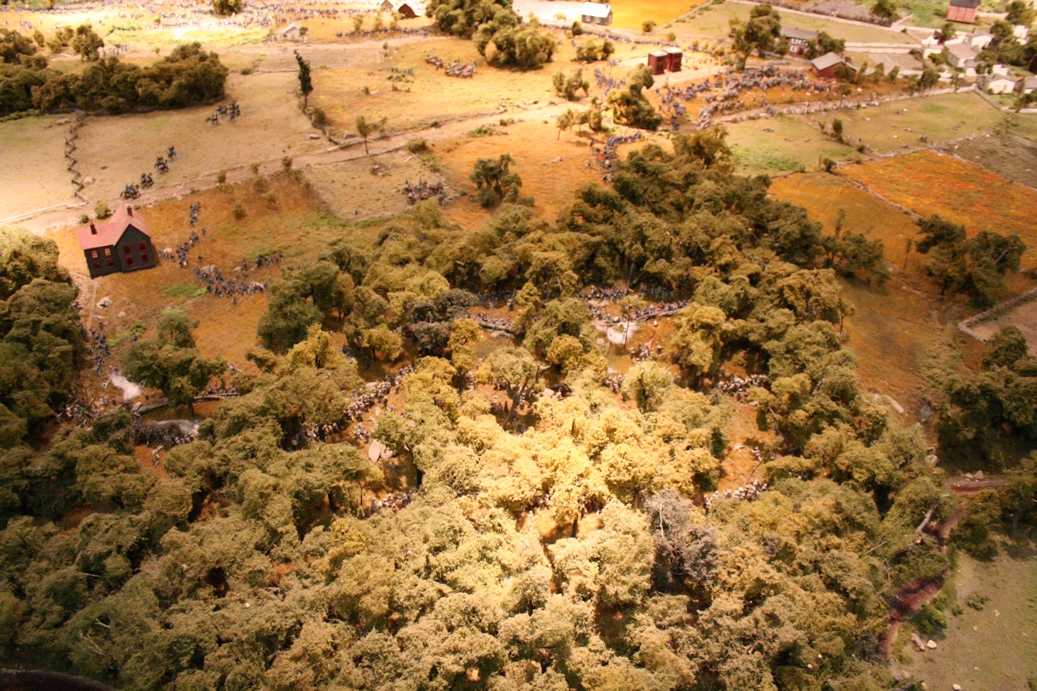
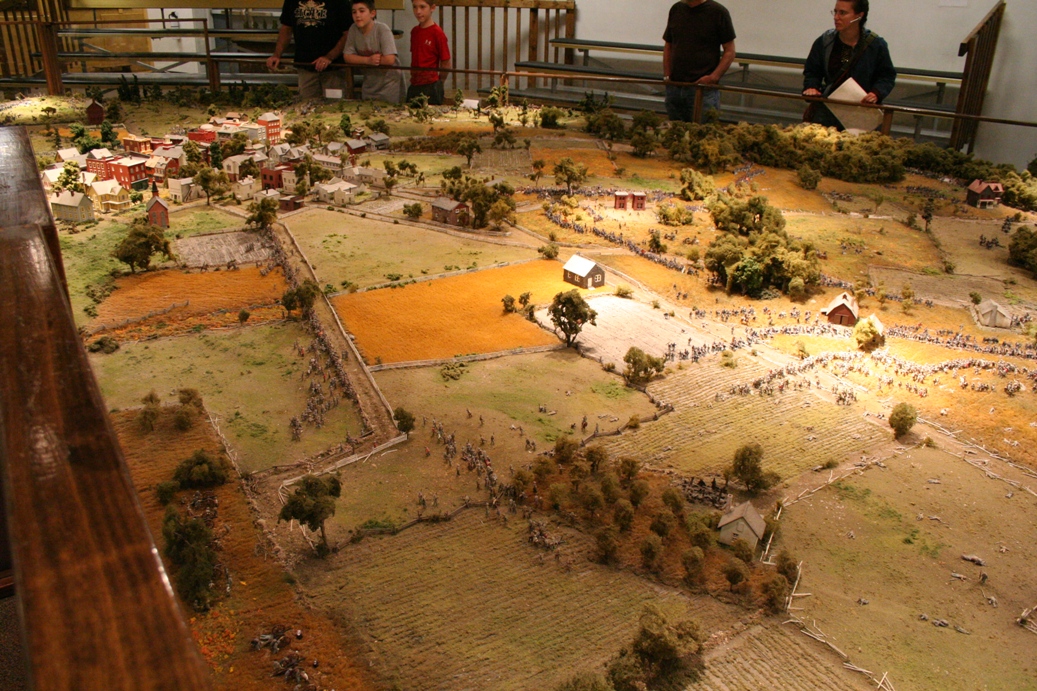
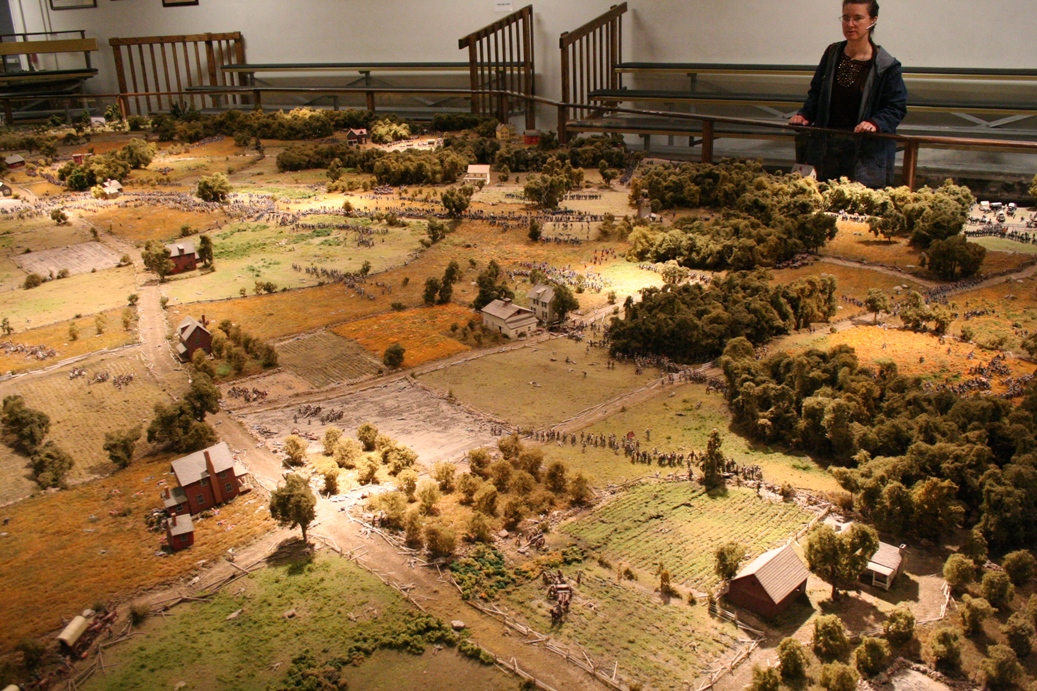
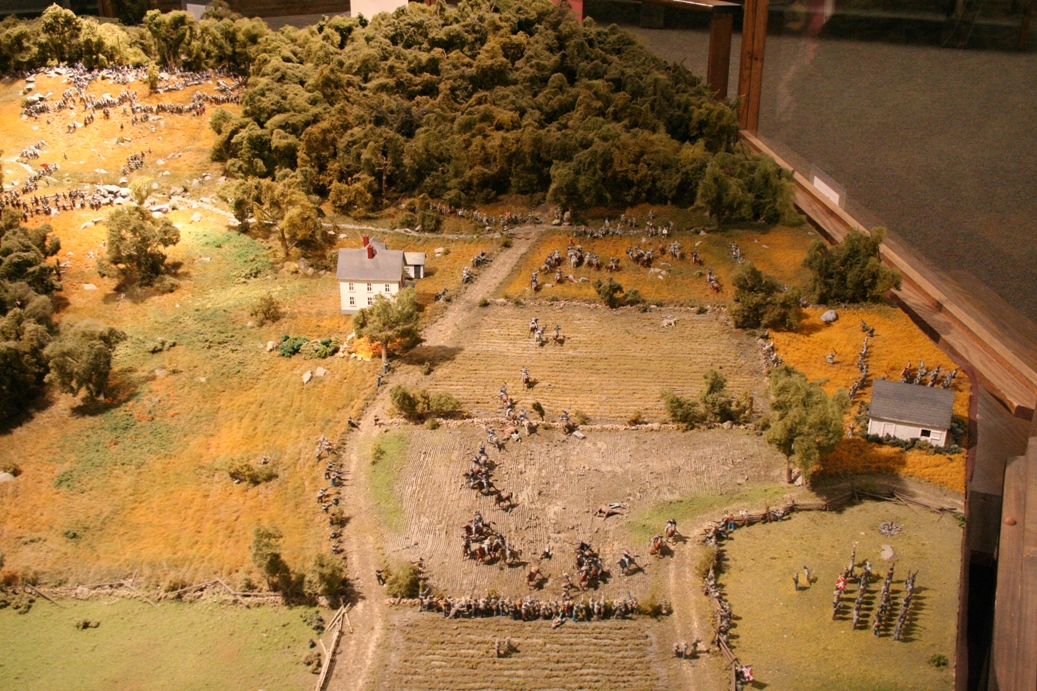
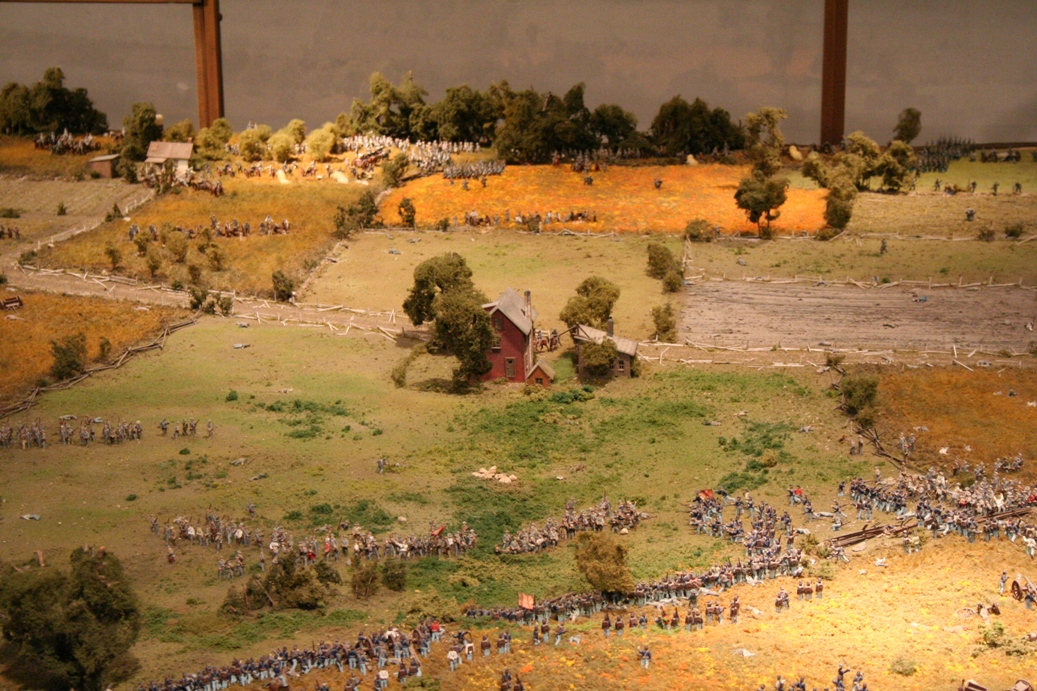
The
photos above are organized somewhat in chronological
order of the battle. The first few photos are
from the vantage point of the Union soldiers
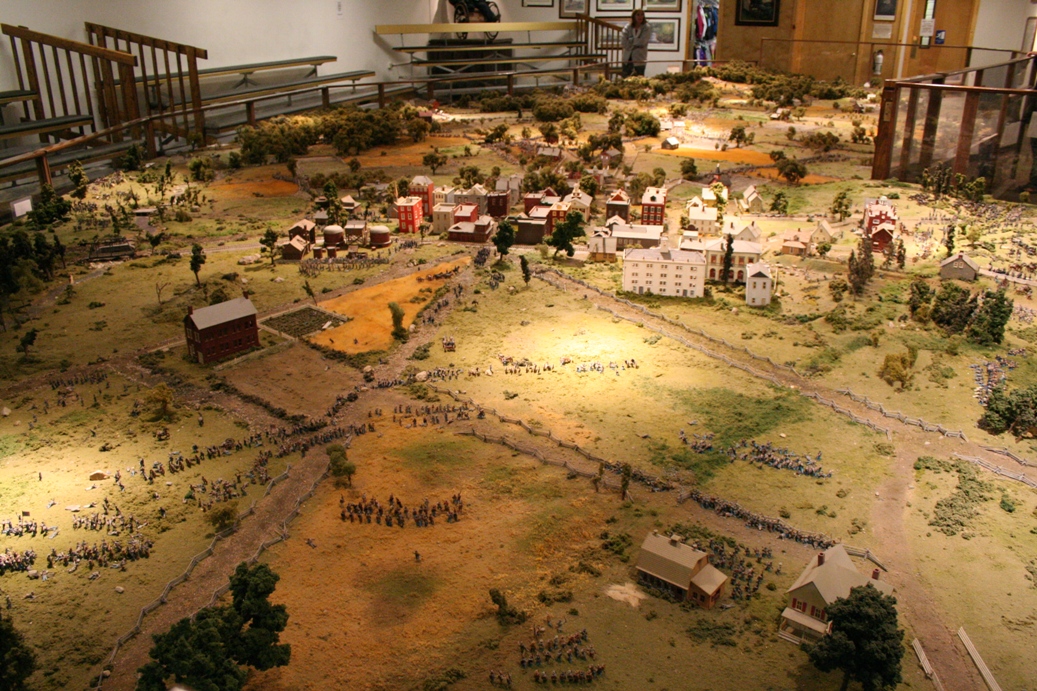
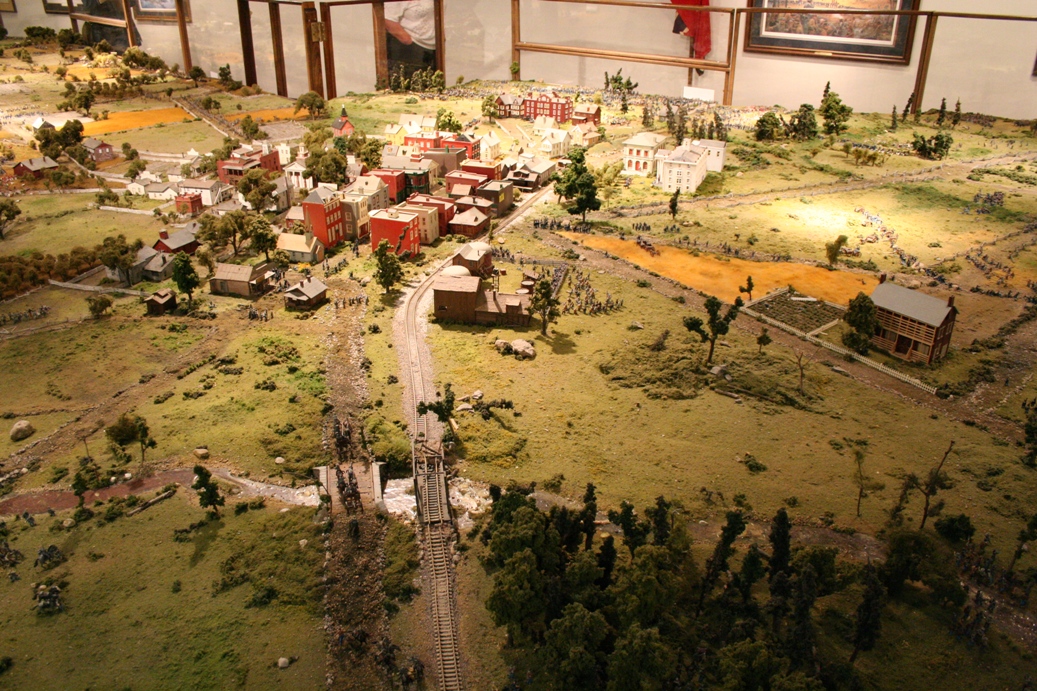
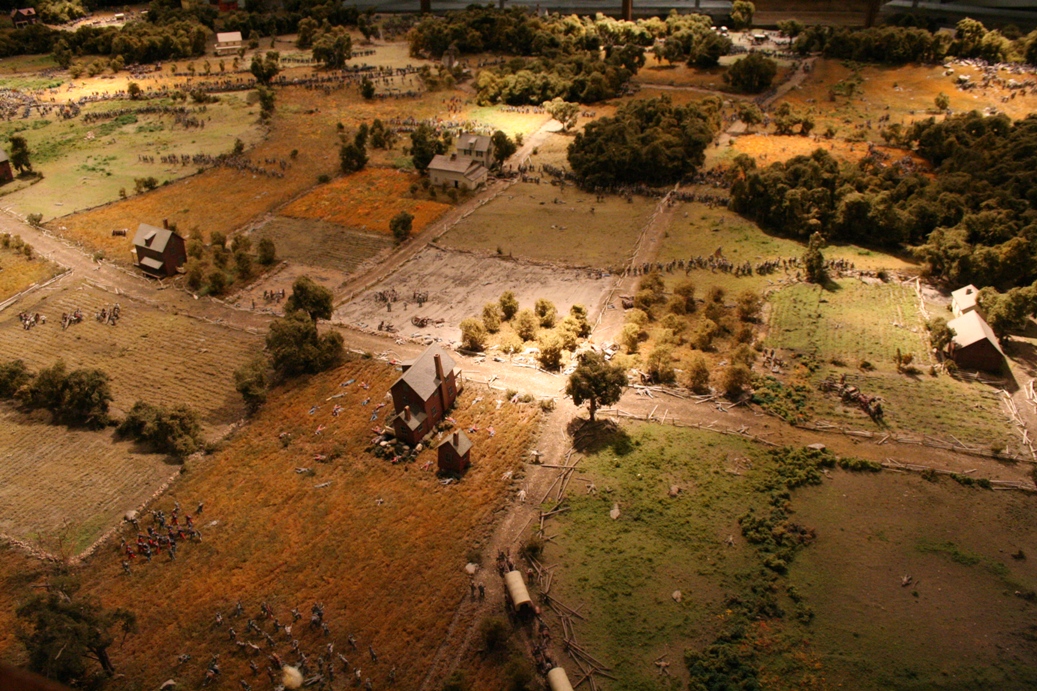
arriving in town from the southeast. The next
several show the battlefields north and west
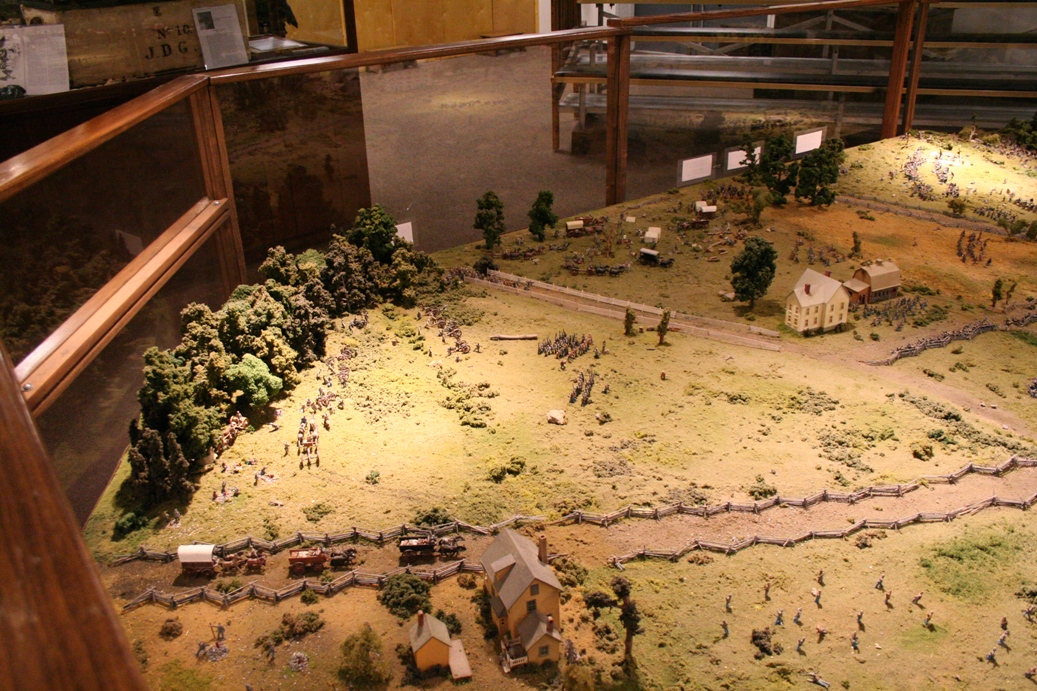
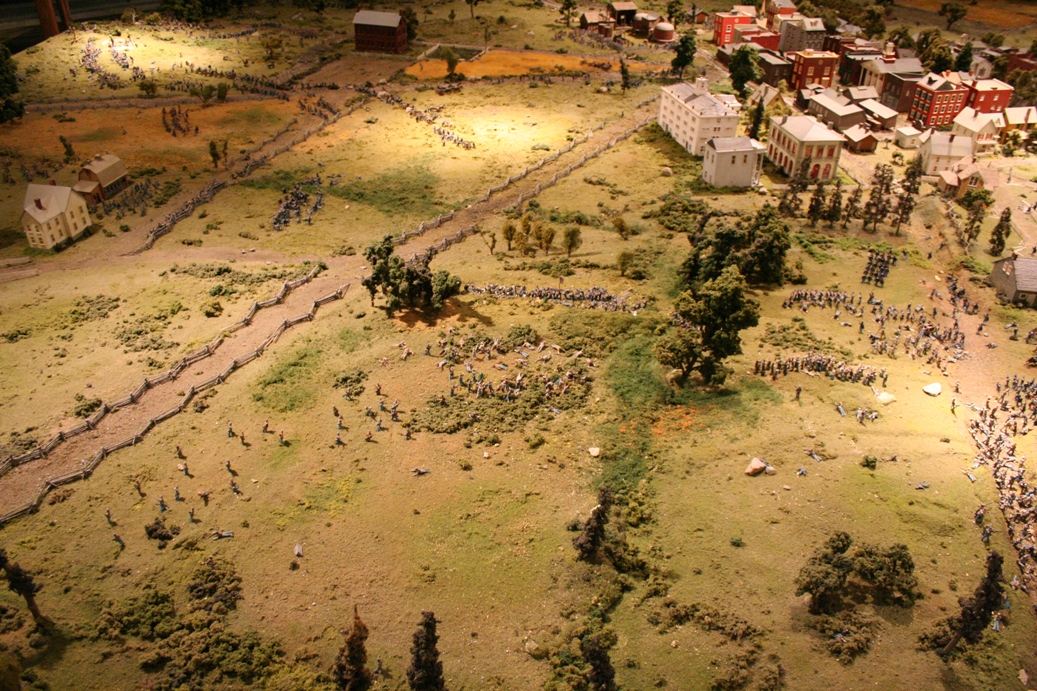
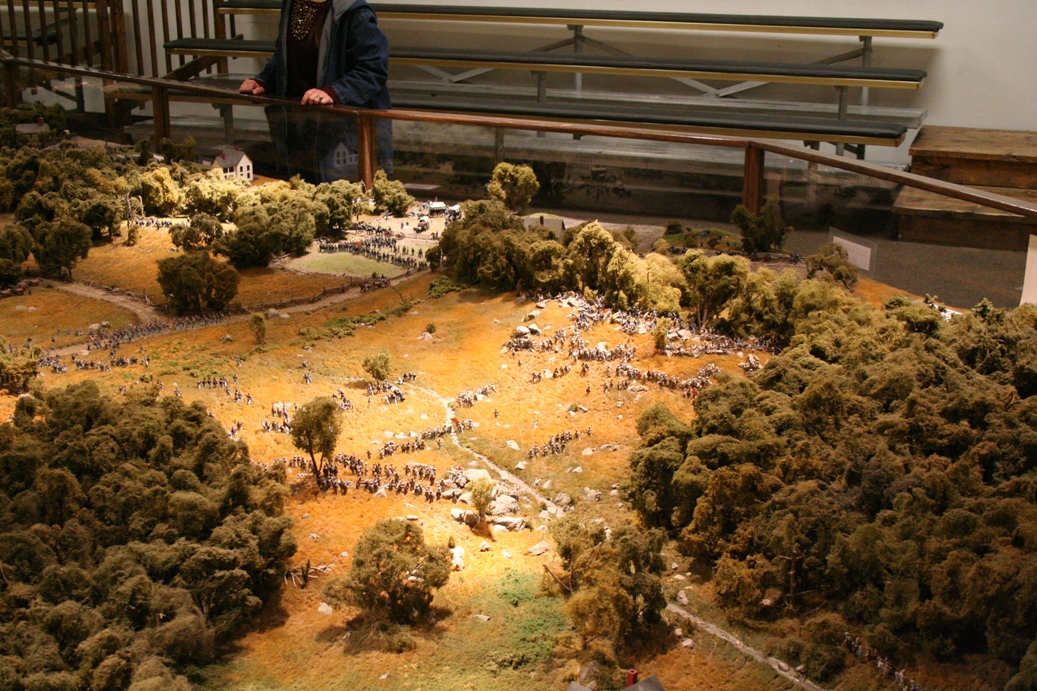
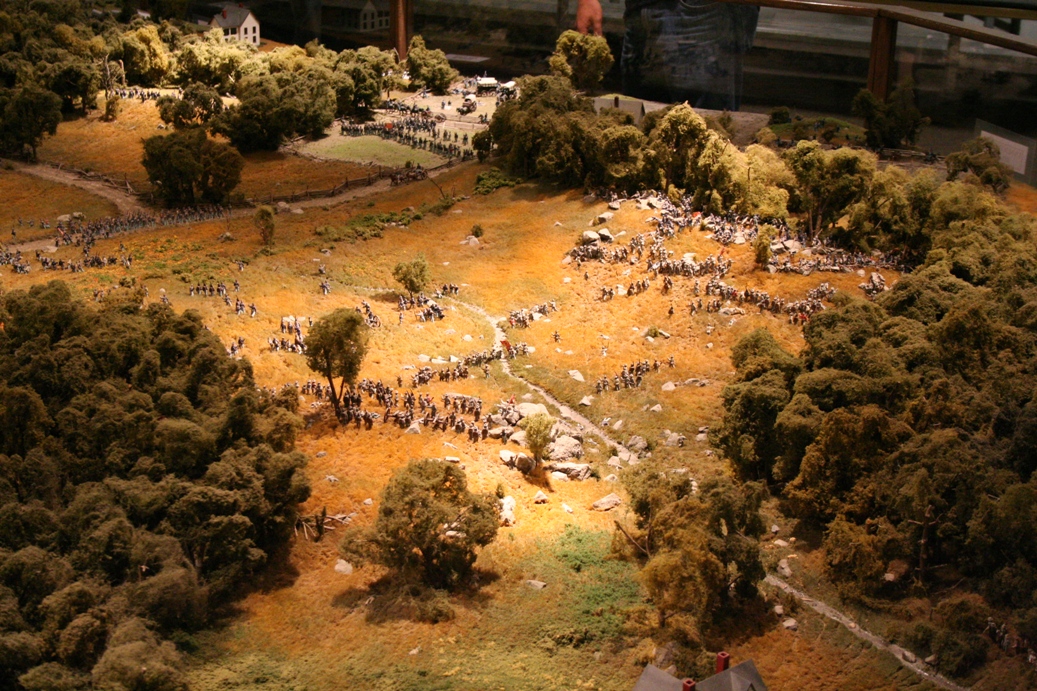
of town where fighting occurred the first day. The
last picture in the fourth row and the four pictures
in the next row are of Culps Hill. This battle
started at the end of the first day and continued
off and on for the next two days, ending just before
Picket's Charge on the last day of battle.
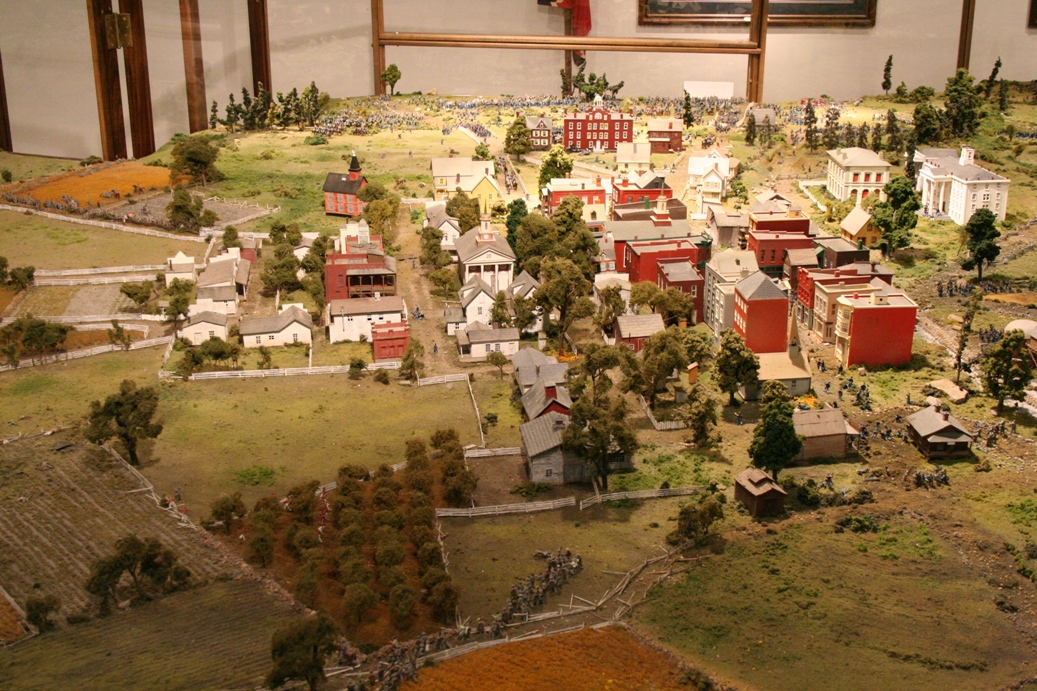
From here, we move south, down along Seminary Ridge
toward the Peach Orchard, Wheat Field, Devil's Den,
and the Roundtops. The last row of pictures is
from Little Roundtop, and up to Cementary Ridge and the High
Water Mark, the final defeat of the Confederate
forces at Gettysburg.
|
Scenic Country Tour
|
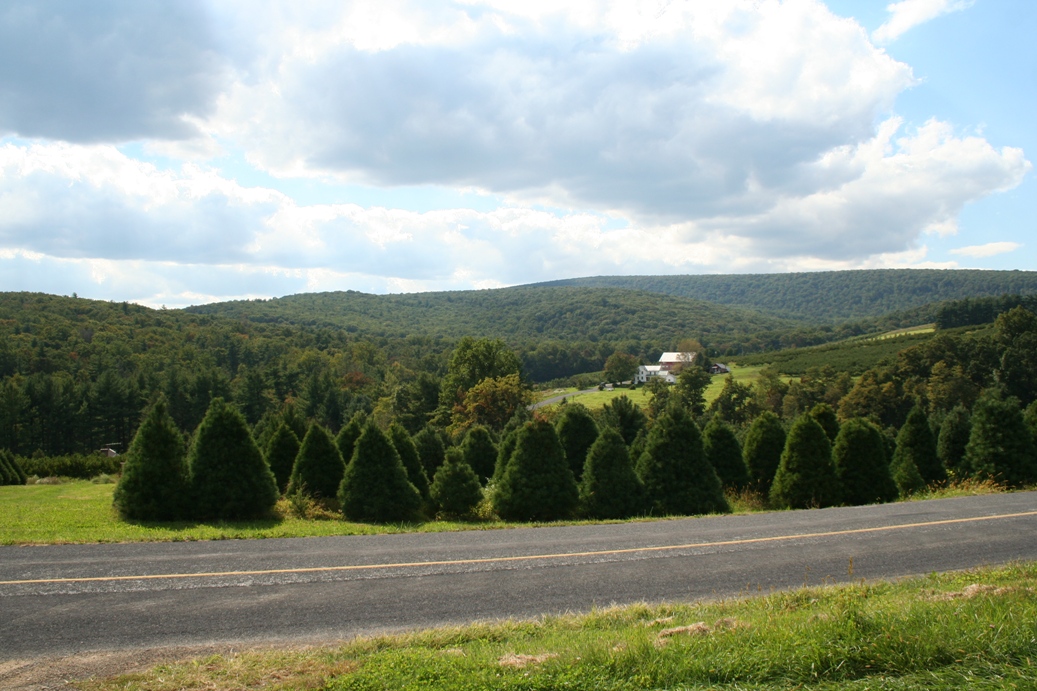
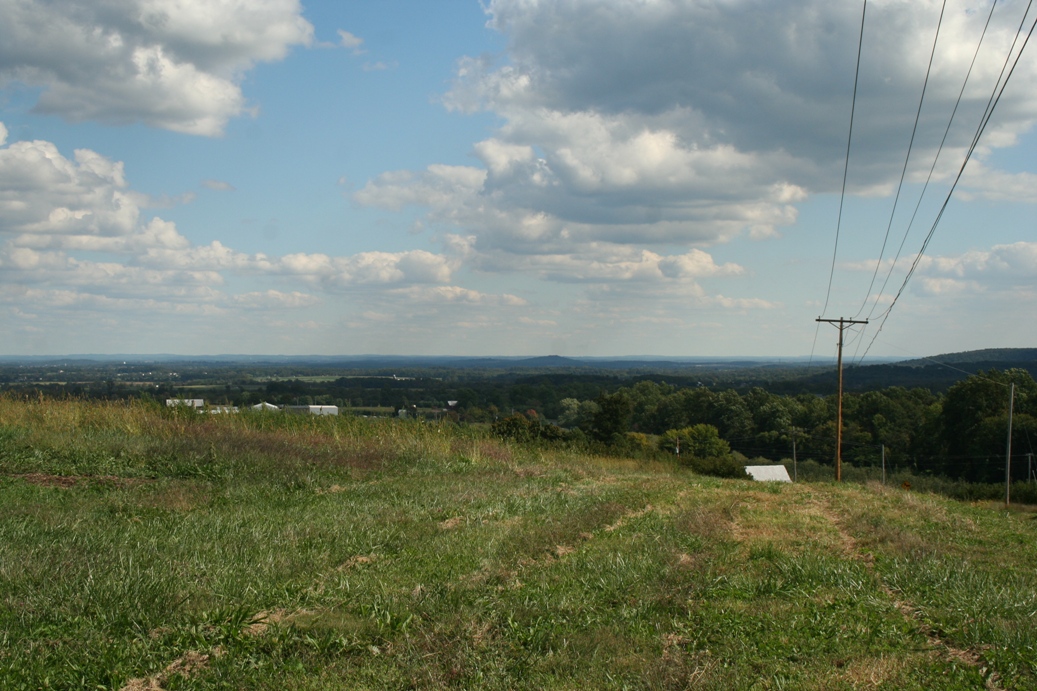
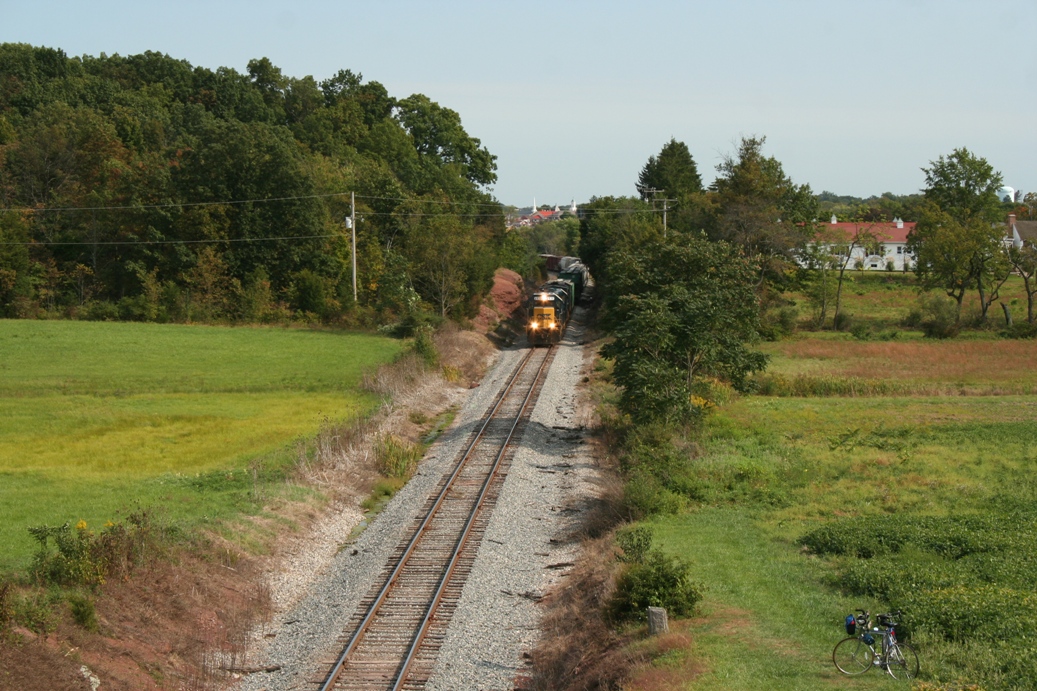
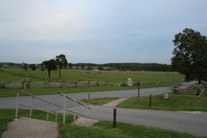
These are some more pictures from the scenic country
tour. In the second and third picture in the
first row is where we first discovered how narrow
the roads were and how close the buildings were to
the road. In these pictures, the county road
actually runs right through someone's property.
The first and second pictures in the last row are of
a valley just west of Gettysburg. The last
picture is of a small community that the route takes
you through. I would like to mention that when
you go this far east, the country side is not like
what we are used to at home. There are many more
people on the east coast, and you may think you are
in a small community, when in reality, you are in
the country.
|
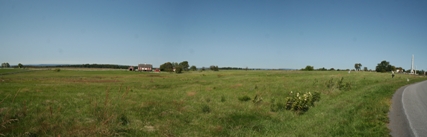
First Day of Battle
|
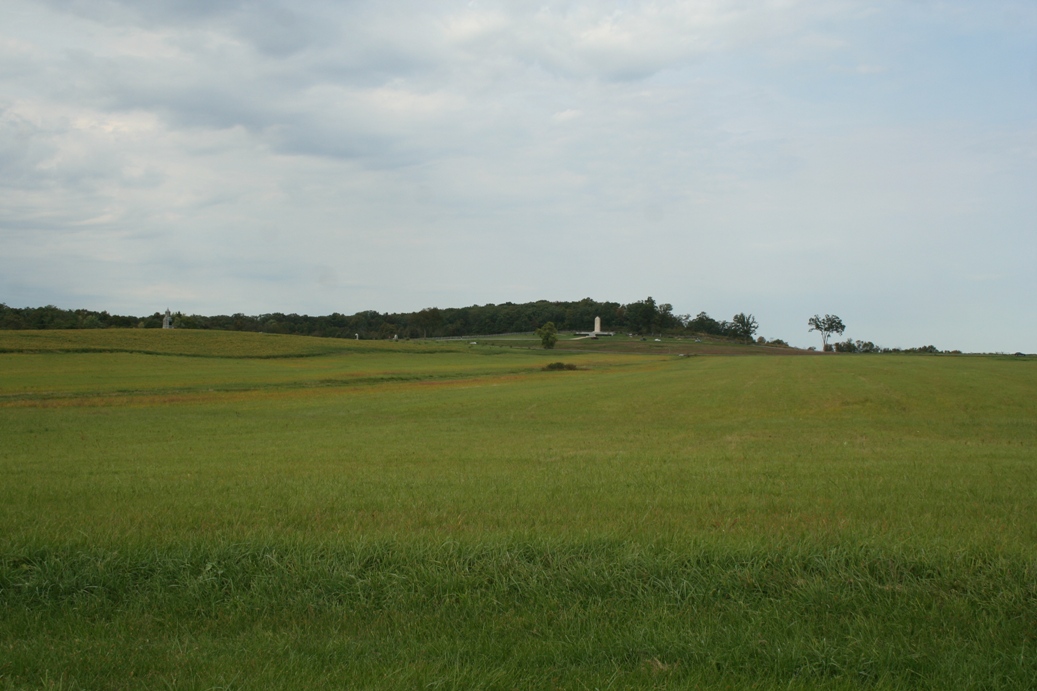
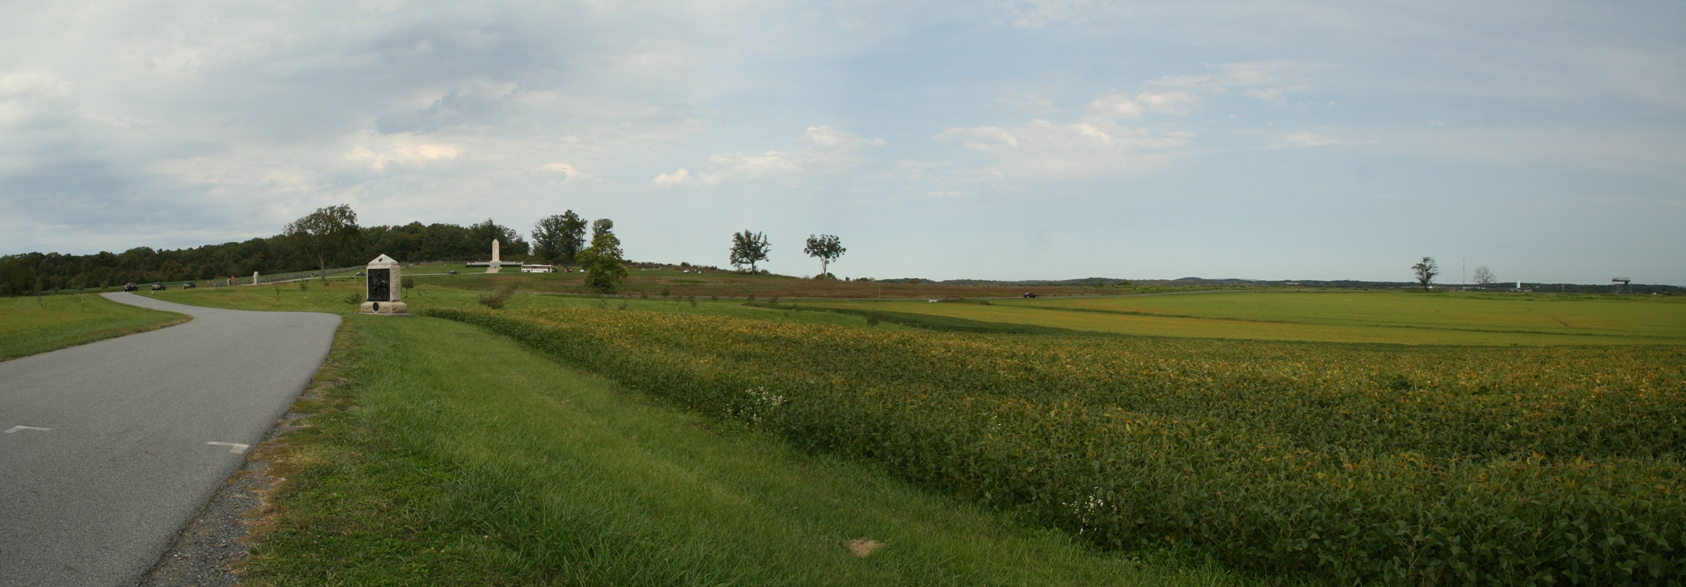
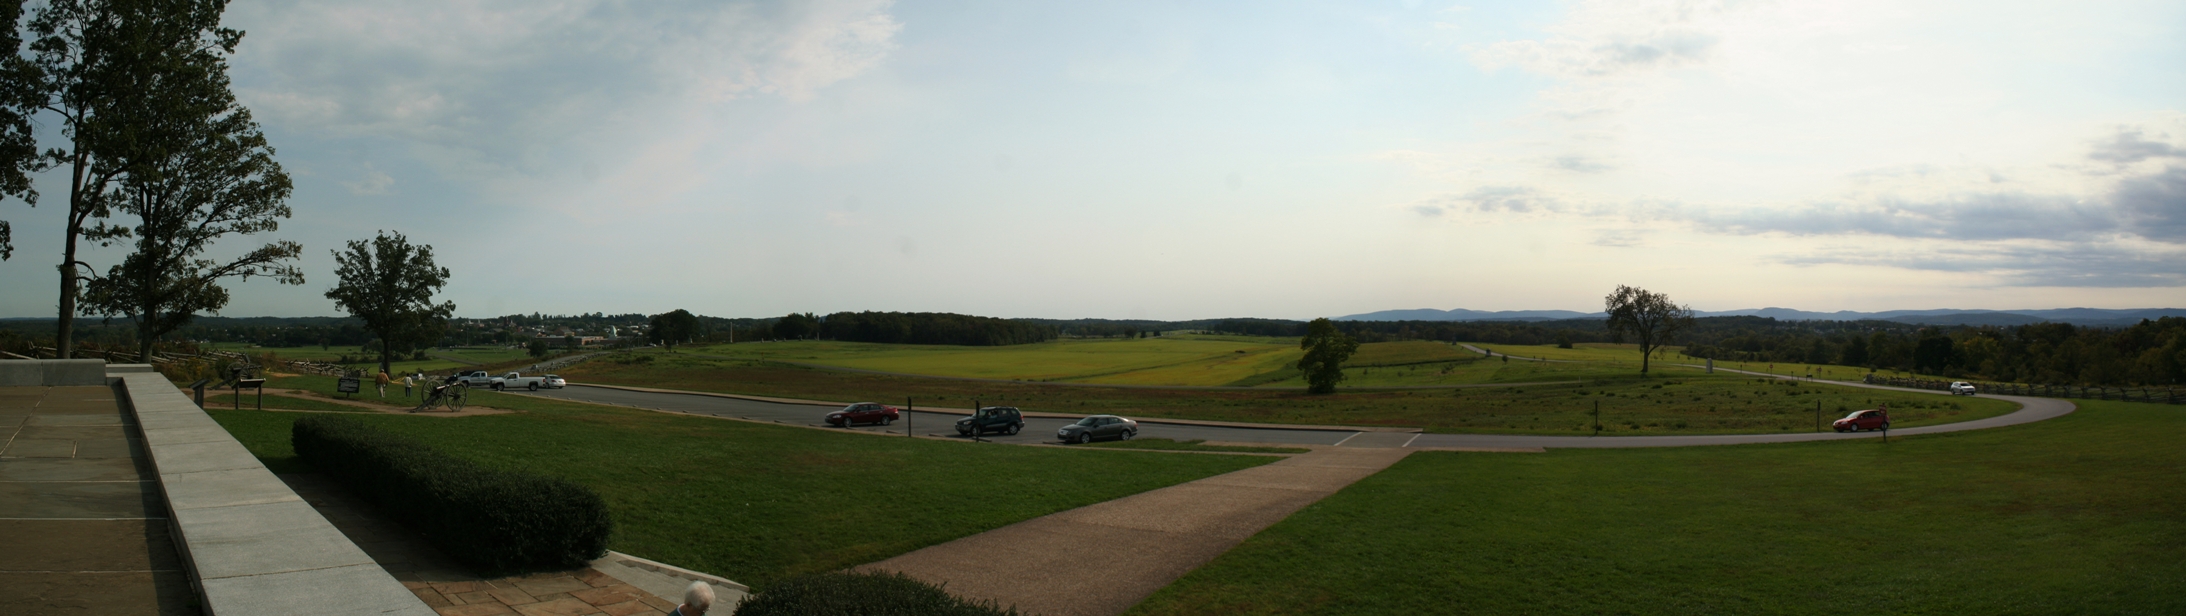
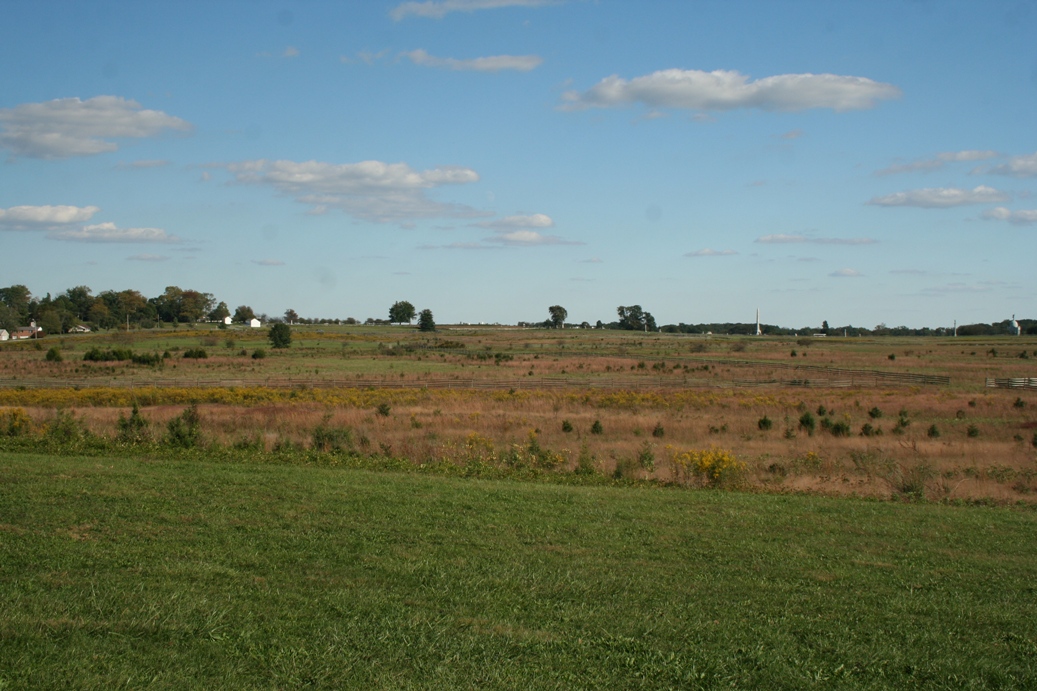
This
is were we start the Battle Field photo tour. The
photos above are of the battlefields that are west
and north of Gettysburg. If you look closely
in the first picture of the third row, you will see General Lee's
headquarters. The second and third pictures of
the same row are of the Eternal Peace Light Memorial
located on Oak Hill. The photos were taken
from the vicinity of the Railroad Cut.
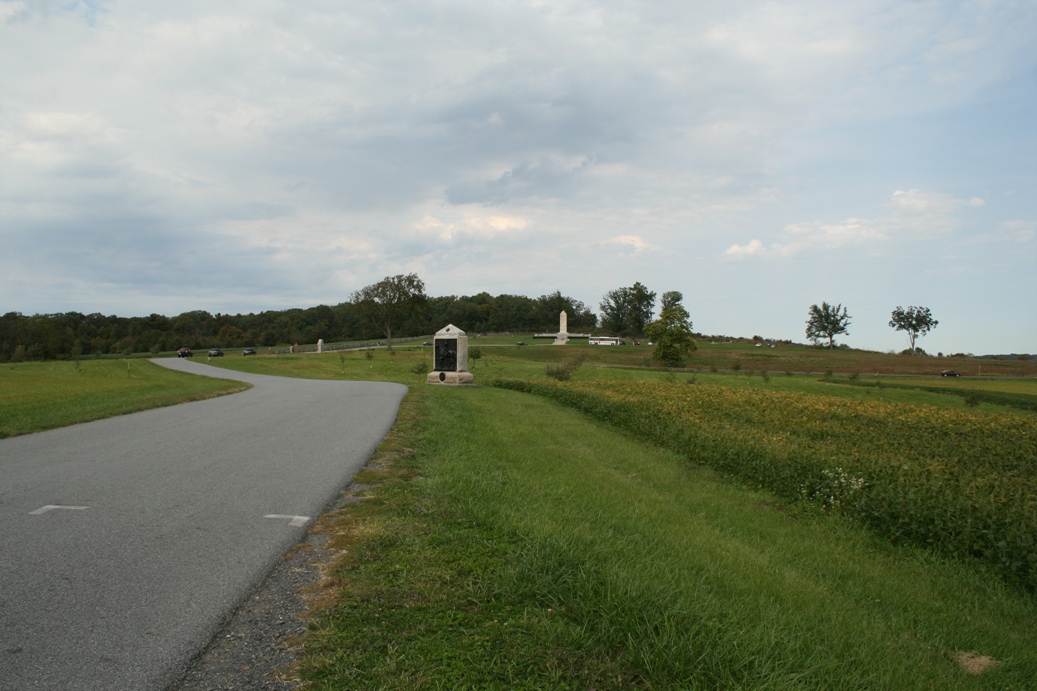
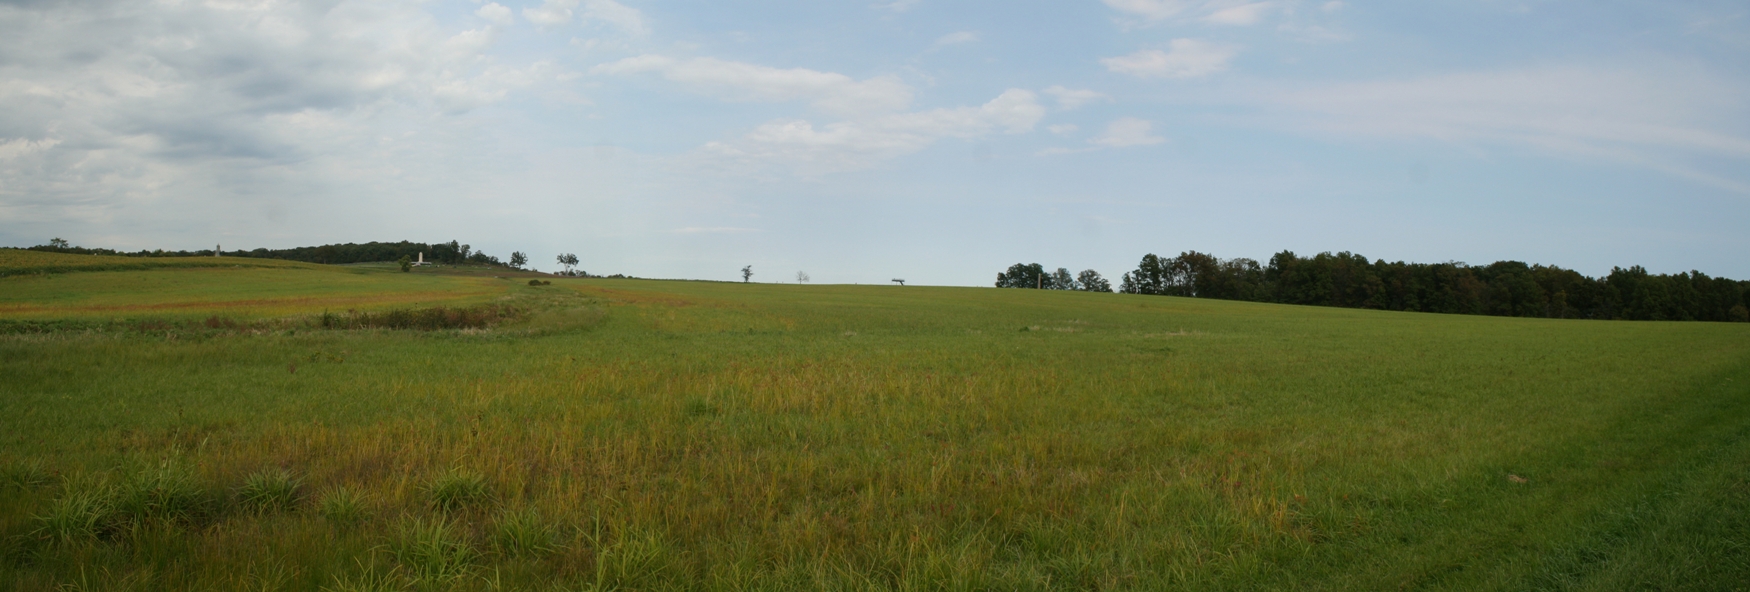
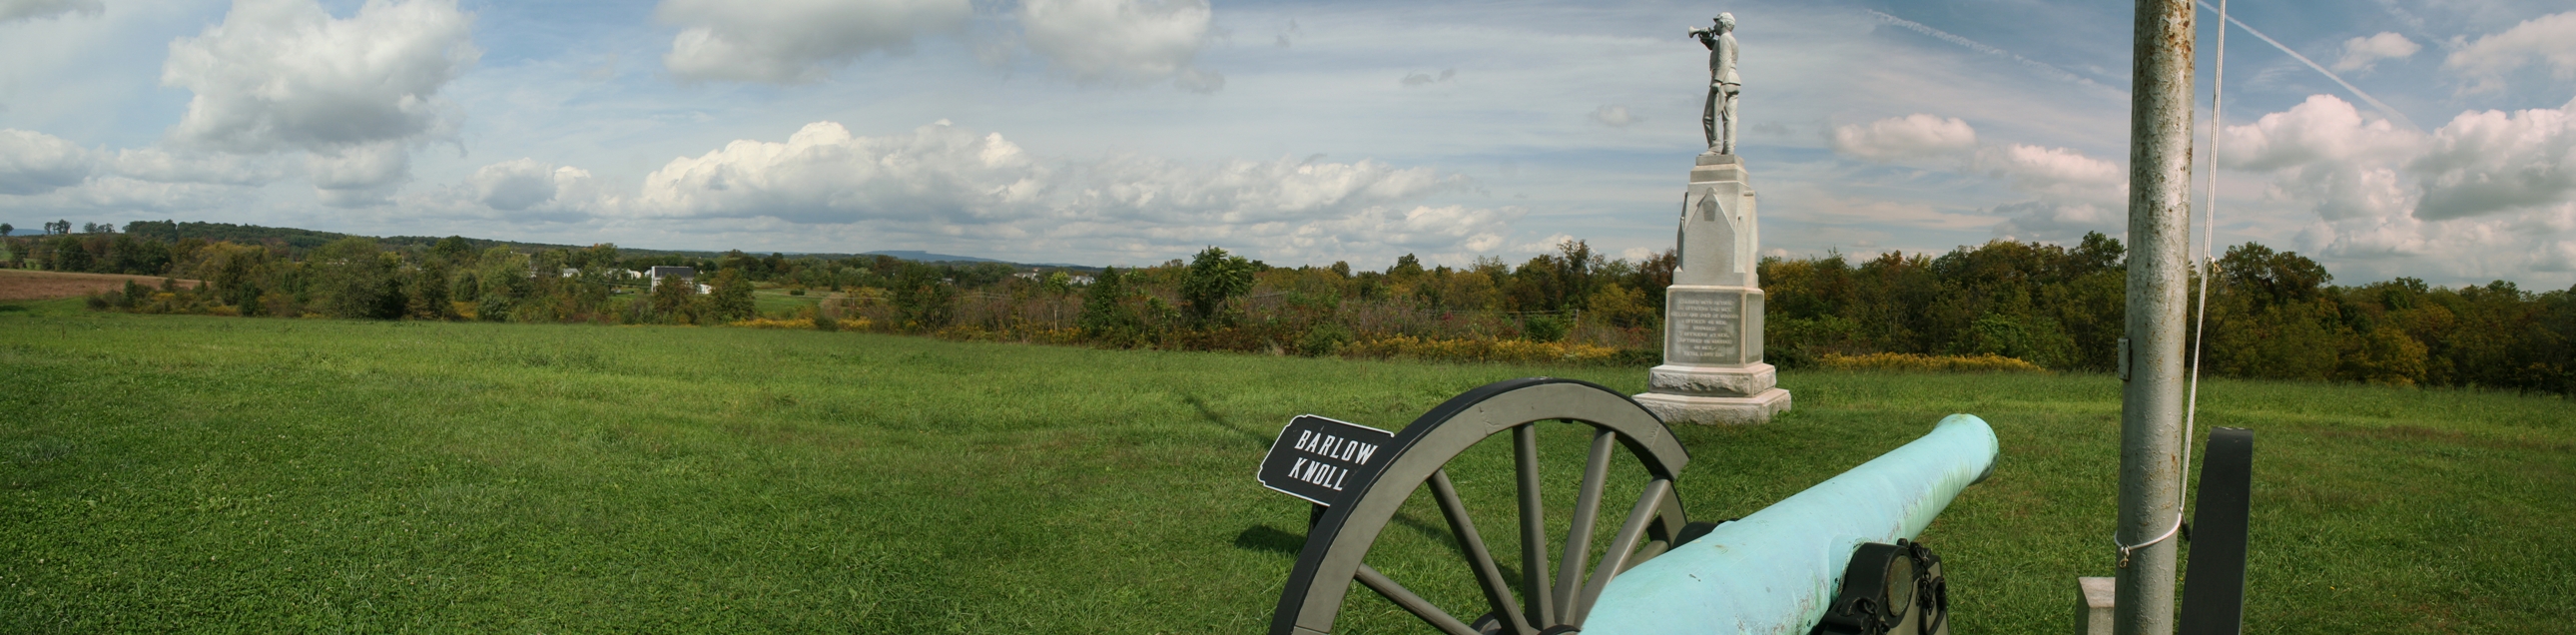
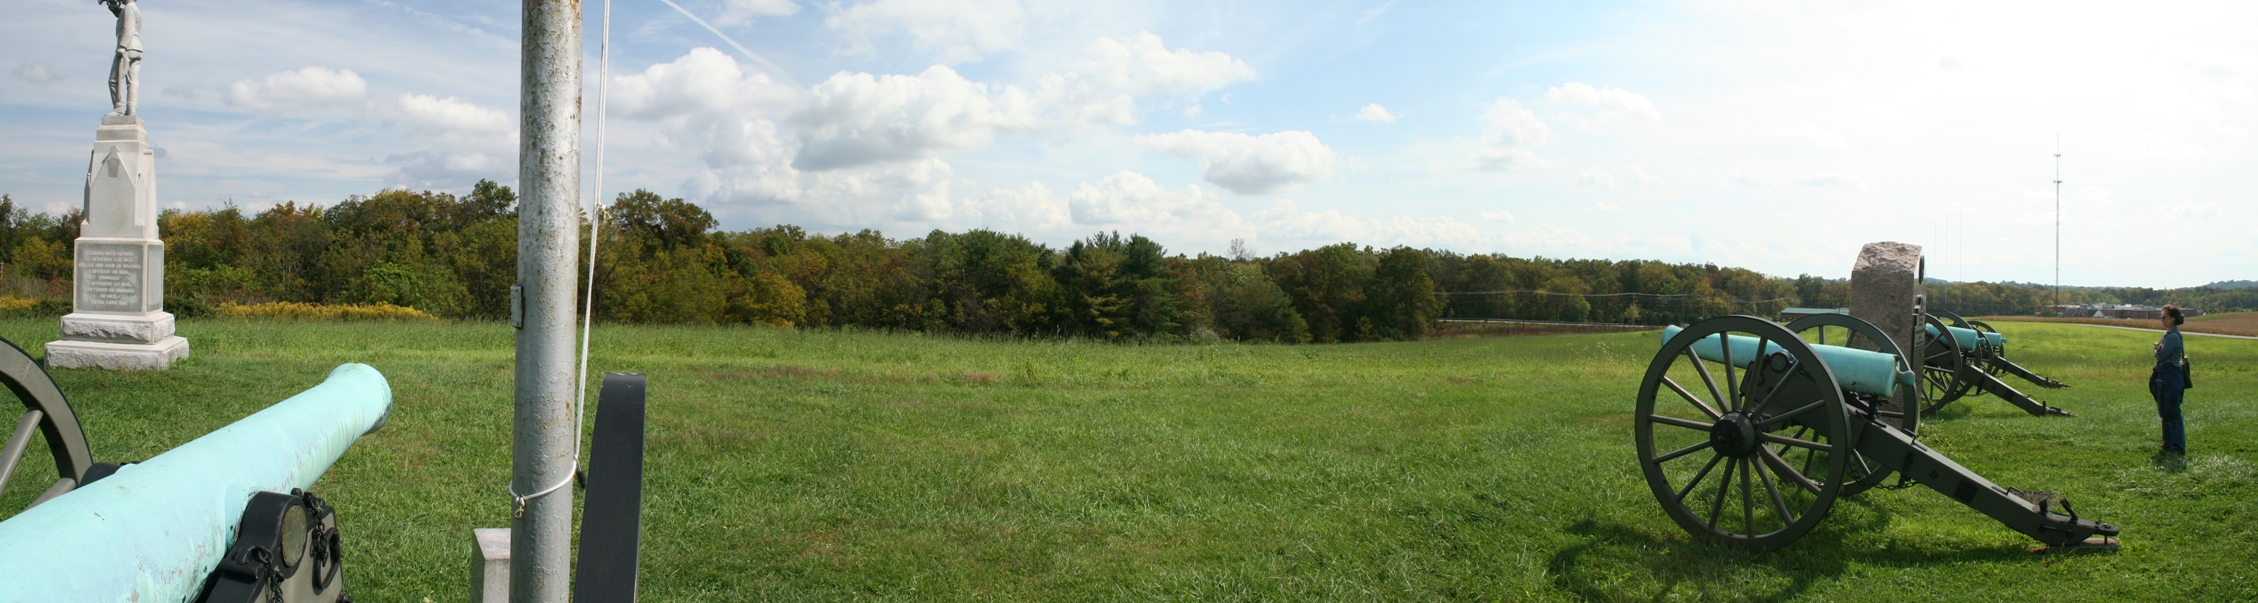
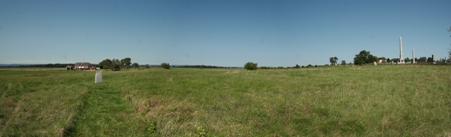
The
third and fourth photos in the fourth row are taken
from Oak Hill, looking back toward town. The
last photo is taken from the most extreme northern
position on the first day of battle at a location
known as Barlow's Knoll. The troops positioned
here were hit hard and this is were the Union route
back through town began.
|
Railroad Cut
|
The
first two pictures of this series shows the location
of the Railroad Cut, northwest of town. It was
here that both Union and Confederate soldiers
attempted to use the unfinished Railroad Cut as
cover at one time or another. Many soldiers on
both sides lost their lives in this location.
|
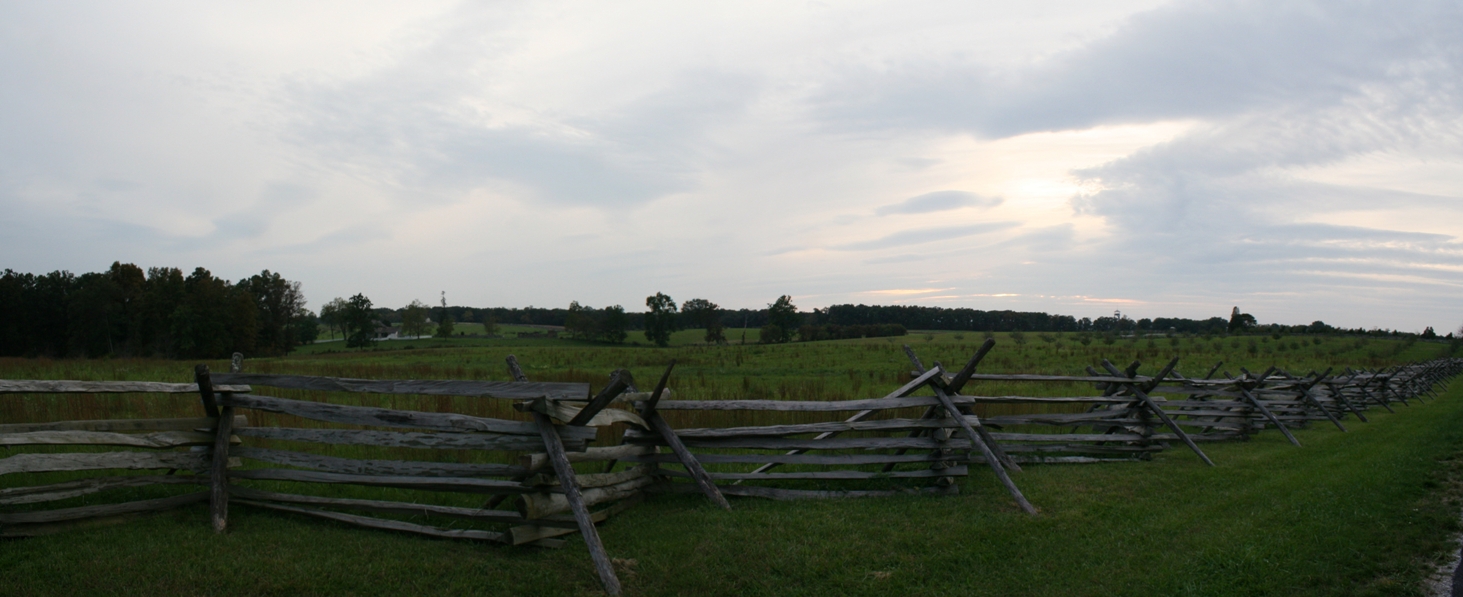
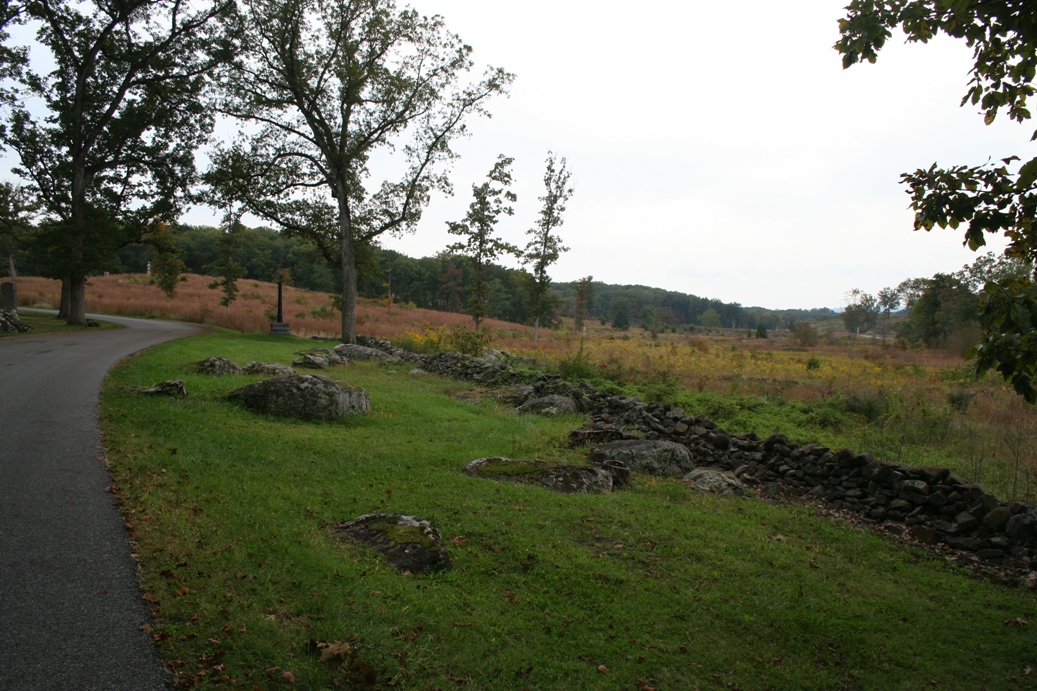
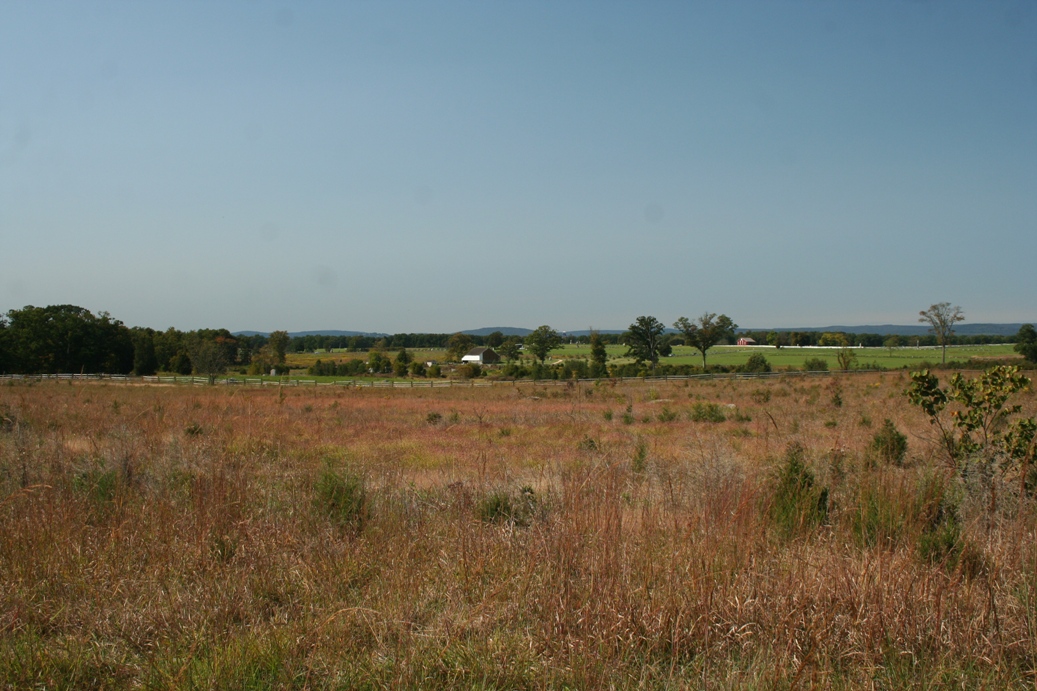
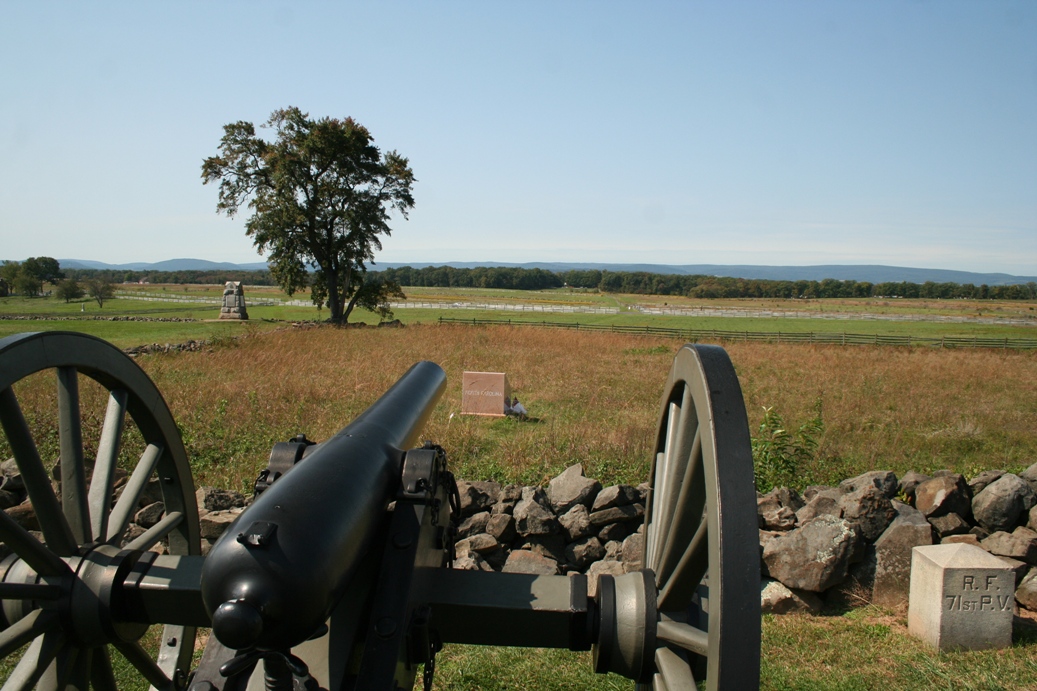
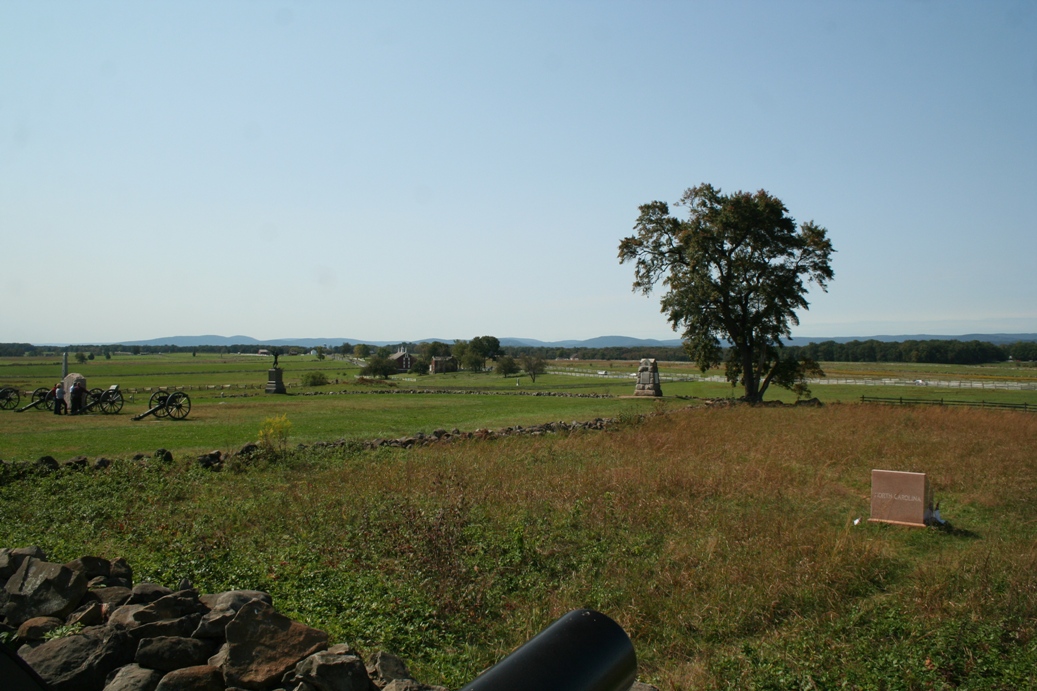
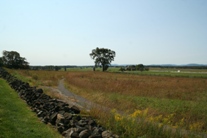
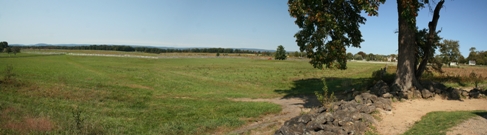
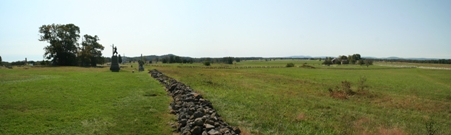
Seminary Ridge
|
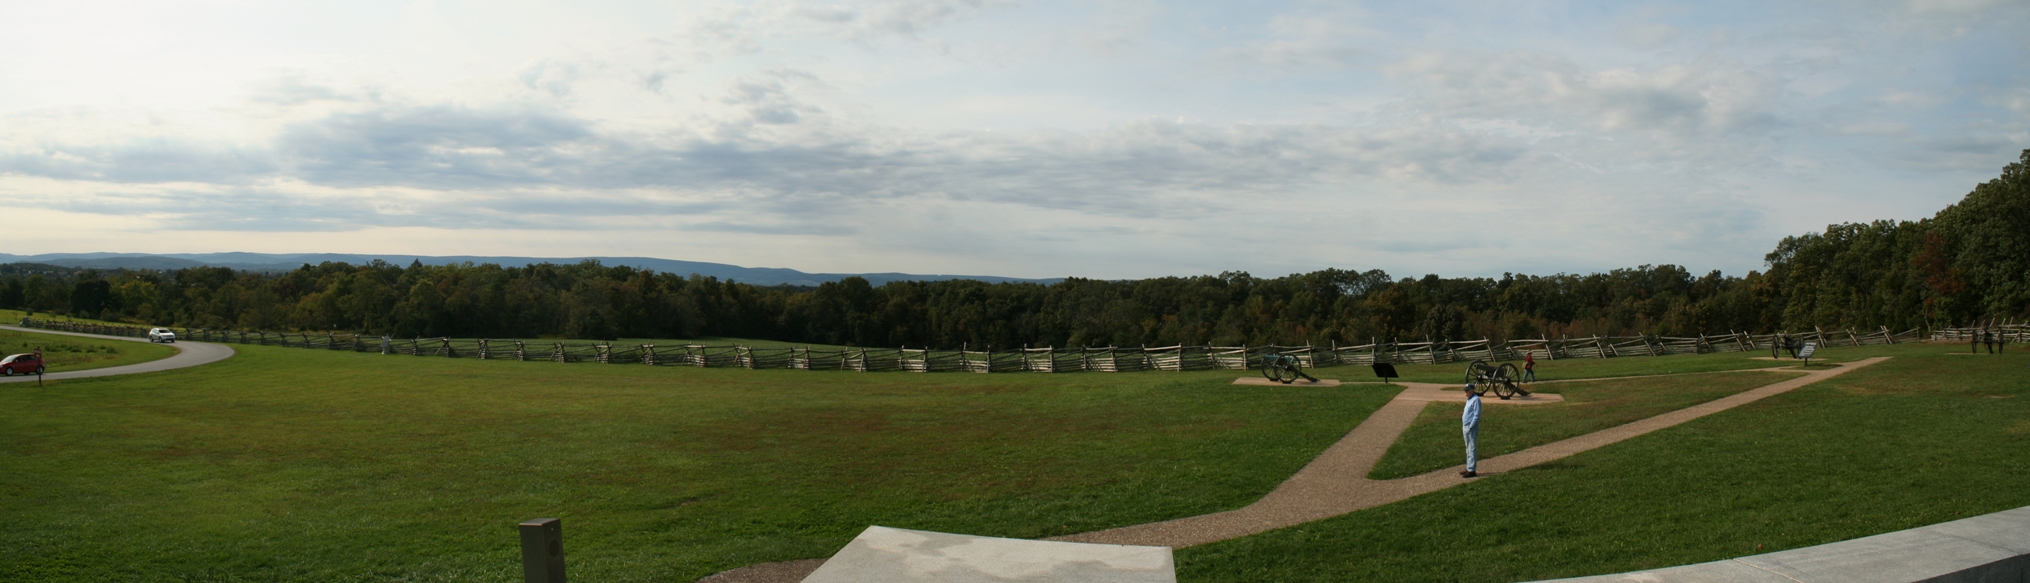
We
did not spend as much time along Seminary Ridge this
trip, but we did take the auto tour down the
Confederate lines. The photos above are taken
at the North Carolina Memorial and shows
the Union position along Cemetery Ridge to the east.
The last picture of the first row above is from the southern most
position looking northeast towards The Wheatfield,
Devil's Den, and Little Roundtop.
|
The Peach Orchard
|
|
|
|

|
|
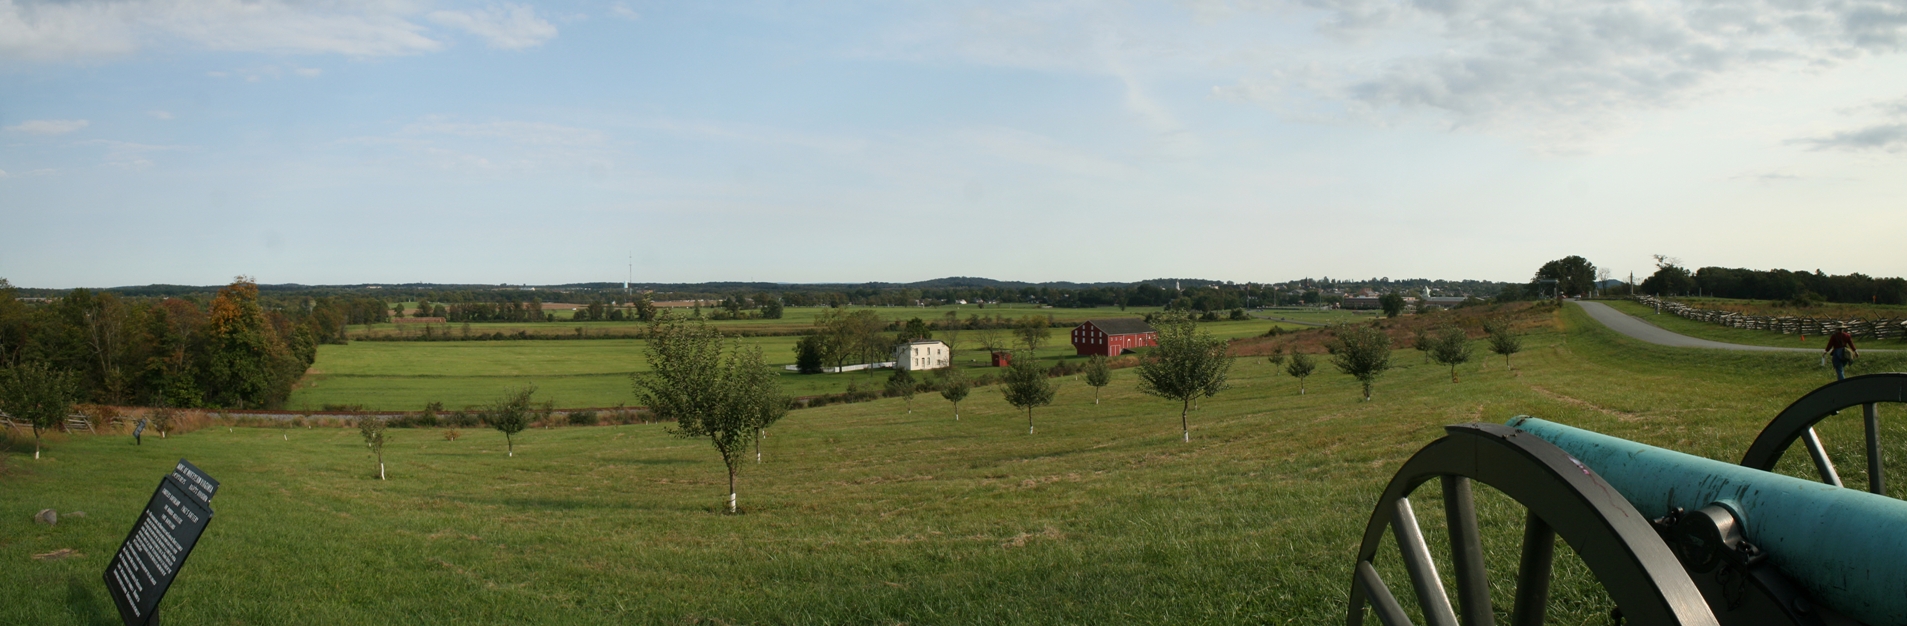
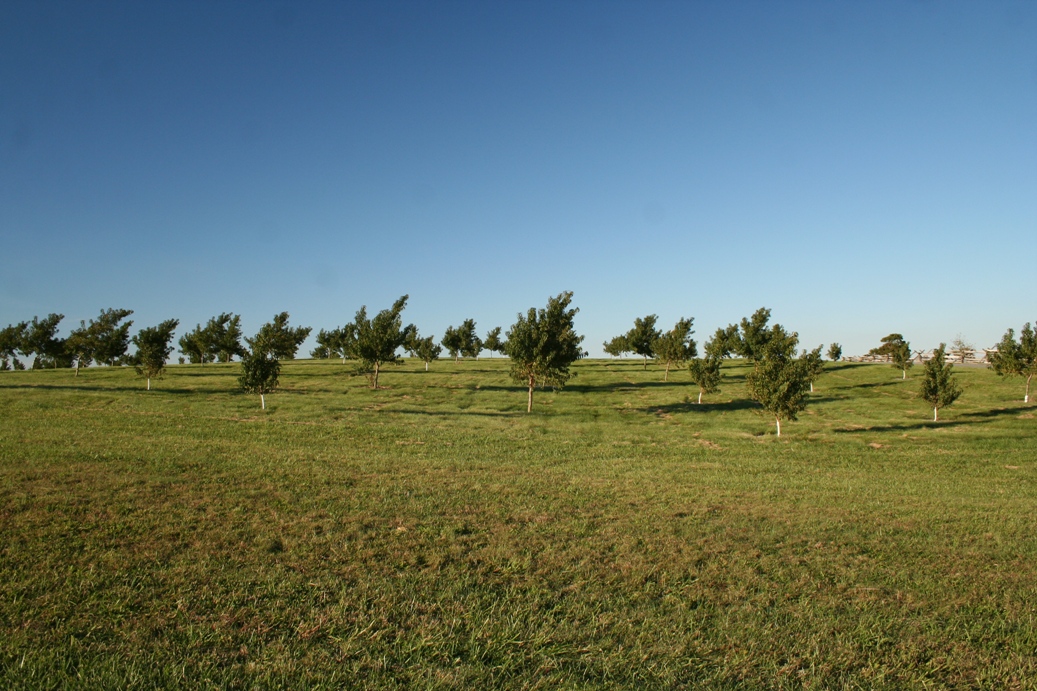
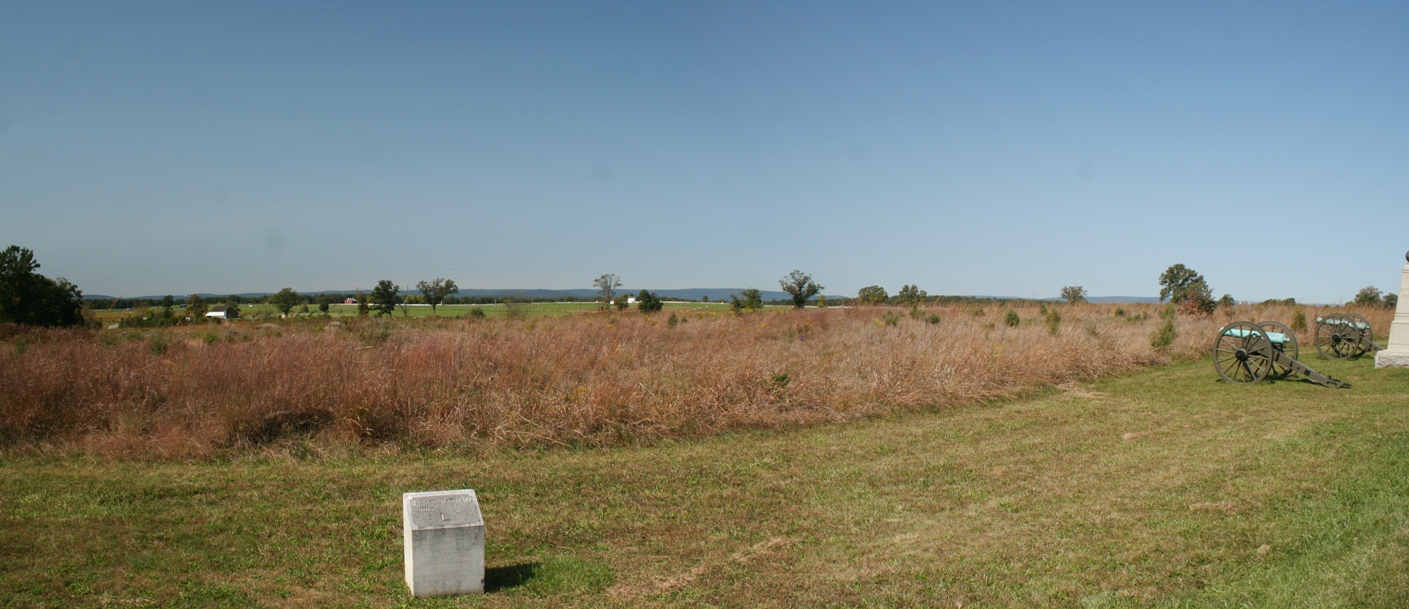
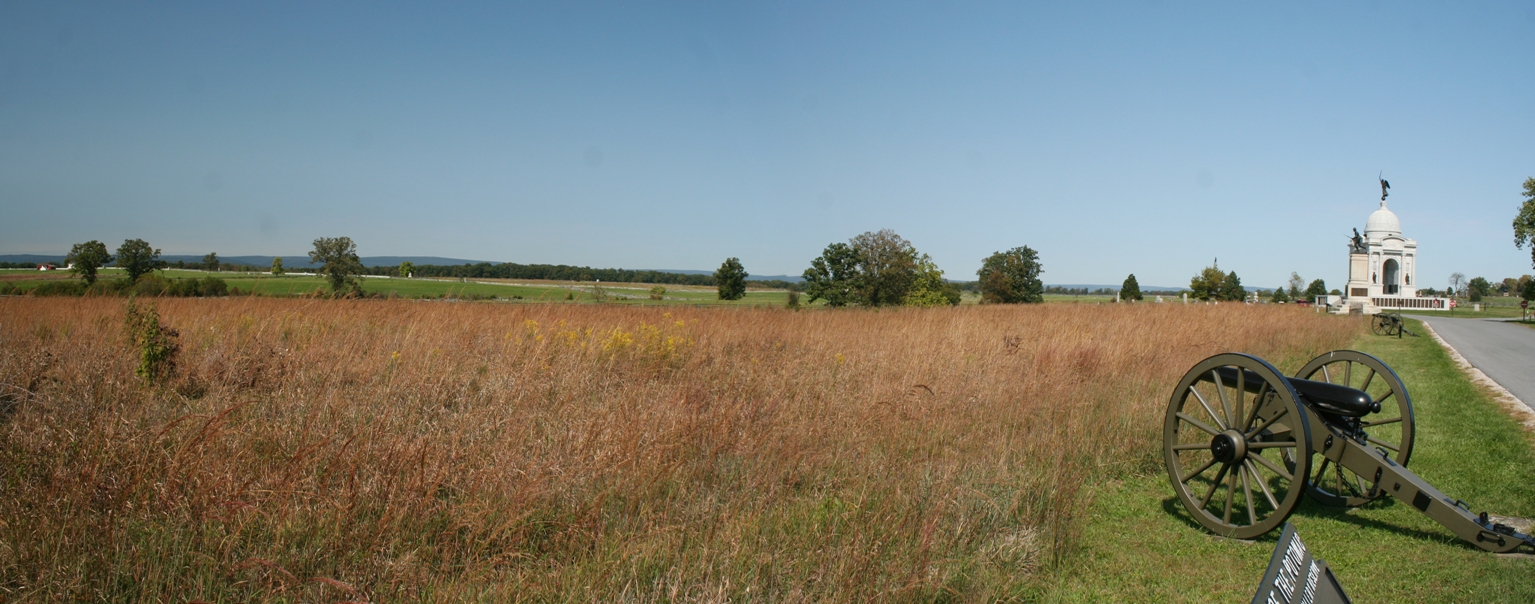
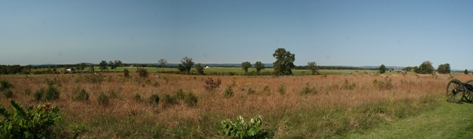
The
Peach Orchard is starting to look like an orchard
again. Several years ago they had some sort of
disease strike the trees, and they had to remove
them all, then treat the soil for year or so before
they could replant. It will be really nice to
see the orchard reach full growth again.
The
Peach Orchard is where General Sickles of the Union
Army moved his command, without orders, on the
second day, because he thought it was a better
position to defend. Unfortunately, it was well
over a mile forward of the position he was
originally ordered to hold, and it created a salient
in the Union line. A salient is bad because
it left you exposed to being attacked on two
different sides, and that is exactly what happened.
The line held briefly, but eventually the Union
troops were forced to withdrawal. When this
happened, it left no organize resistance between
this point on the battlefield, and the southern end
of the Union lines. If it had not been for the
1st Minnesota and some follow-up troops, the Union
could have been pushed off the field all together.
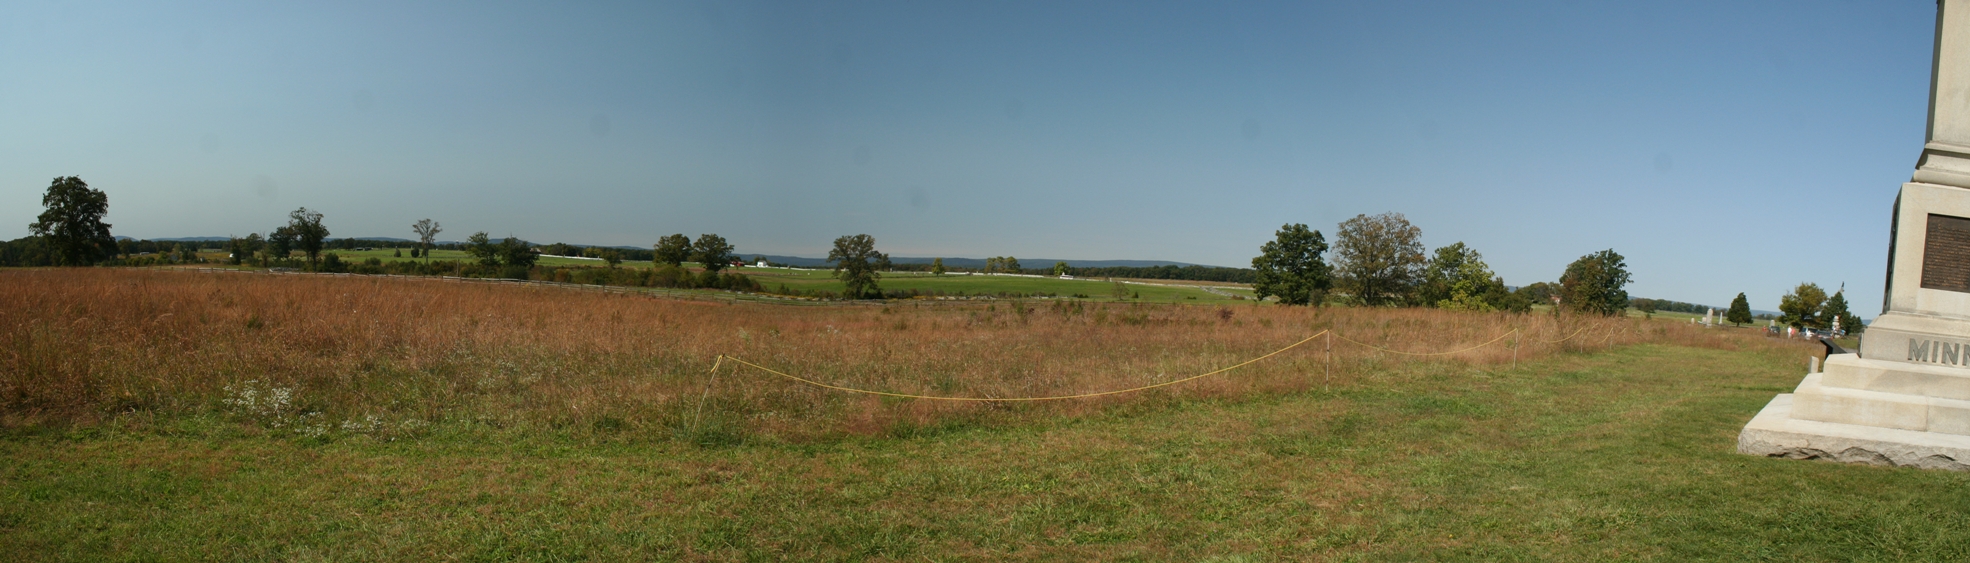
What
is interesting about this action, is that even
today, there is great controversy about General
Sickles decision to move his command to this point.
Many say it left the Union lines vulnerable and wide
open to Confederate attack. While others study
it and say it was actually more of a delaying action
that whittled the Confederate forces down so they
did not have as large a force to attack the Union's
southern position when they reached Cemetery Ridge
|
The Trostle Farm
|
The
Trostle Farm saw some bitter fighting during the
battle. Many of those men who moved to the
Peach Orchard ended up at this farm during the
retreat. It was said that all of the horses,
used to move the artillery field pieces, had been
killed, and in an attempt to keep the pieces from
falling into enemy hands, the artillery crews moved
the canons by themselves while under heavy fire.
This
is also the location where General Sickles was wounded.
A canon ball clipped him in the leg, nearly taking
it off, but despite the wound, he would not allow
his men to move him off of the field. The last
picture is of the monument which marks the spot
where he was wounded.
|
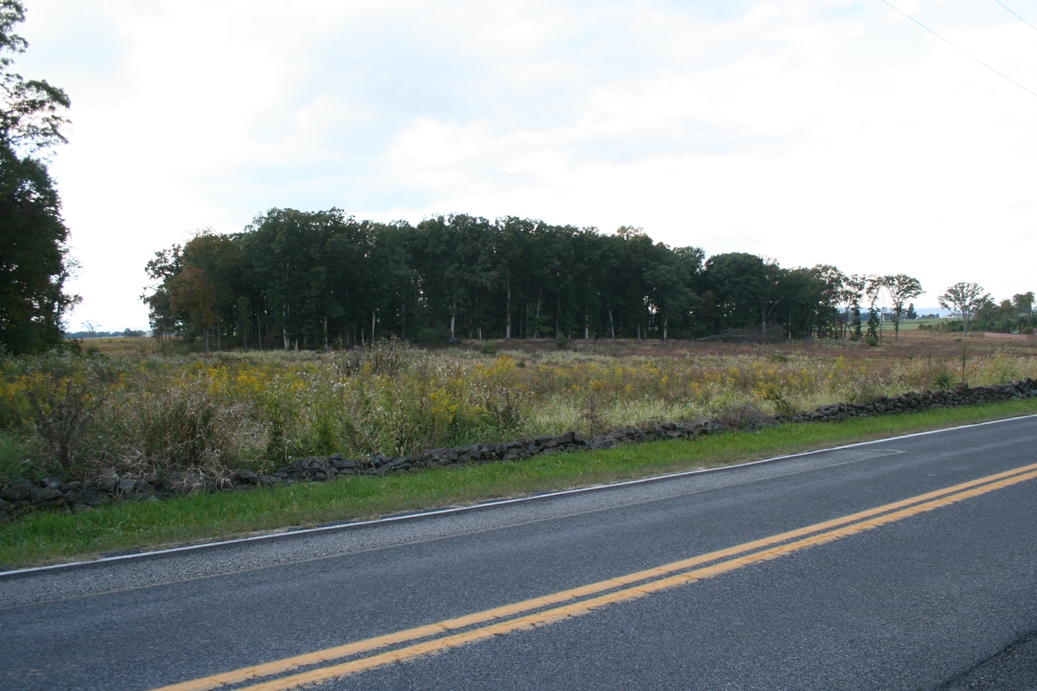
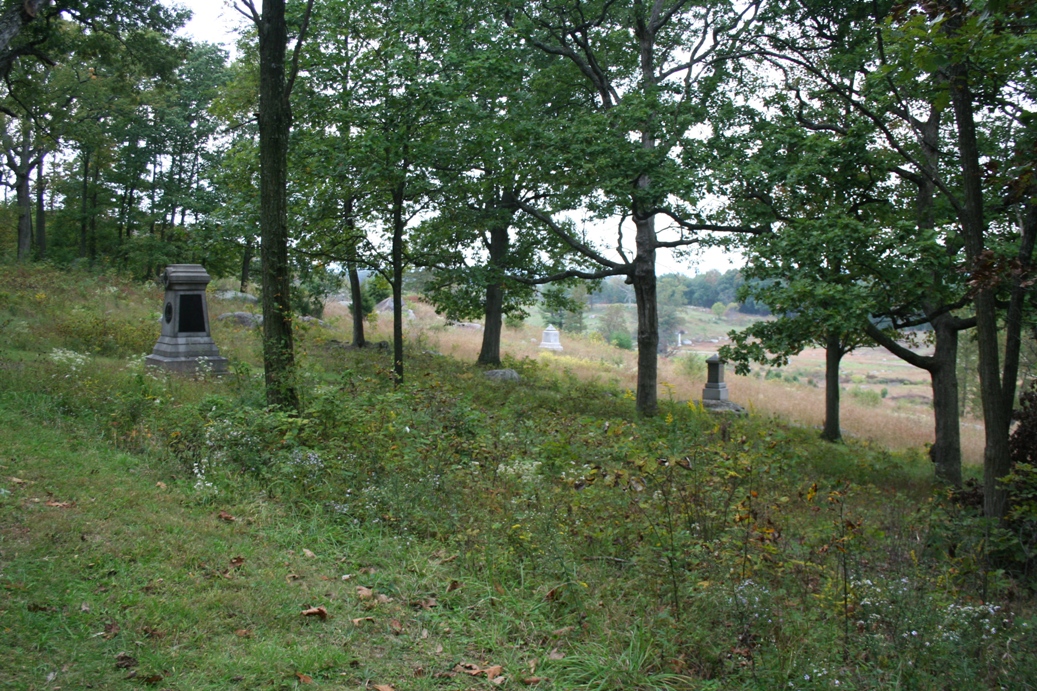
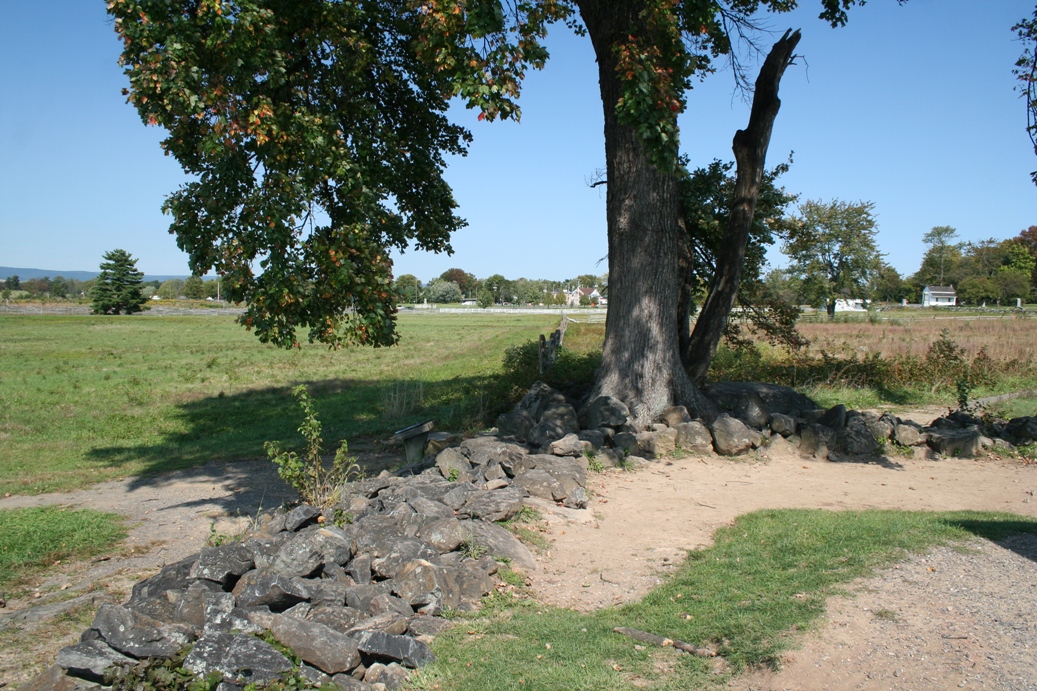
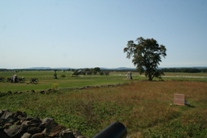
The Wheatfield
|
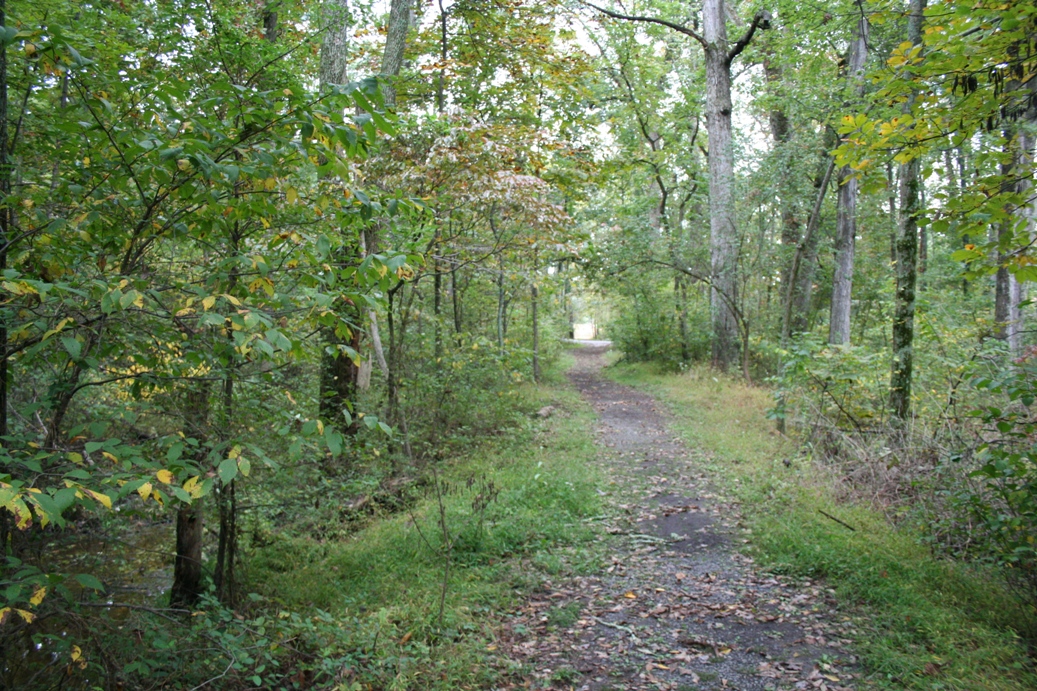
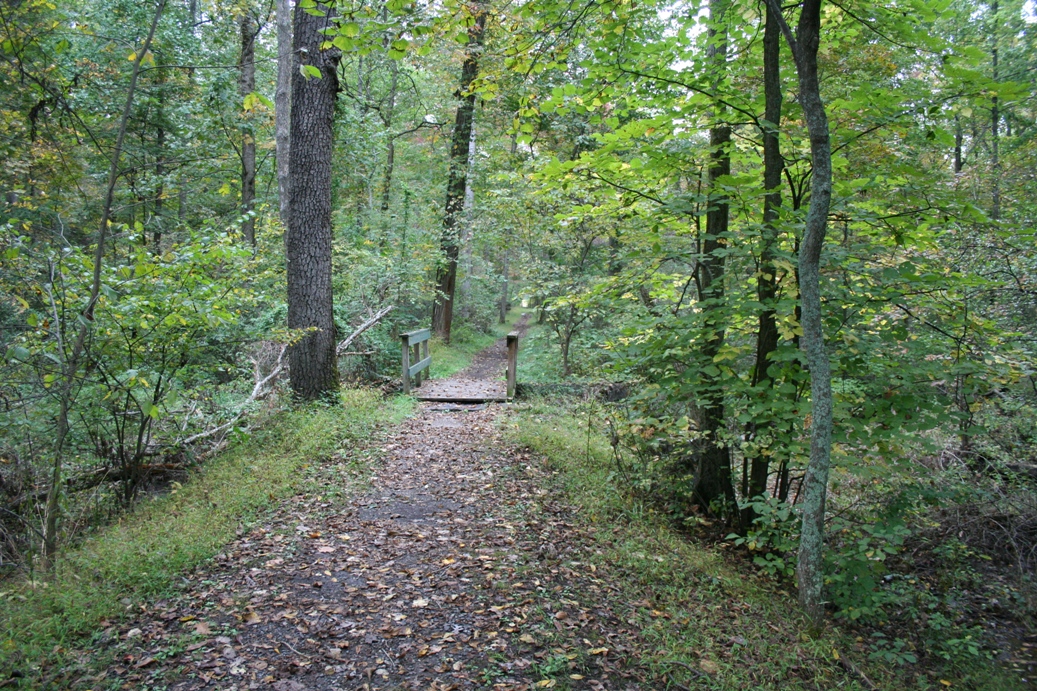
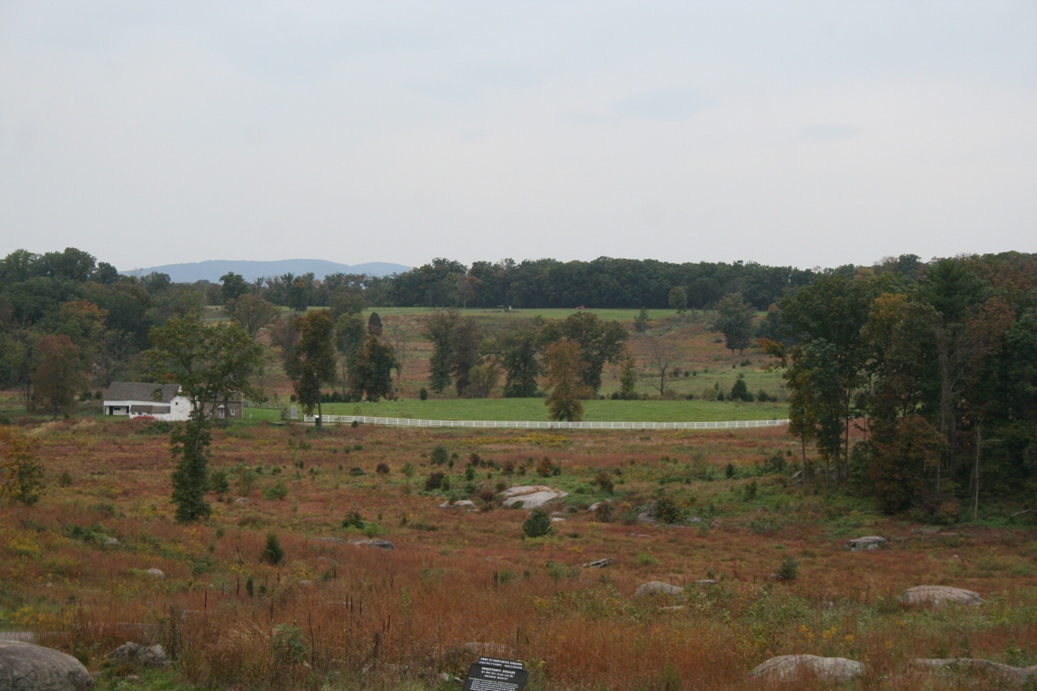
The
first few photos do not look like a wheat field of any
kind, but it is the area just south of the
Wheatfield. We hiked down from Devil's Den,
and found a trial that lead through a wooded area
just south of the Wheatfield. It was an
interesting hike which made us think what it might
have been like during the battle to move through
this area, with the sound of battle going on all
around, and not being able to see anything, despite
the fact that it was going on only a few hundred
yards in either direction.
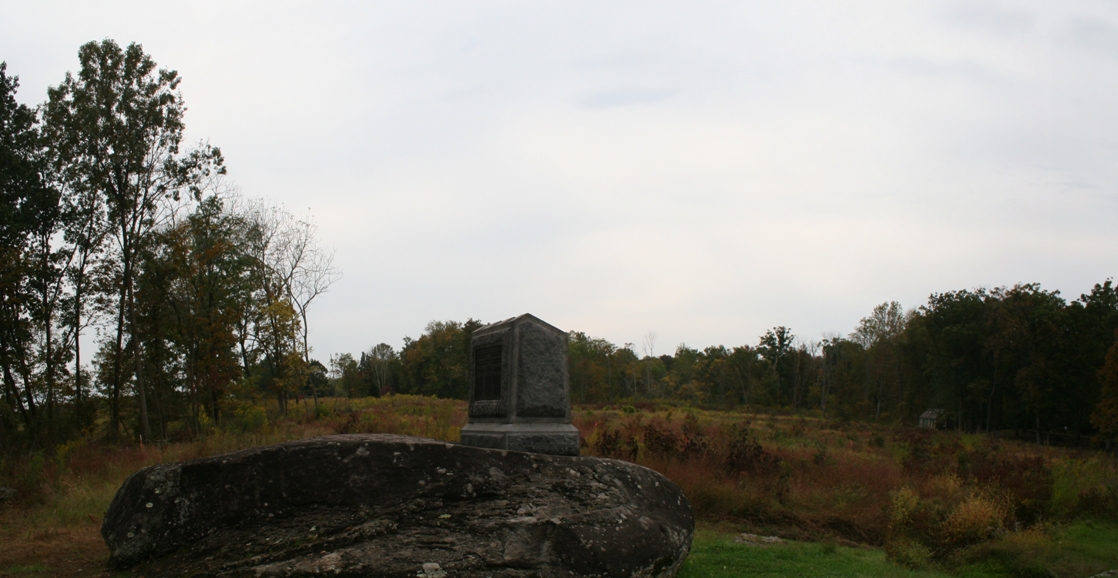
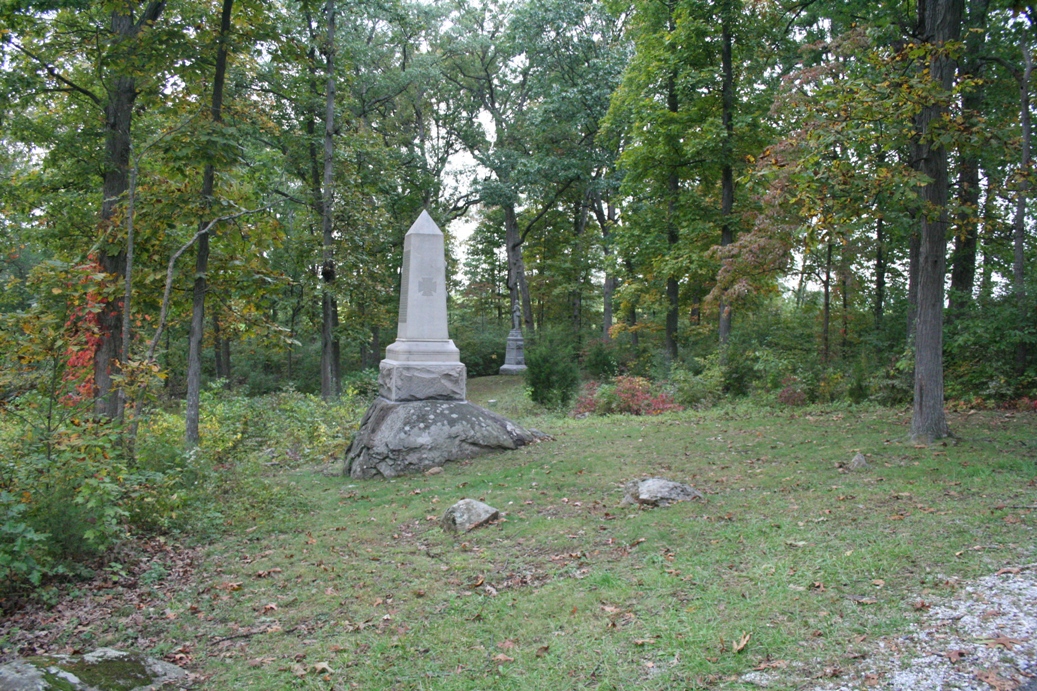
In
the first picture in the last row, you can see the
edge of the Wheatfield just beyond the monument in
the center of the picture.
|
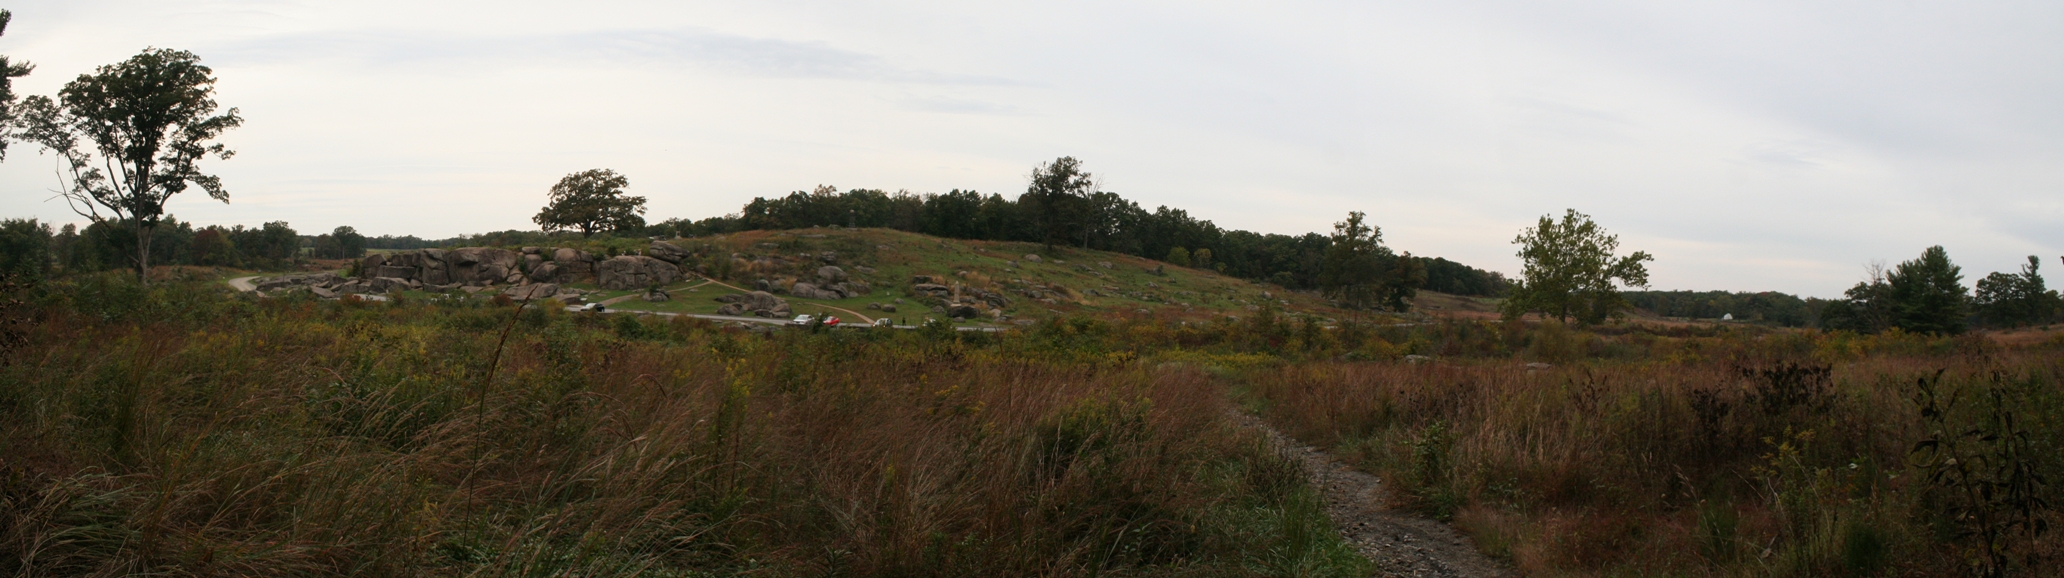
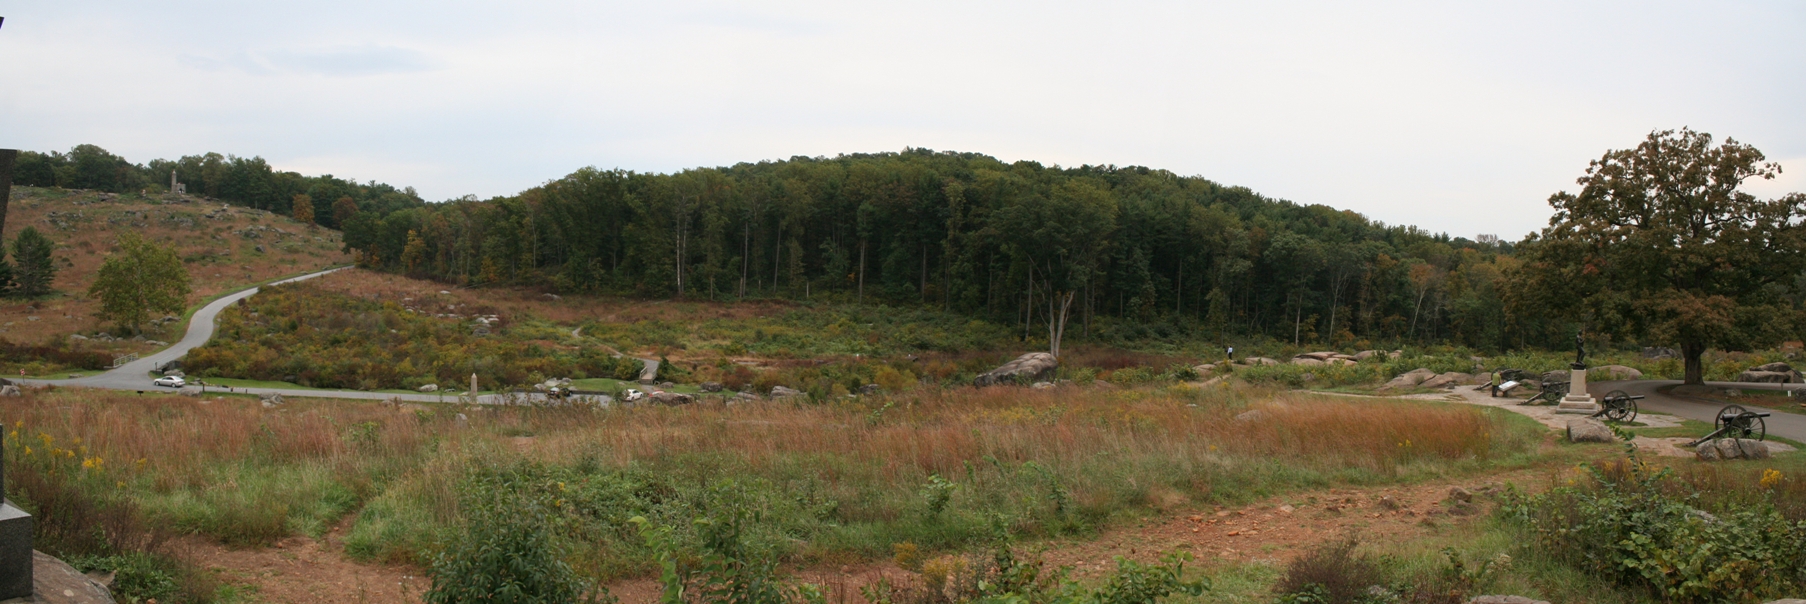
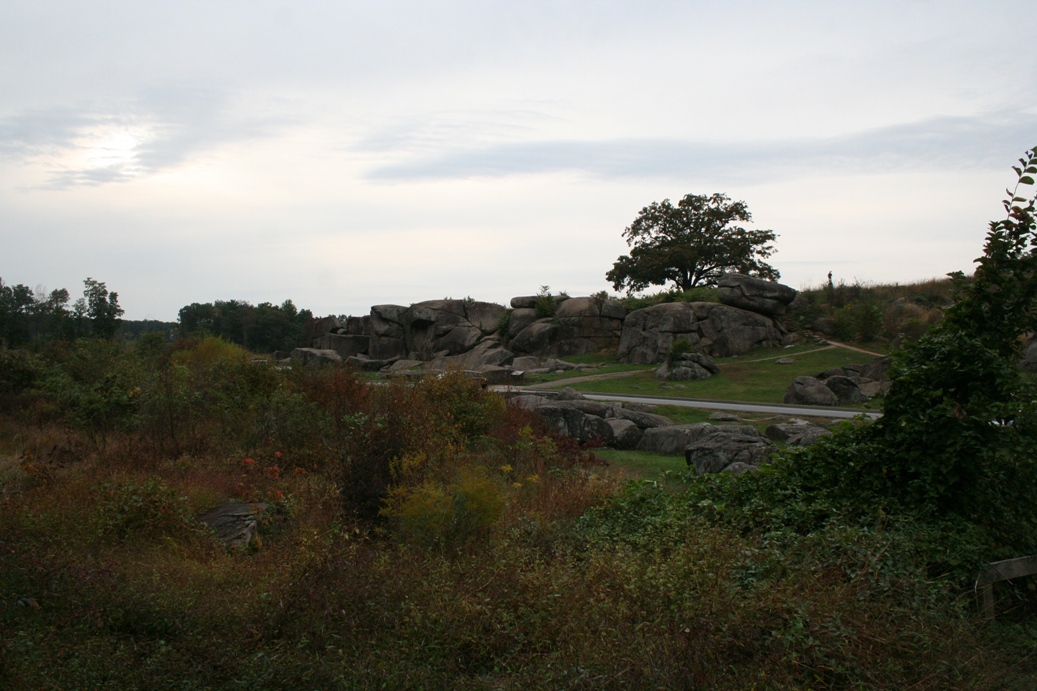
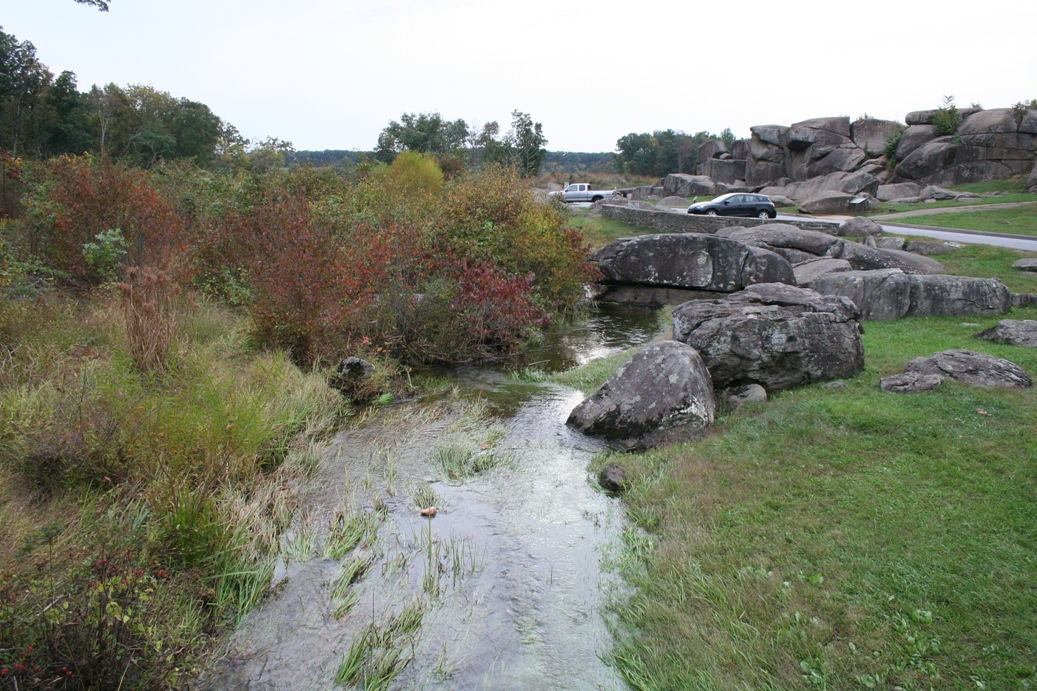
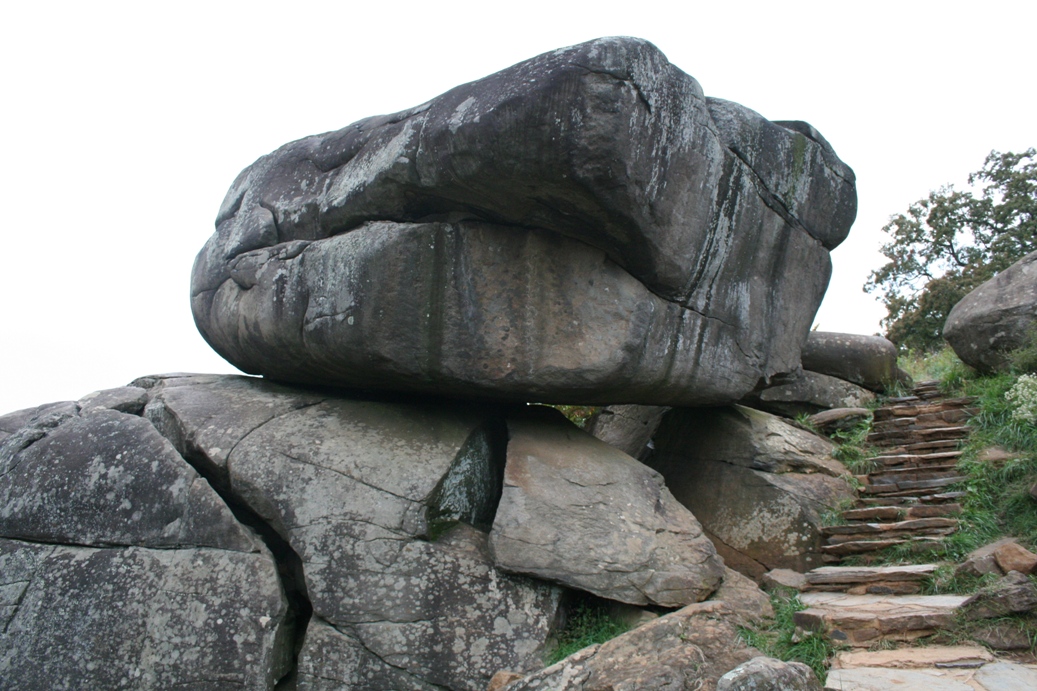
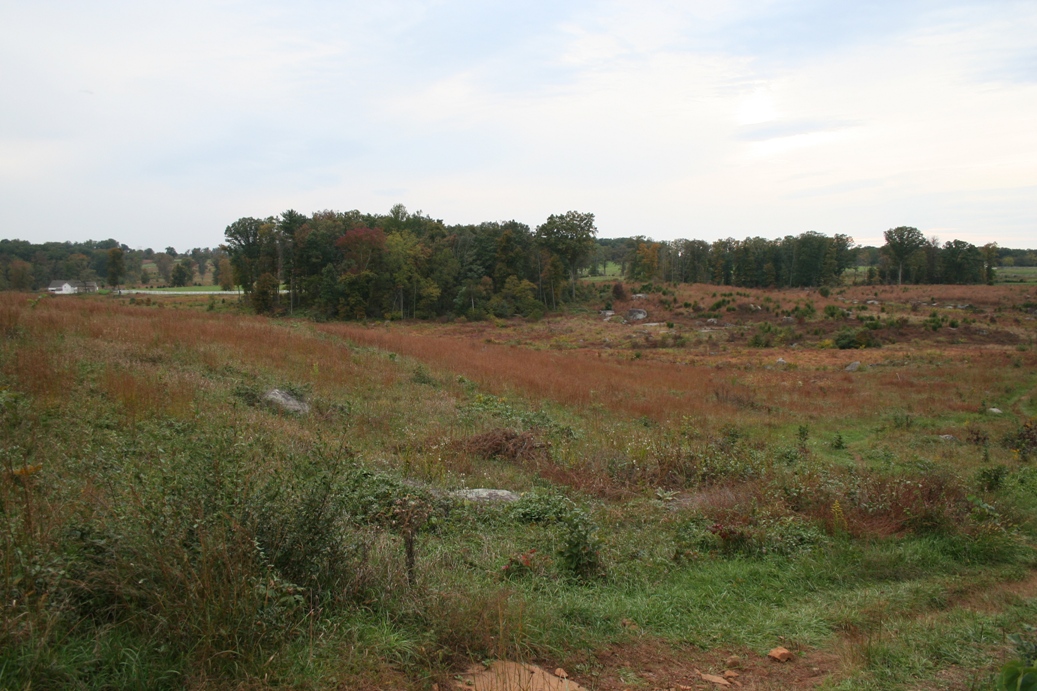
Devil's Den
|
Devil's Den is a place that we always hike when we
travel to Gettysburg. Driving through this
area will help you see most of it, but hiking it
gives you a feel for how large of an area this
really is, how many soldiers fought here, and how
foreboding the area is in terms of battle. In
one of the previous sets of photos, there is a
picture from the Confederates viewpoint of this
area. From there, you cannot see any of this.
The Confederates had no idea what they were heading
into until they were on top of it and too late to do
anything about it. Devil's Den and the base of
the Roundtops were as far as the Confederates could
make it. By the time they made it through
these areas, they were exhausted, low on ammunition
and water, and most of all, their numbers had been
decimated just trying to push through.
|
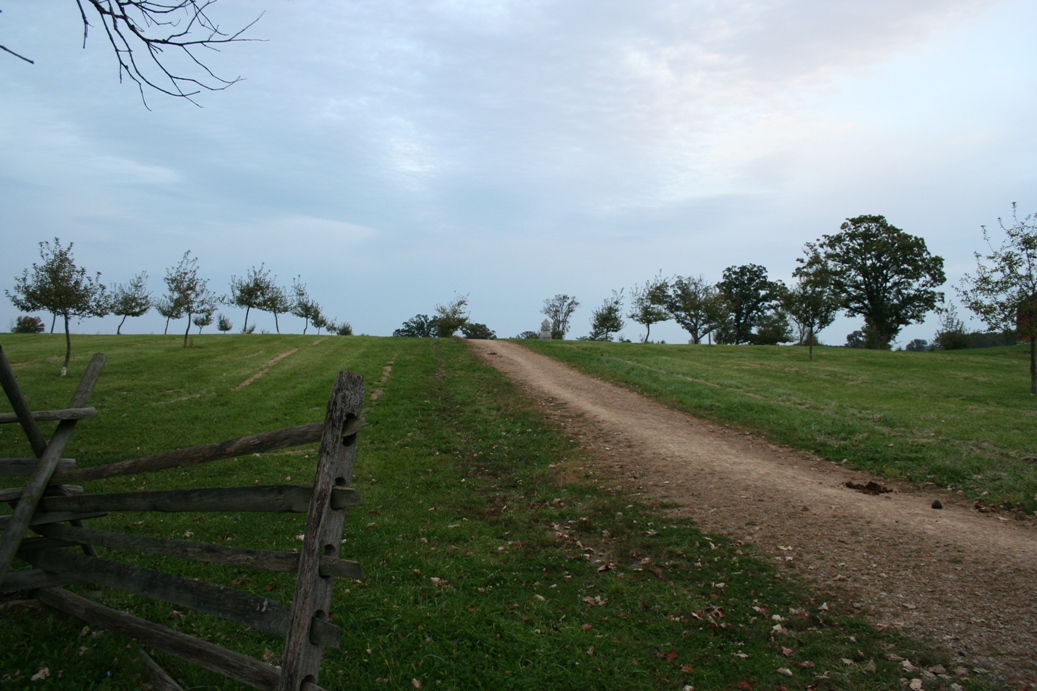
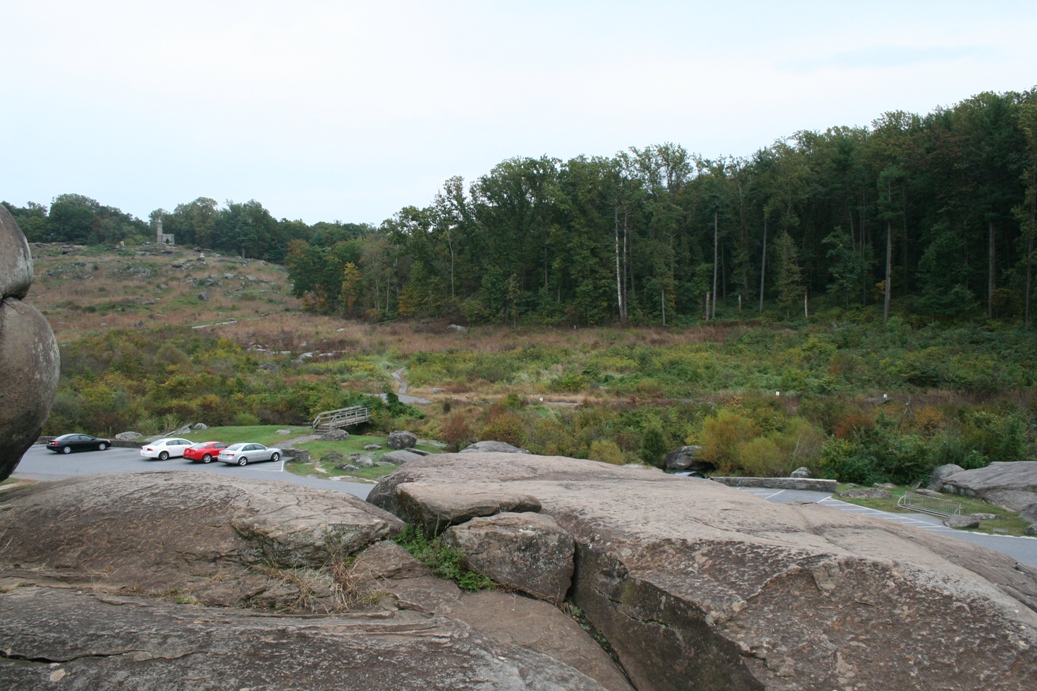
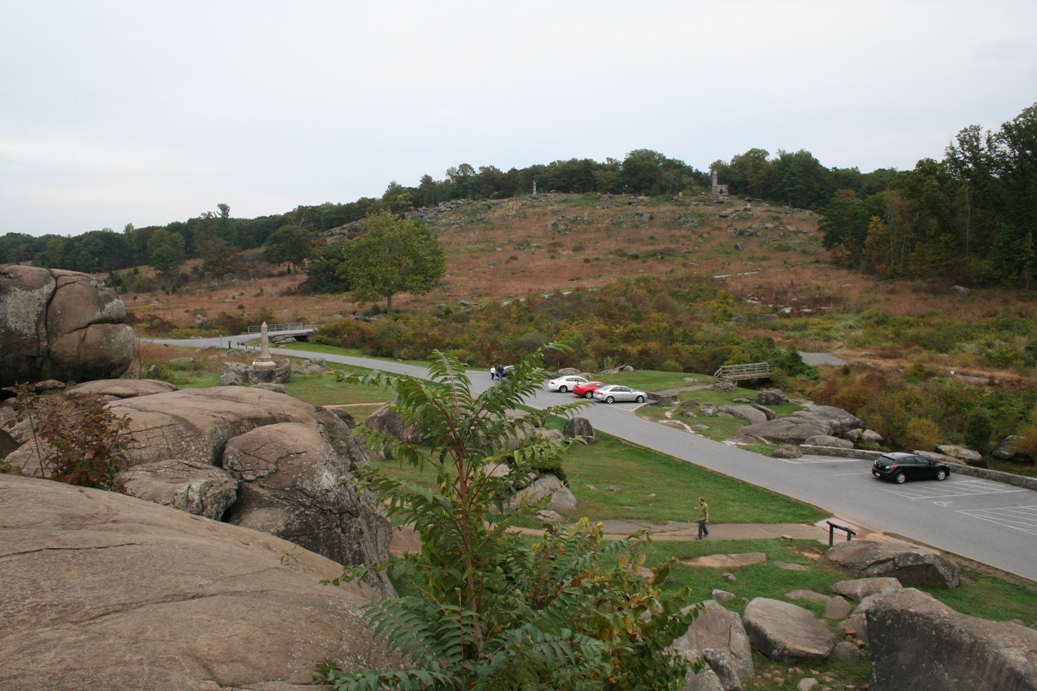
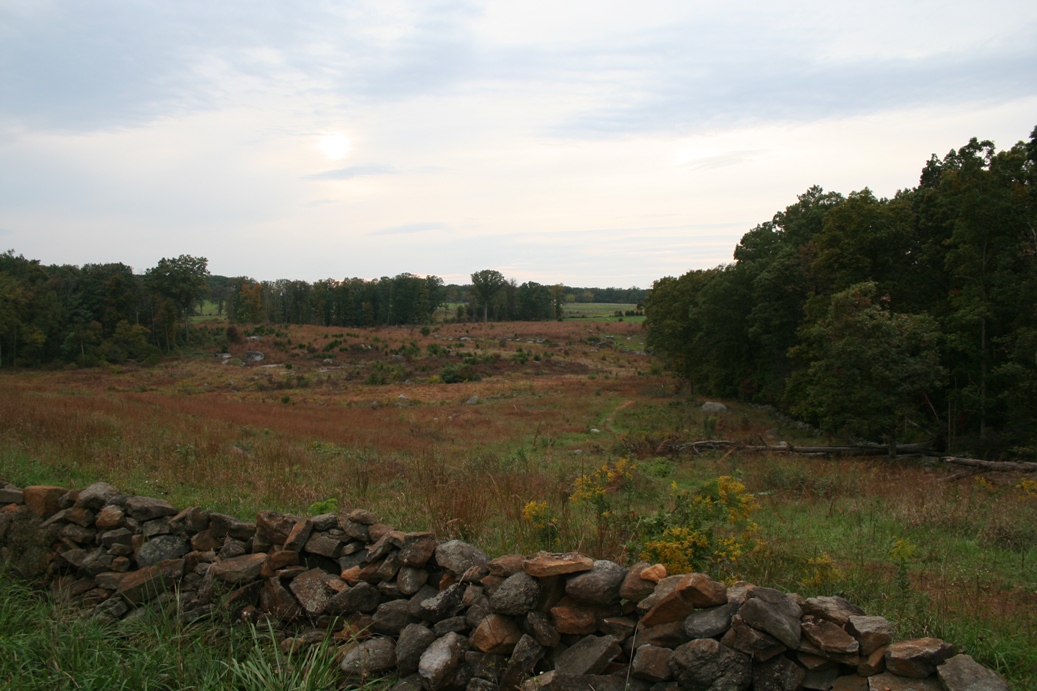
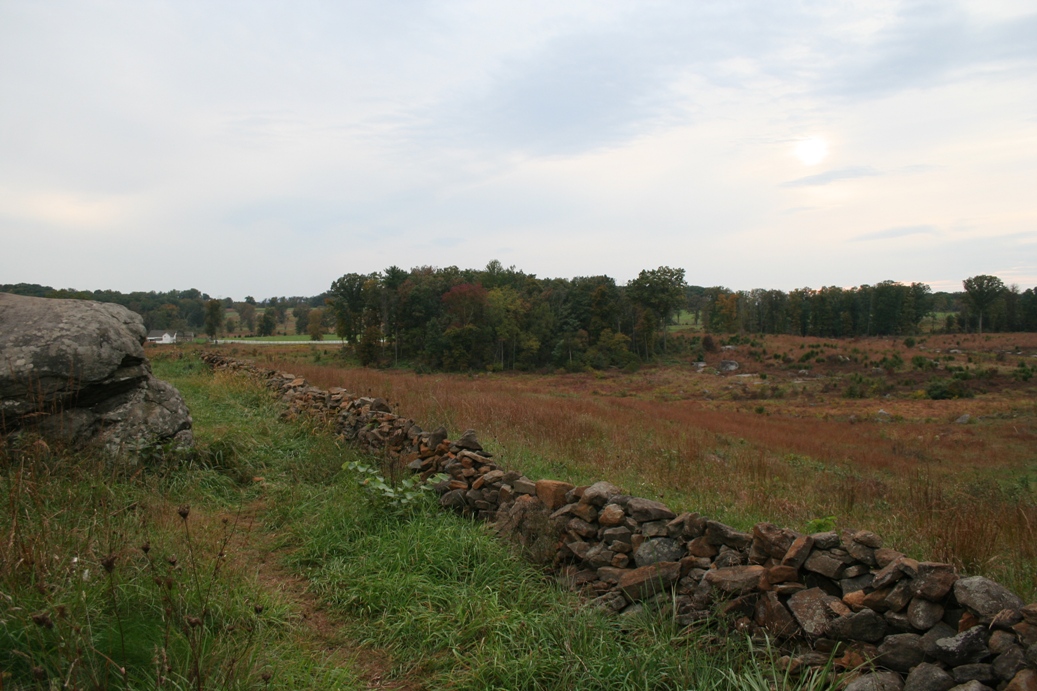
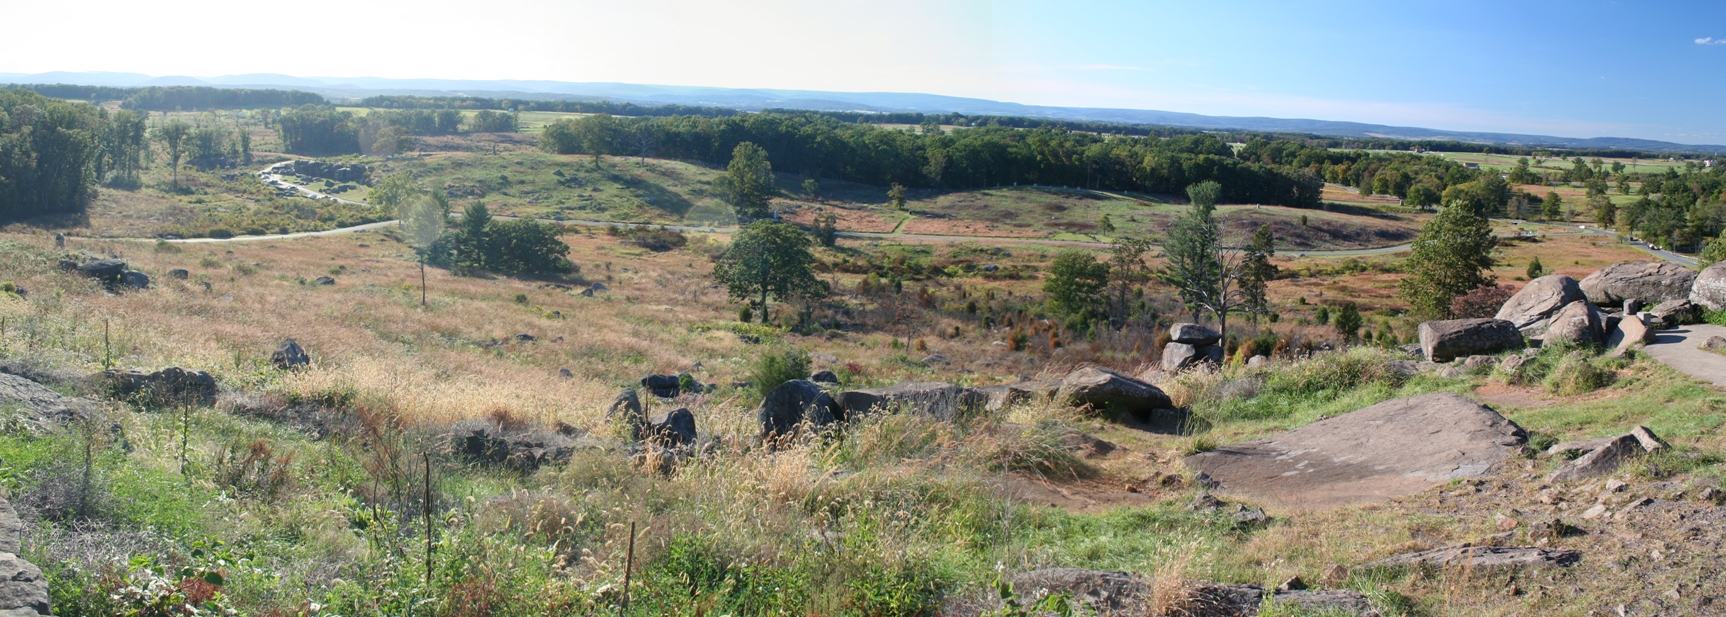
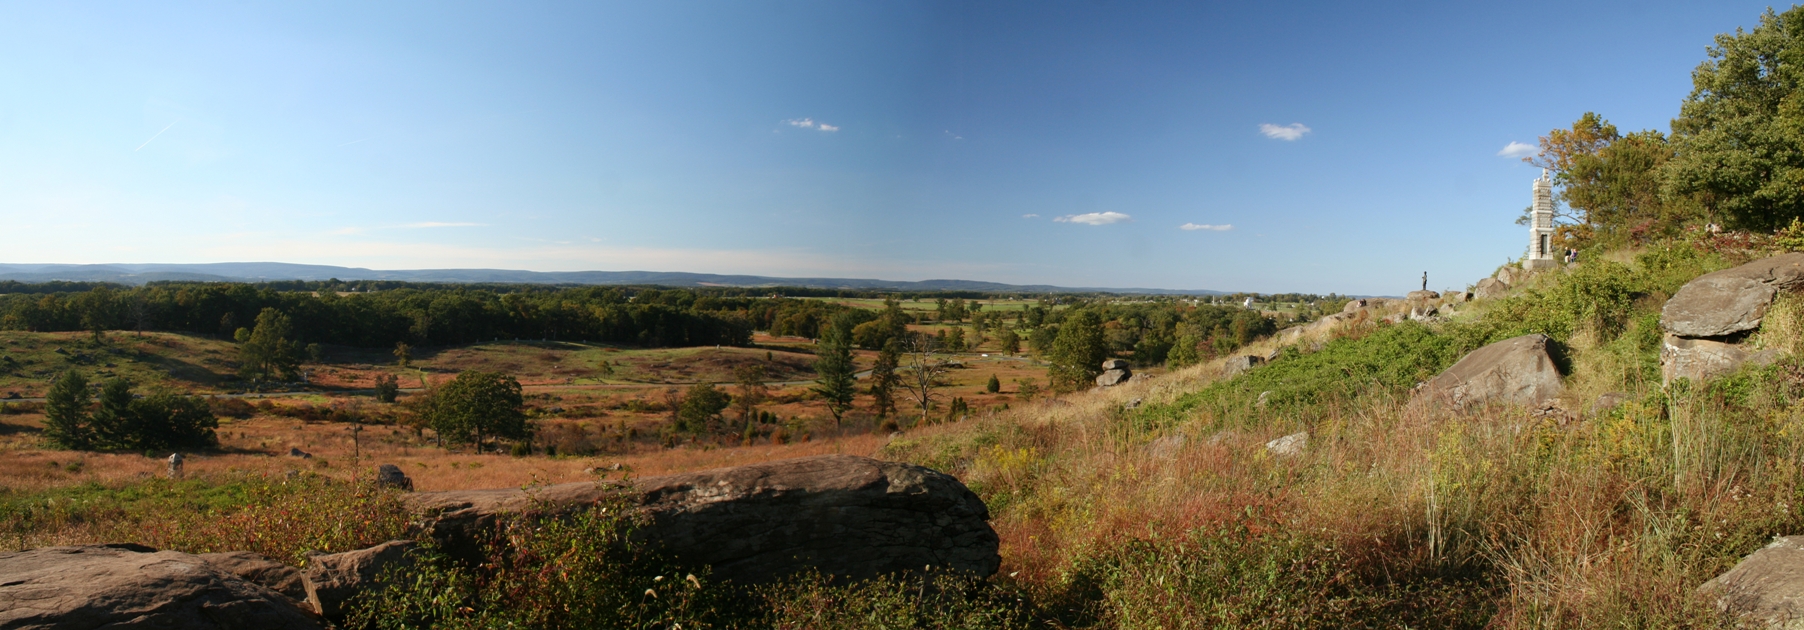
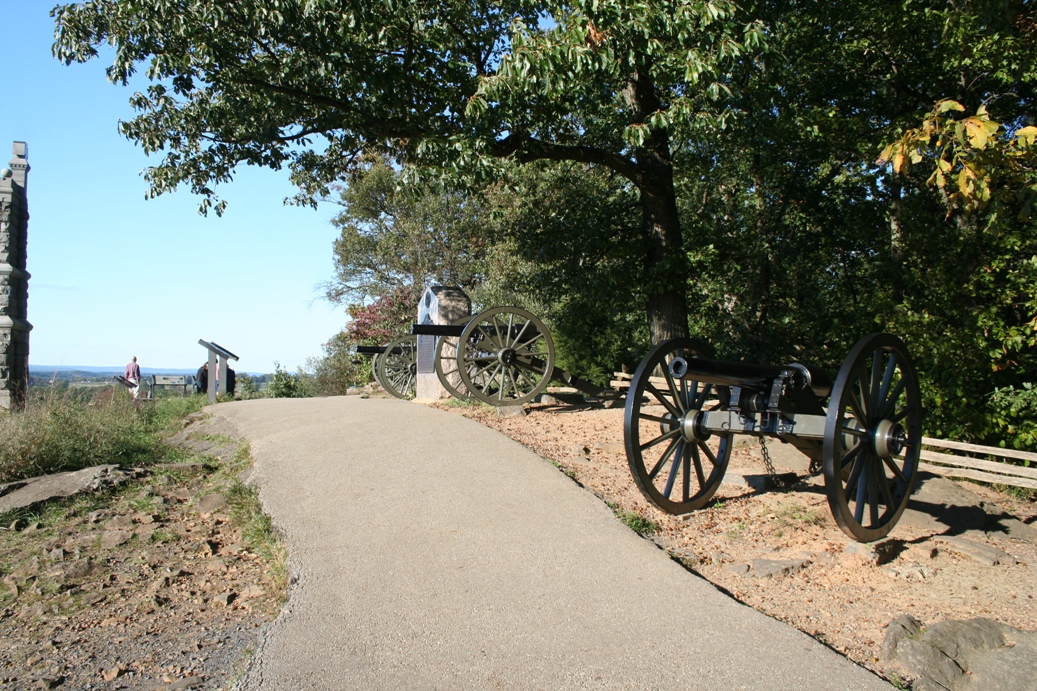
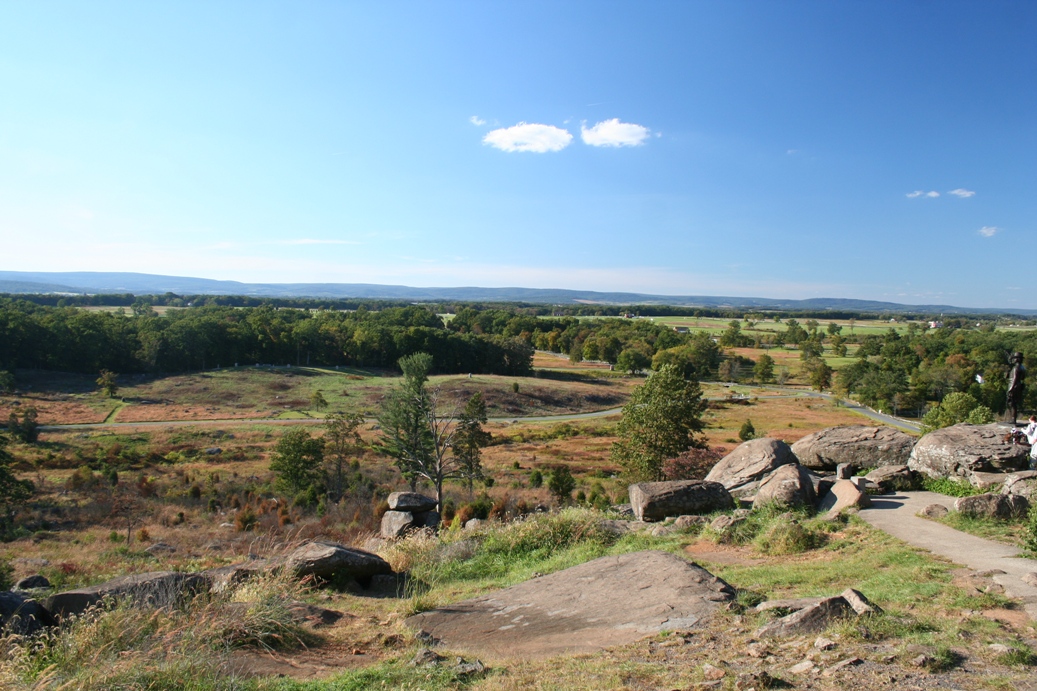
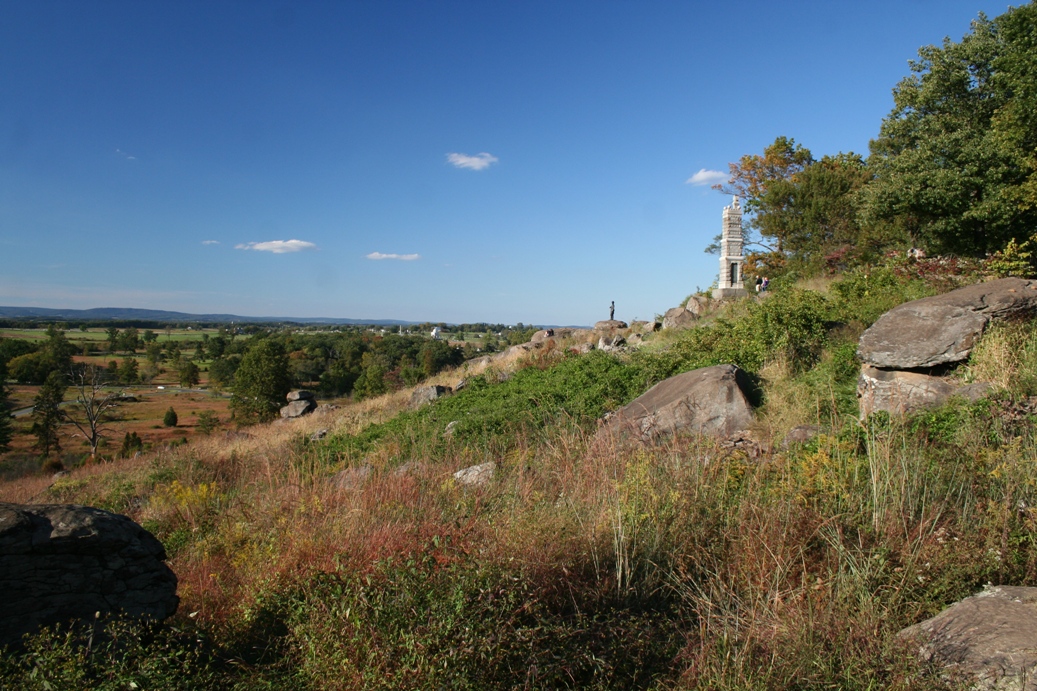
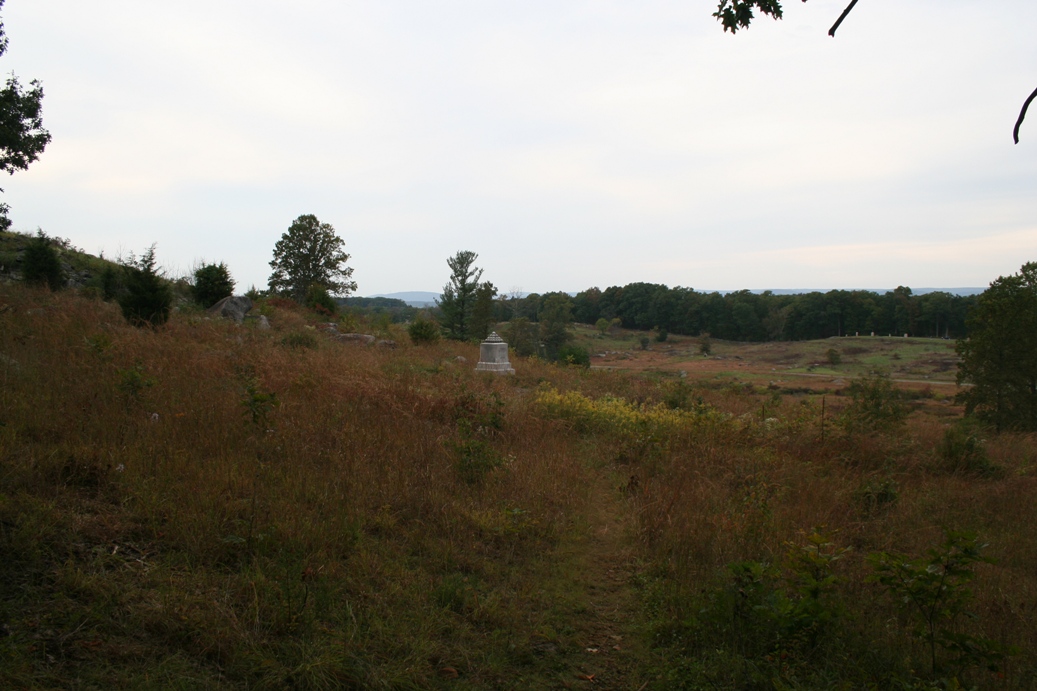
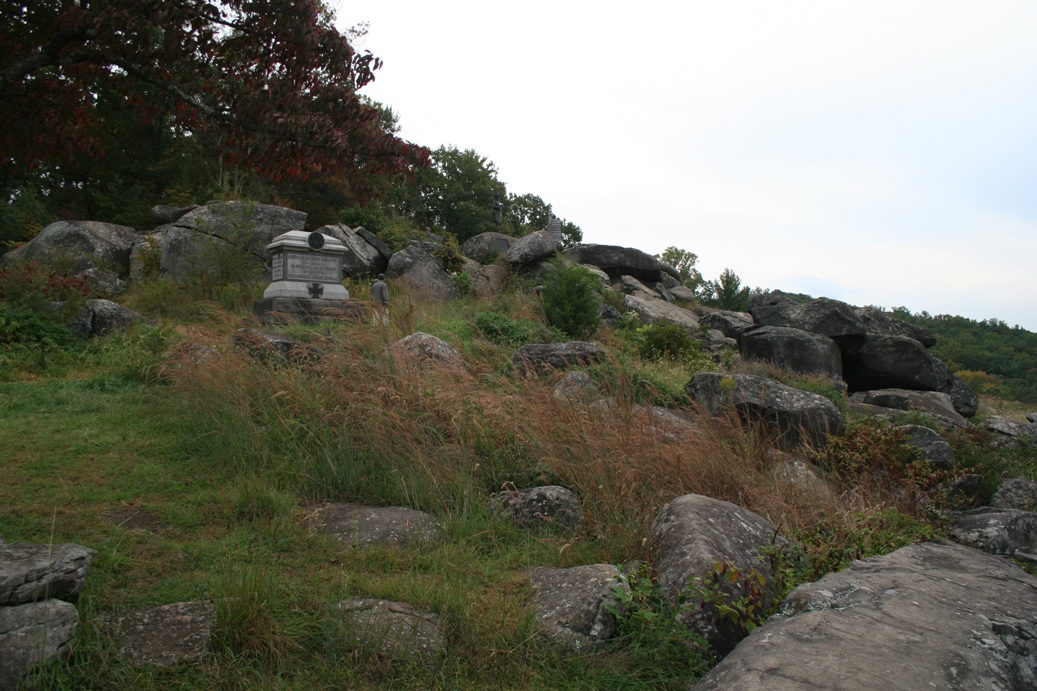
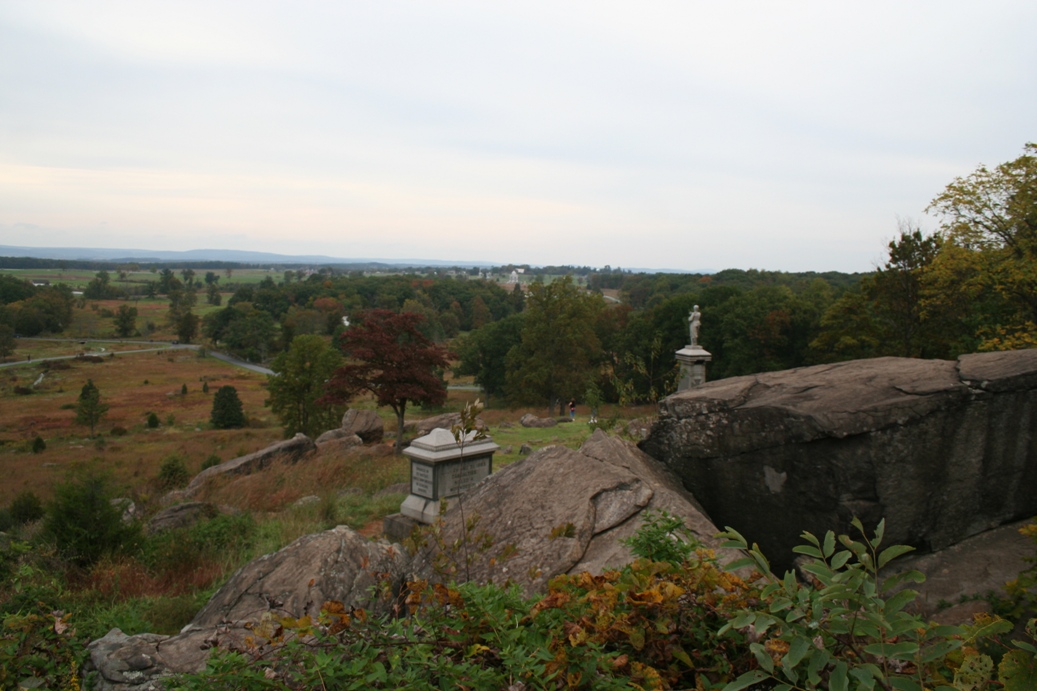
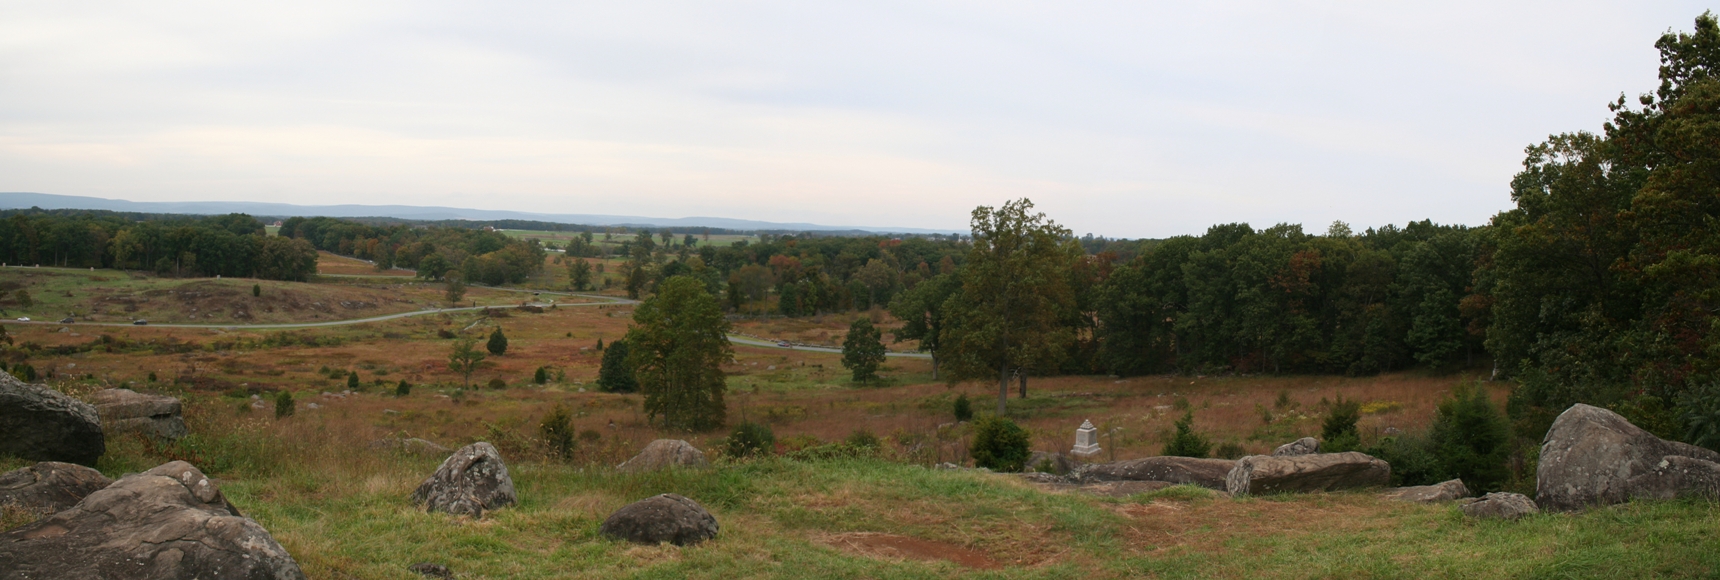
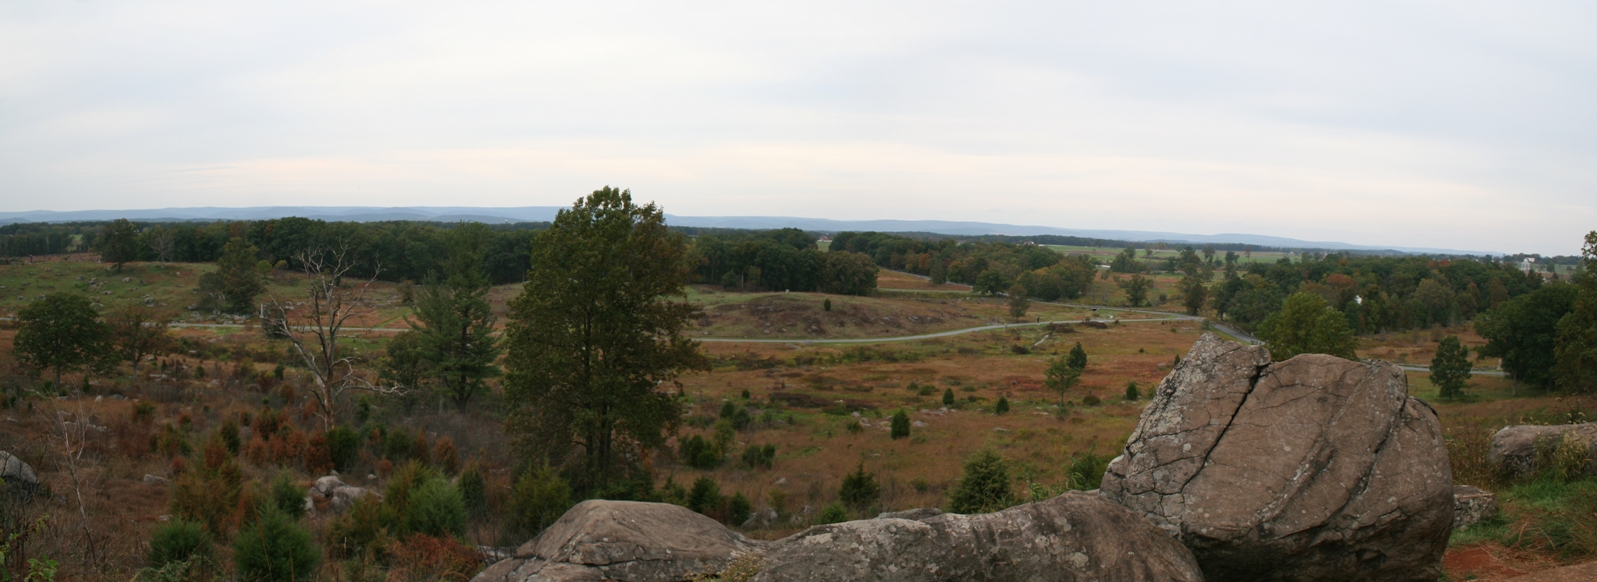
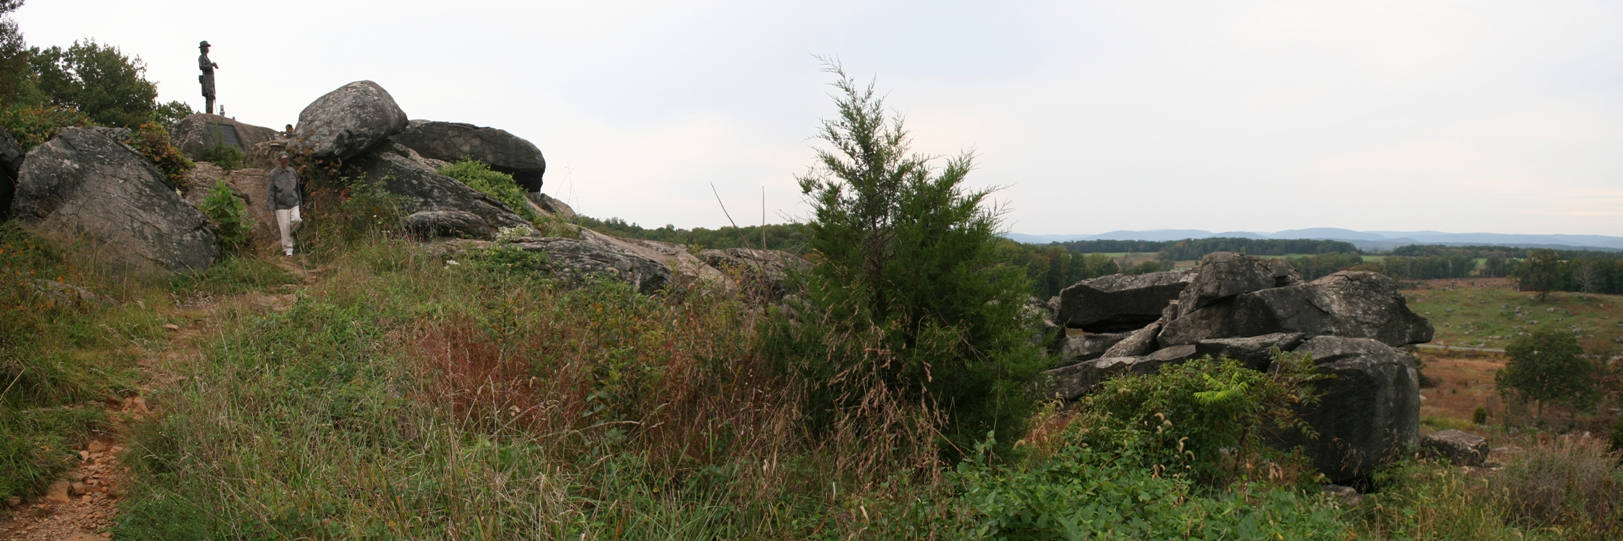
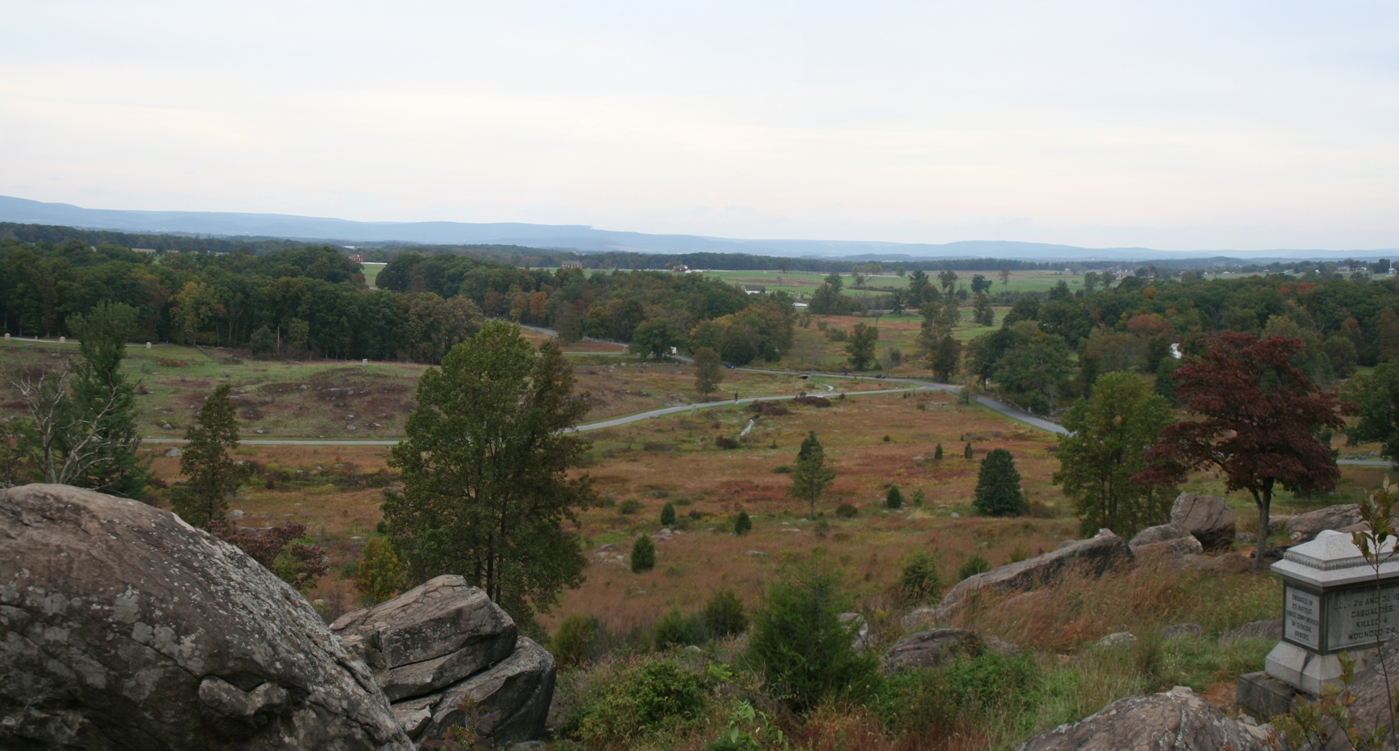
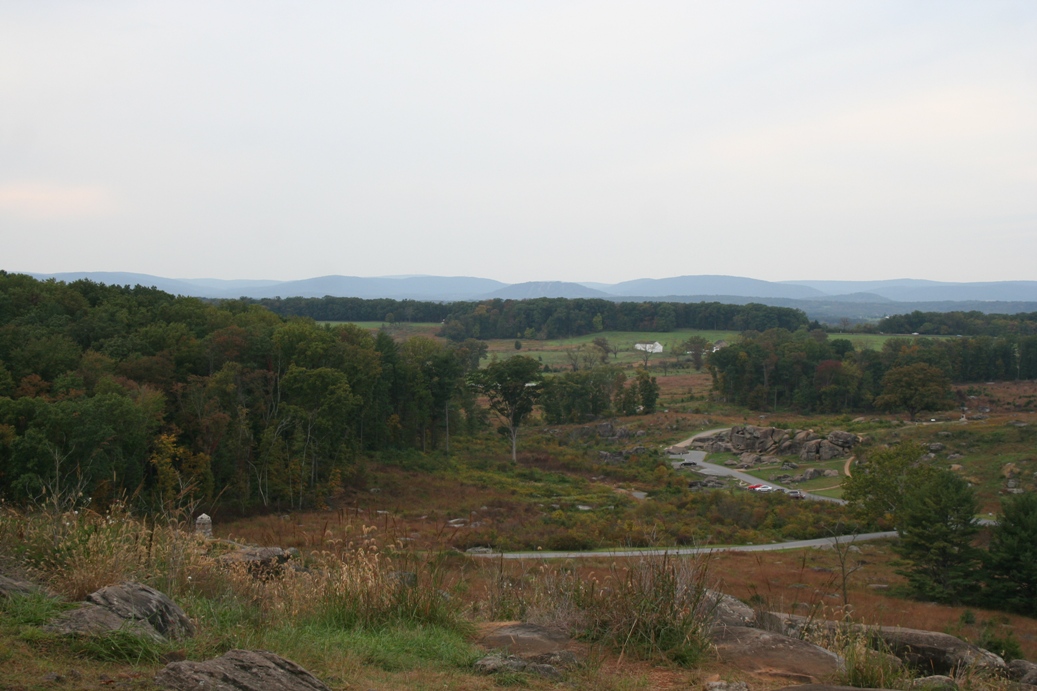
Little Roundtop
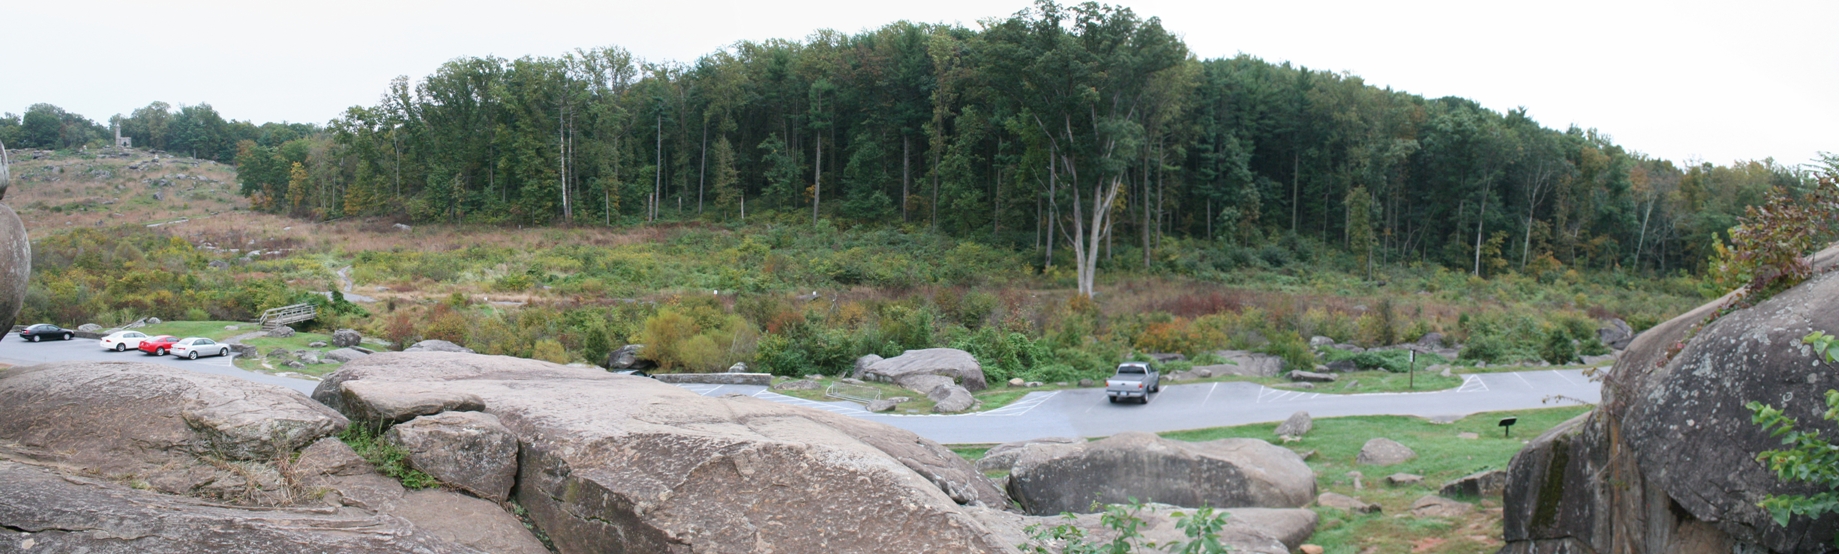
|
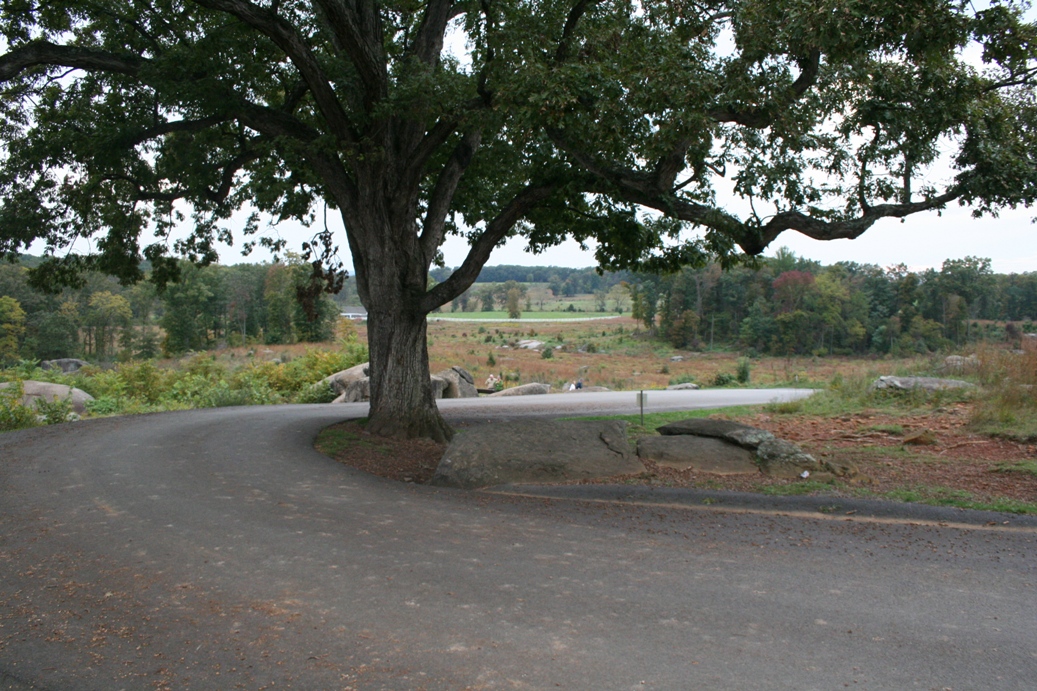
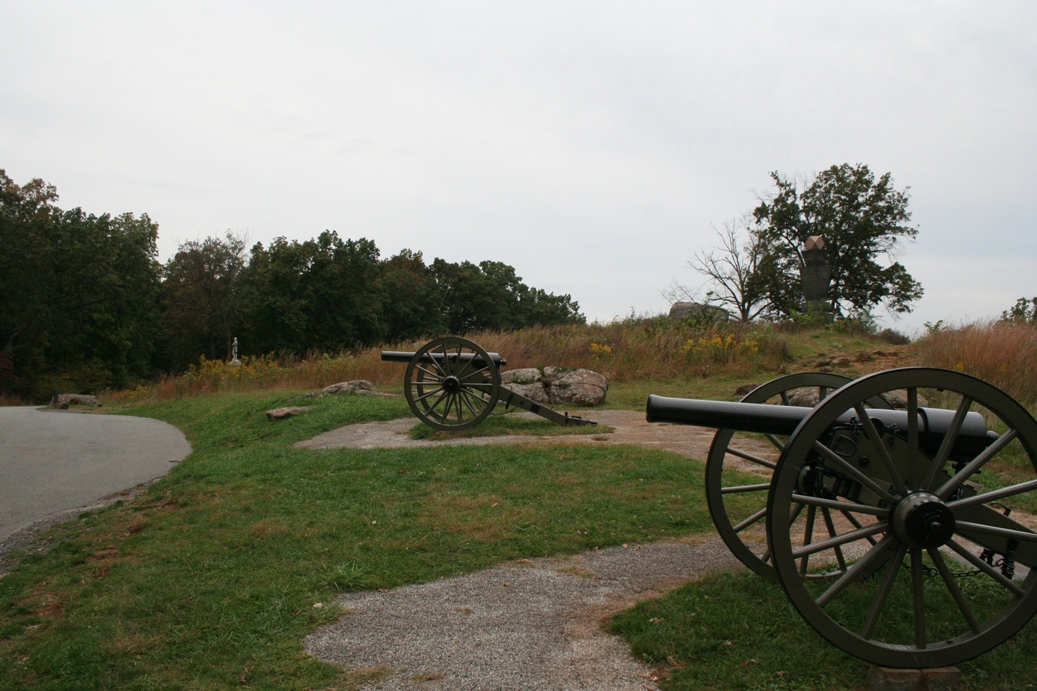
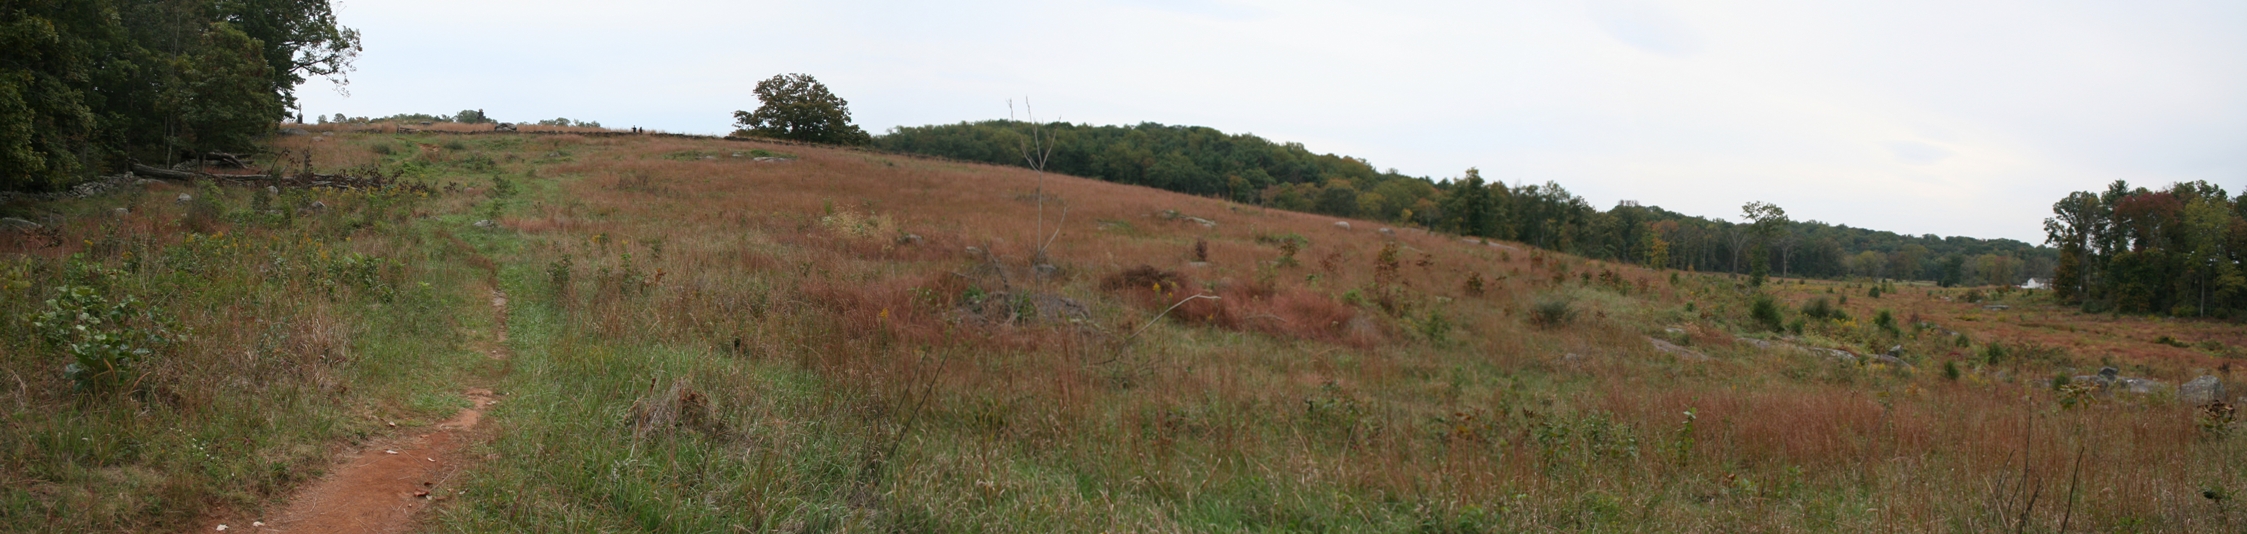
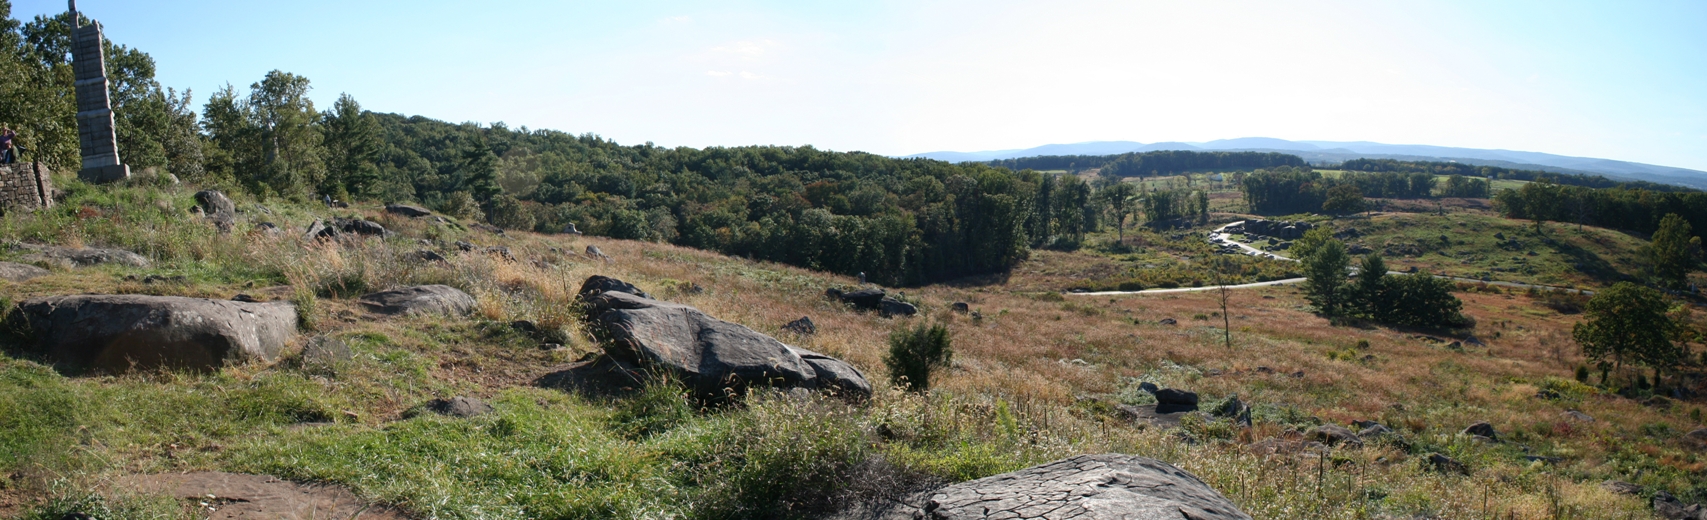
Little Roundtop is one of the pinnacles of this
battle. When the day first started on July
2nd, this area was not occupied by either army.
Even though most of the Union forces were moving
into the area just behind this hill, no one had
thought about putting troops up here to protect the
Union left. It wasn't until Union General
Warren arrived on the hill to observe Confederate
movements, that a large number of
Confederates were spotted in position and moving directly
toward the hill. The only troops nearby were a
few signal corps soldiers. General Warren
started diverting
troops, moving up the road from the south and
heading towards Gettysburg, to Little Roundtop.
It could not have too soon, as Confederates had
push Union forces back from the Peach Orchard,
through the Wheatfield and Devils Den, and were
moving on to Little Roundtop when the first Union
reinforcements arrived.
|
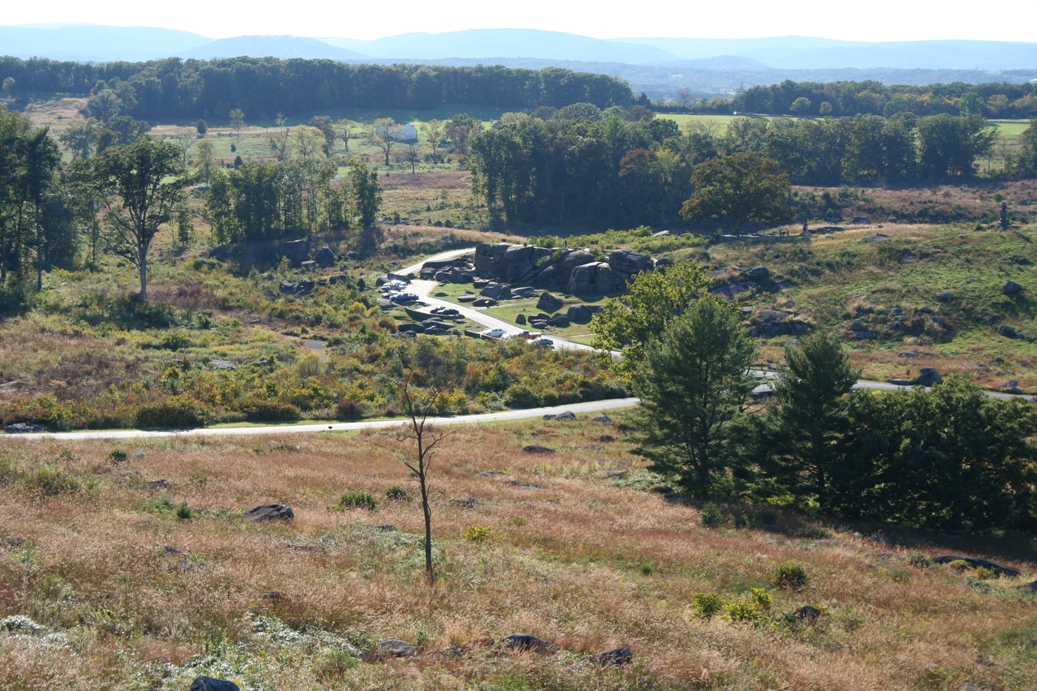
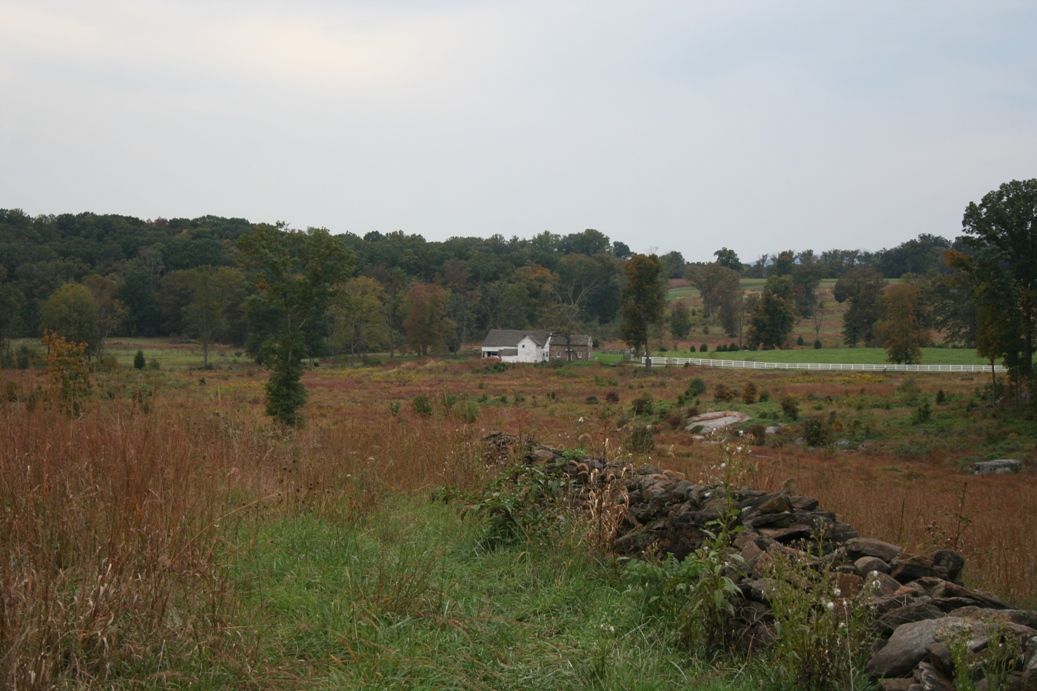
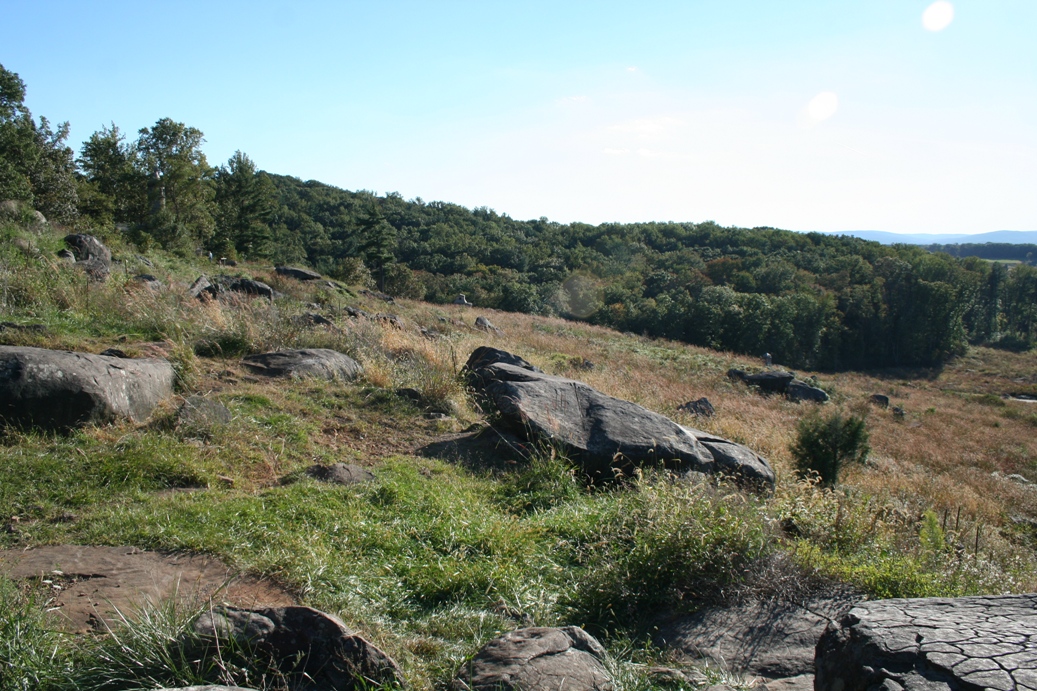
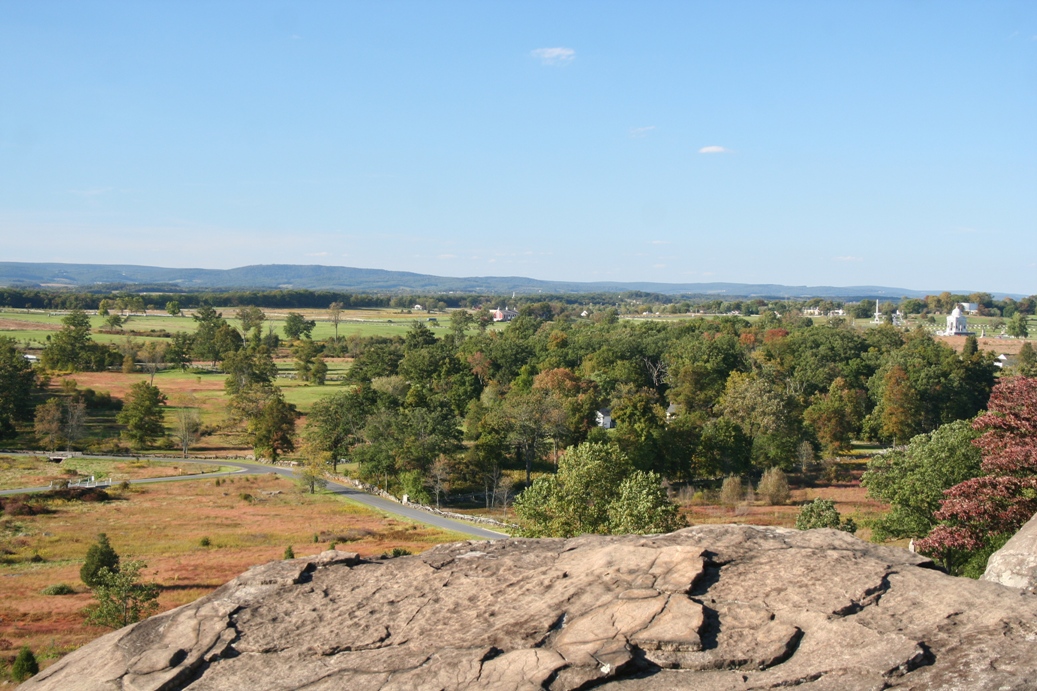
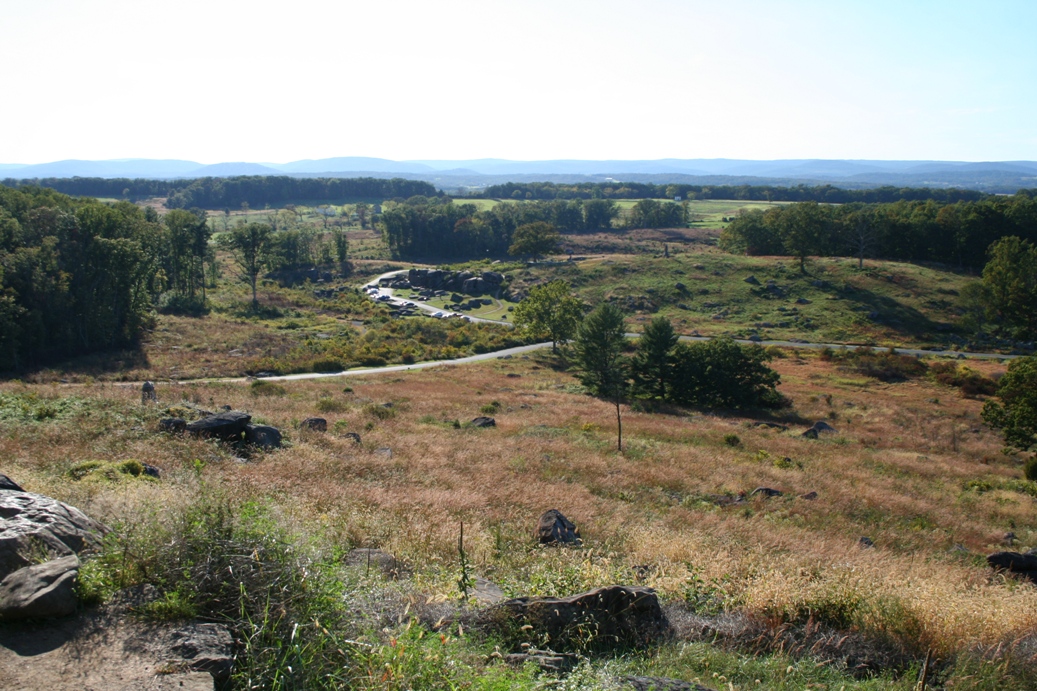
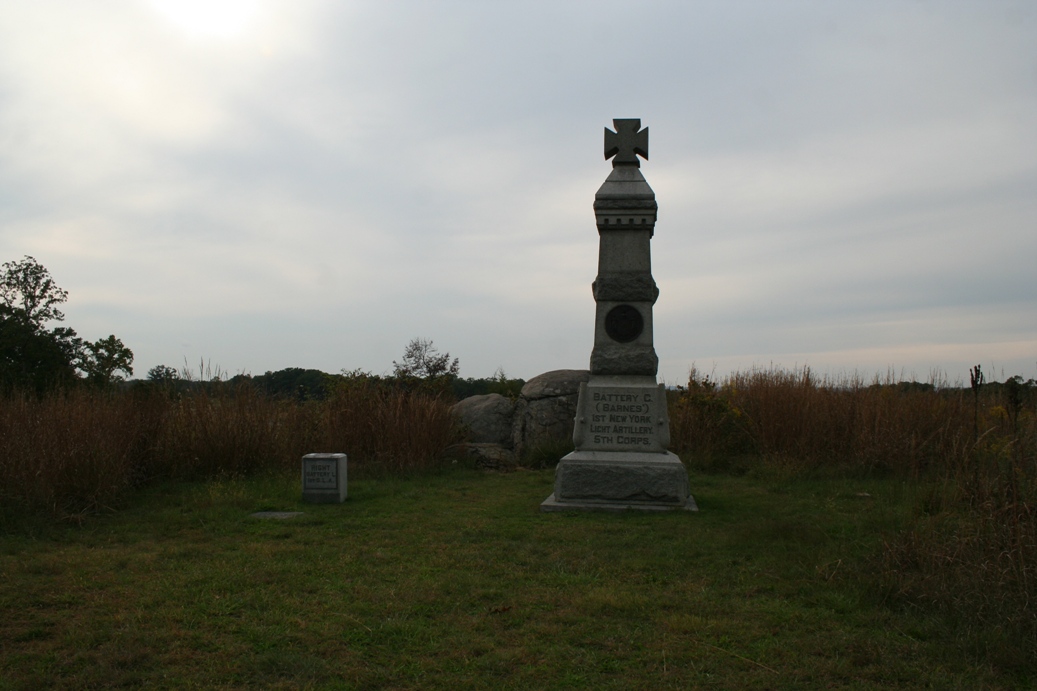
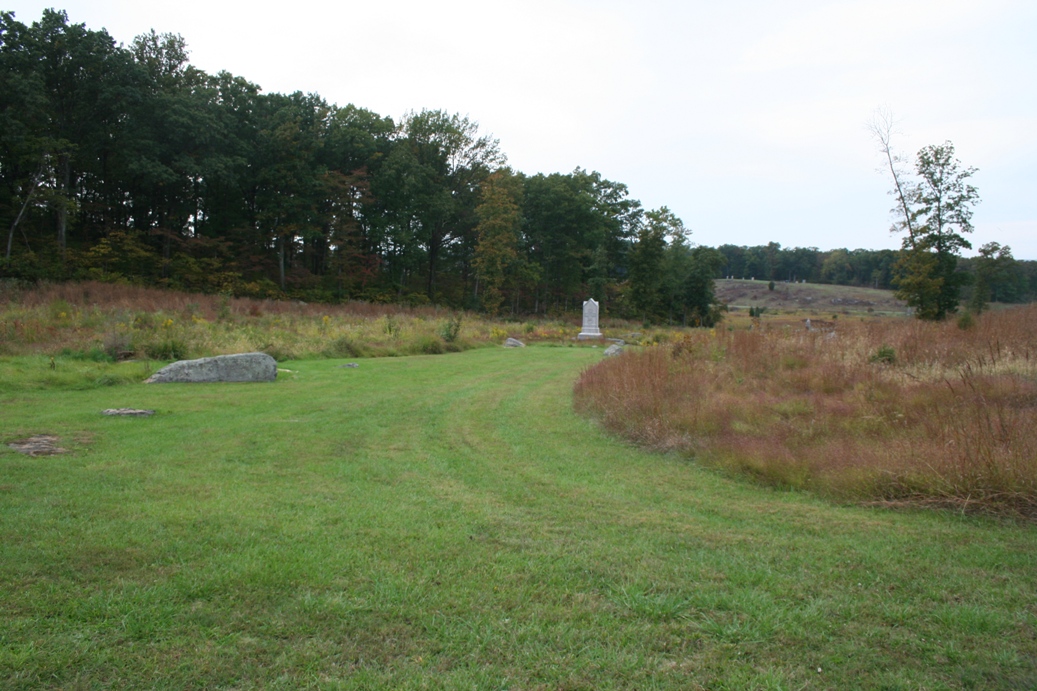
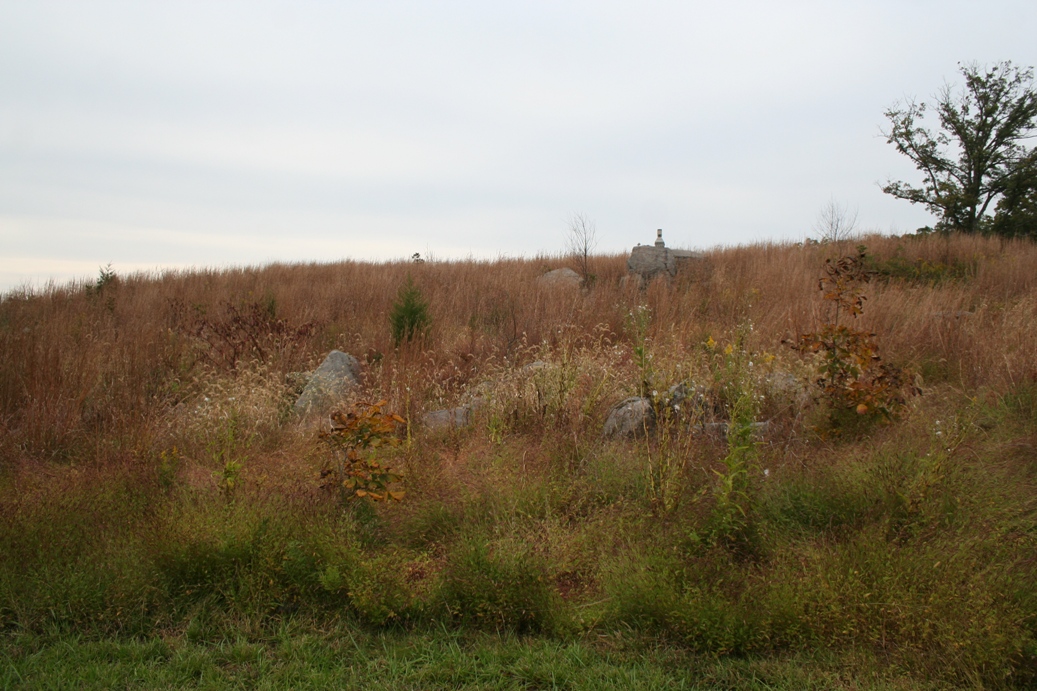
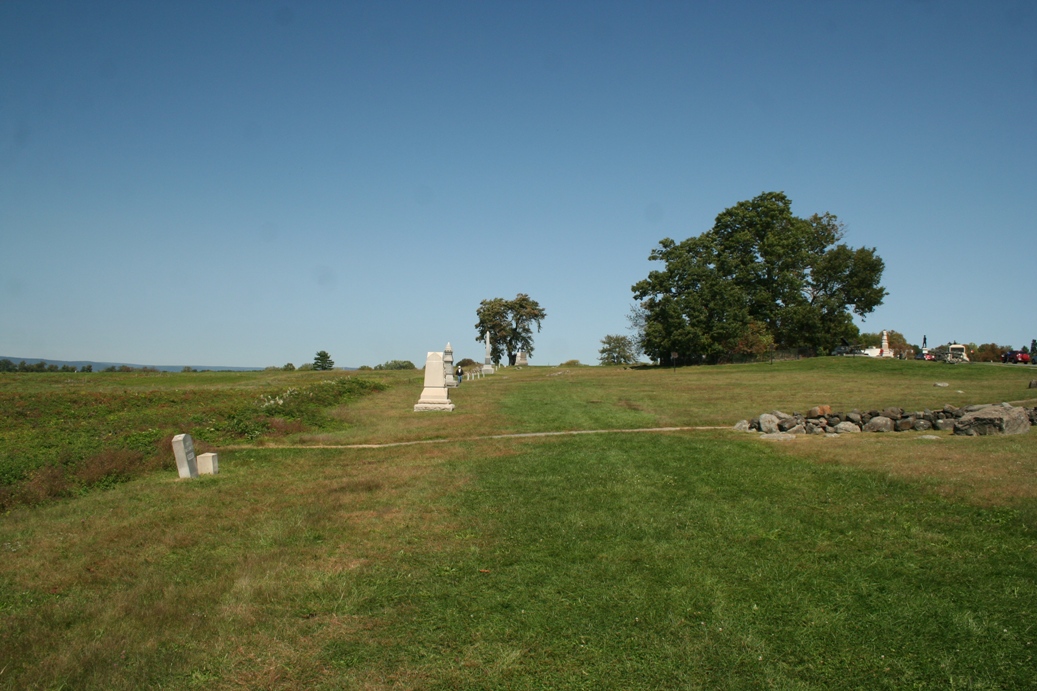
Lower Cemetery Ridge
|
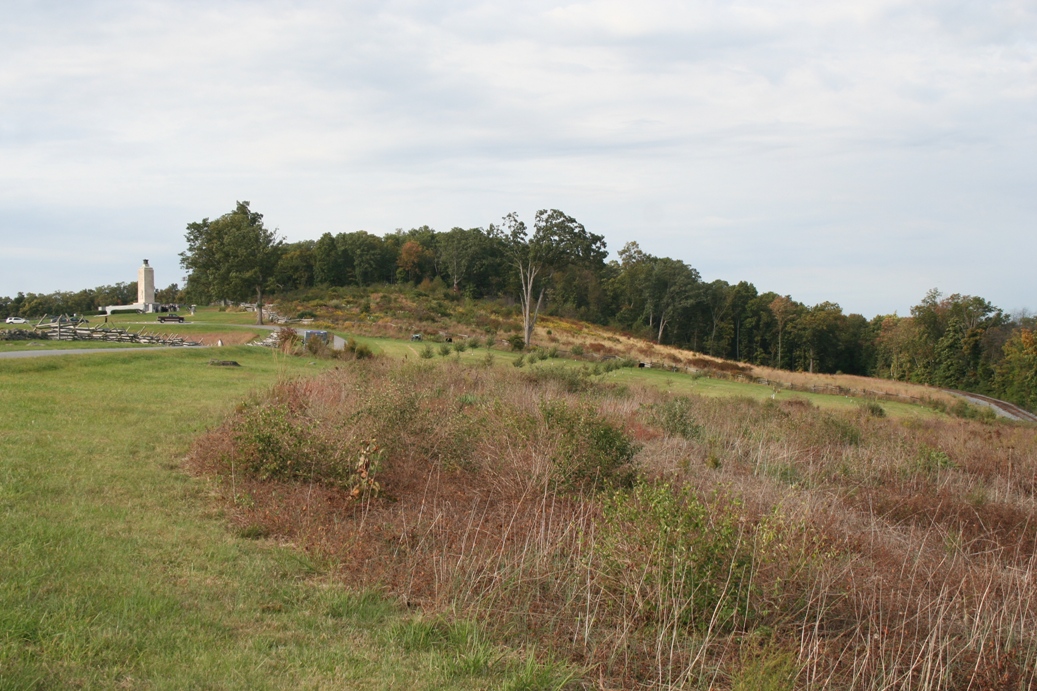
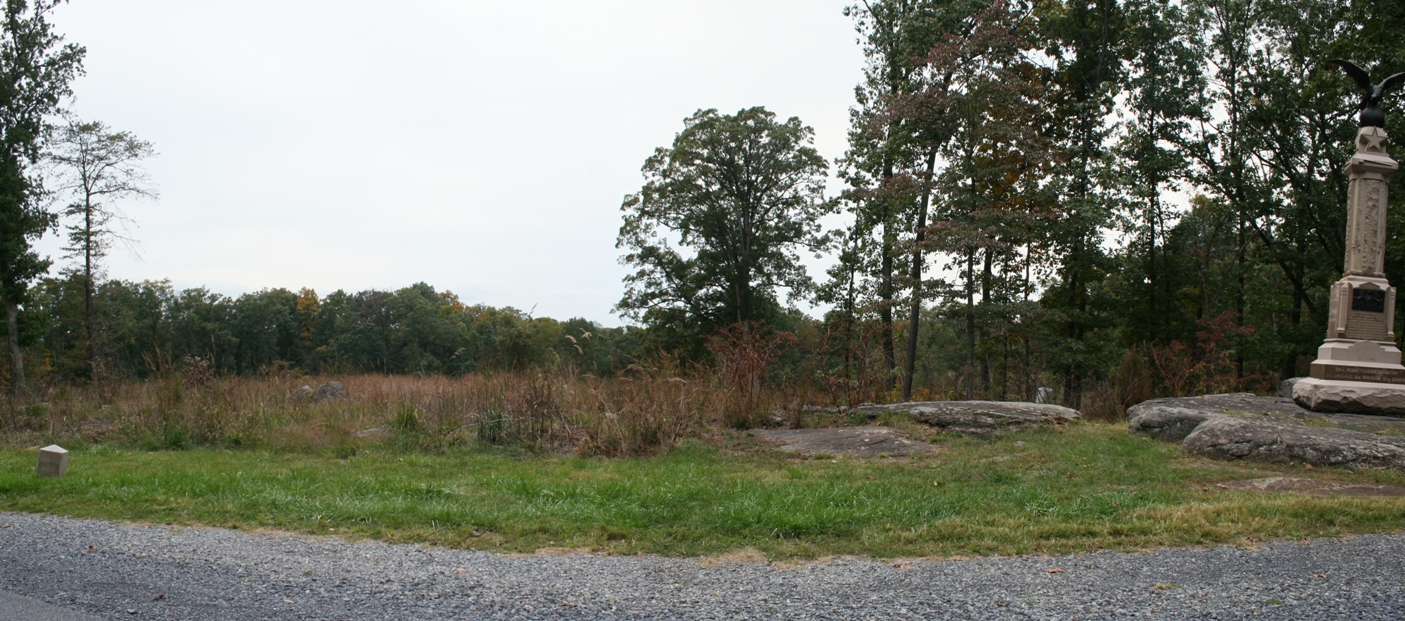
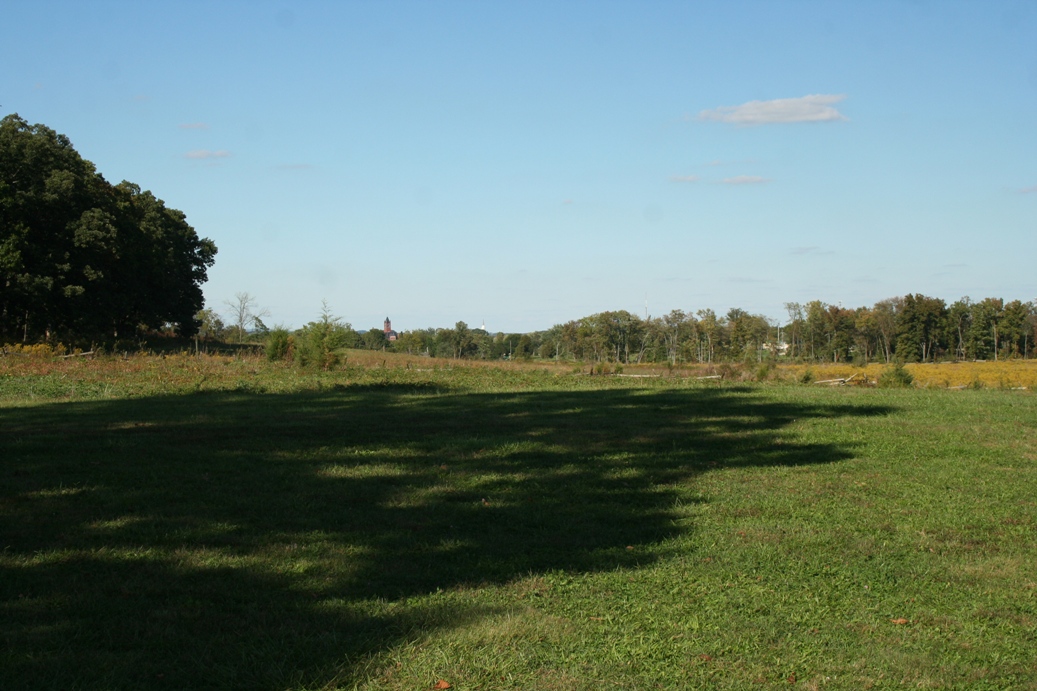
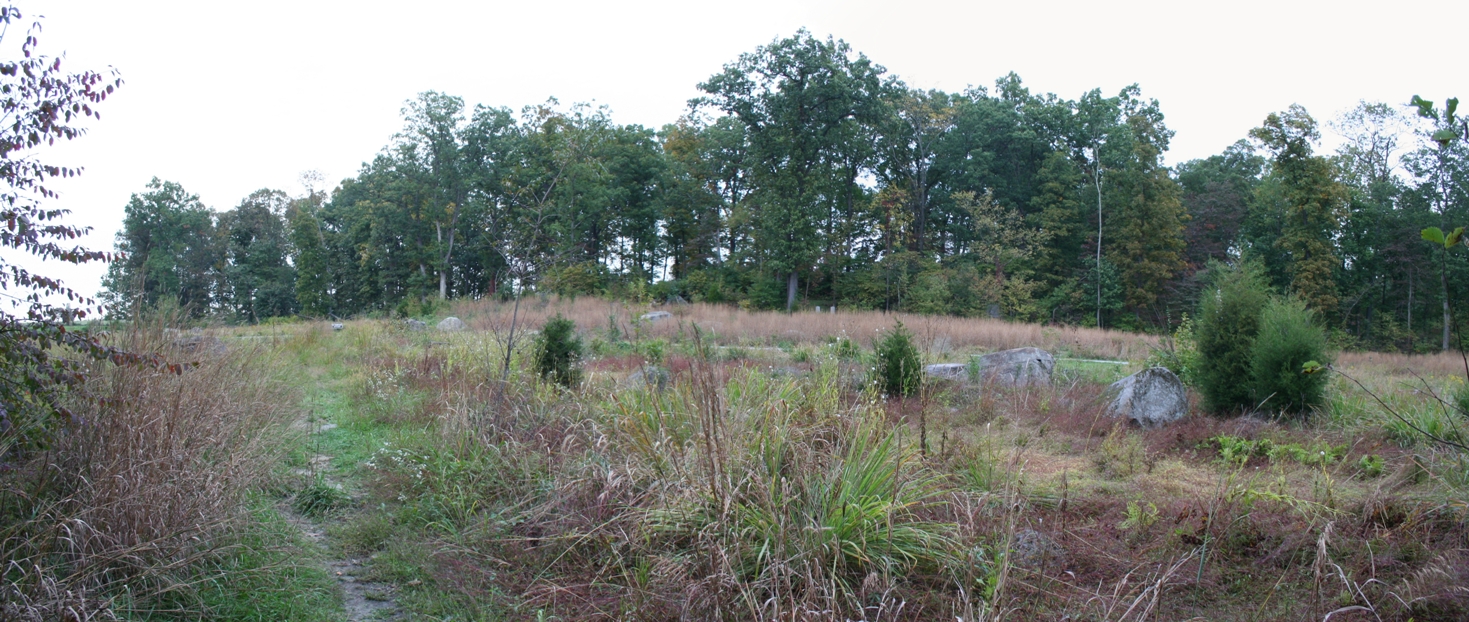
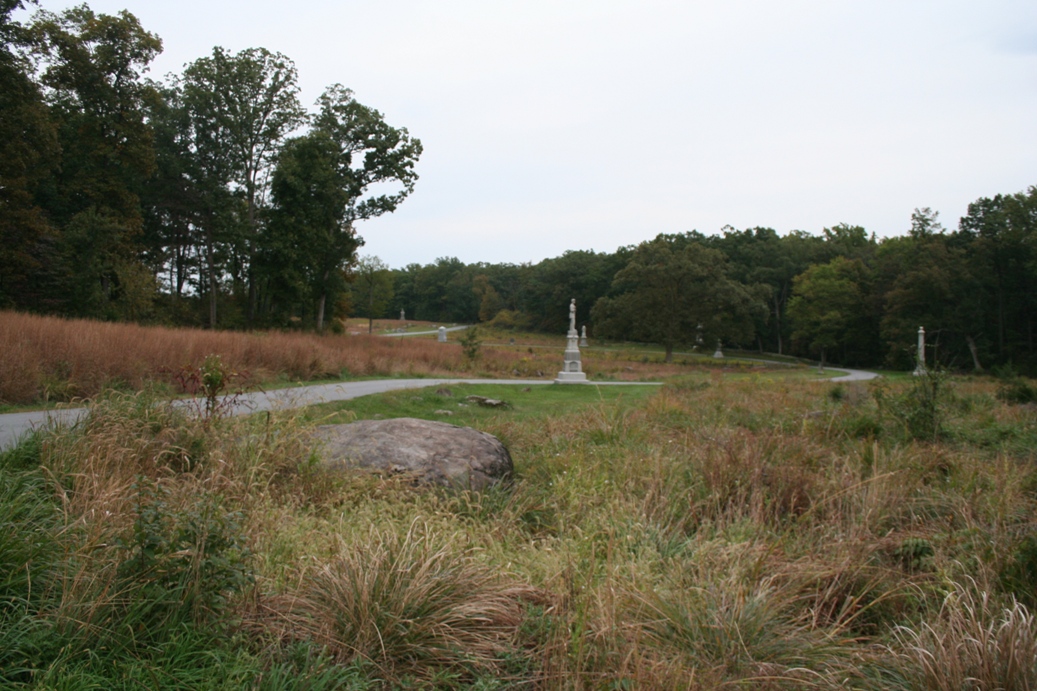
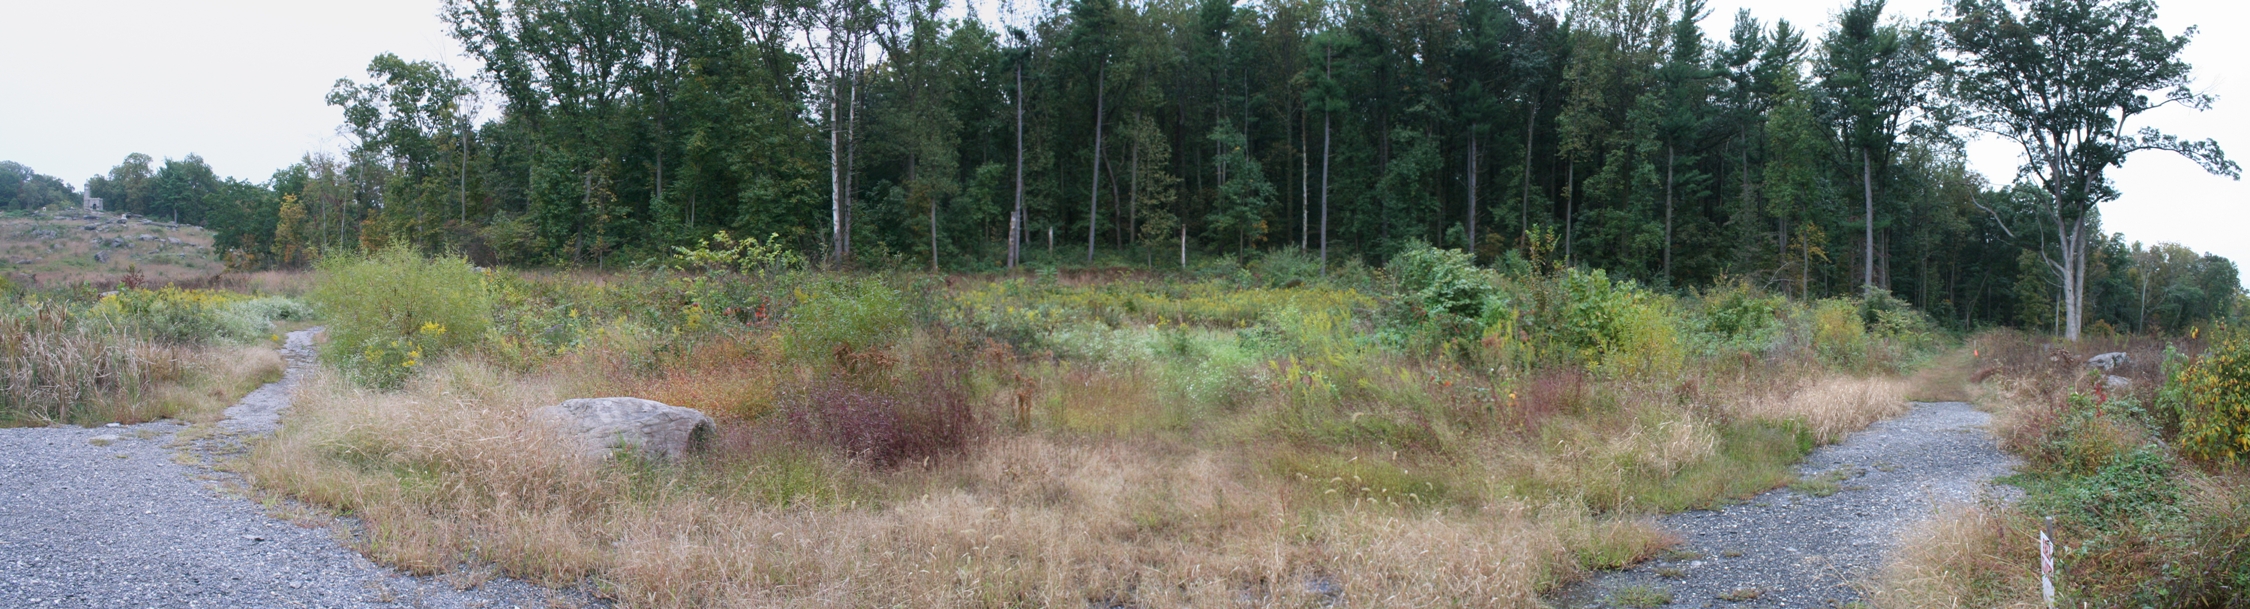
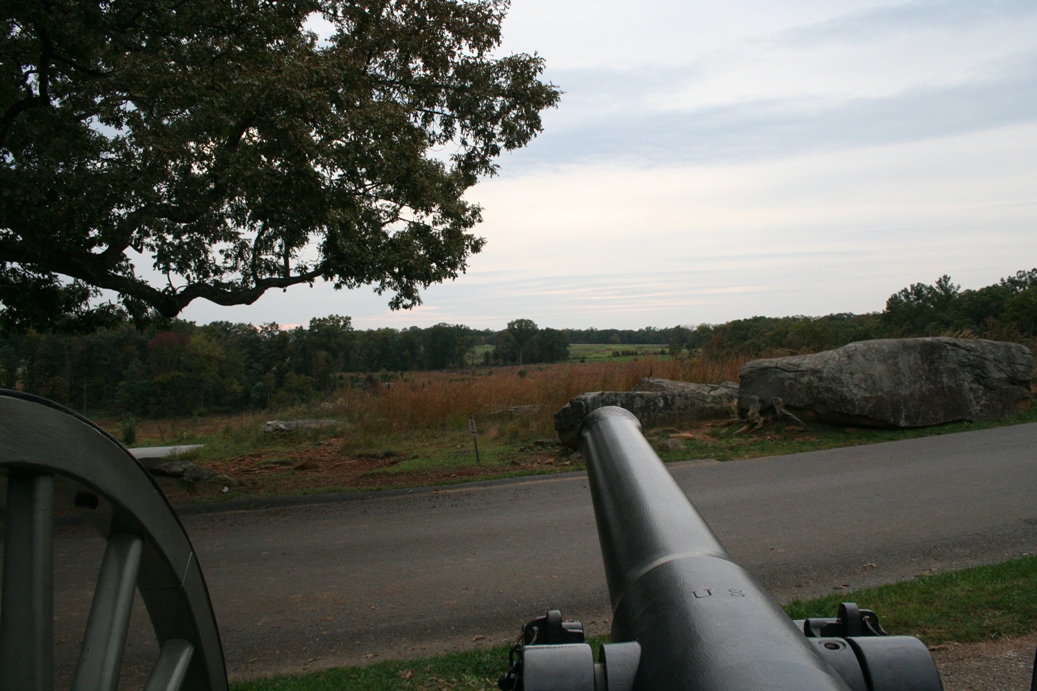
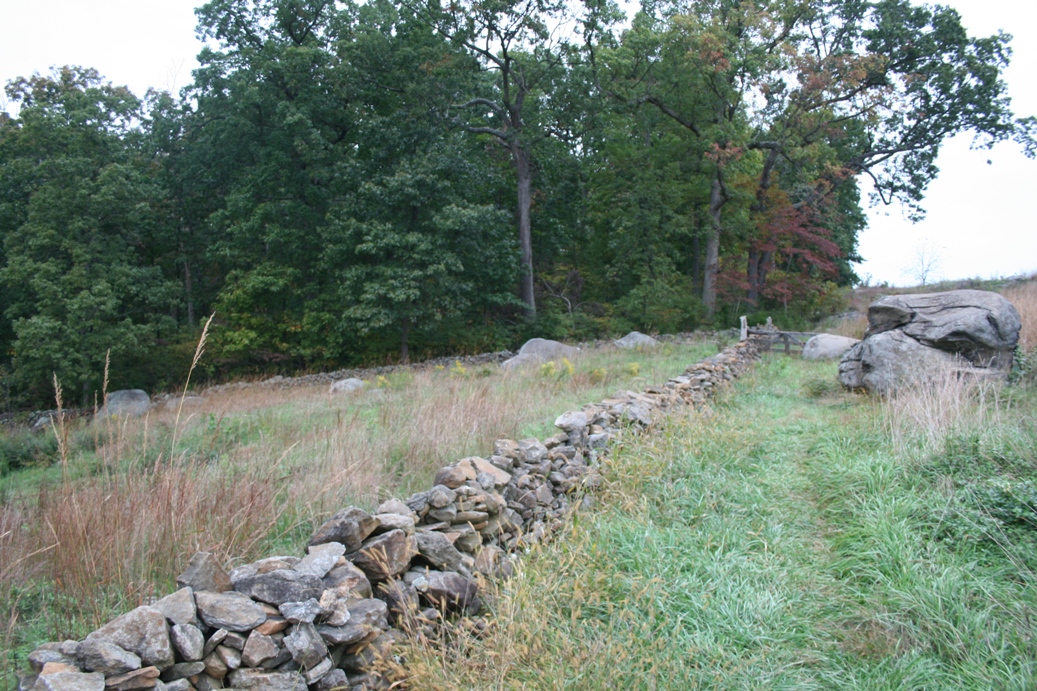
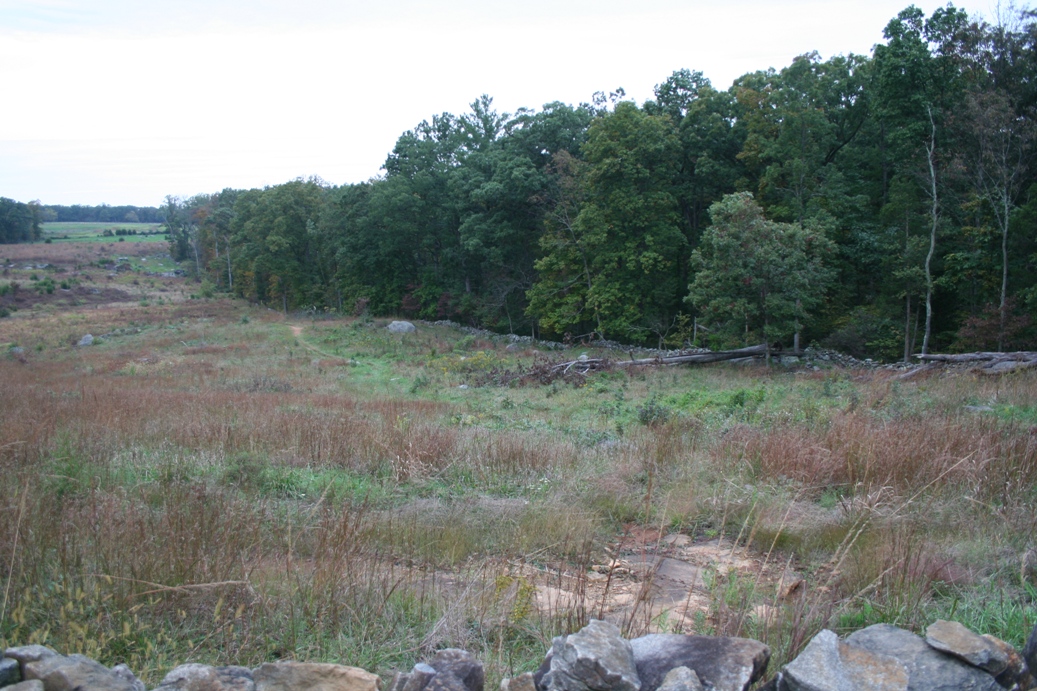
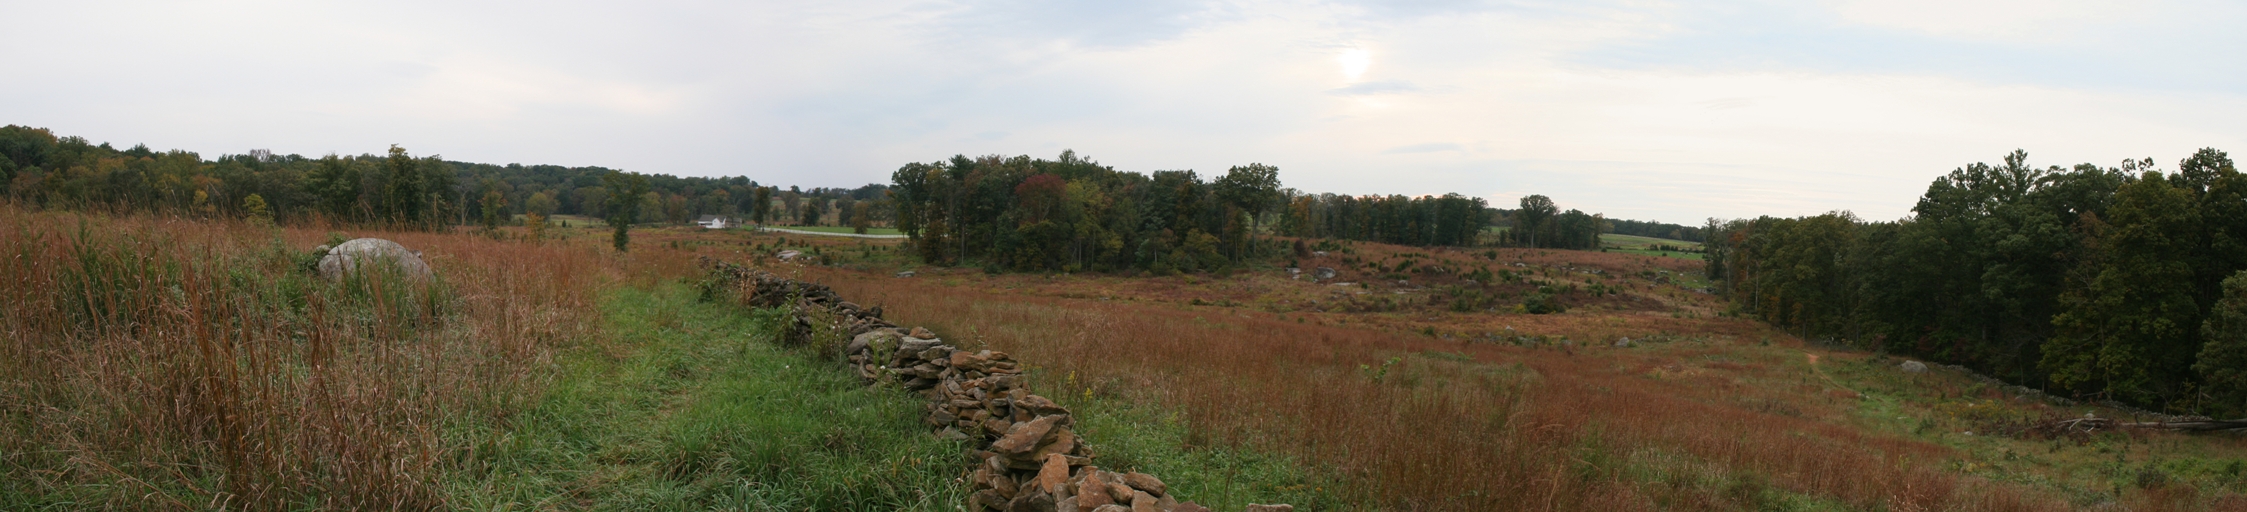
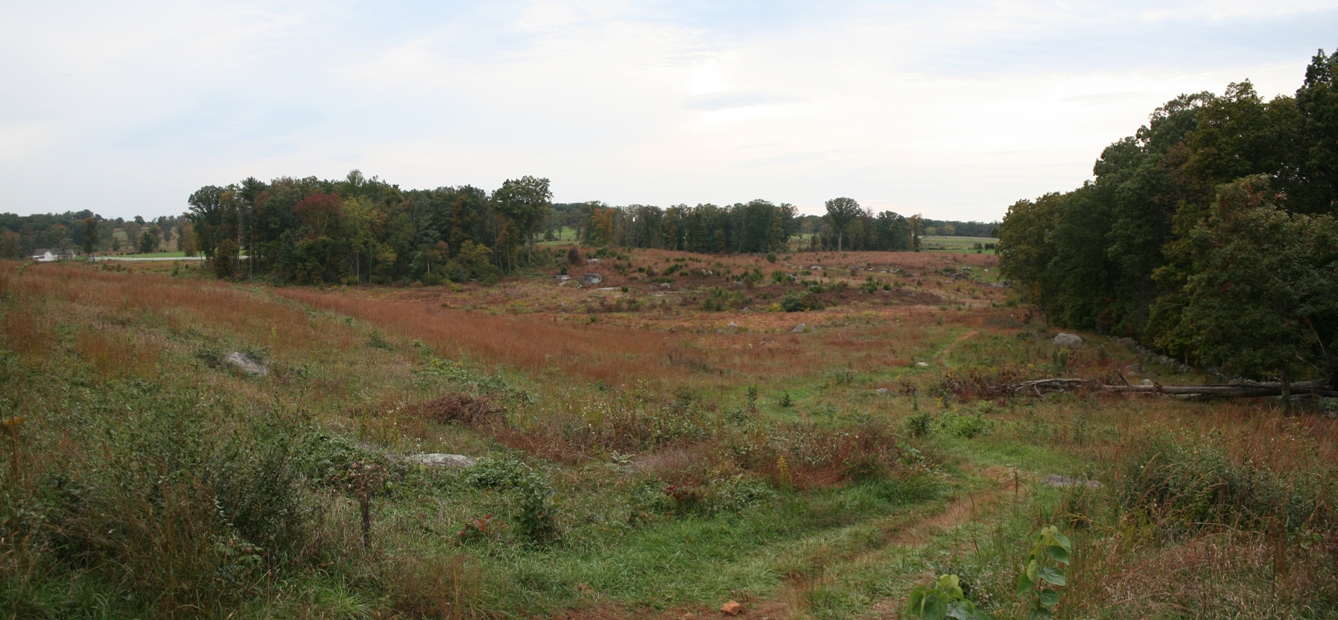
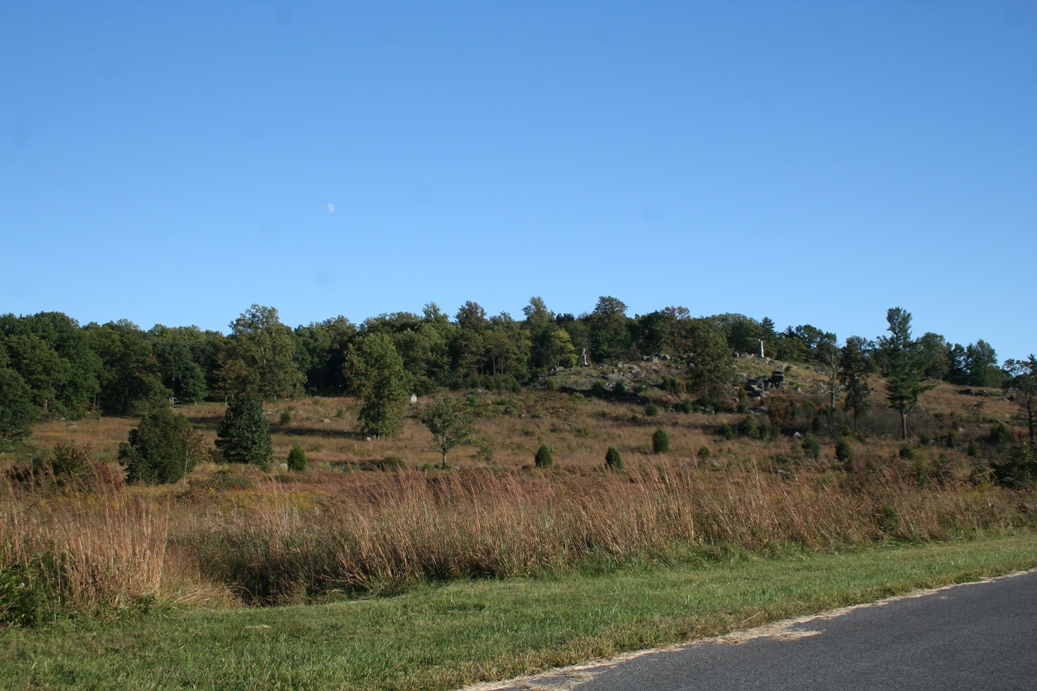
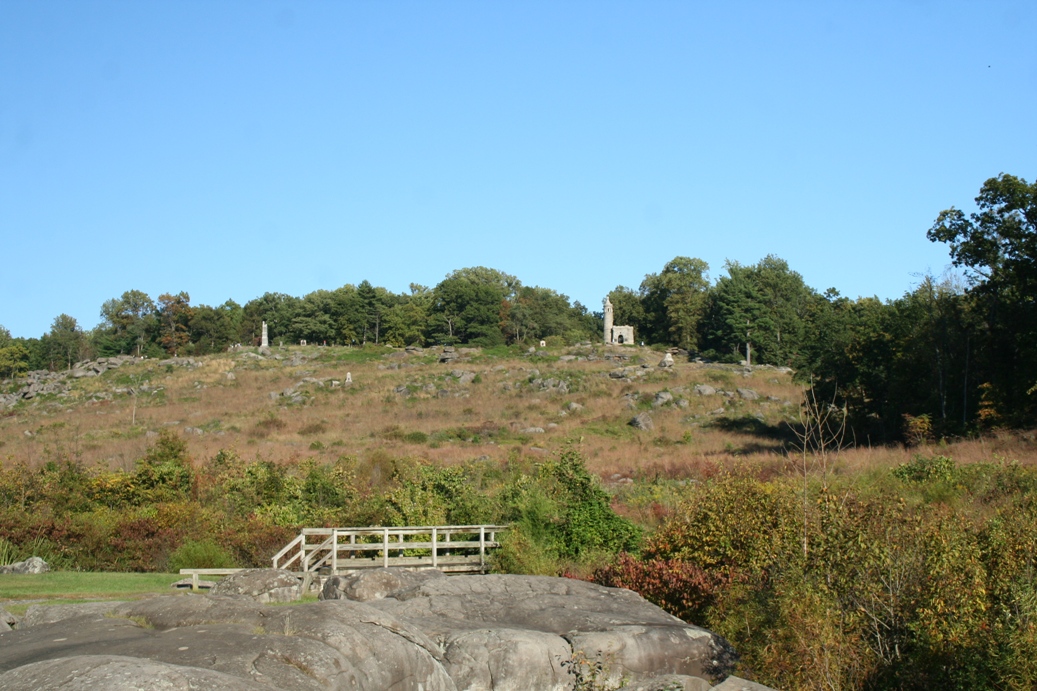
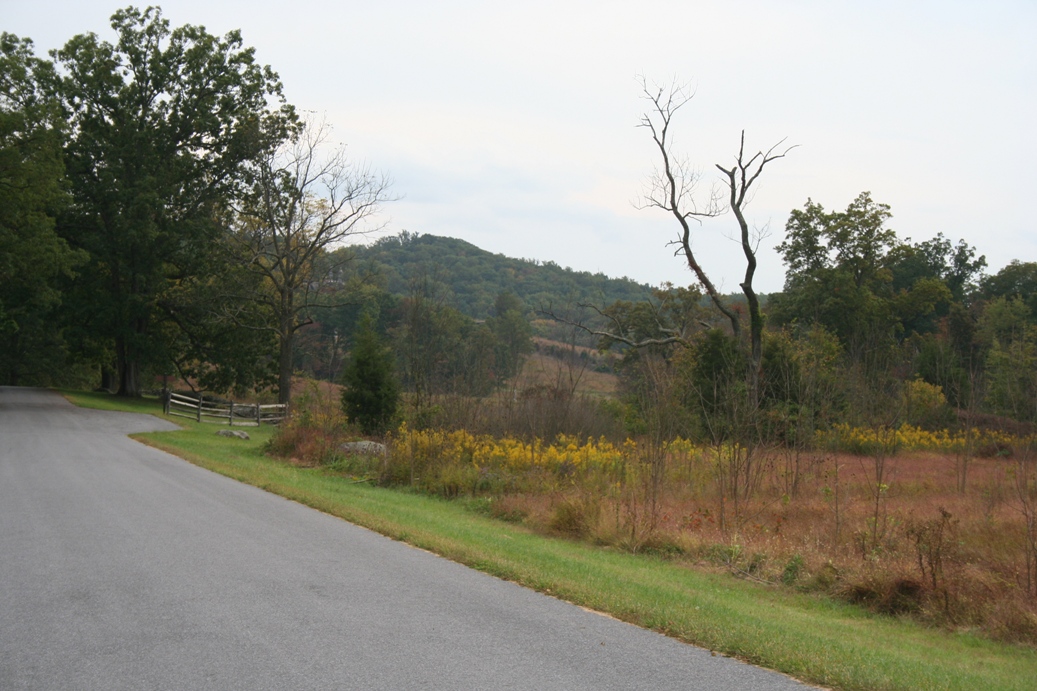
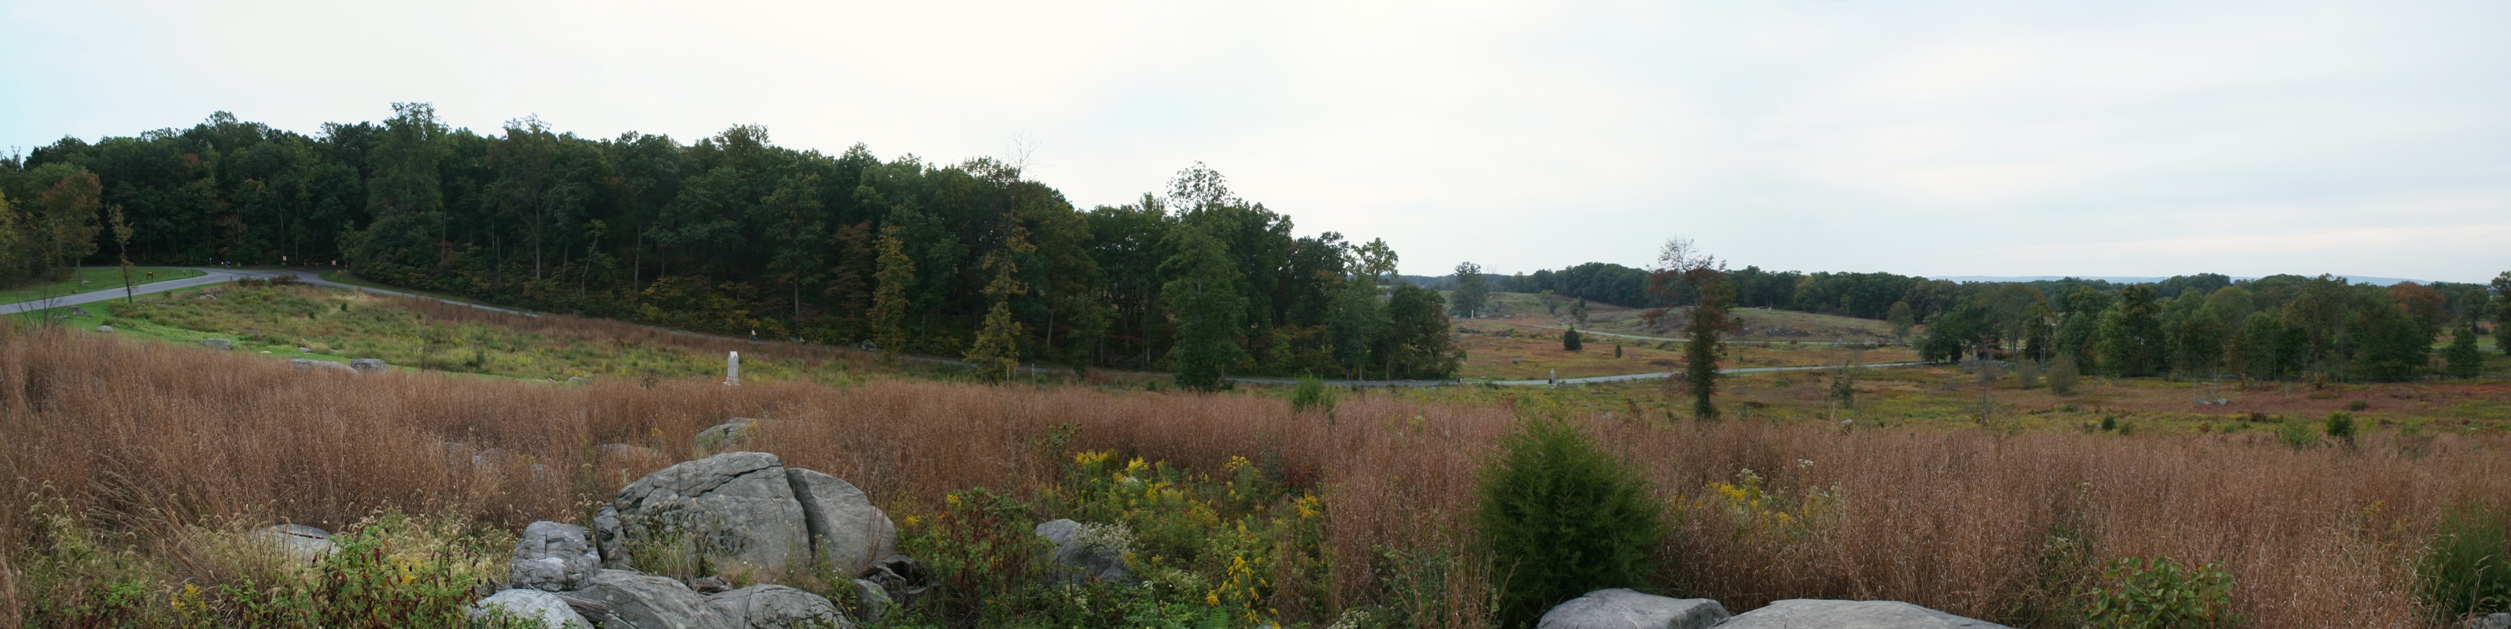
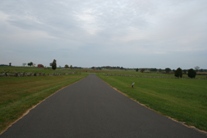
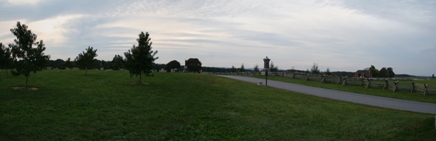
This
area of the battlefield, at the northern base of
Little Roundtop, can seem a bit confusing.
When I first came here, most of this area was
heavily wooded. Now that much of the
battlefield has been restored to its original
condition, you can get a better feel for the flow of
battle through this area. The troops in this
area were mostly artillery support and hastily
assembled troops used to reinforce the line.
About a quarter of a mile north of this position is
where General Sickles and his troops were supposed
to be, but he left it unoccupied when he ordered his
troops to the Peach Orchard.
|
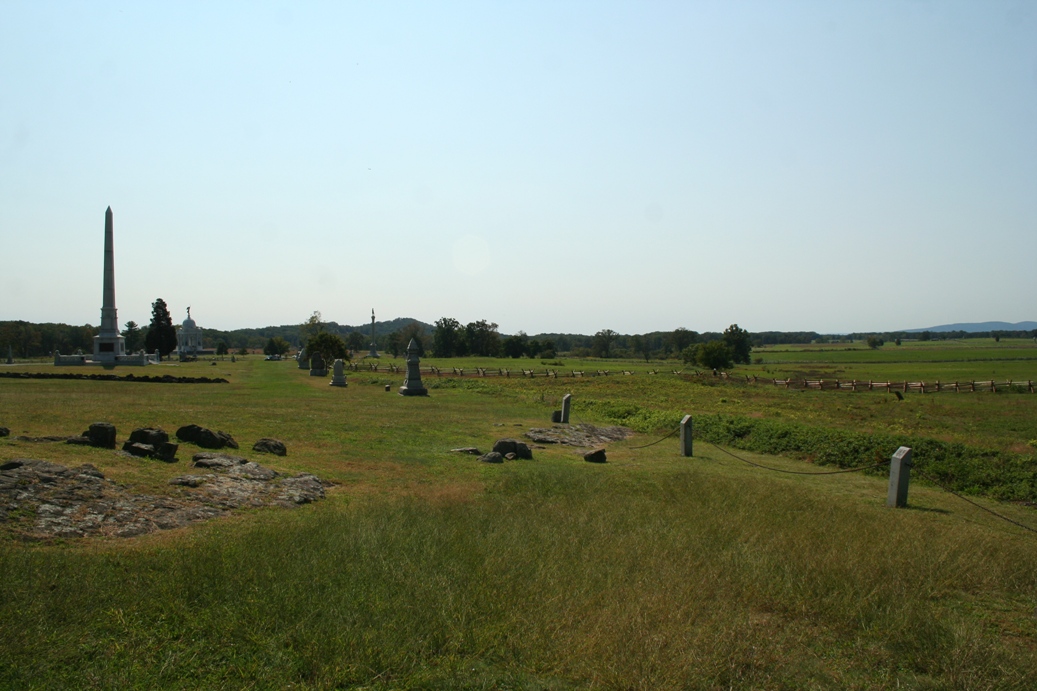
High Water Mark/Picket's Charge
|
|

|
|
|
|
|
|
|
|
|
|

|
|
|
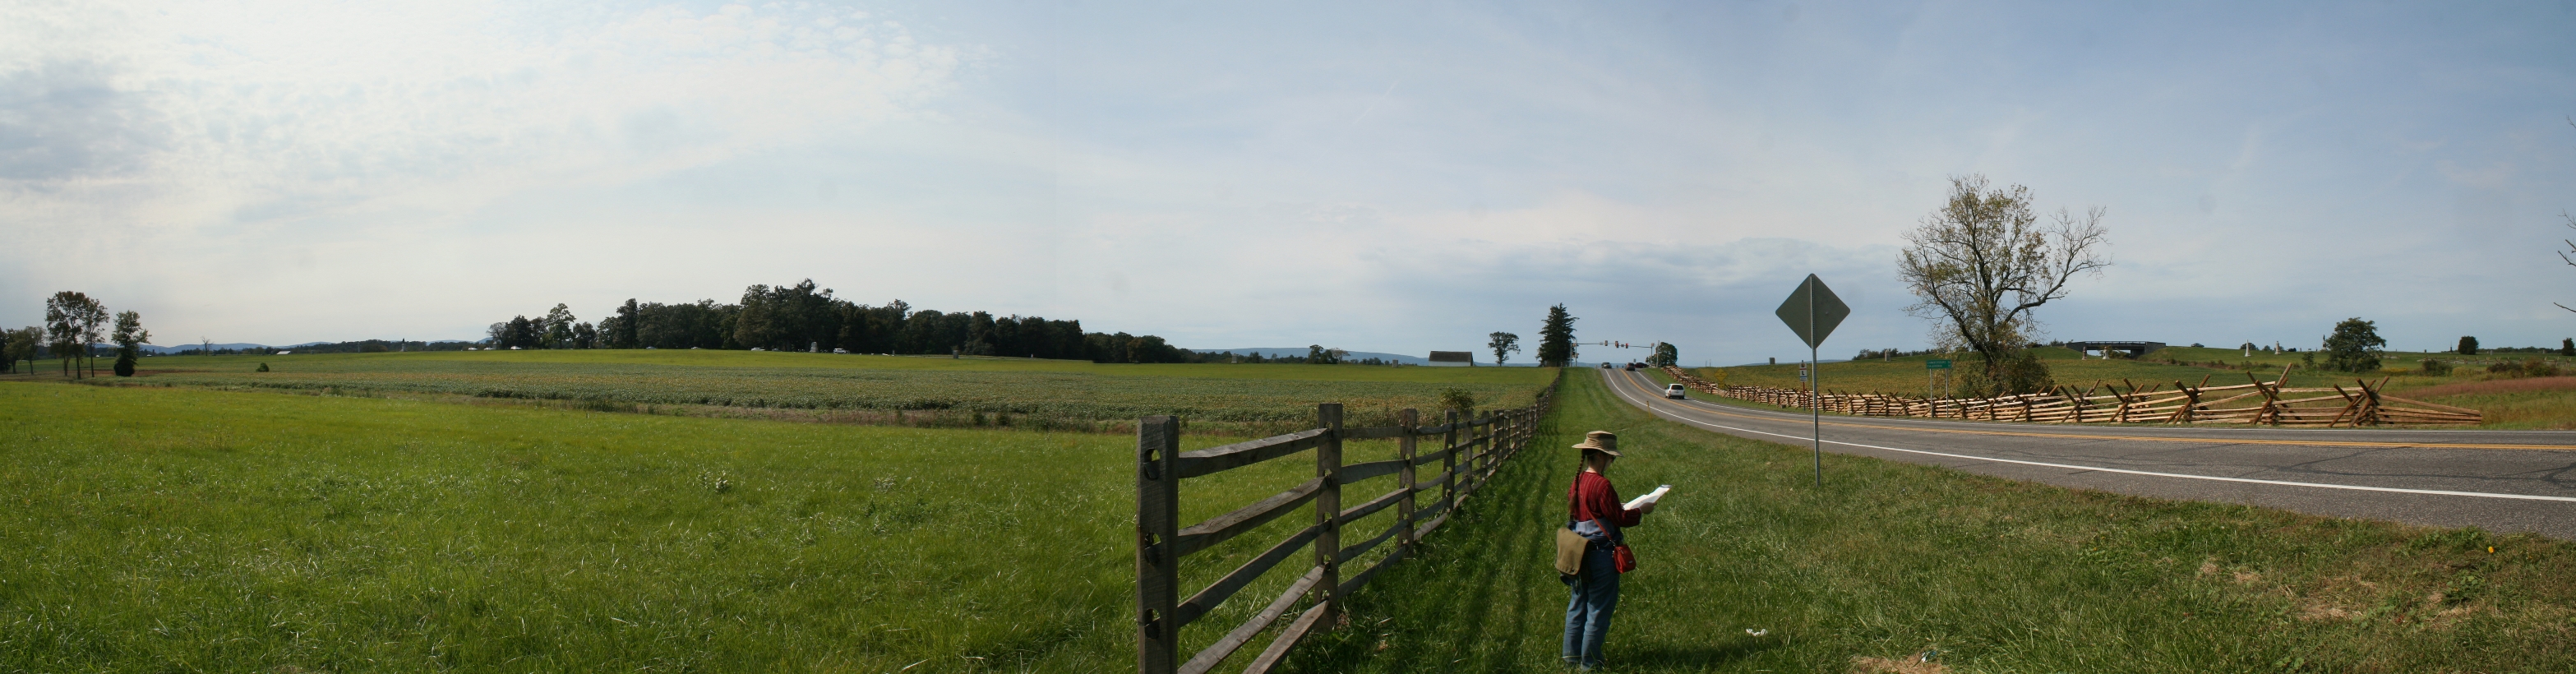
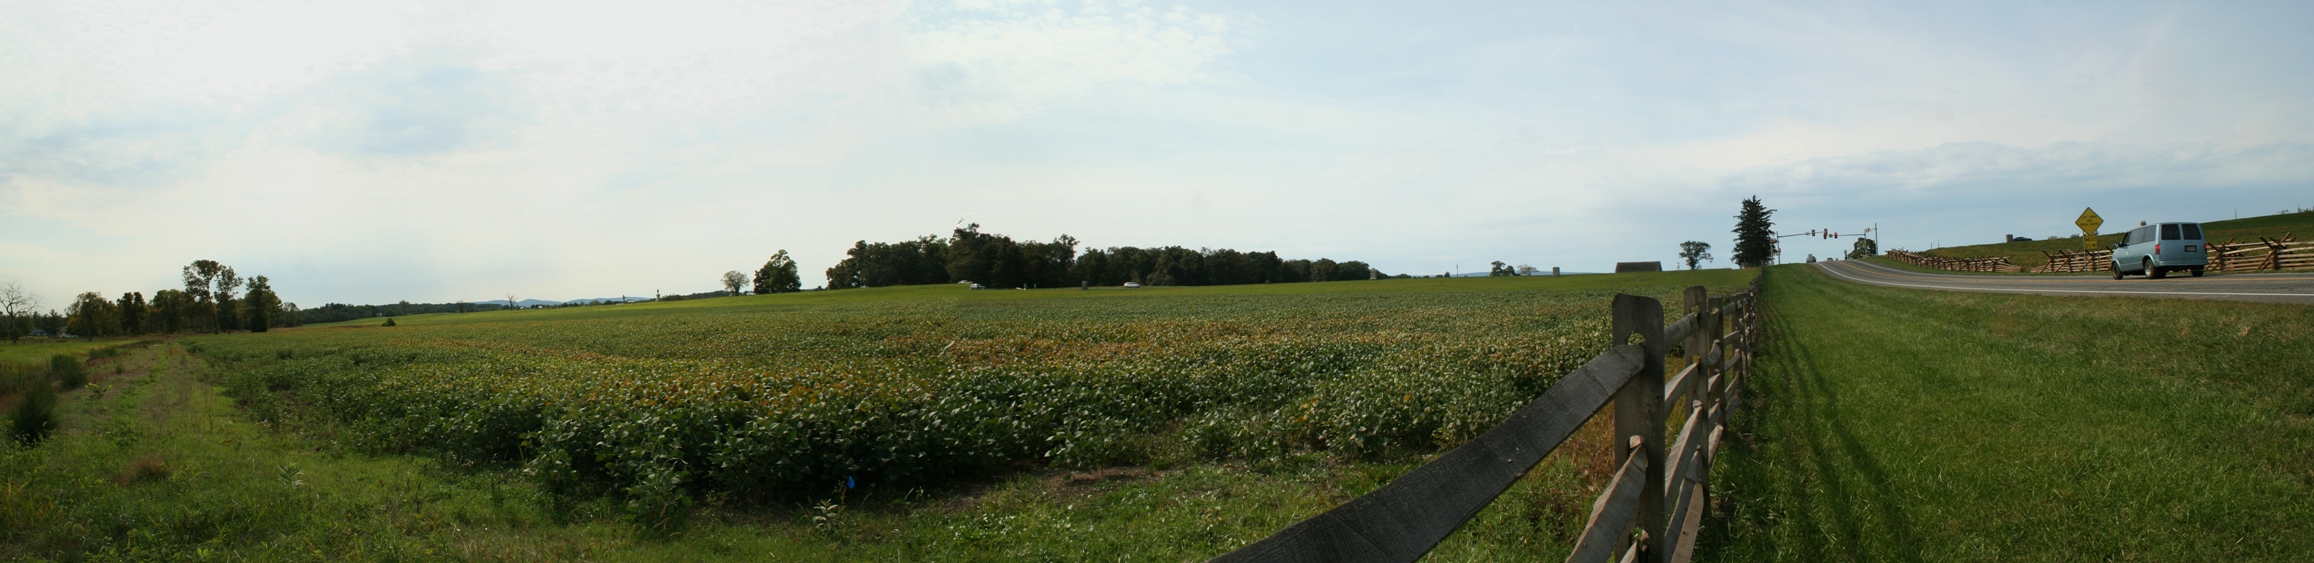
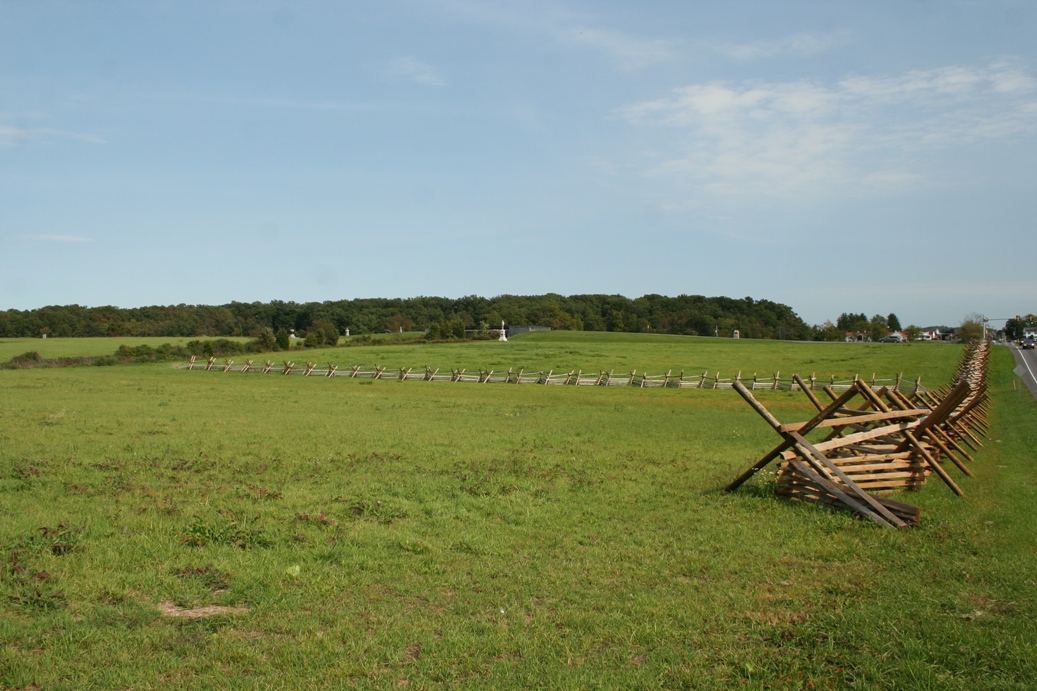
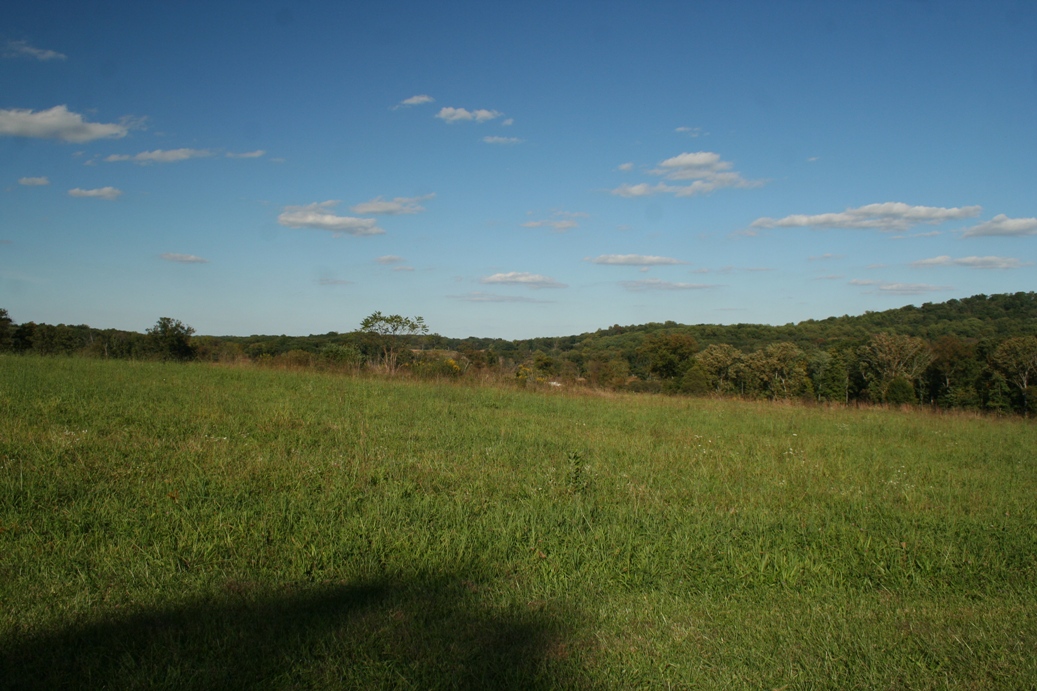
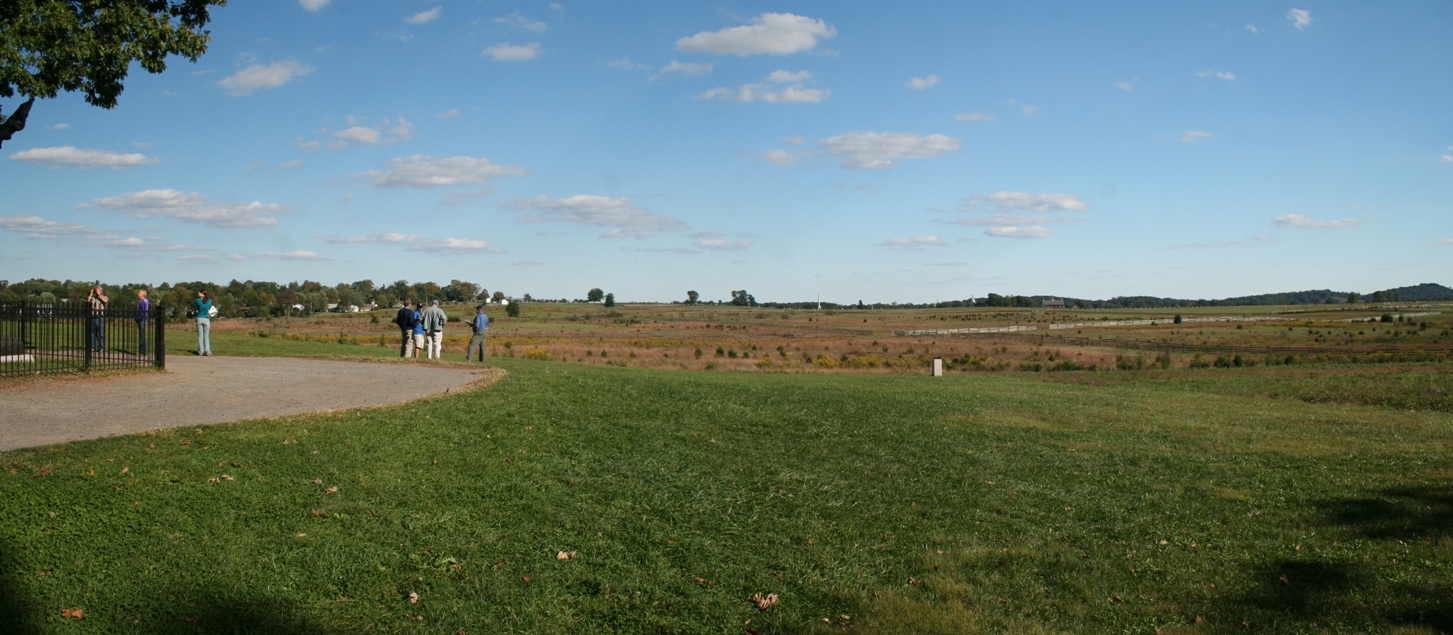
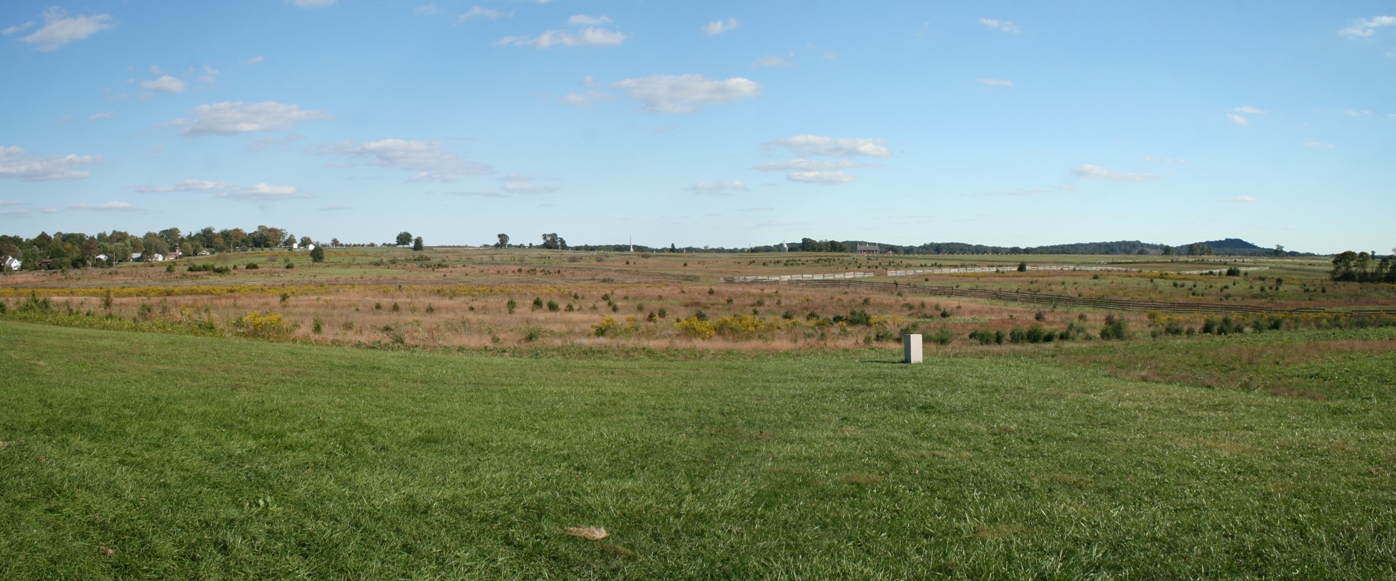
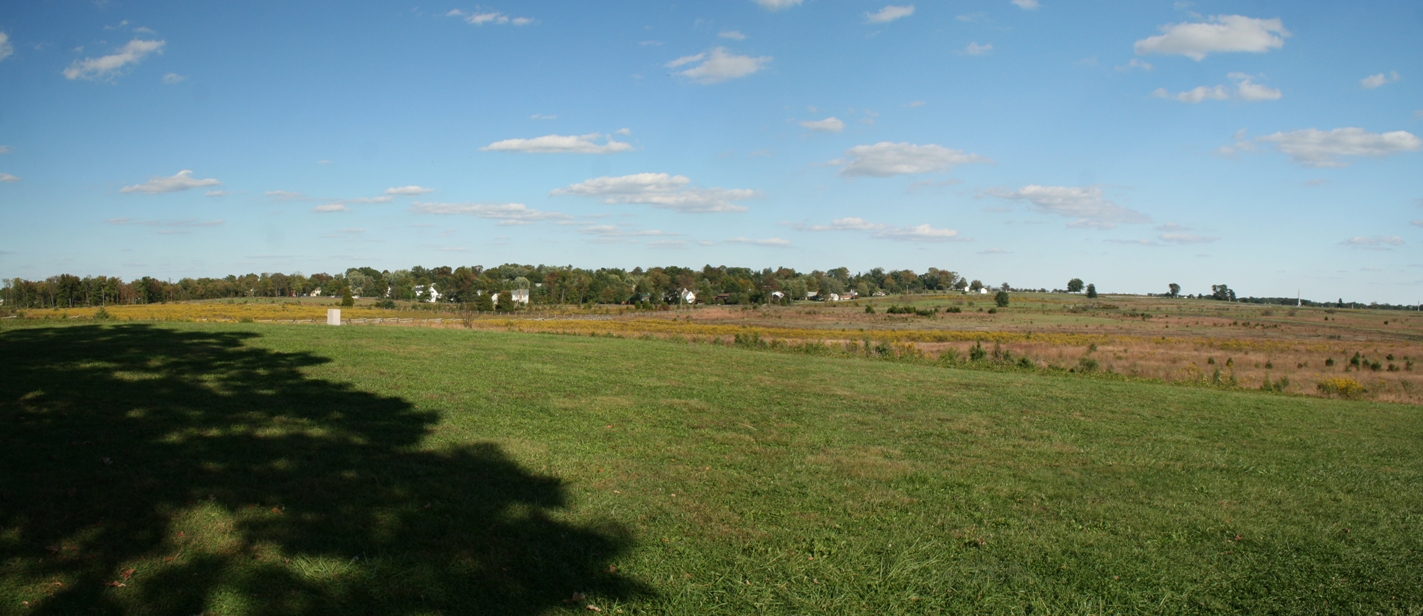
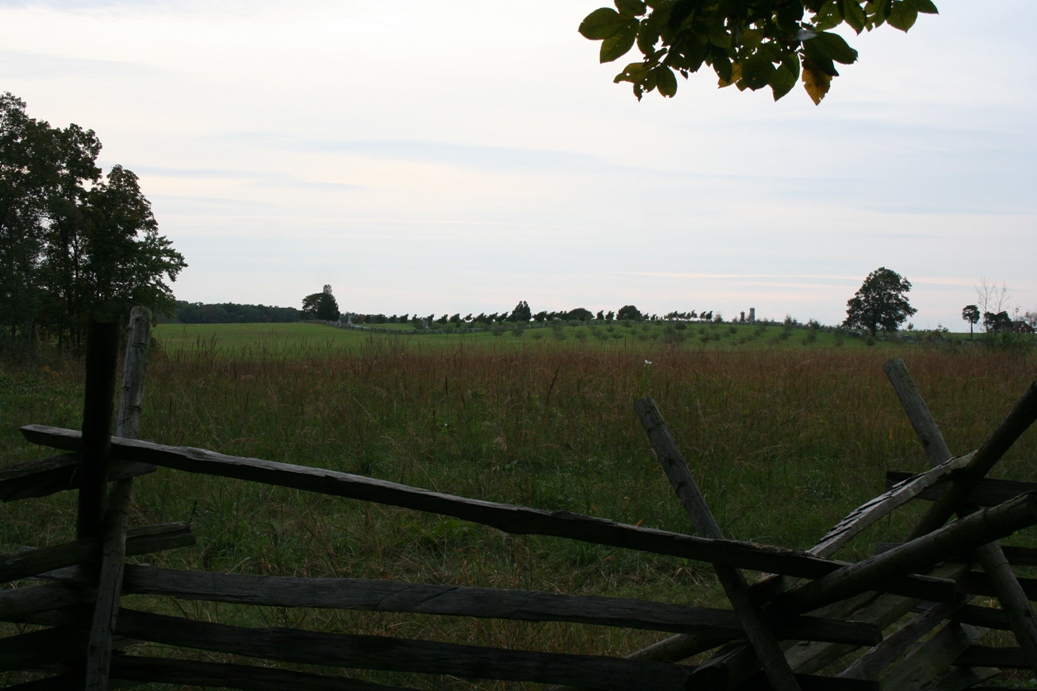
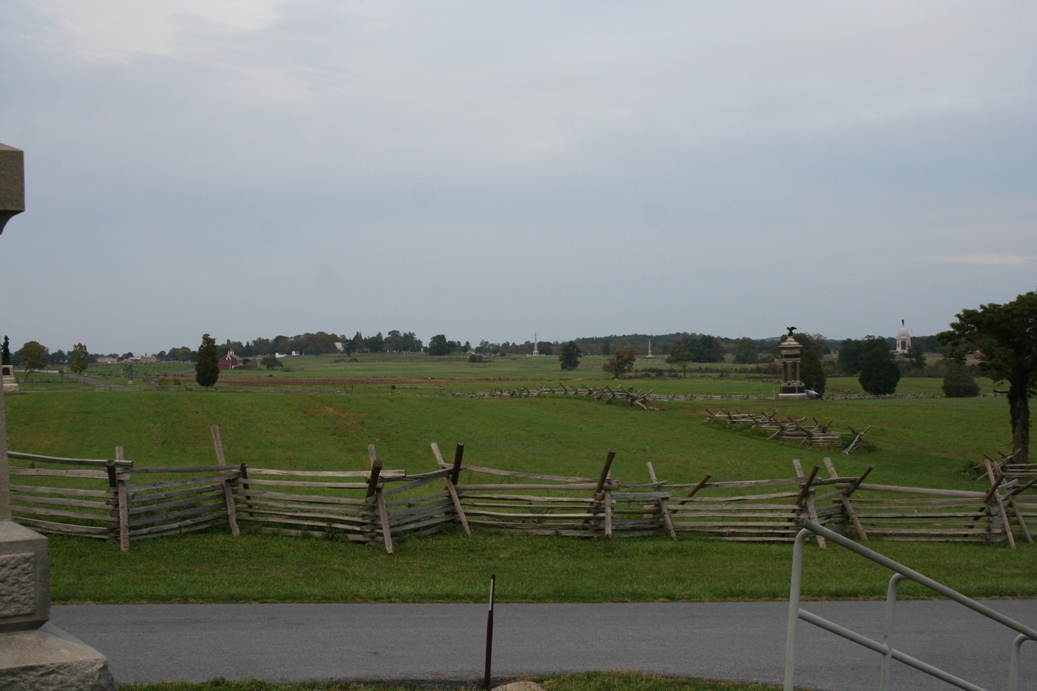
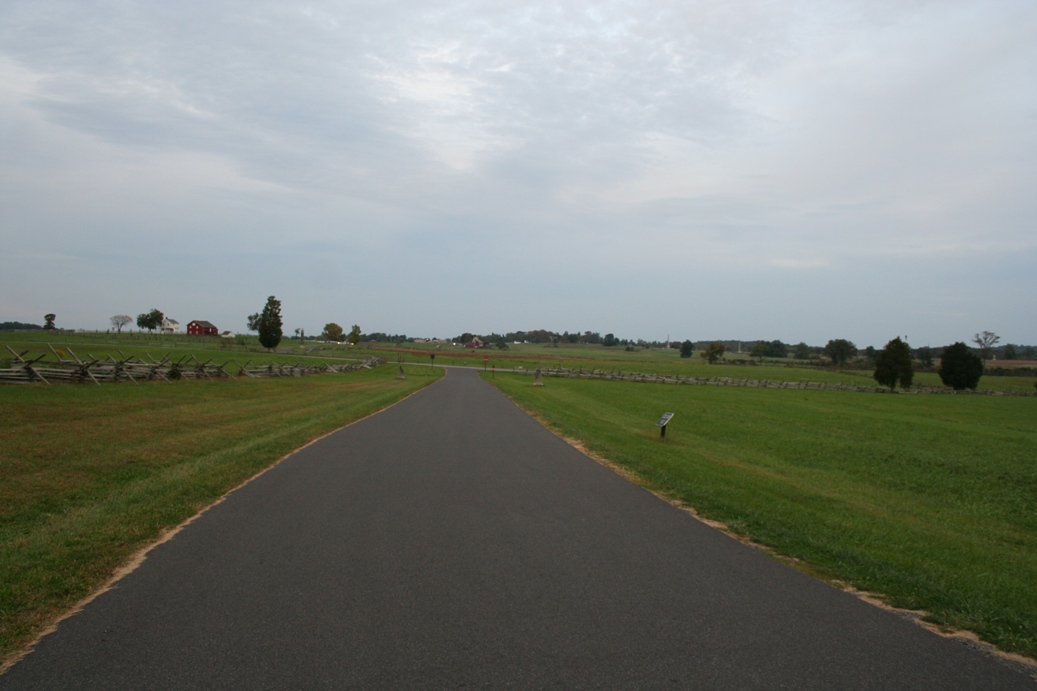
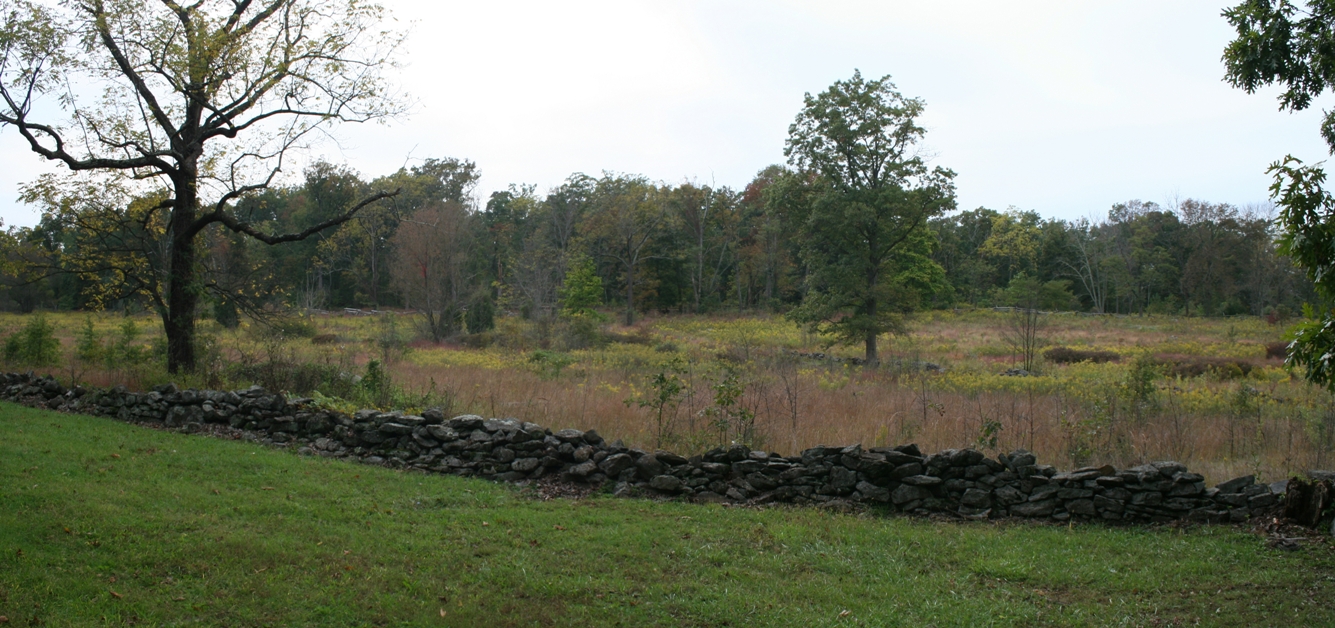
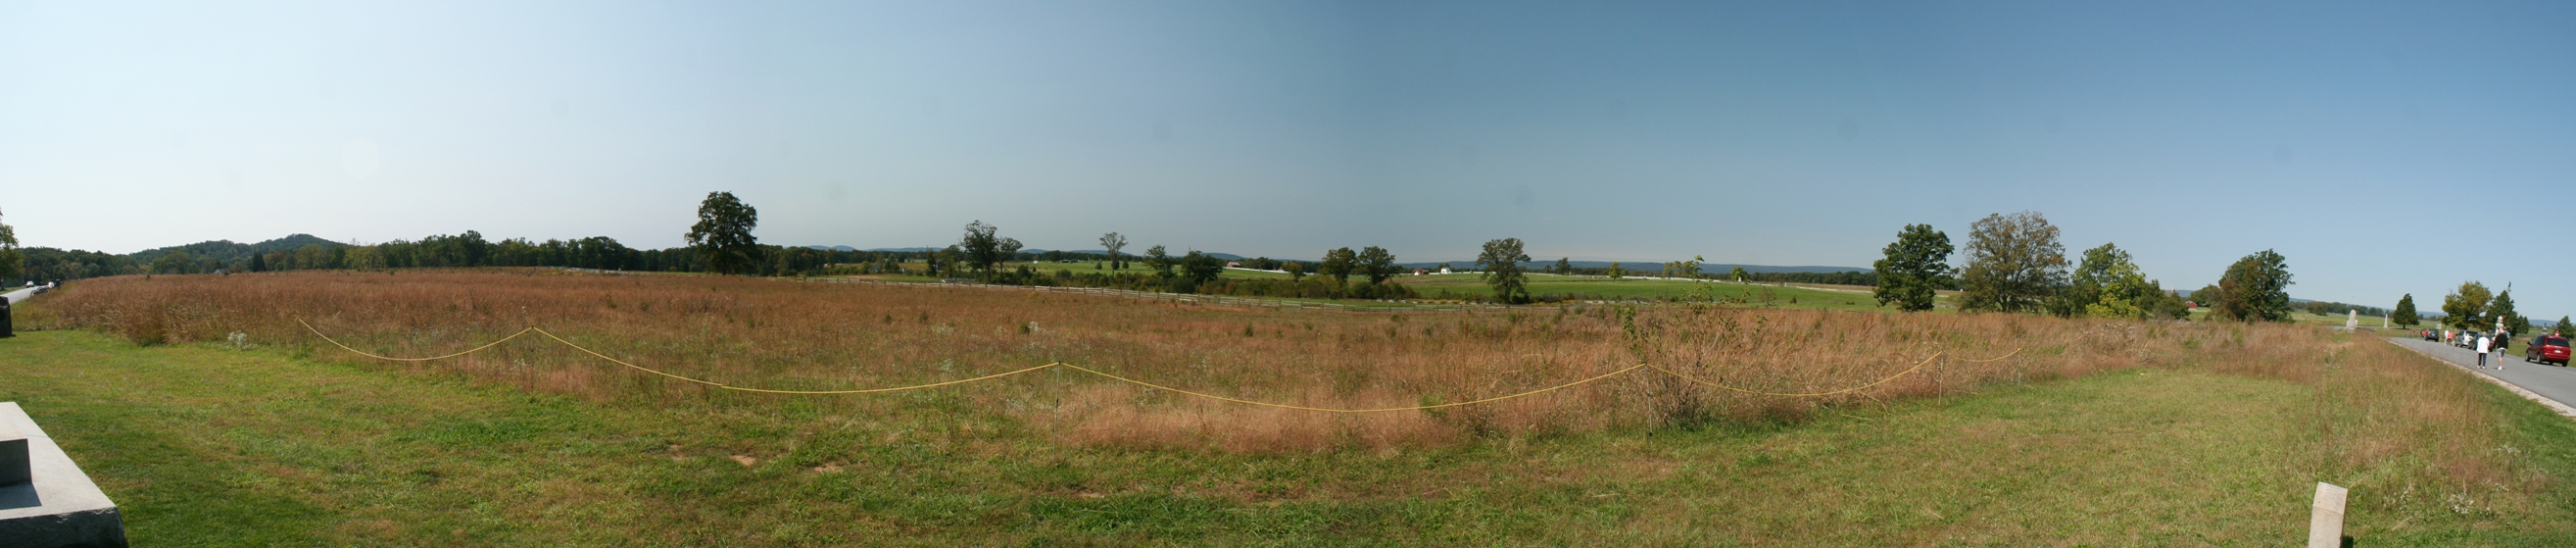
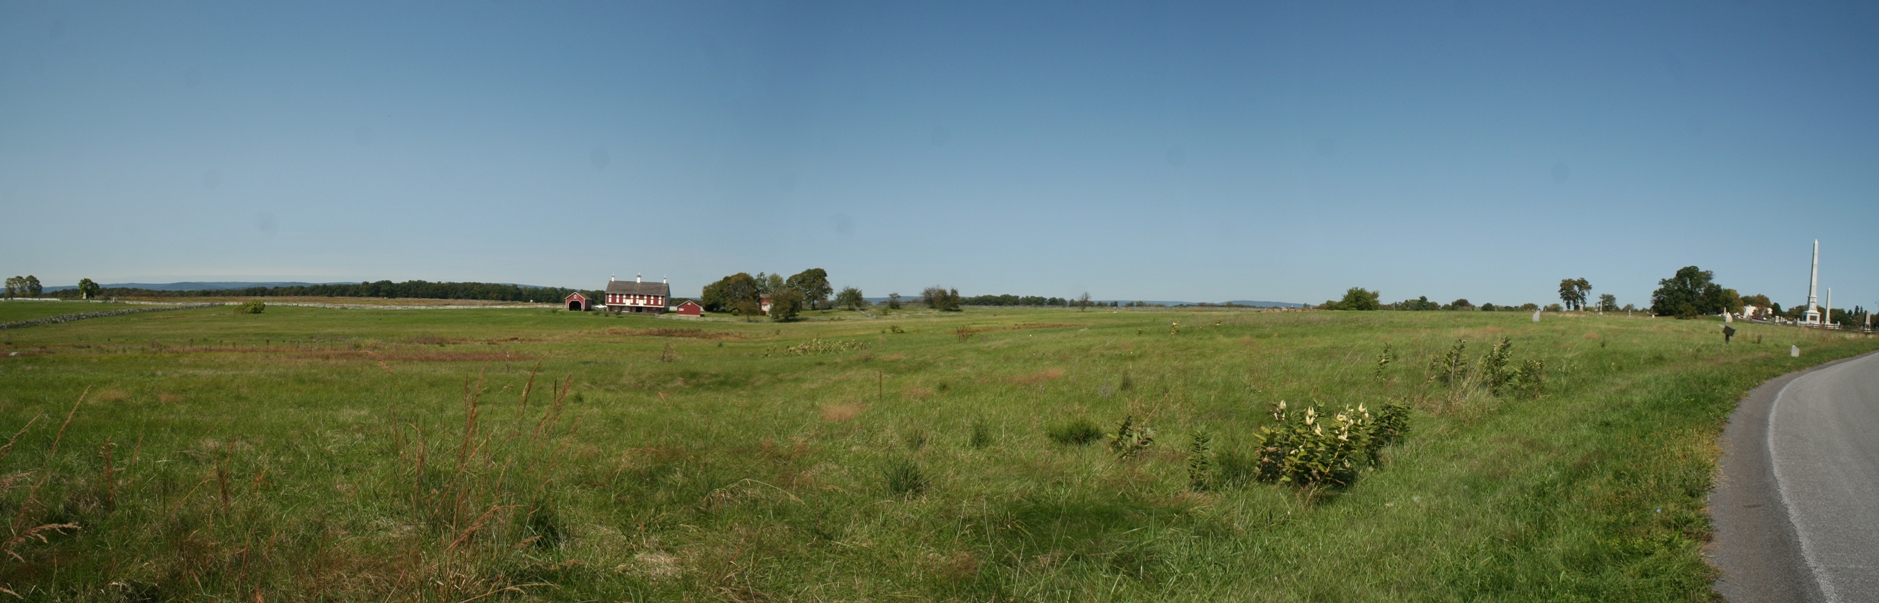
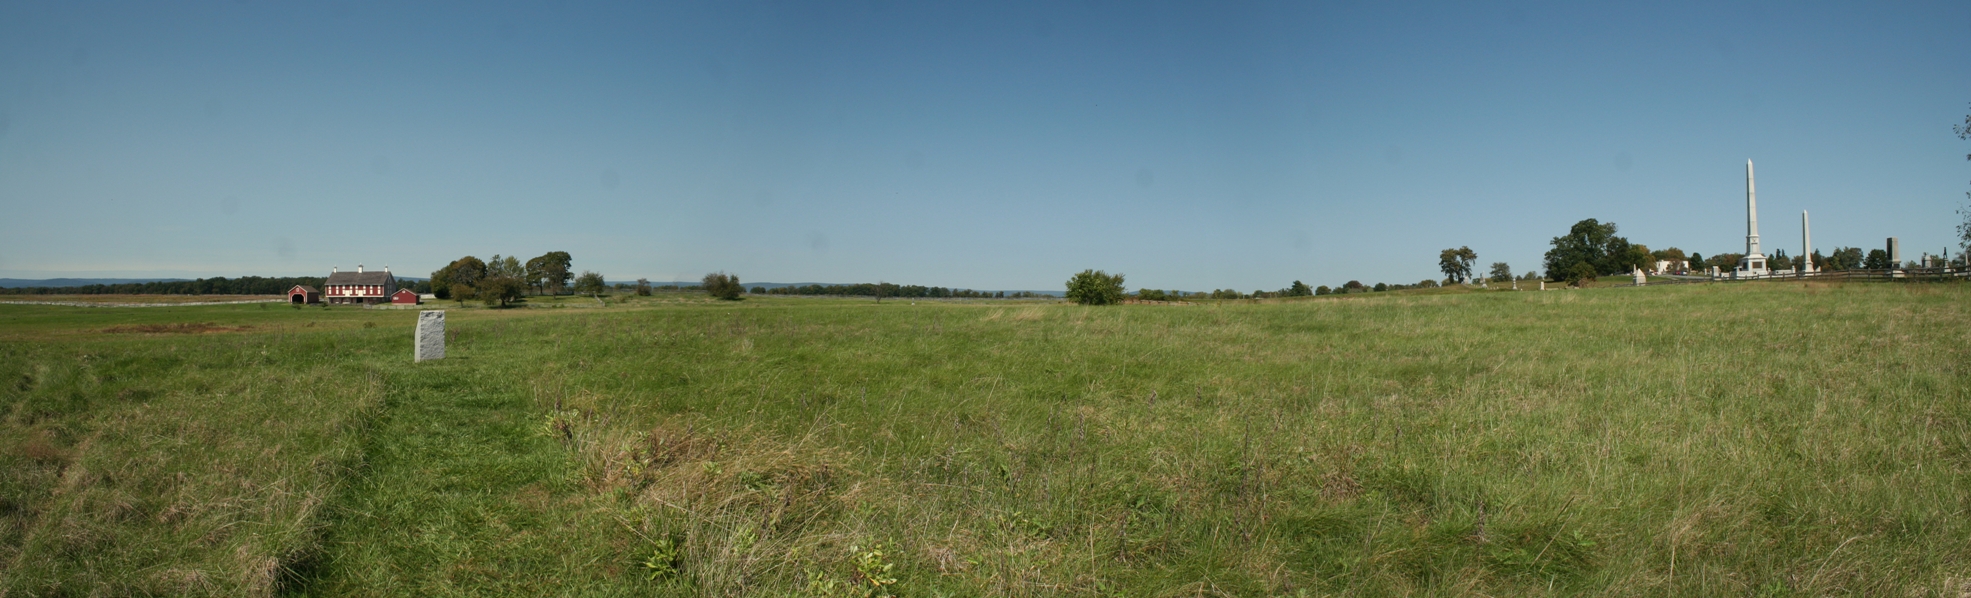
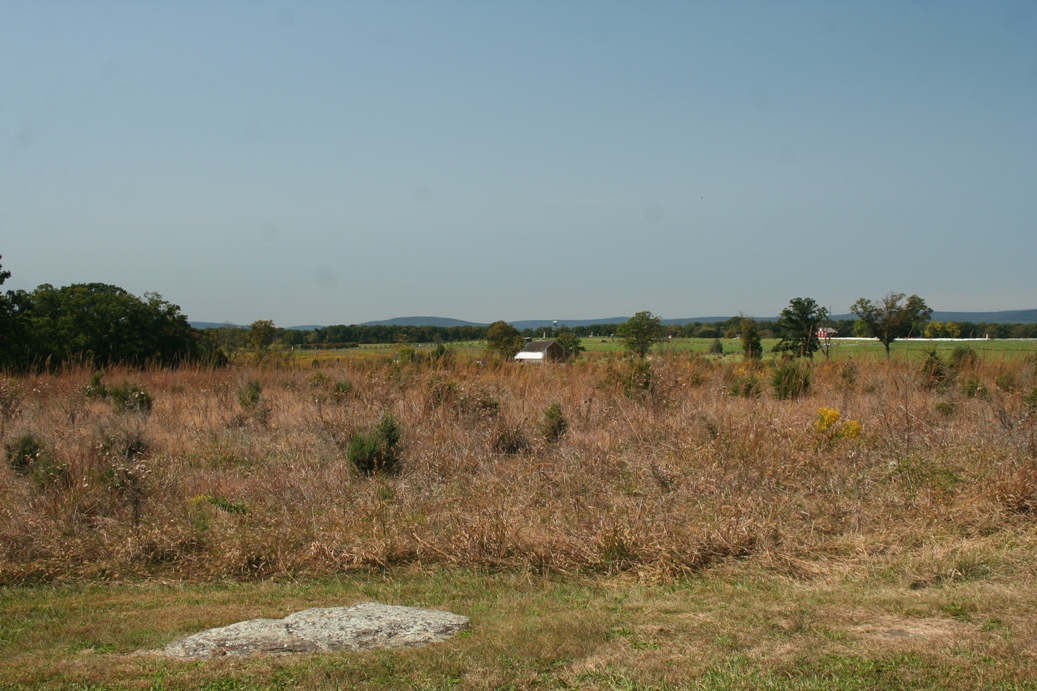
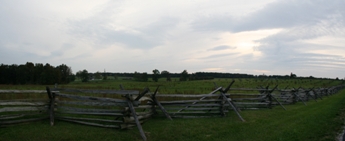
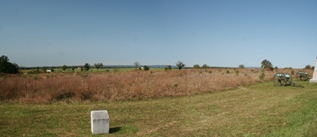
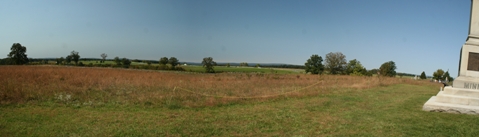
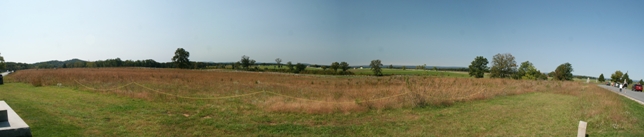
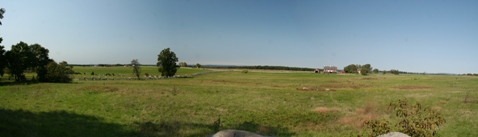
This
area is known as the High Water Mark of the
Confederacy. On the third and final day of
battle, General Lee ordered a charge against this
position with anywhere between 12,000 and 15,000
troops. He believed this to be the weakest
part of the Union lines since the Union forces had
been divided to protect the right and left flanks.
What he did not realize is how easy it was to move
troops back into the area at a moments notice.
Not too mention that his own troops would have to
march exposed over a mile from their lines on
Seminary Ridge, through the fields and over the
fence railing, all the while suffering long range
artillery attacks and eventually short range fire
from rifles and canon. While Confederate
troops did manage to break through briefly at the
Bloody Angle (the location shown in the picture in
the fifth row second picture) there just was not
enough of them to push through and hold the
position.
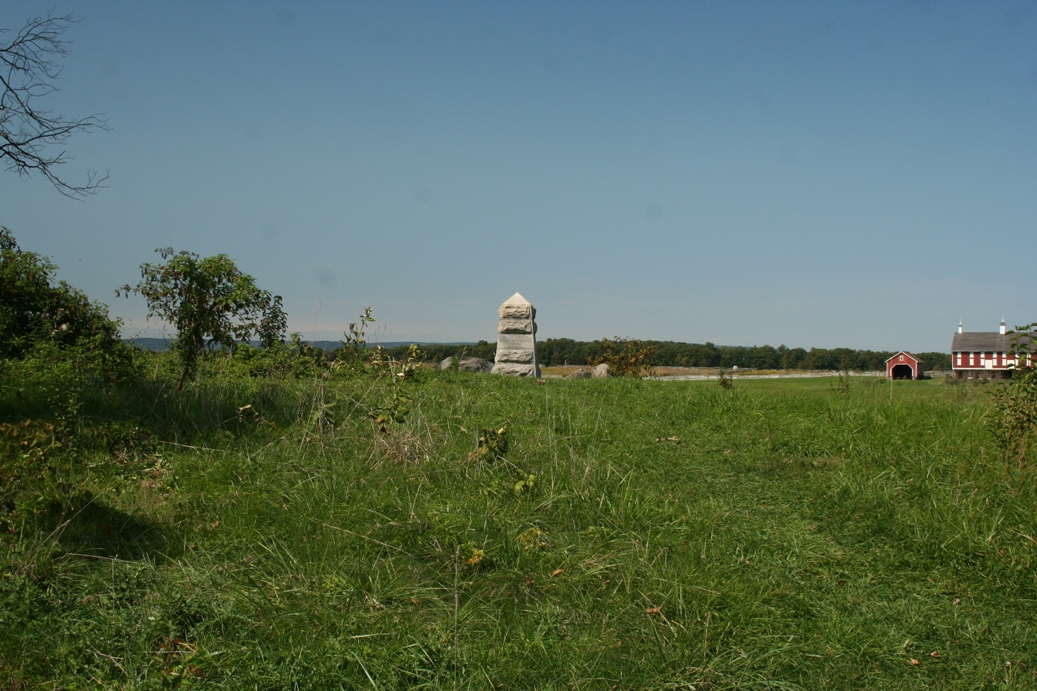
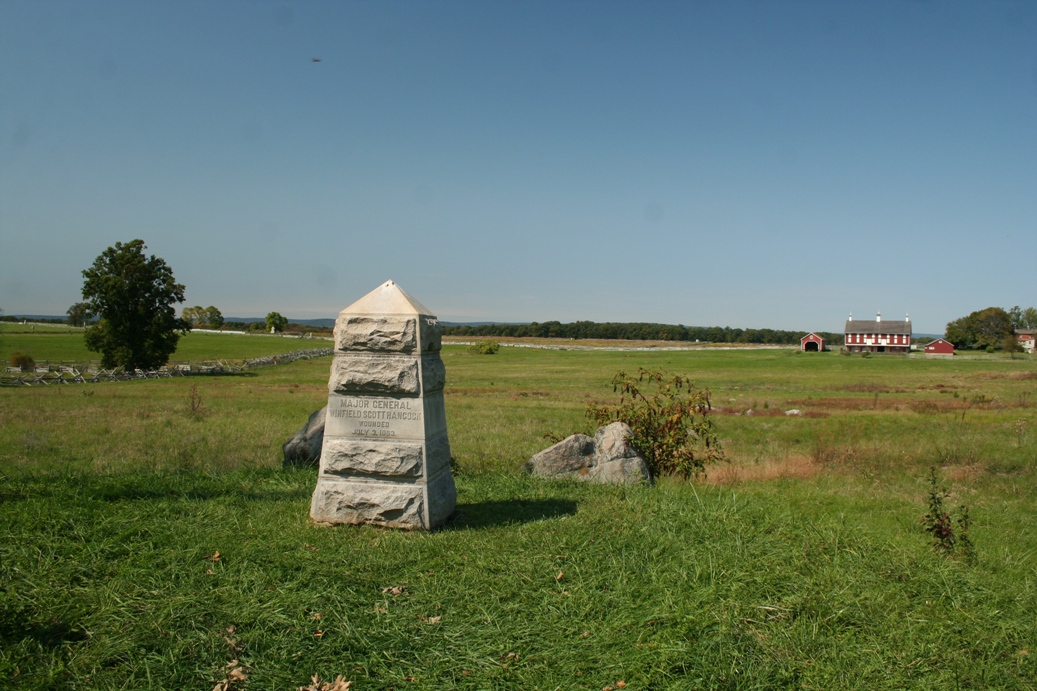
One
other thing I would like to point out is in the
fourth picture in the third row. The monument
in the distance identifies the point where General
Hancock of the Union army was wounded during the
battle.
|
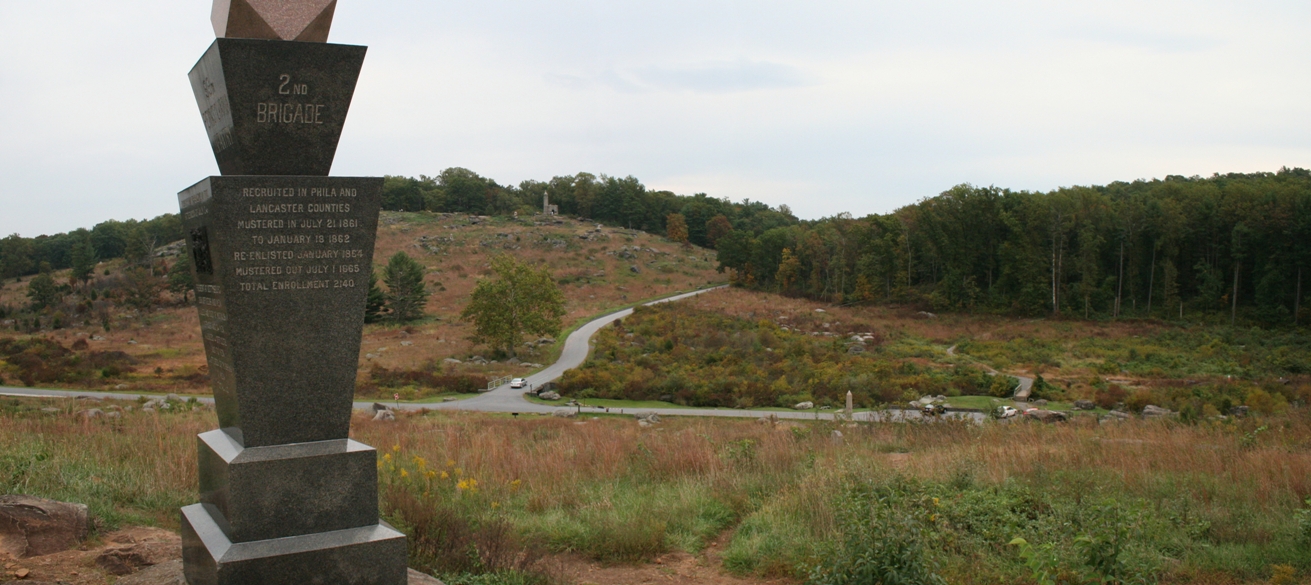
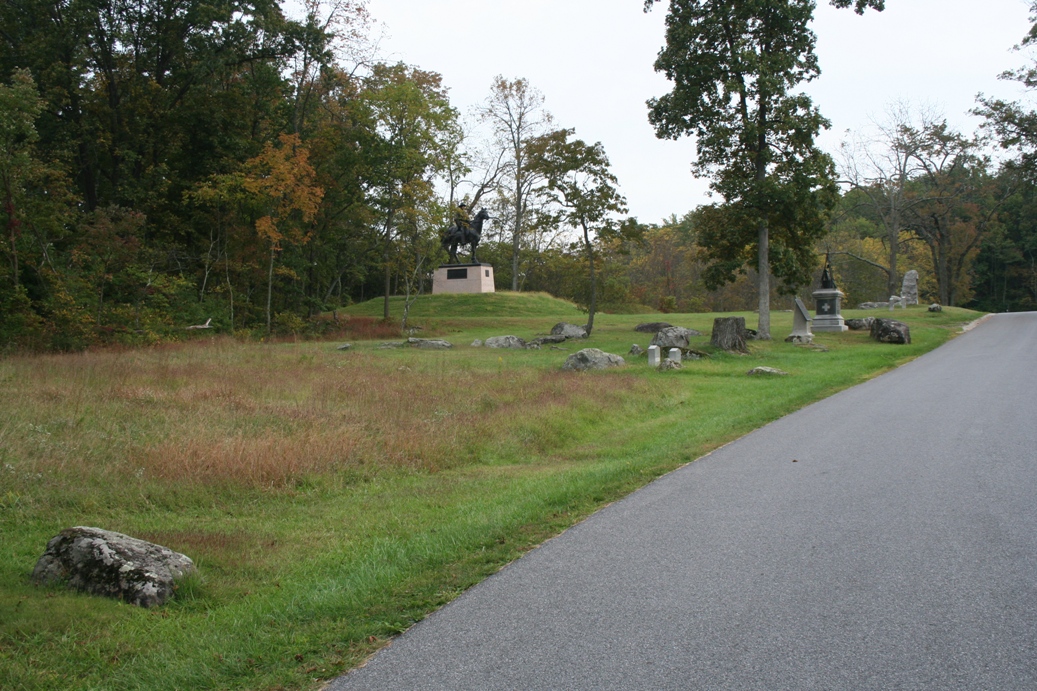
Monuments and Memorials

|
|
|
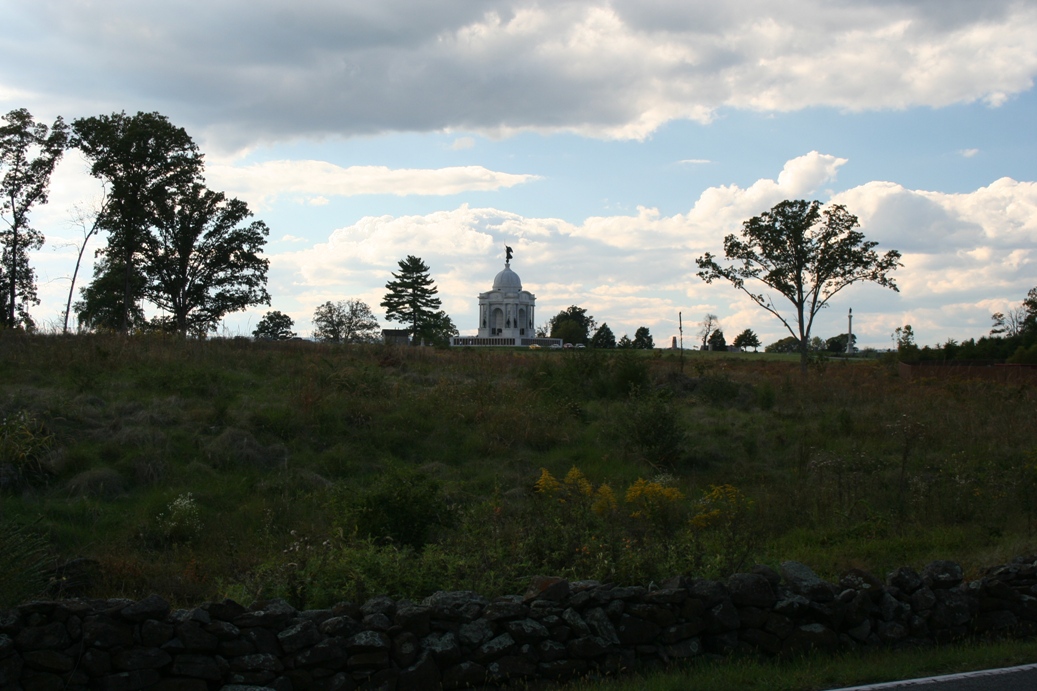
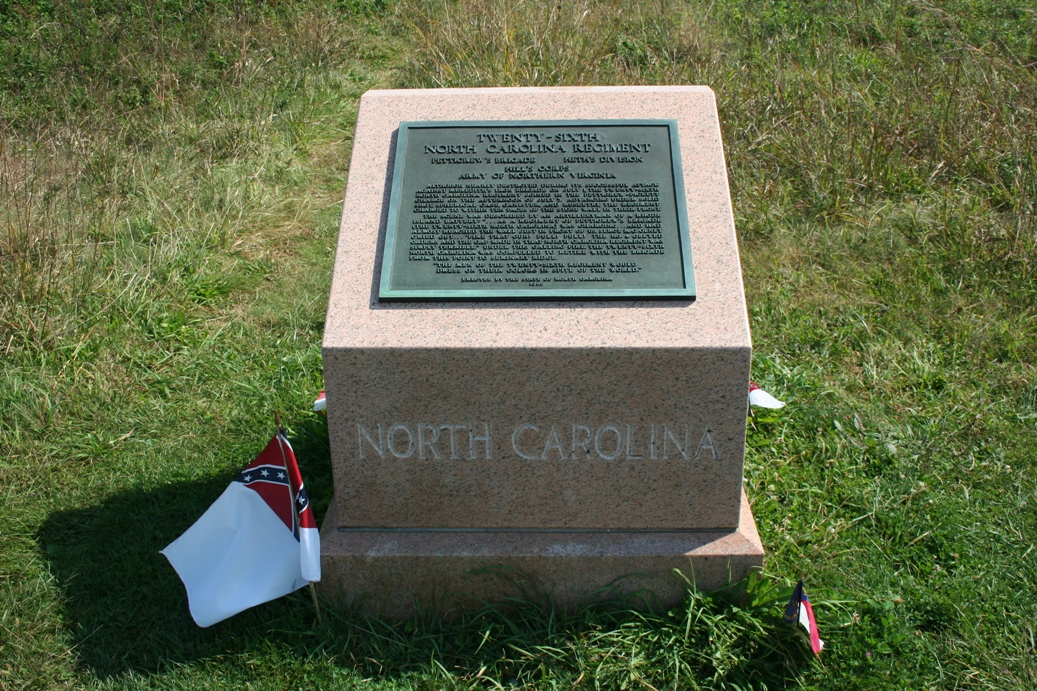
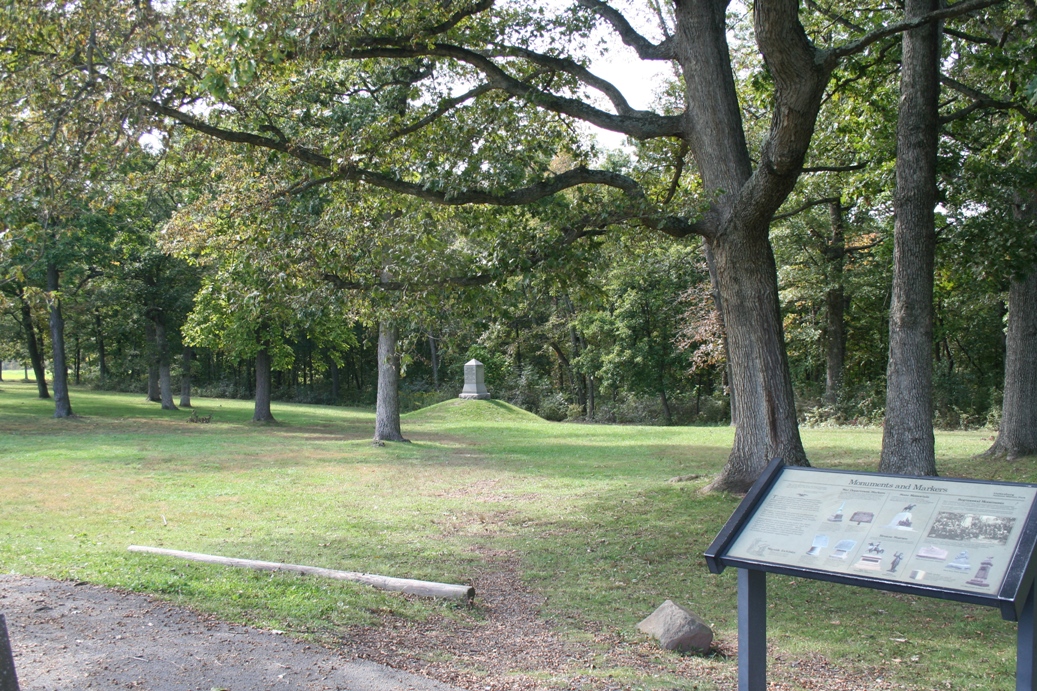
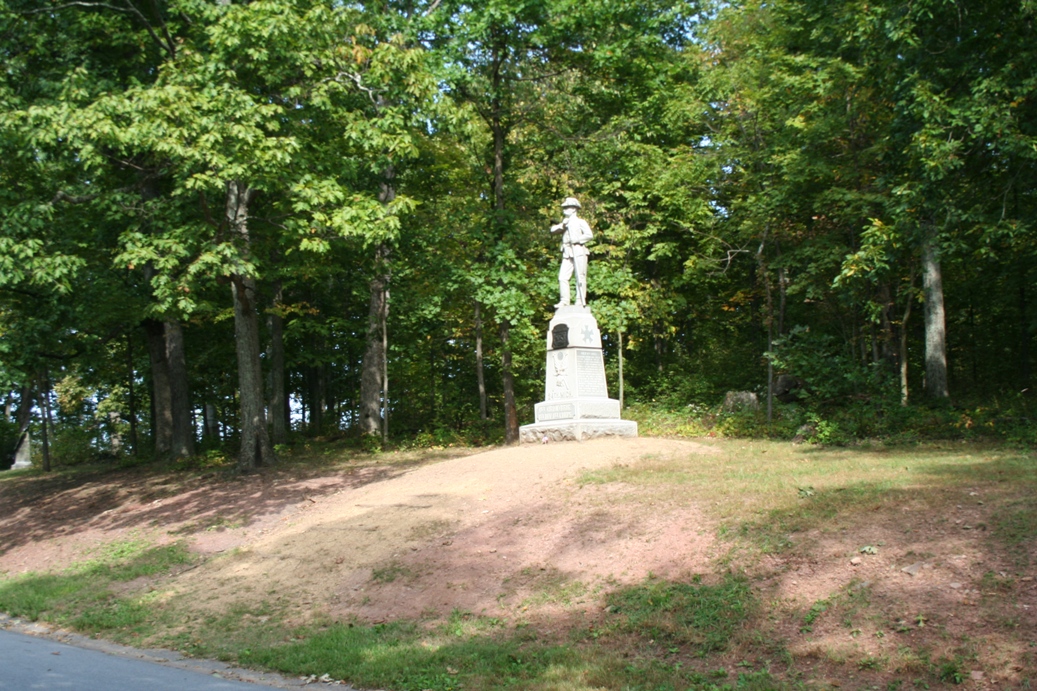
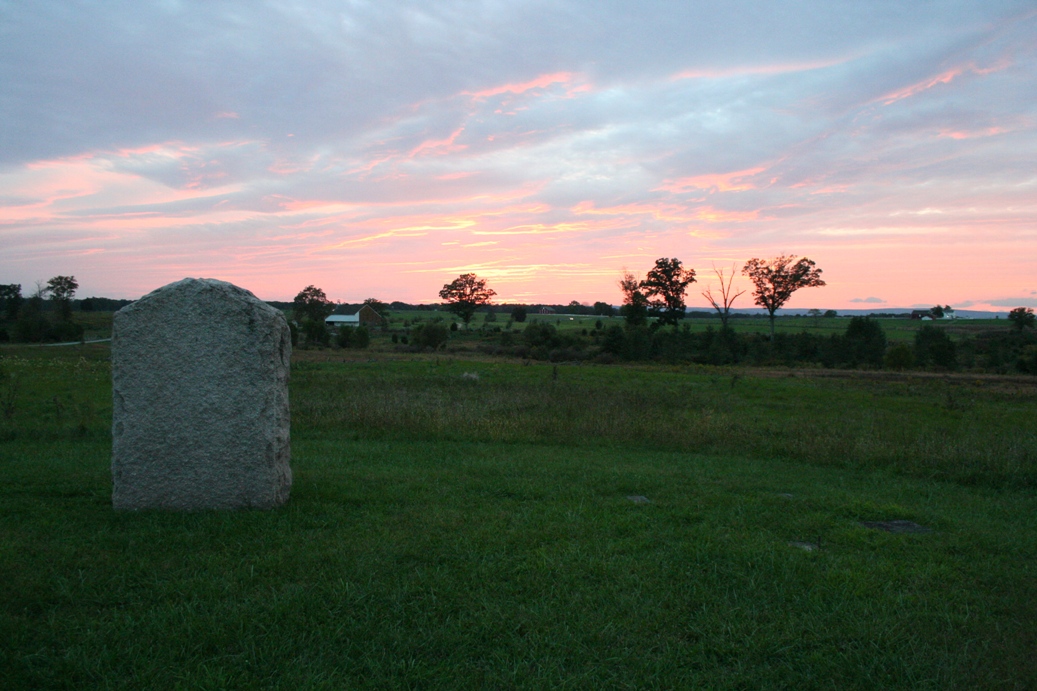
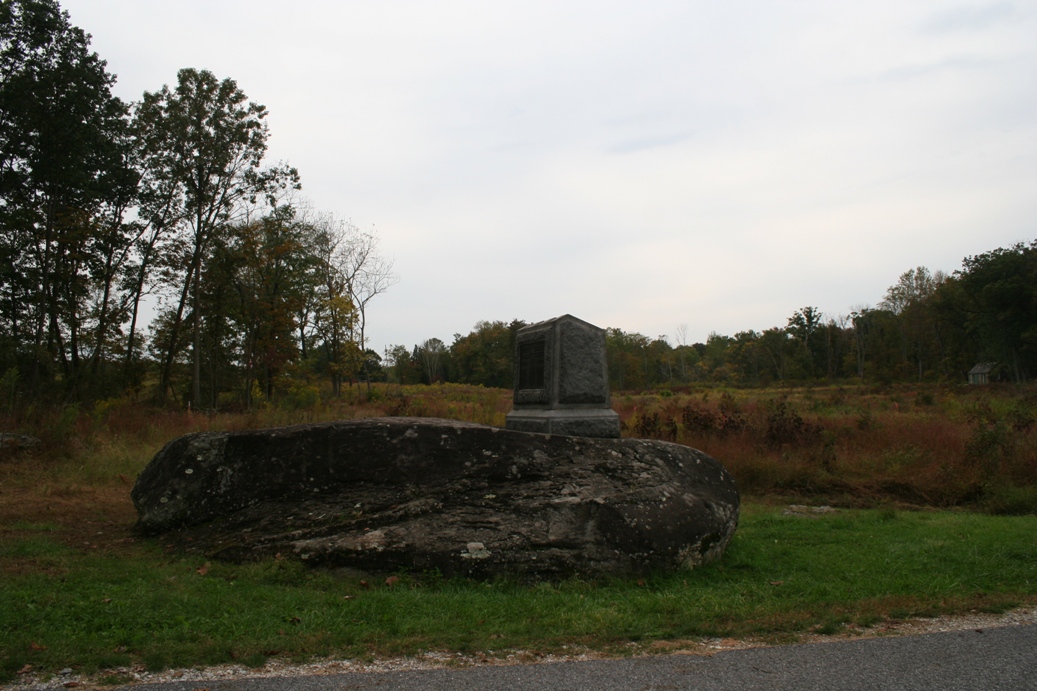
There are many monuments and memorials on the
battlefield, each telling stories of the men who
fought on this field. This is just a small
sample of what the battlefield has to offer. A
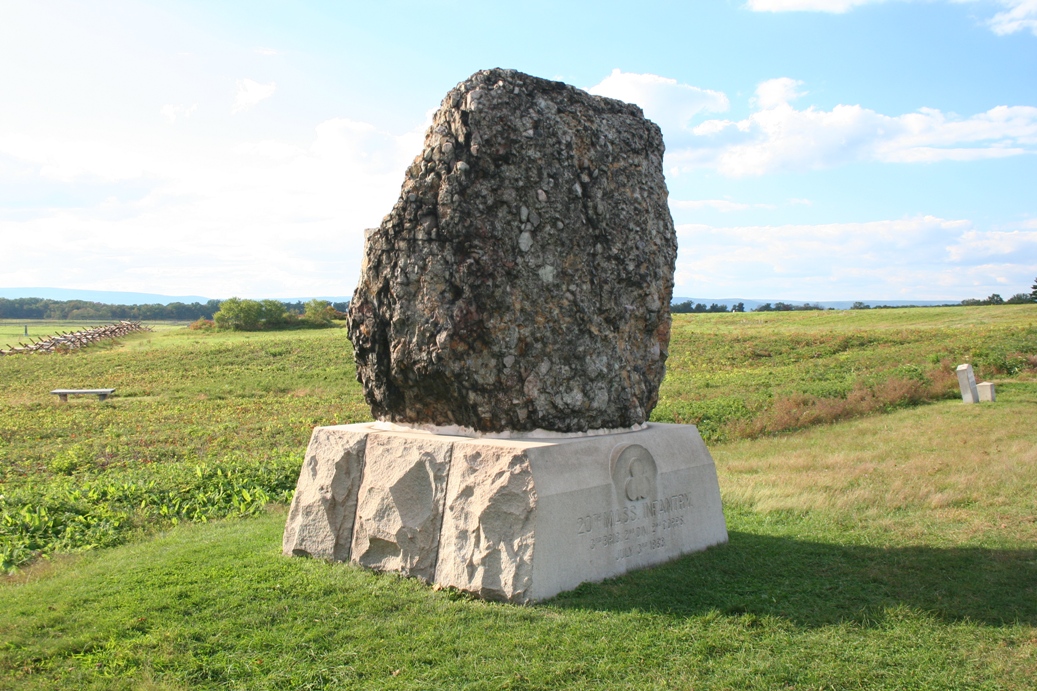
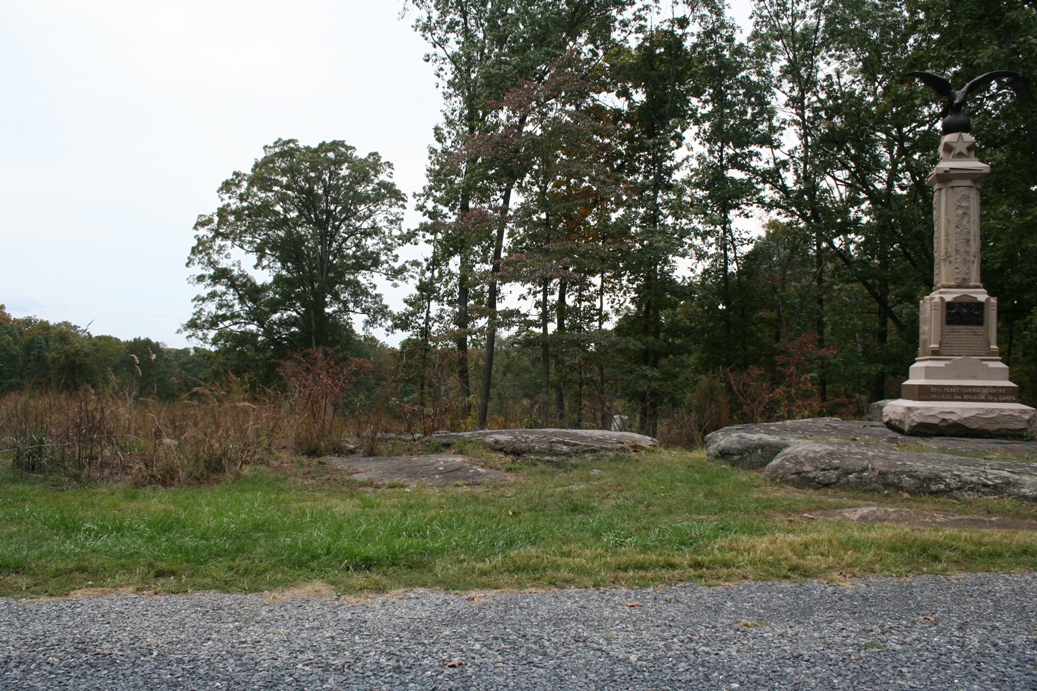
quick run down of the monuments in these pictures.
The one in the first two photos is of the
Pennsylvania Memorial. It is the largest on
the battlefield and has the names of all those from
Pennsylvania who served. The third one is for
the 20th Massachusetts Infantry. The last one
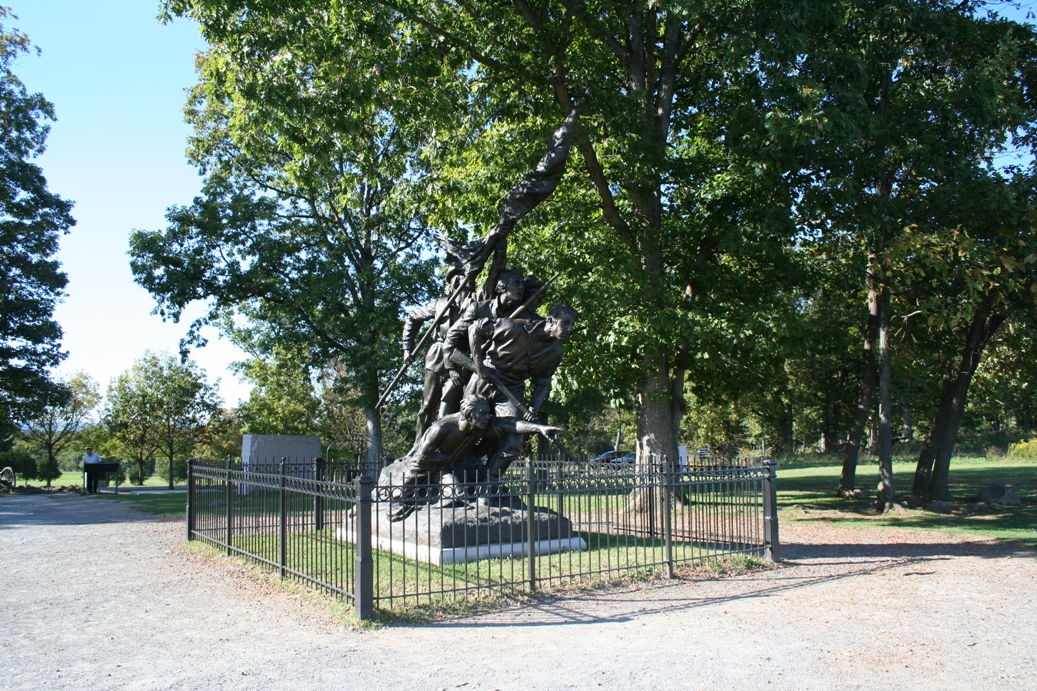
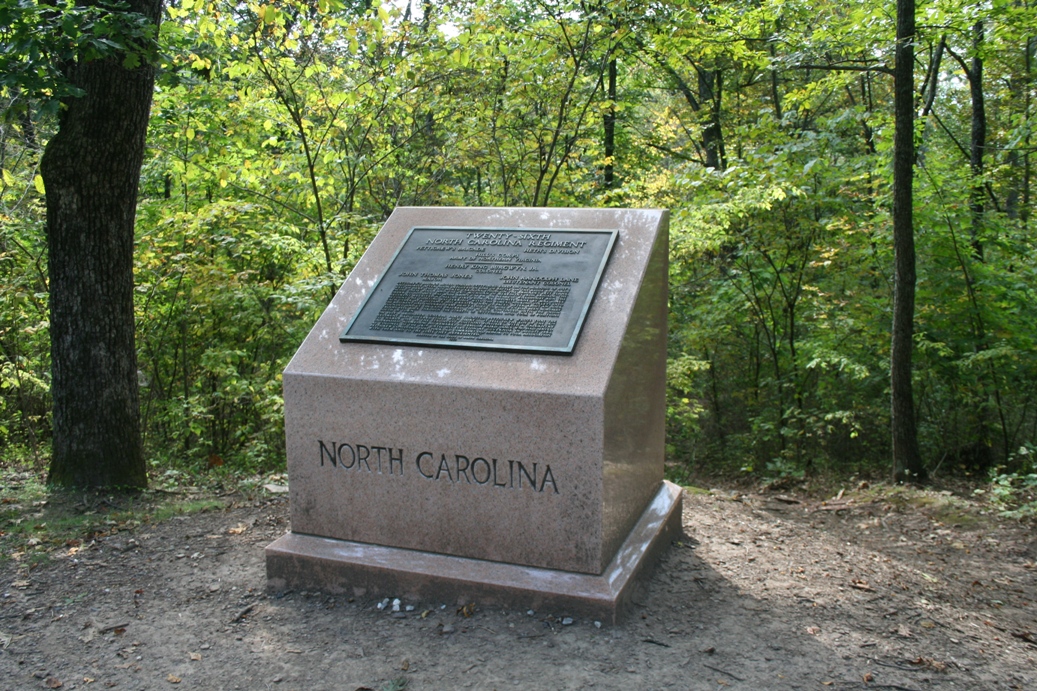
in the first row is the North Carolina and
commemorates the thirty-two regiments in action from that
state. The first two pictures in the second
row are of the monument where General Hancock was
wounded on the third day of battle. The next
two in this row are for North Carolina and indicates
the extent of their advancement during Picket's
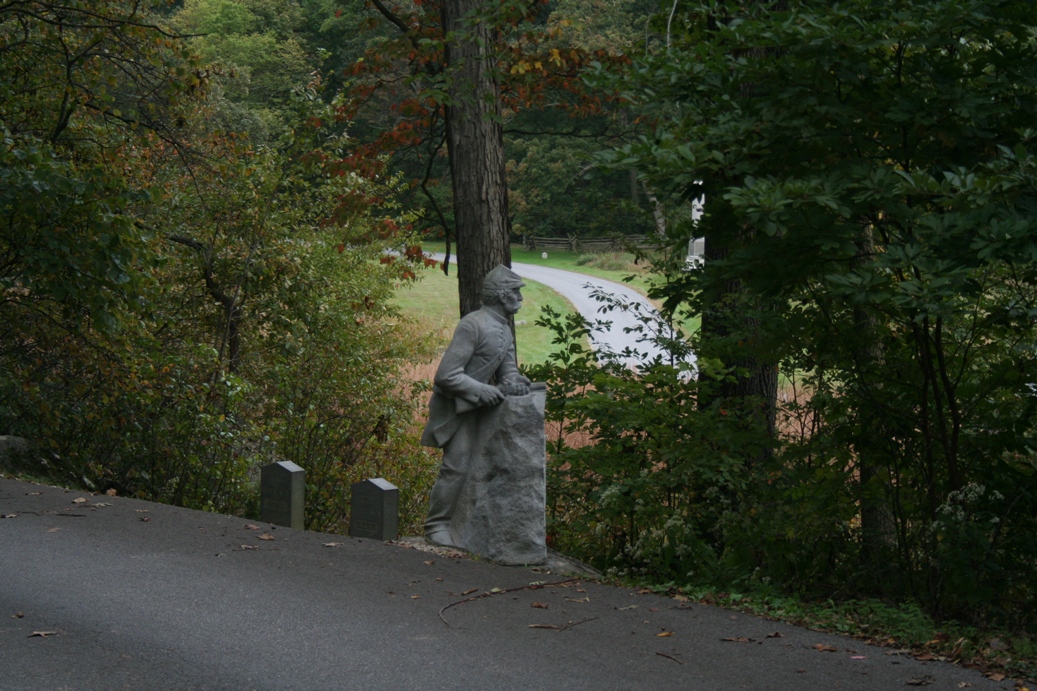
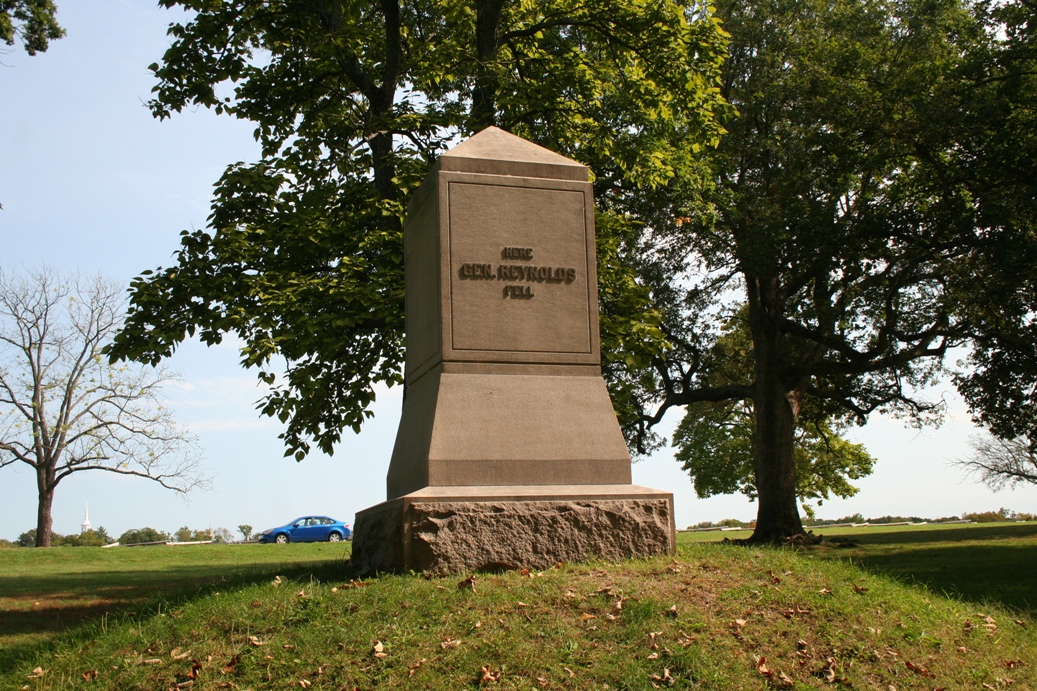
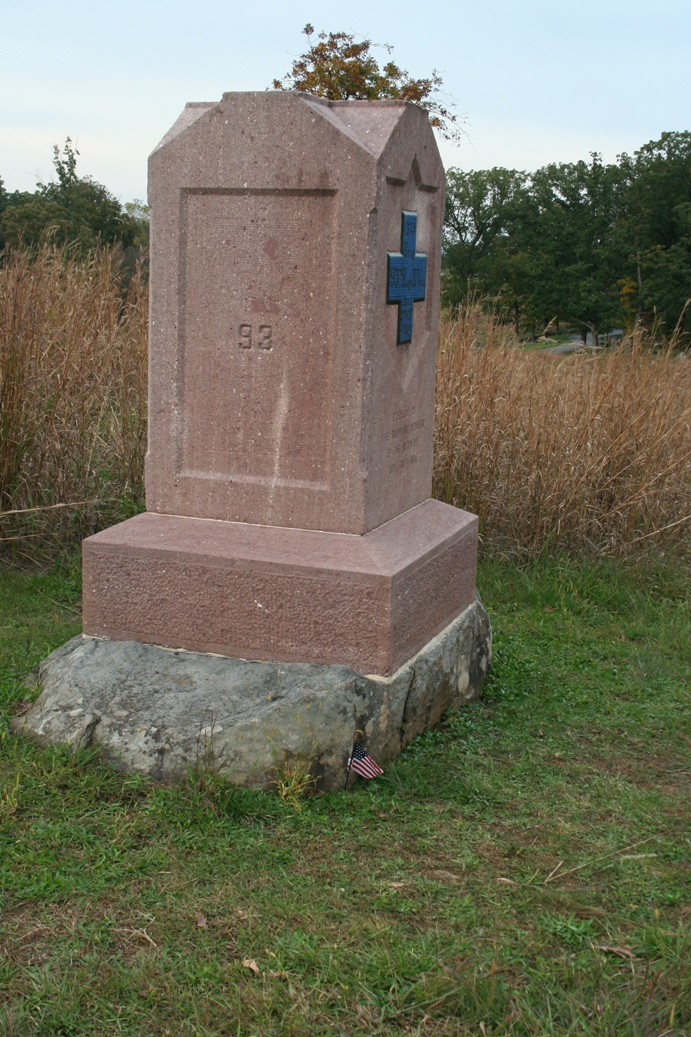
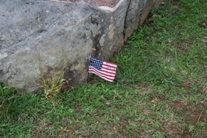
charge. The first two pictures in the third
row are of the location where General Reynolds was
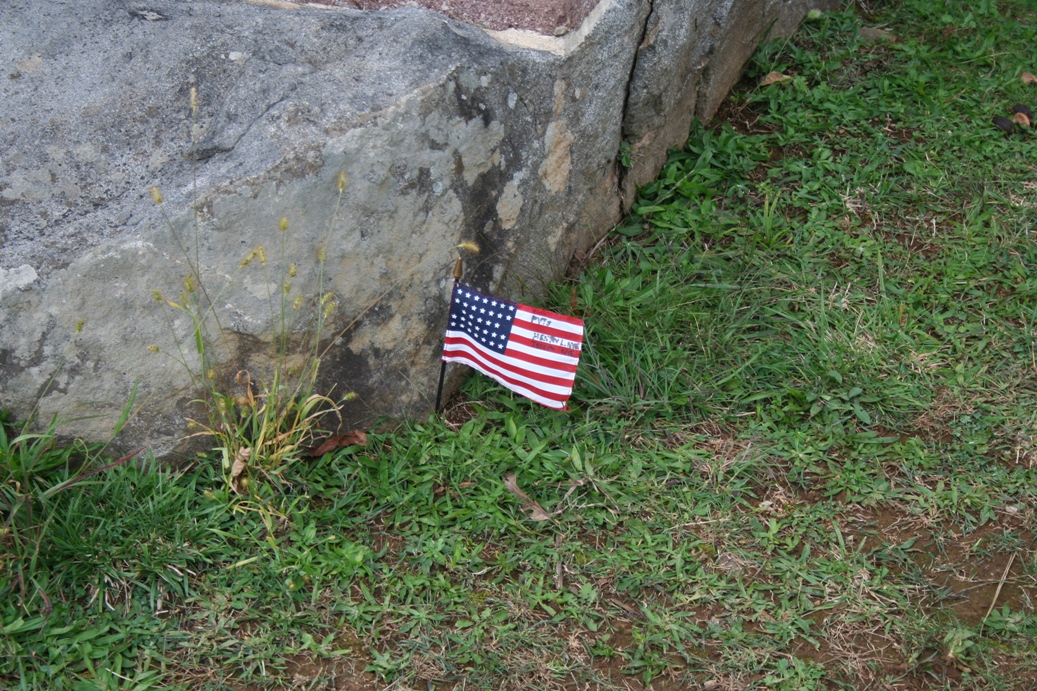
killed in the first day of battle. I took the
last two pictures because of the little flag at the
base of the monument. From time to time you
will see this. The little flag has the name of
a soldier on it. We found this to be a nice
way to honor soldiers of this battle.
|
|