|
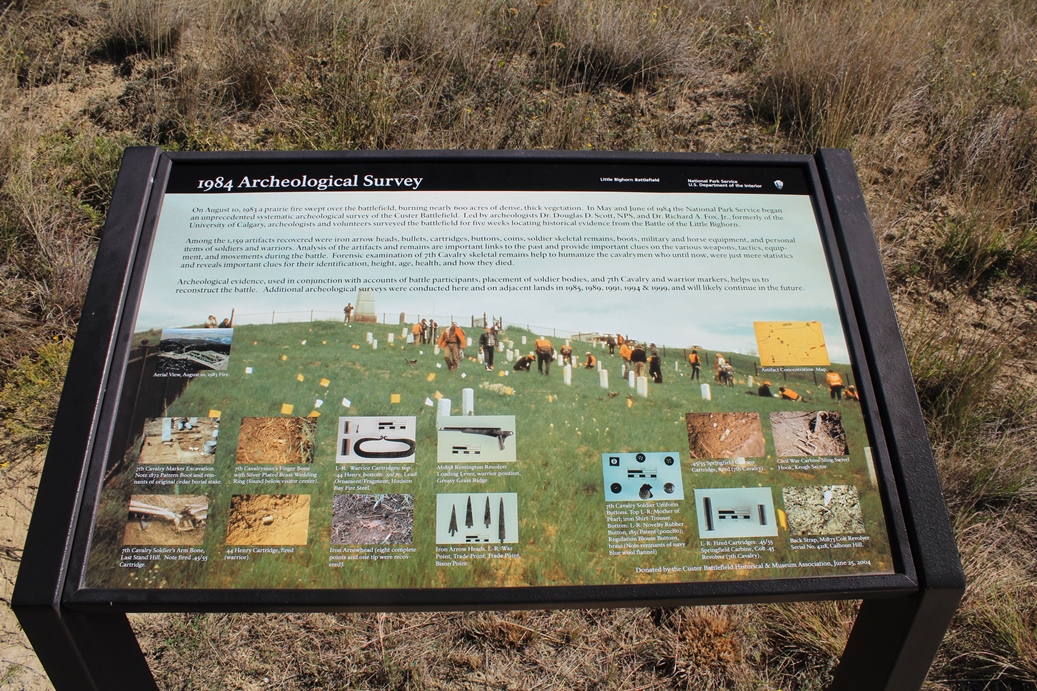
Our last stop for this trip as the Little Bighorn Battlefield National Monument in Montana. I had visited the battlefield when I was a child, but I was too young to get a full understanding of the battle that took place here. I am glad I took the chance, as an adult, to come back to the park, especially in light of all of the new understanding of the battle through the archeological finds over the last twenty to thirty years. These photos are of the driving tour that we took following the instructions of the driving tour pack. I will give a brief description of the photos as well as what happened at the location of the photos. But to learn more about the historical event, I would like to encourage you to visit the official site of the Little Bighorn Battlefield National Monument. Now for a few disclaimers. First, I want to point out that I am presenting through these photos the locations and the actions that occurred there. While there has been much discussion regarding relations between the European settlers and the Native Americans over the centuries, this is only a brief description of the battle that occurred between the Native Americans and the United States Army at that time. Also, I refer to the Native Americans as "Indians" in this recount because the information from the National Monument does as well. I do not wish to offend anyone by its use. I have only the utmost respect and admiration for all Native American peoples and the hardships they have endured, as well as their struggle to save their way of life and traditions over the centuries. |
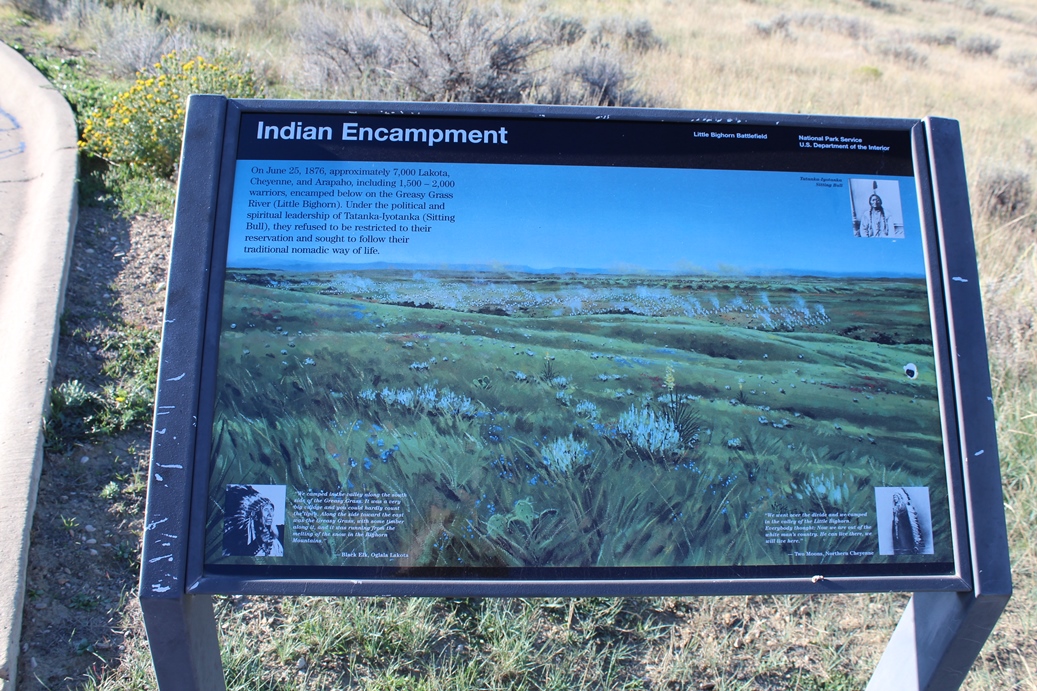
Indian Encampment
(Click on Images for Larger Picture)
|

|

|
|
|
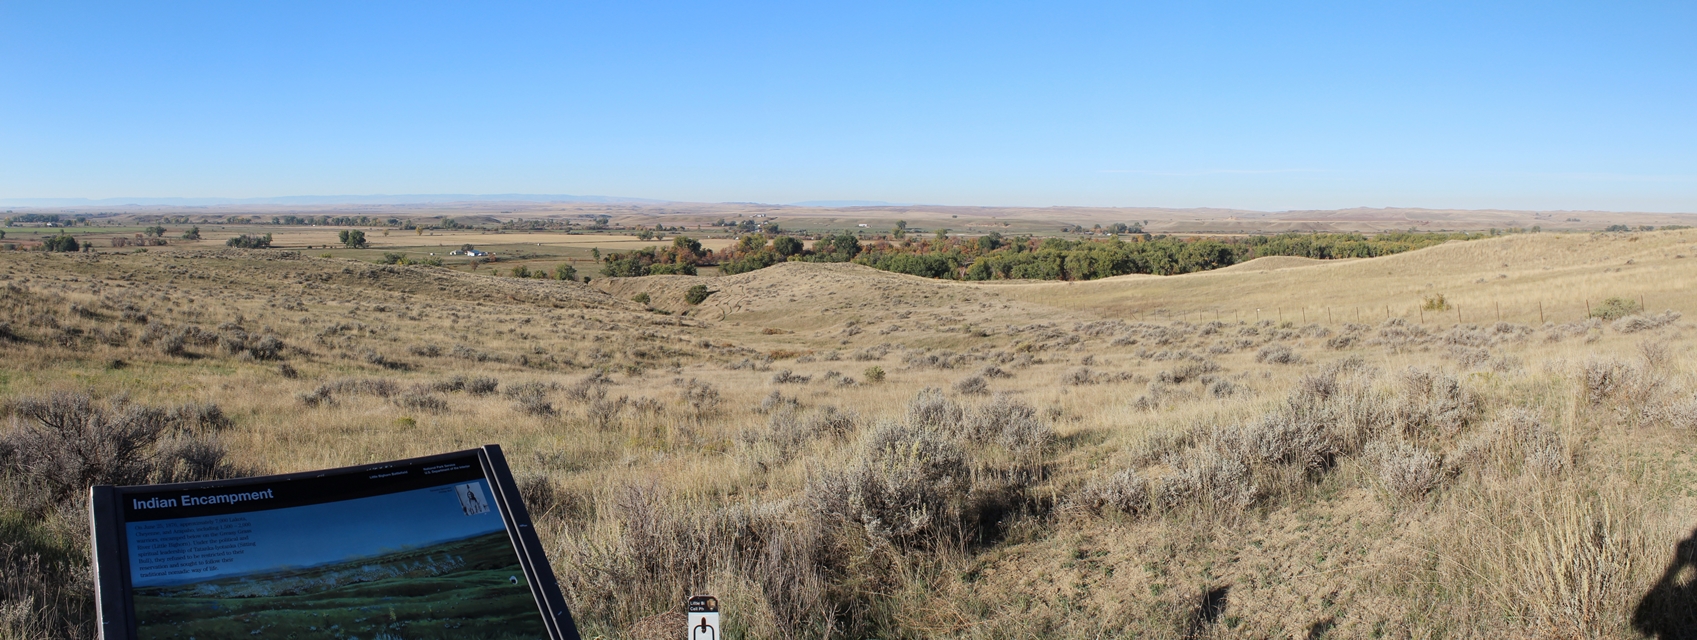
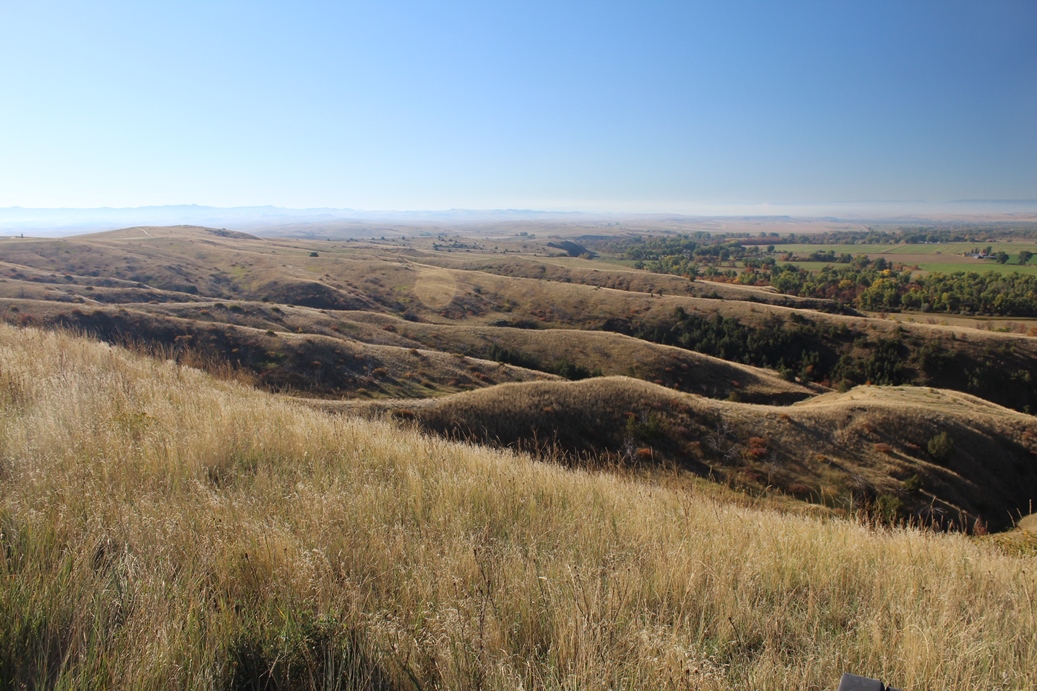
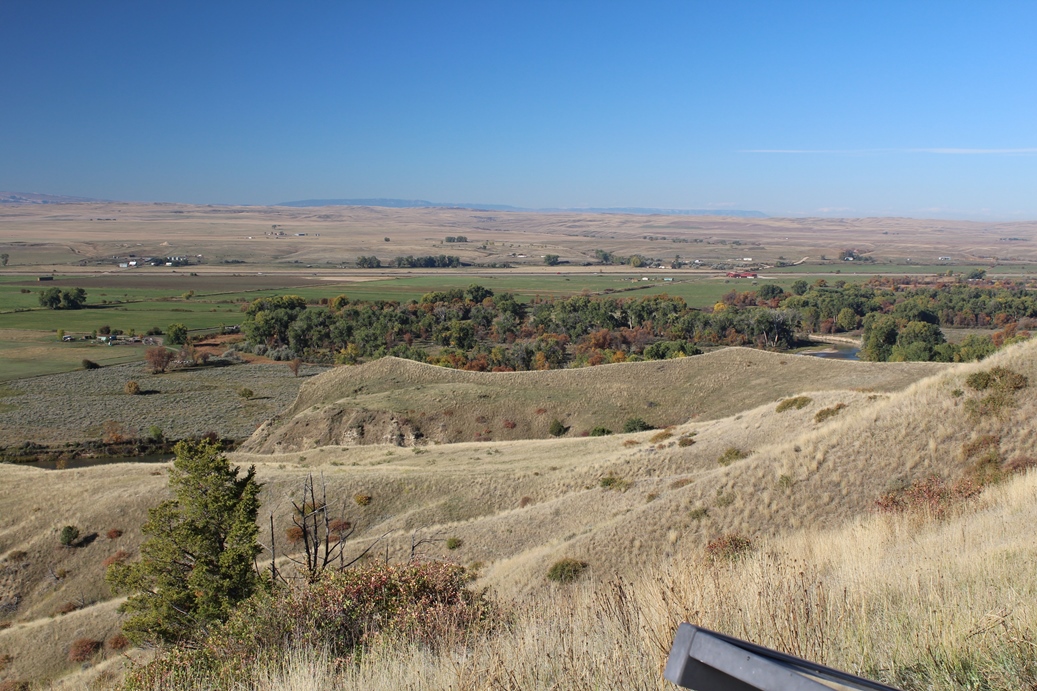
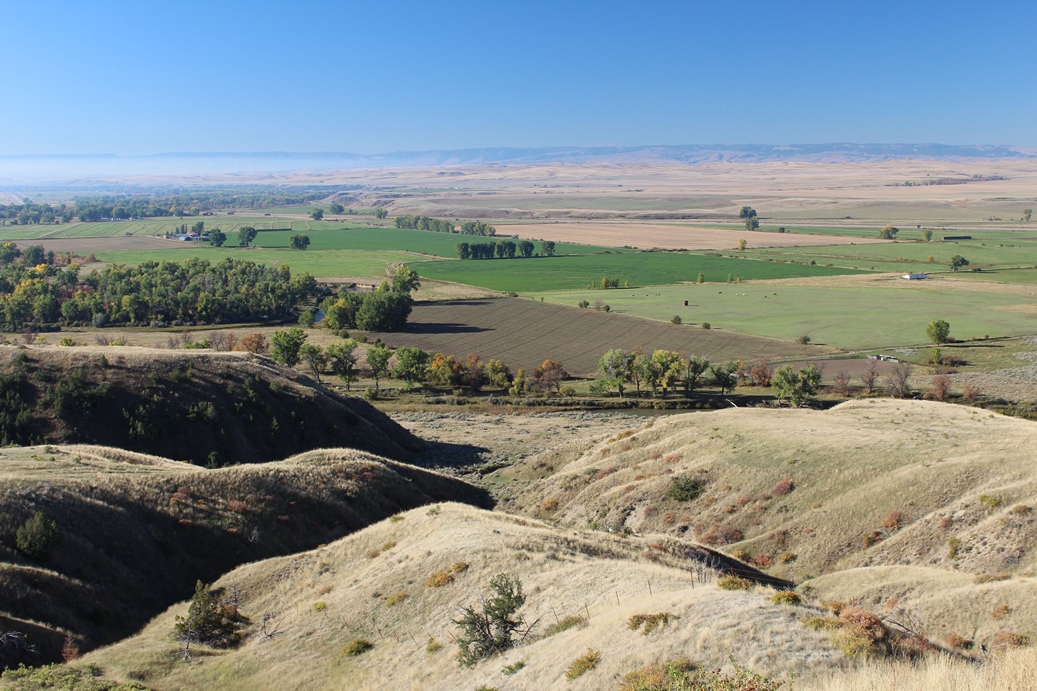
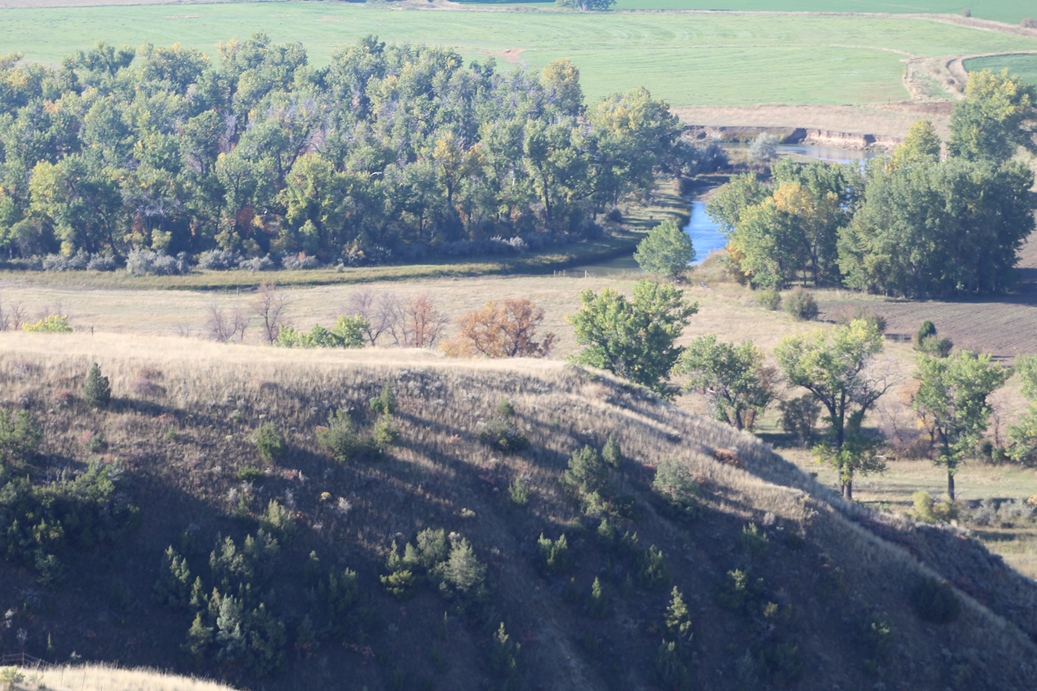
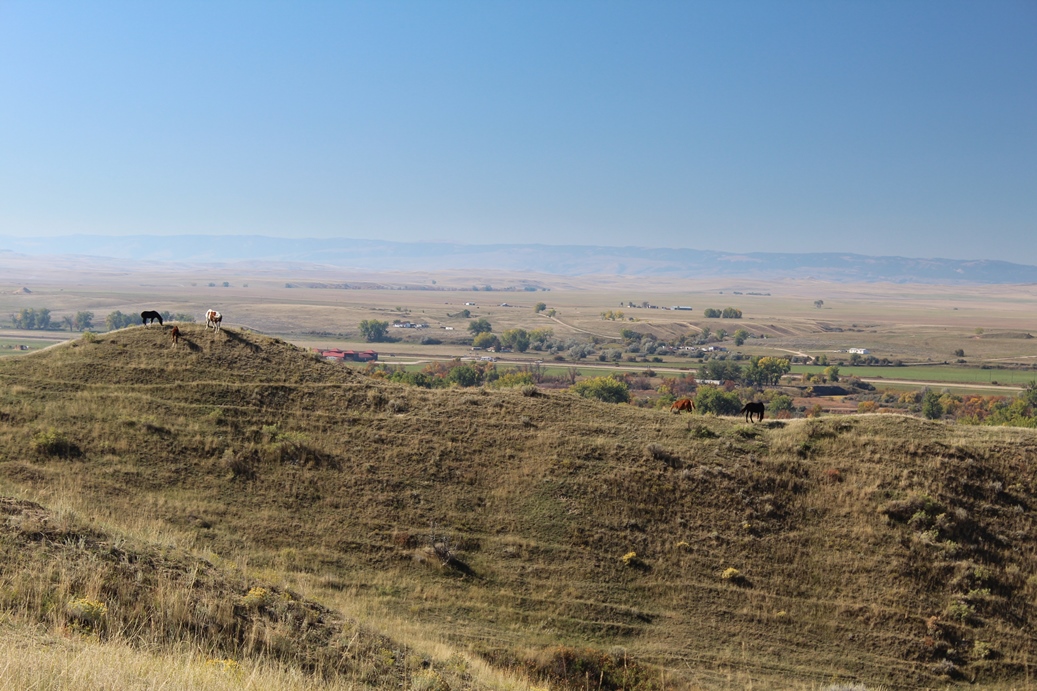
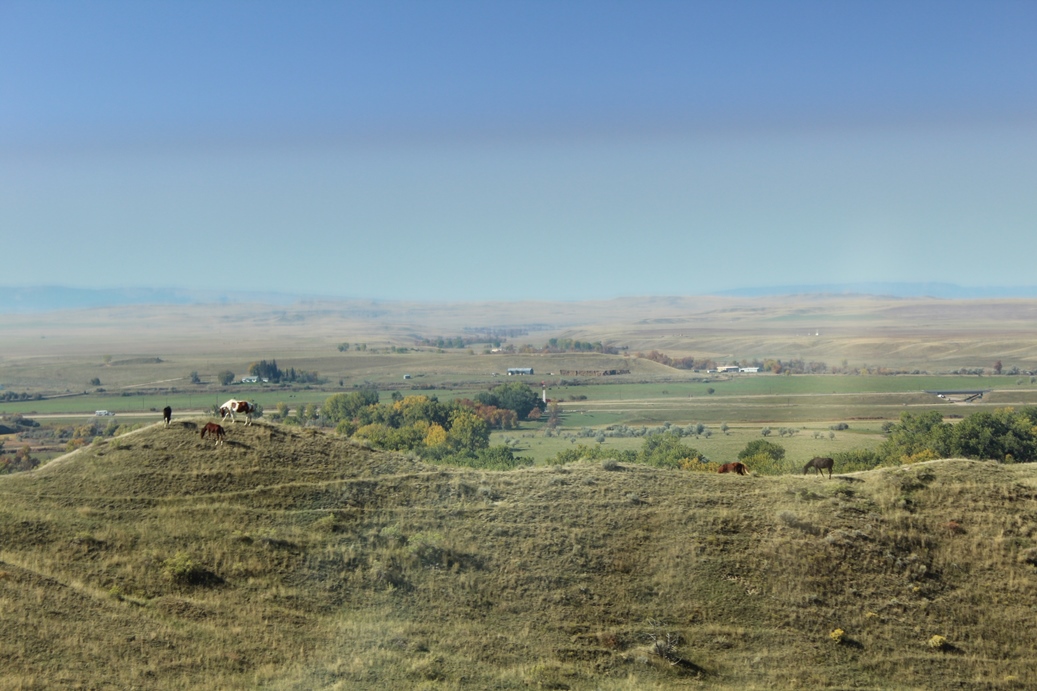
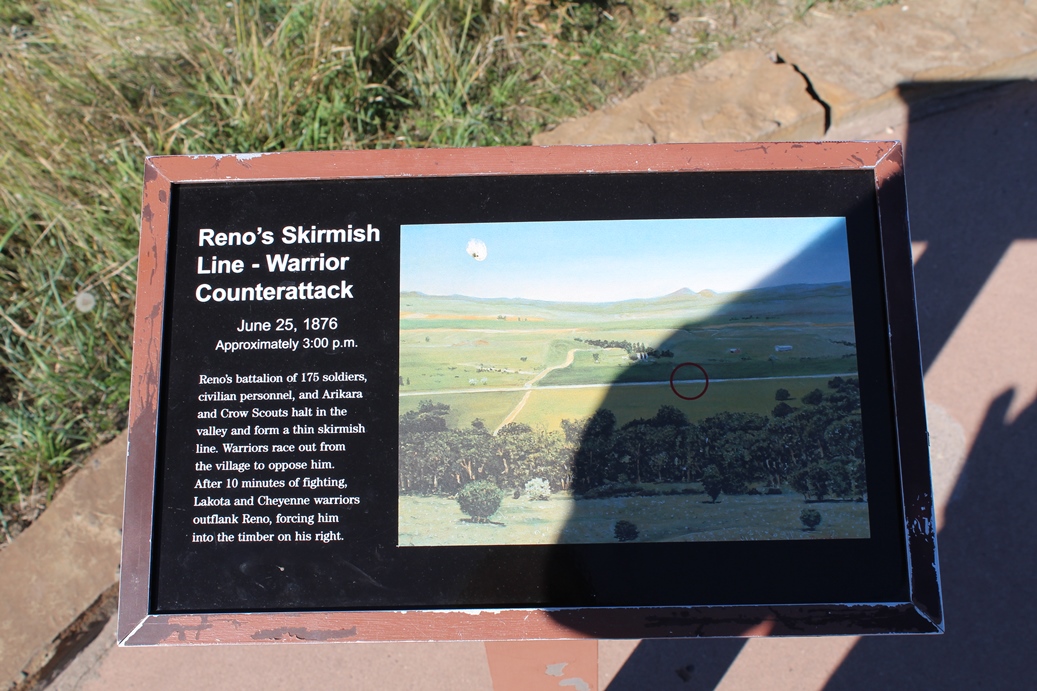
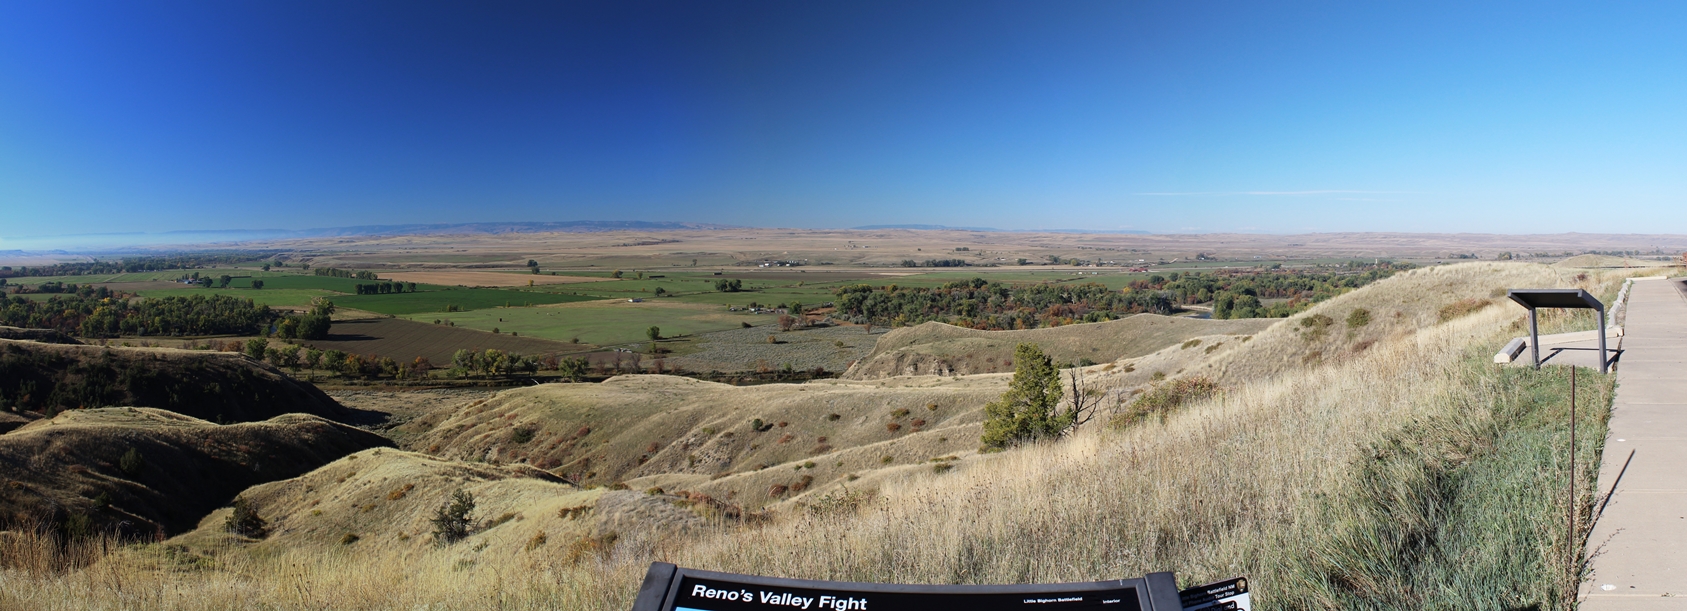
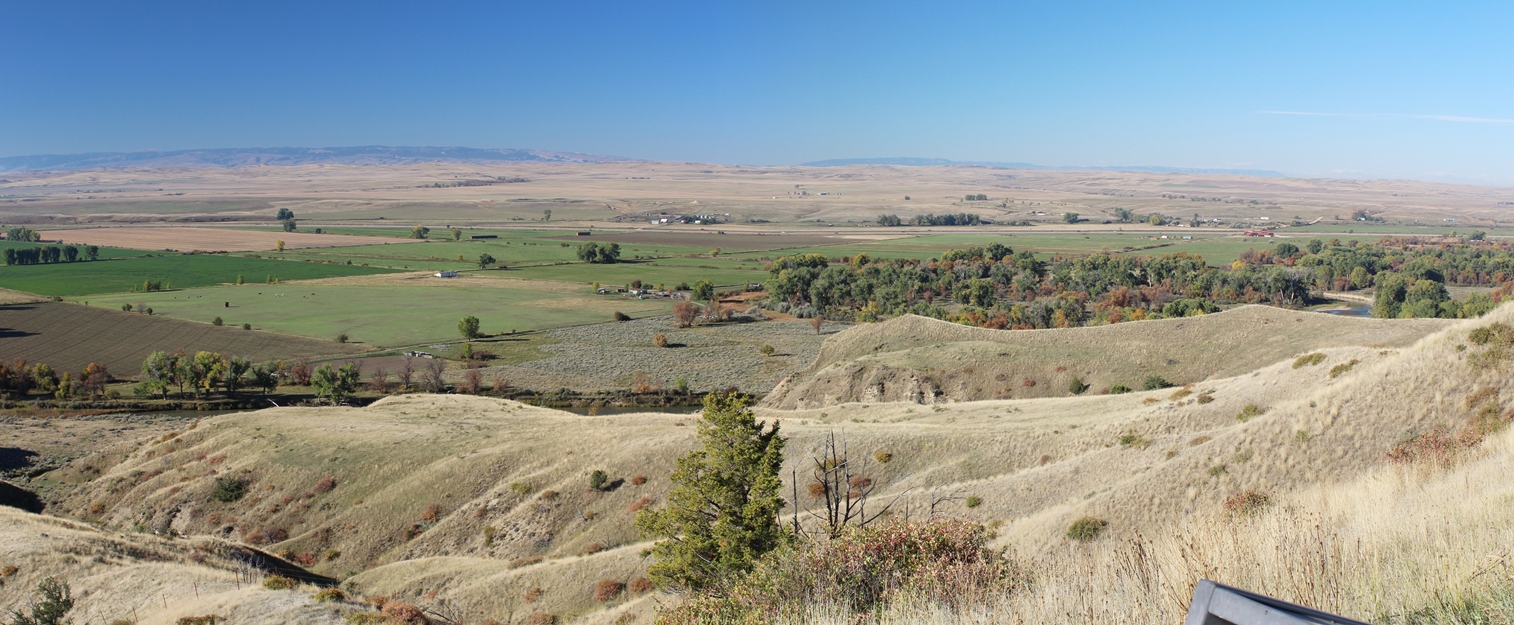
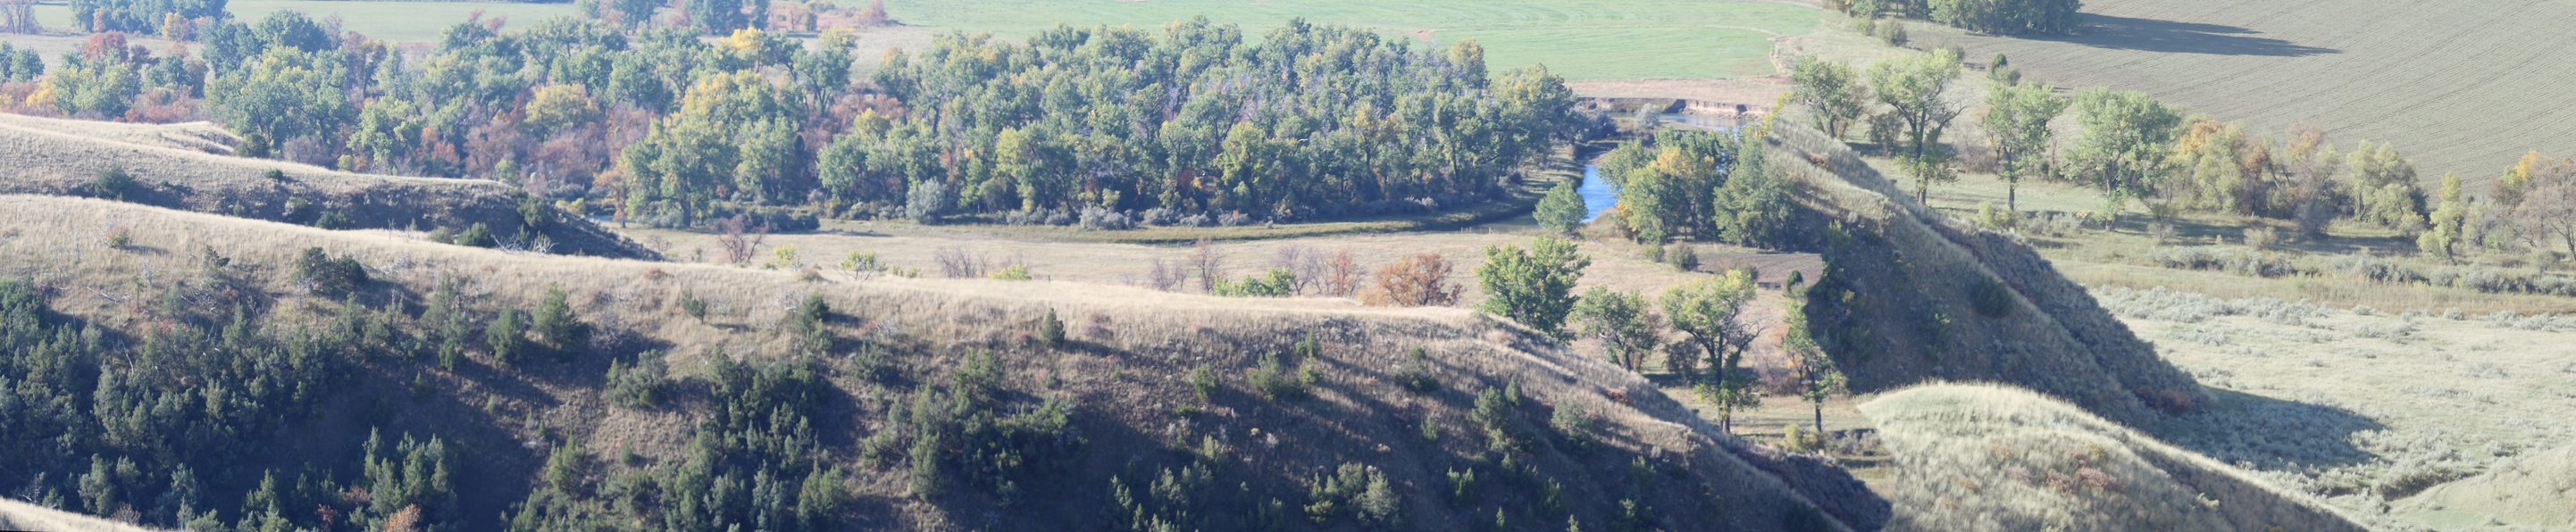
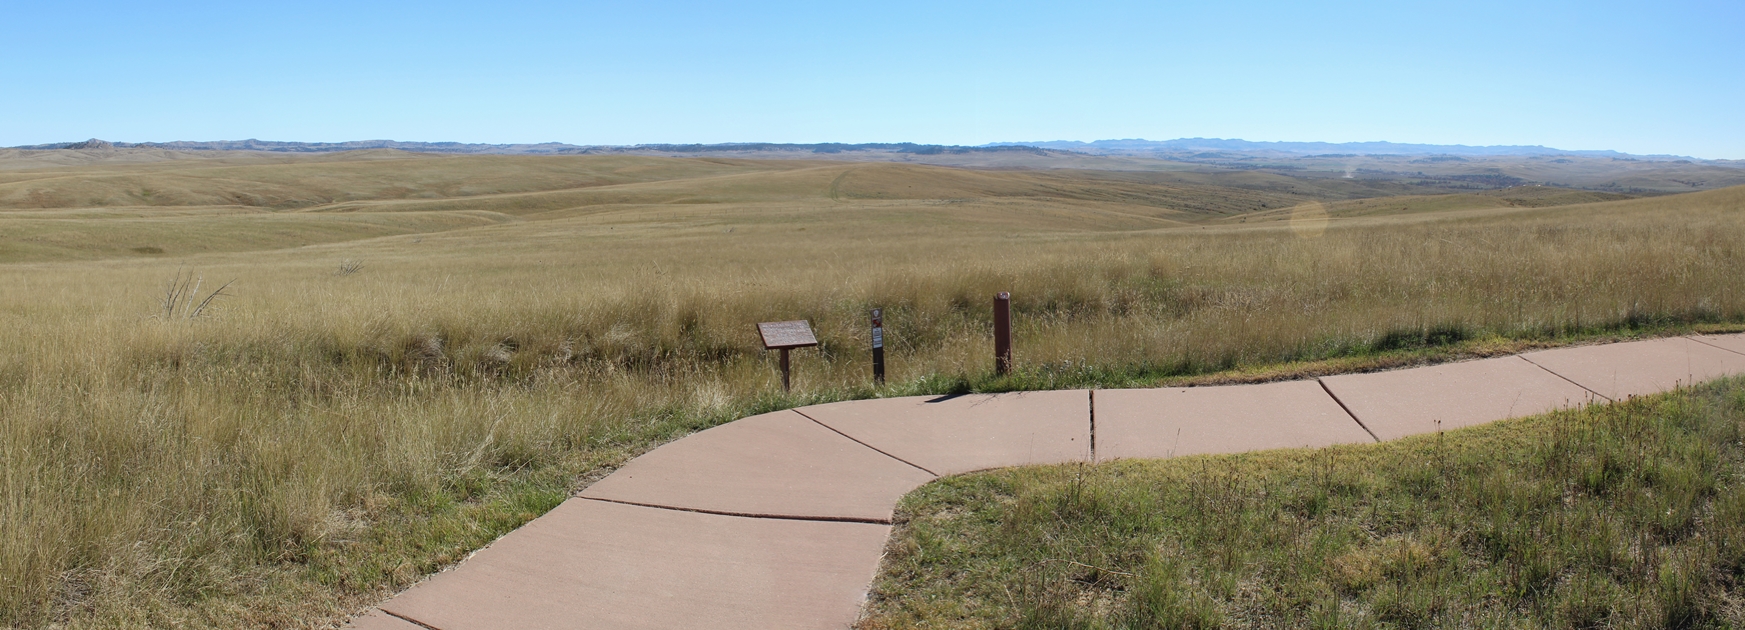
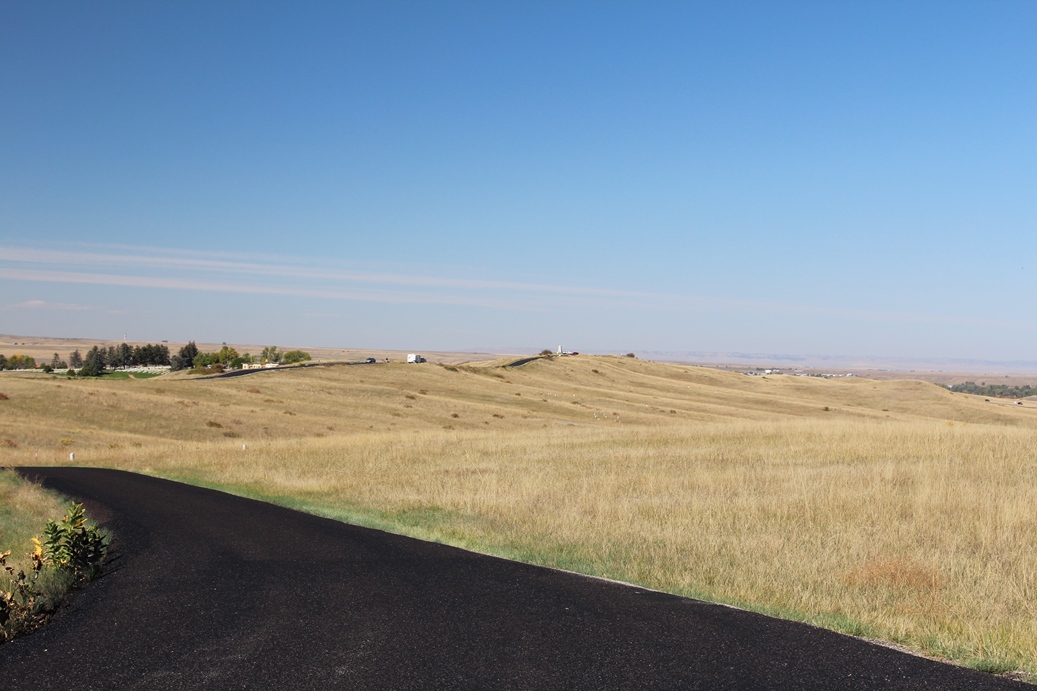
The first marker in the driving tour was of an overlook of where the Indian Encampment was located. The southern tip of the encampment was down in the valley, on the opposite bank of the river. There were roughly 7,000 Lakota, Cheyenne, and Arapaho, including 1,500 to 2,000 warriors, in the encampment. Their political and spiritual leader was Tatanka-Iyotanka (Sitting Bull), and the leader of the warriors were Crazy Horse and Chief Gall. |
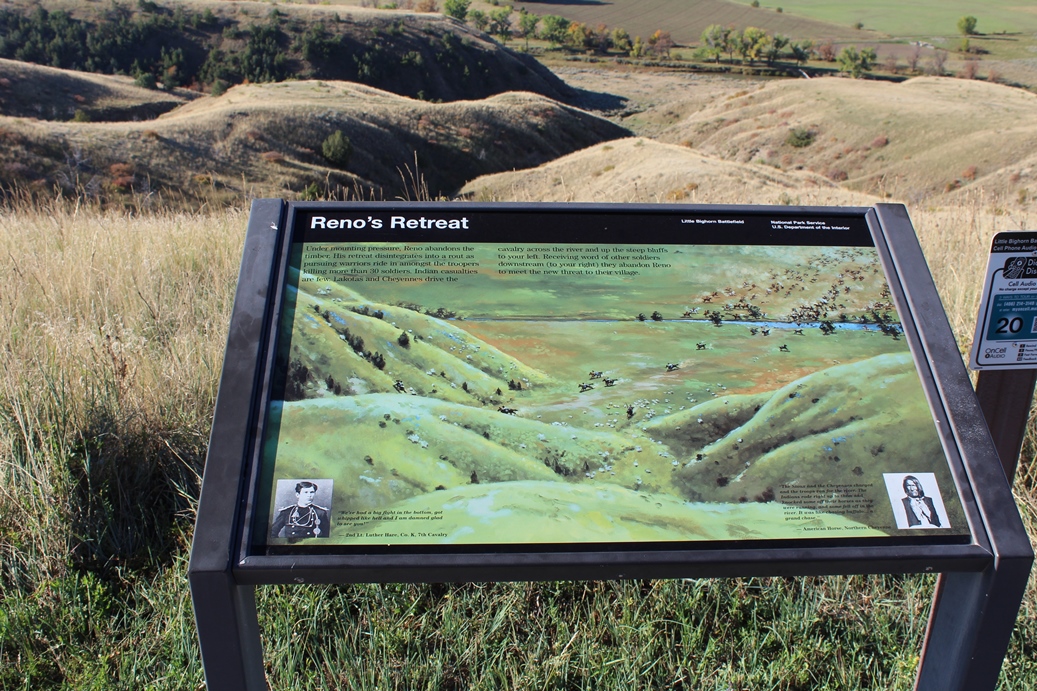
Reno-Benteen Battlefield
(Click on Images for Larger Picture)
|
|

|
|

|
|
|
|
|
|

|
|
|
|
|
|
|
|
|
|
|
|

|
|

|
|
|
|
|
|
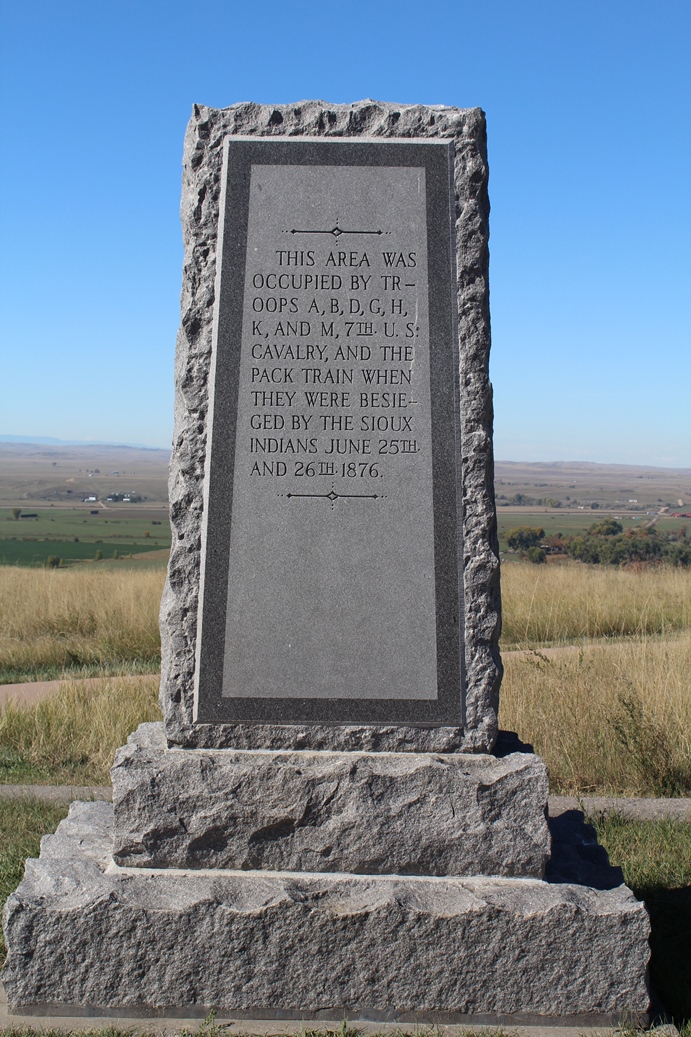
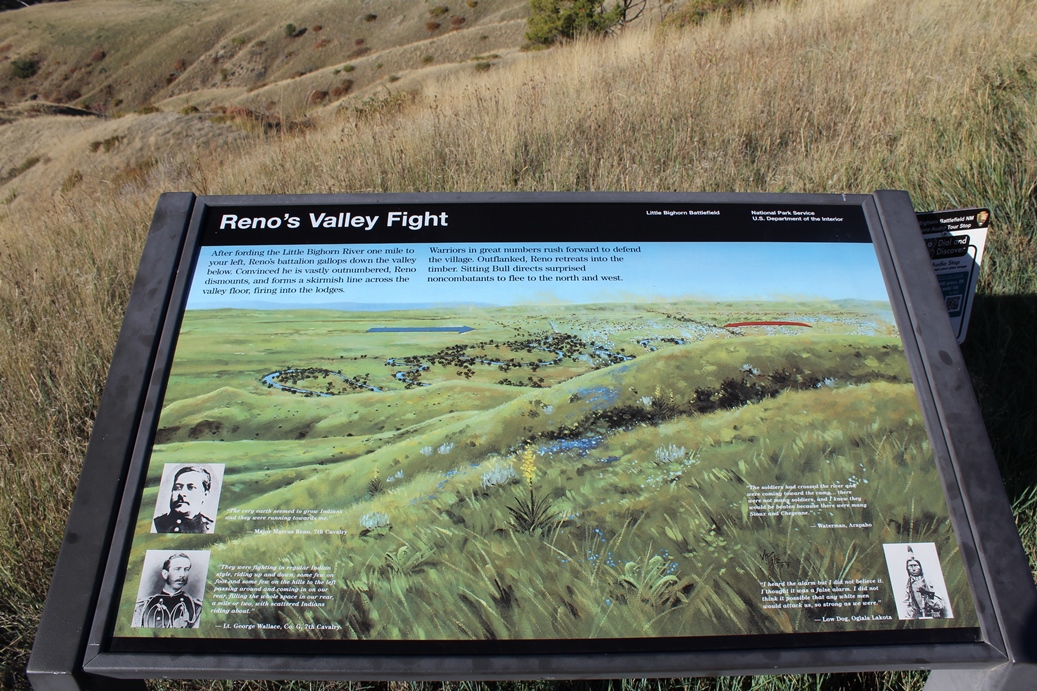
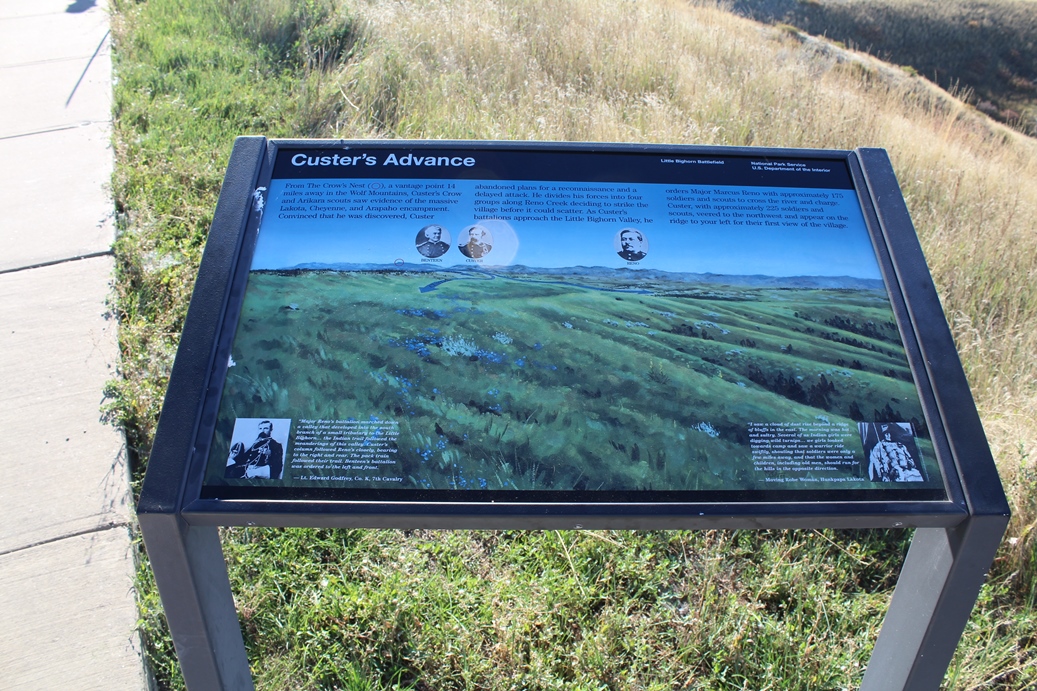
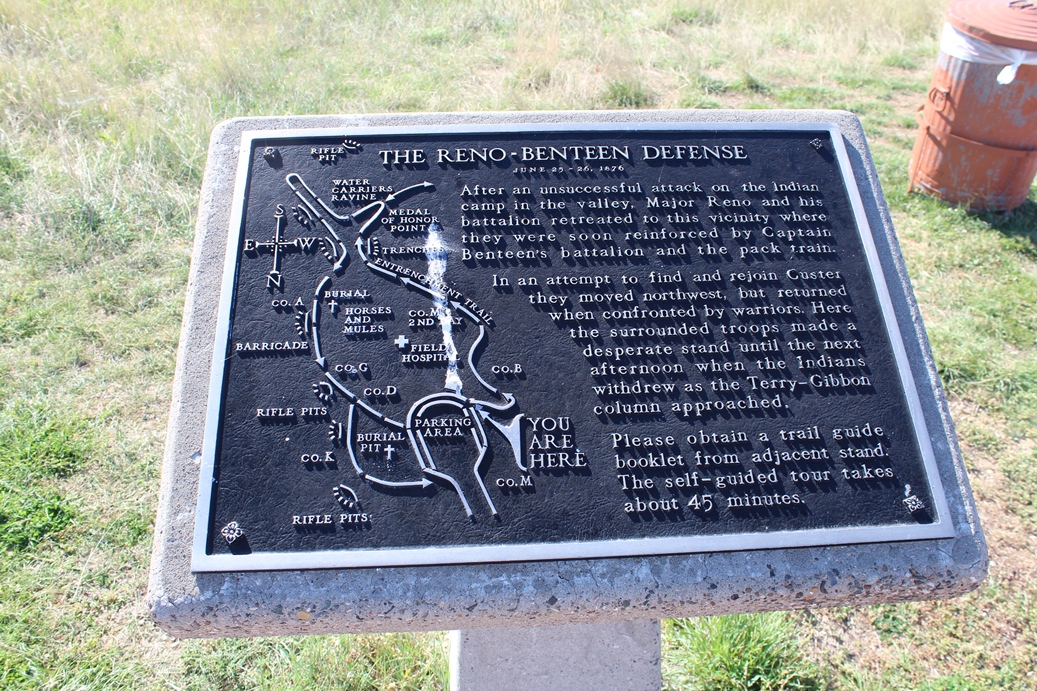
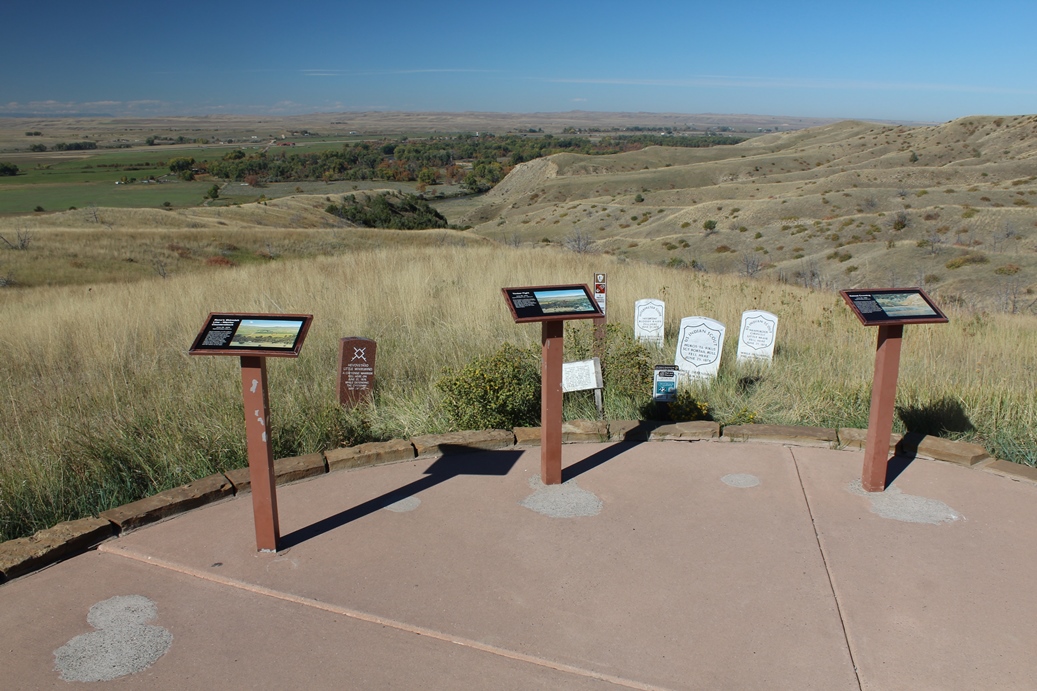
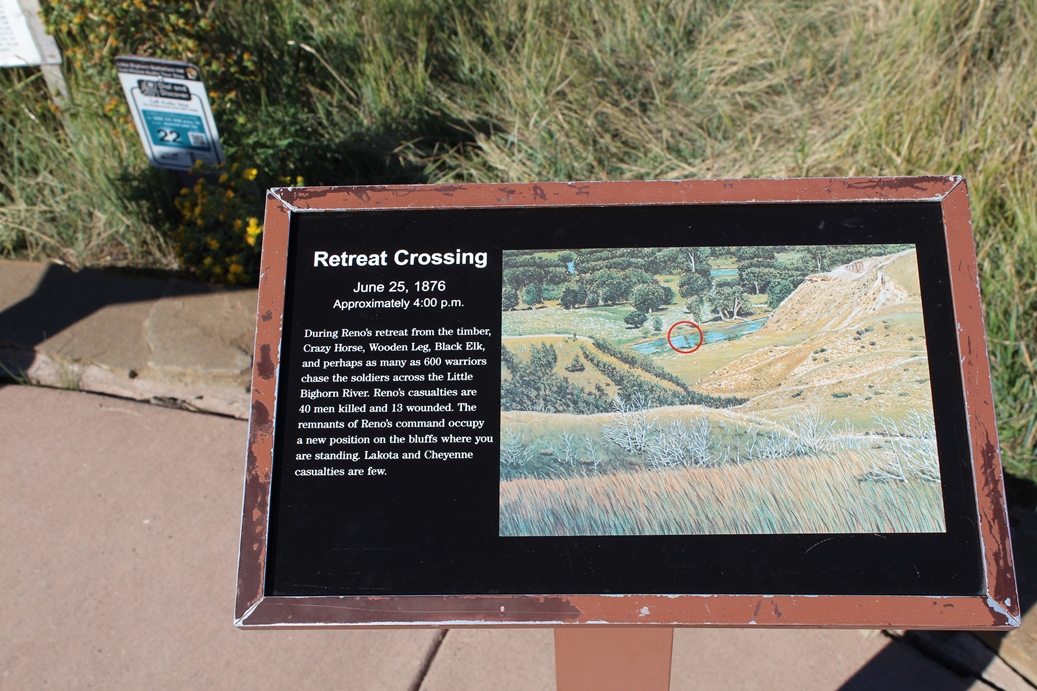
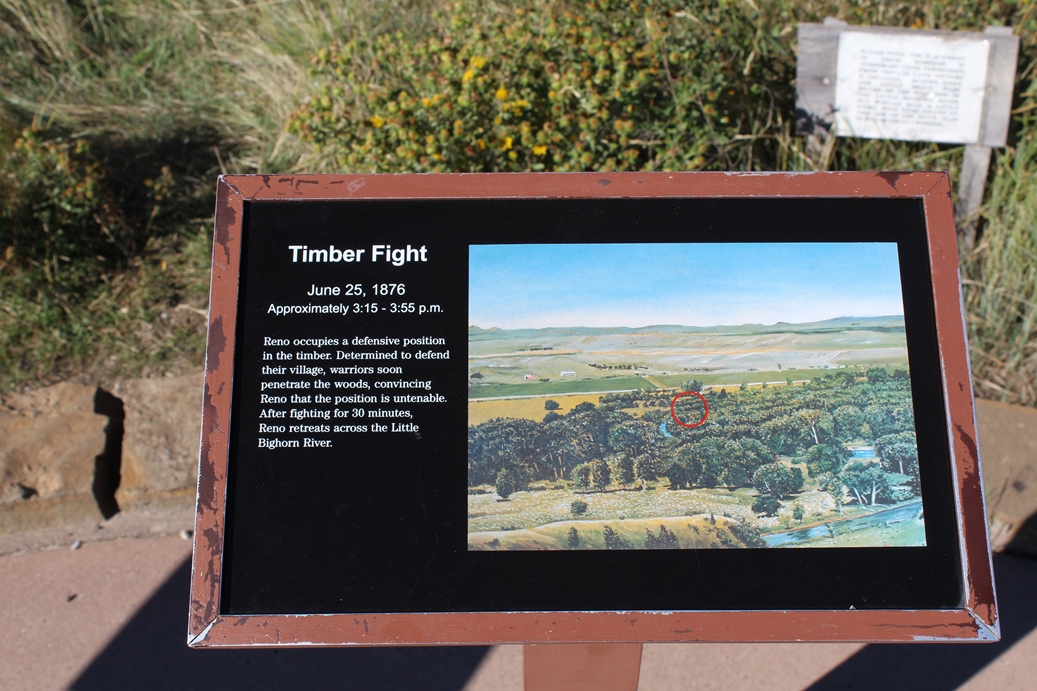
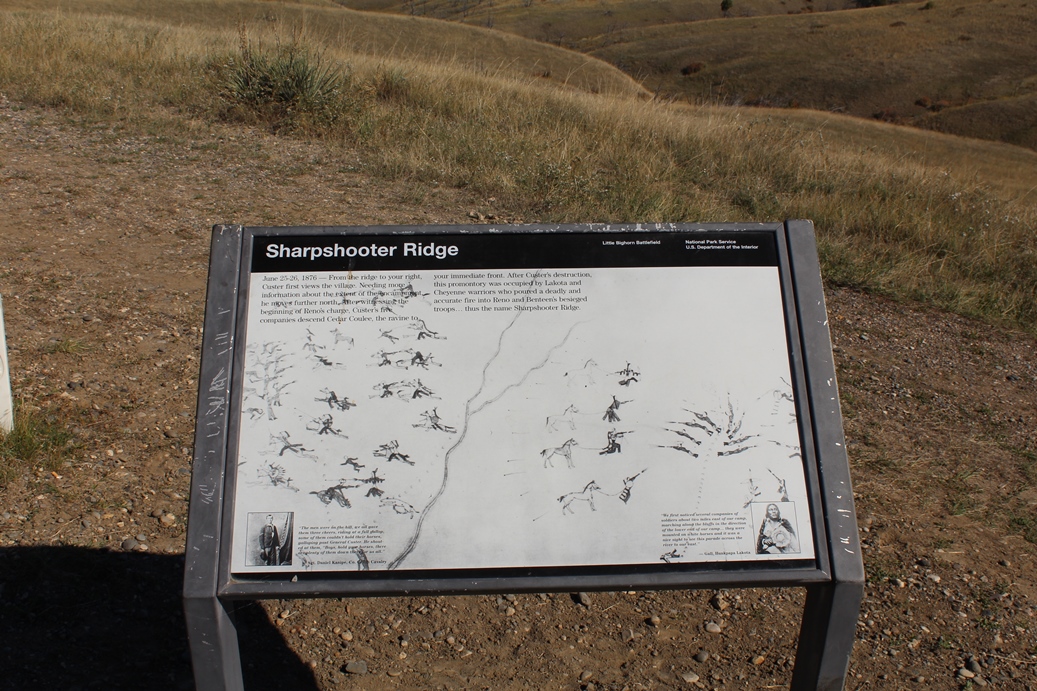
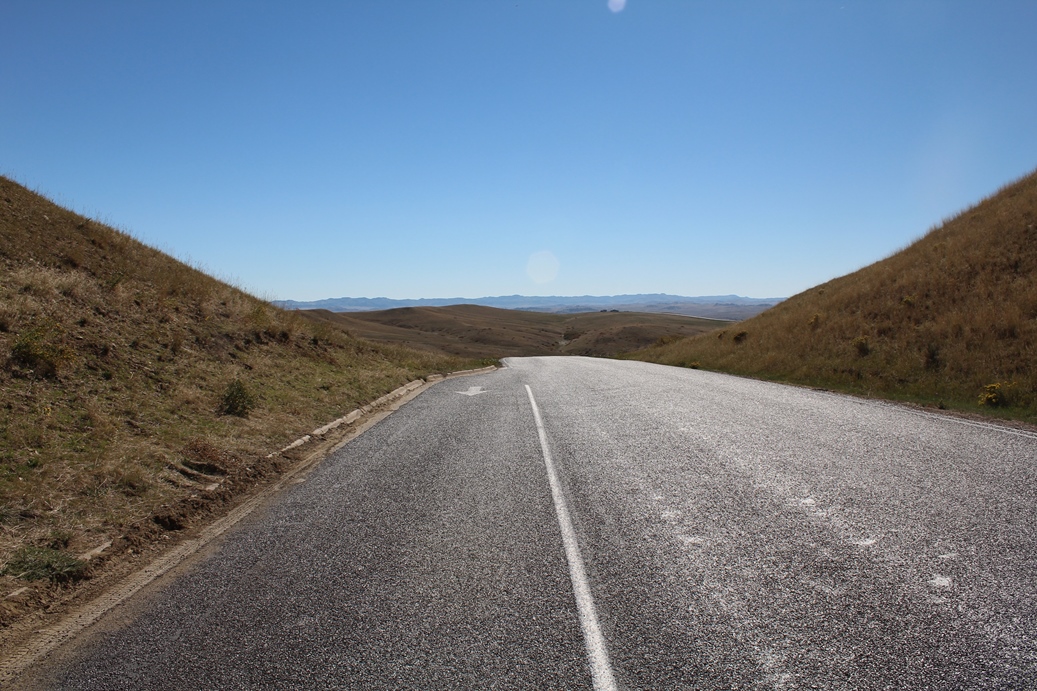
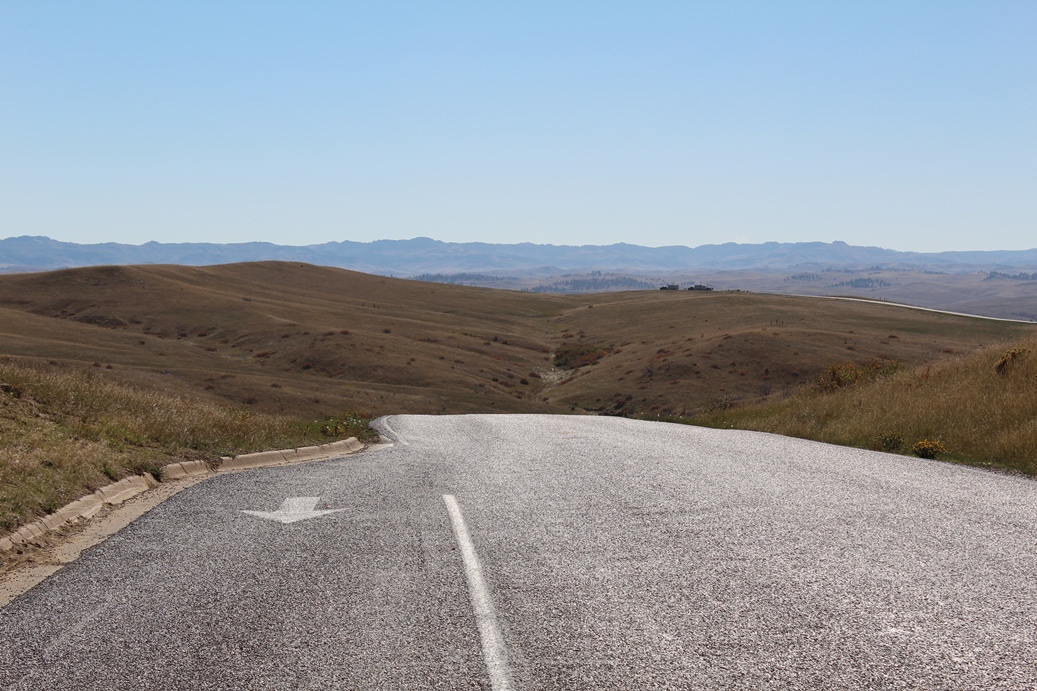
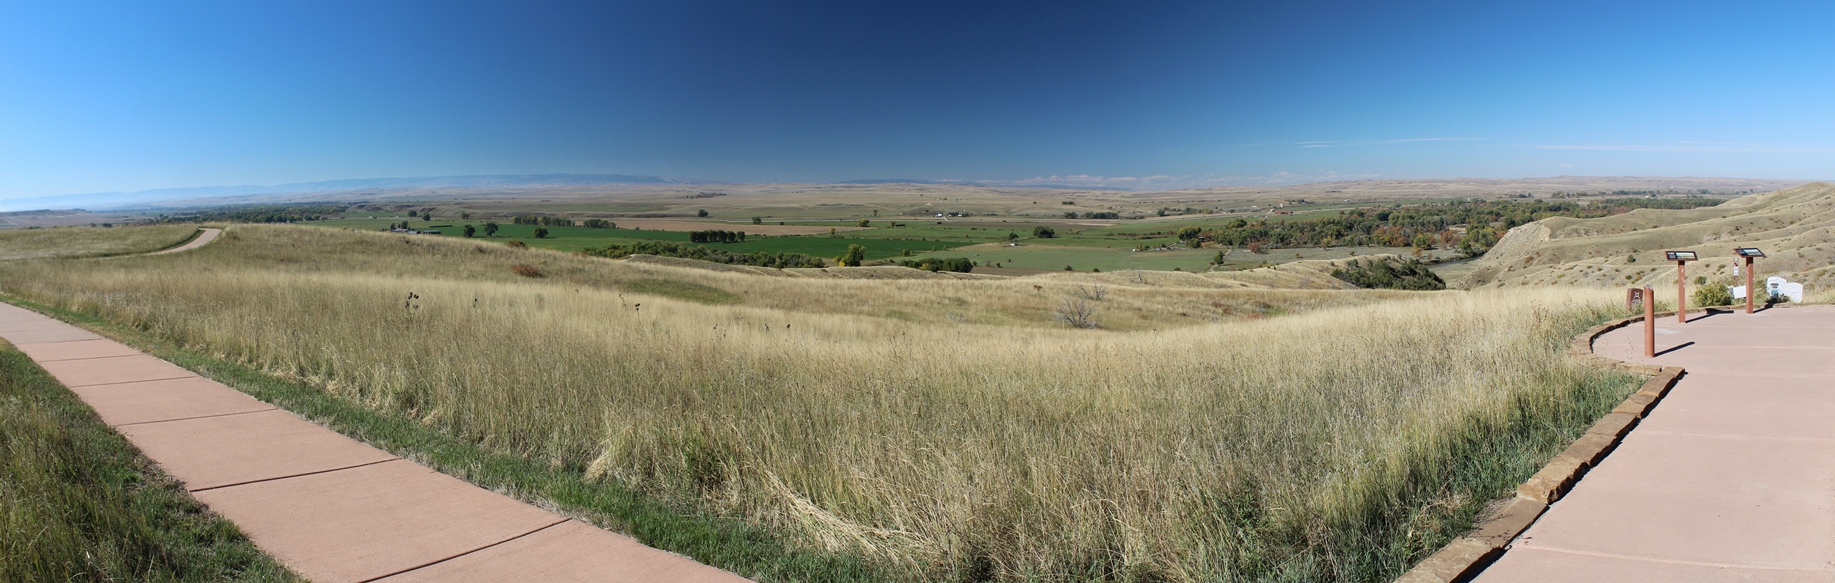
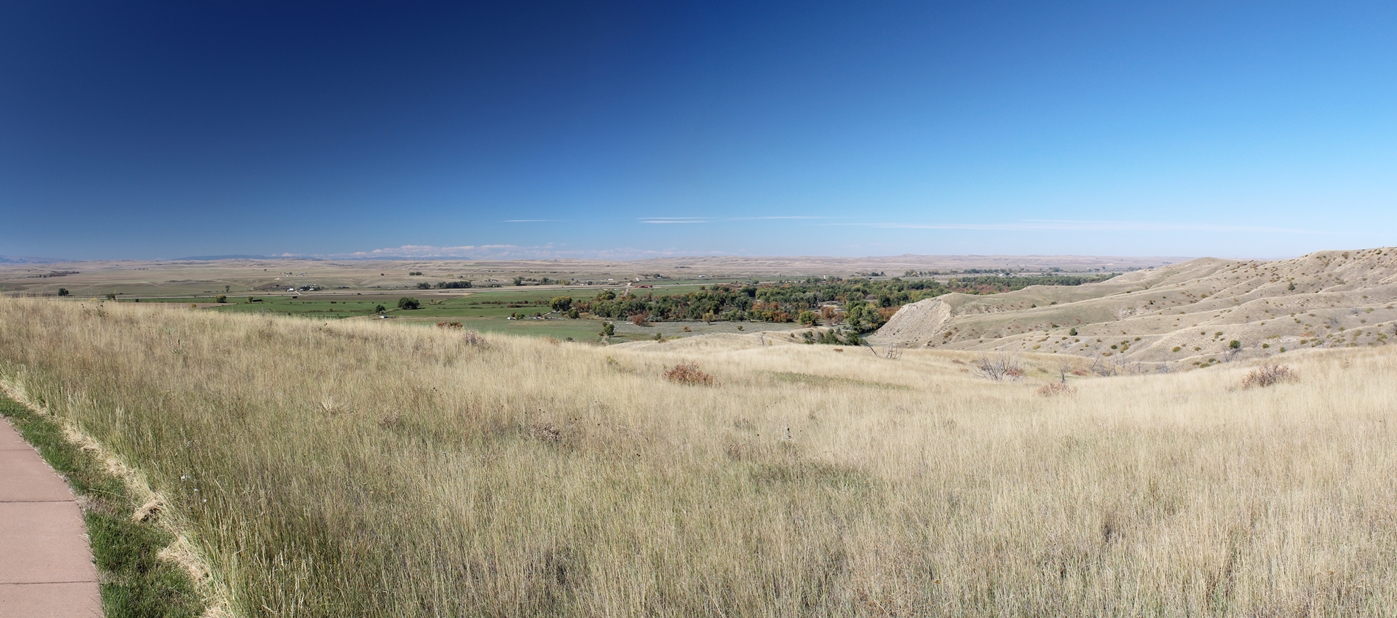
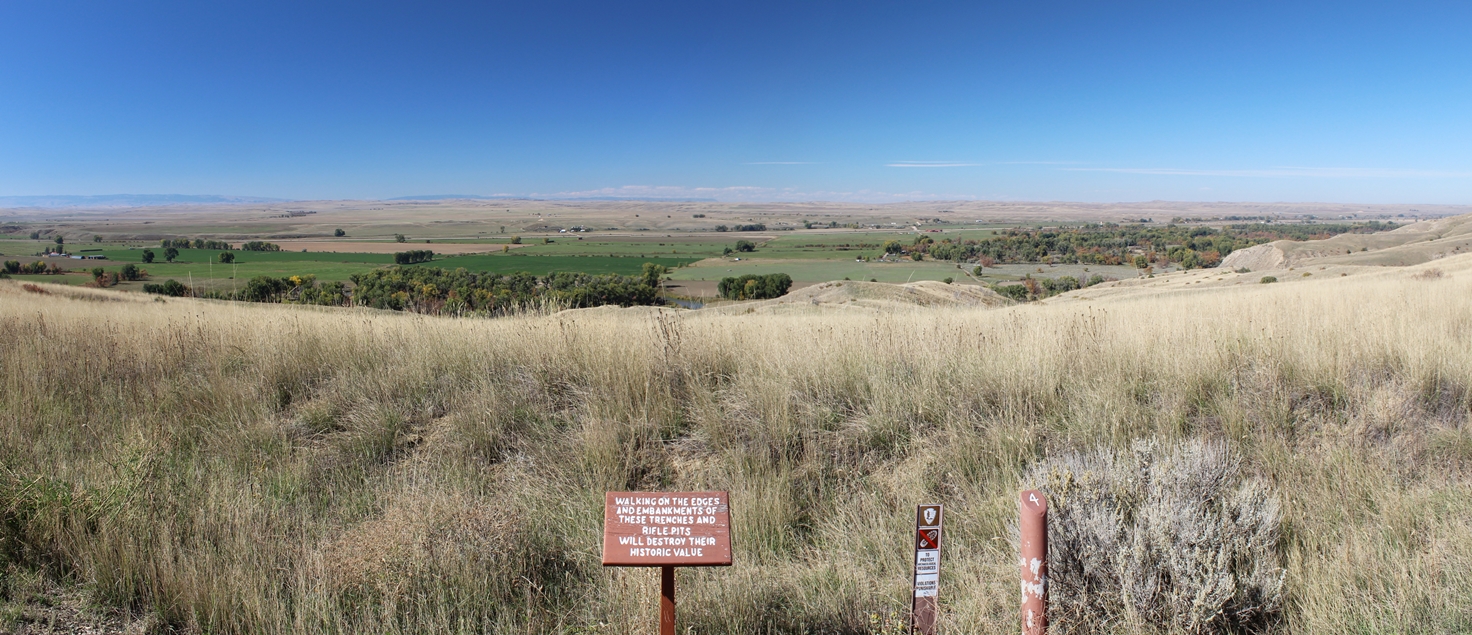
One thing that seems to be known is that no soldier survived "Custer's Last Stand". Well, that is really more myth than truth. The soldiers under Custer's direct command that day perished, all except for one soldier who was dispatched with a message for Captain Benteen. Also, Major Reno's and Captain Benteen's commands did survive the battle as well, but they were a mile or so south of Last Stand Hill. Before Custer rode off to the north, he split his regiment up into three different groups. Major Reno was ordered to take his command down into the valley, cross the Little Bighorn River, and enter the encampment from the south. Captain Benteen was ordered to stay in the rear with the rest of the supplies, and Custer headed off with the remaining soldiers to the north, looking for the northern end of the Indian encampment. As Reno and his soldiers approached the encampment from the south, the battle began. At first, they were holding their own, but soon were overwhelmed by the Indians. They eventually broke ranks, fell back through the woods, running along the banks of the river, then across the river and up to a high bluff overlooking the valley. It was here that Reno managed to assemble his soldiers into a defensive position. Eventually, he was joined by Captain Benteen, who had been ordered to bring up supplies for Custer. Seeing the fighting going on around the hill, Benteen decided to stay and help Reno or they might be overrun. Using the defensive advantage of the bluffs, they were able to hold out against the Indian attack. Eventually the Indians realized that they could not push them off the bluffs, and they feared that more soldiers could arrive any day and they would be severely outnumbered. The Indians broke camp, and scattered into the wilderness. The Reno-Benteen Battlefield is the location where the soldiers held their ground for two or three days before relief arrived. As you see the pictures of Last Stand Hill, you will see why Reno and Benteen were so successful in holding their ground. It was much higher terrain and more difficult for the Indians to attack. You can get a sense of the distance between Last Stand Hill and the Reno-Benteen Battlefield in the last two photos of the series above. The photos are from Weir Point looking back south, a mile, to the Reno-Benteen Battlefield. Last Stand Hill was still three miles north, behind me, of this point. You can also see the difficult terrain that protected the soldiers on top of the bluffs. |
Panoramic
(Click on Images for Larger Picture)
|
|
|

|
|

|
|
|
|
|
|
Weir Point
(Click on Images for Larger Picture)

|

|
|
|
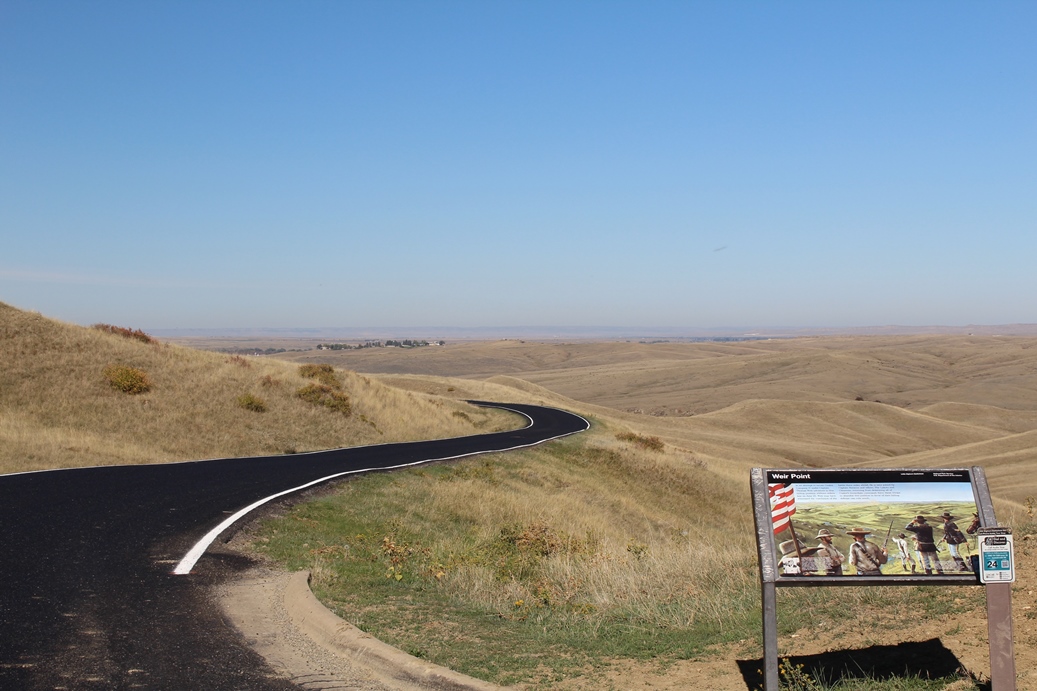
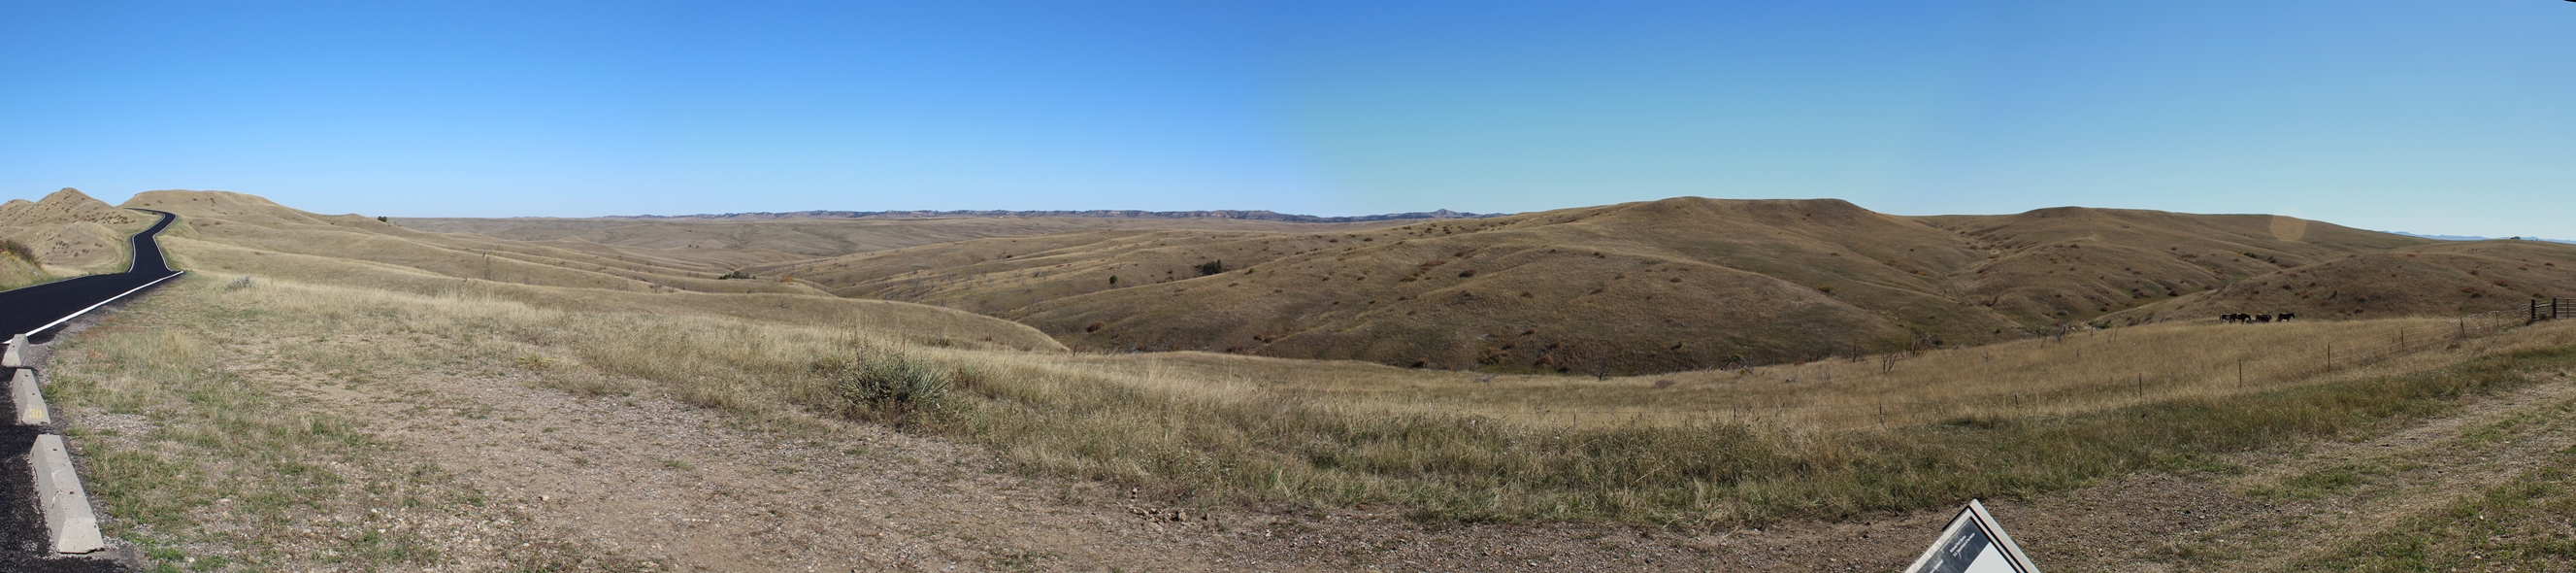
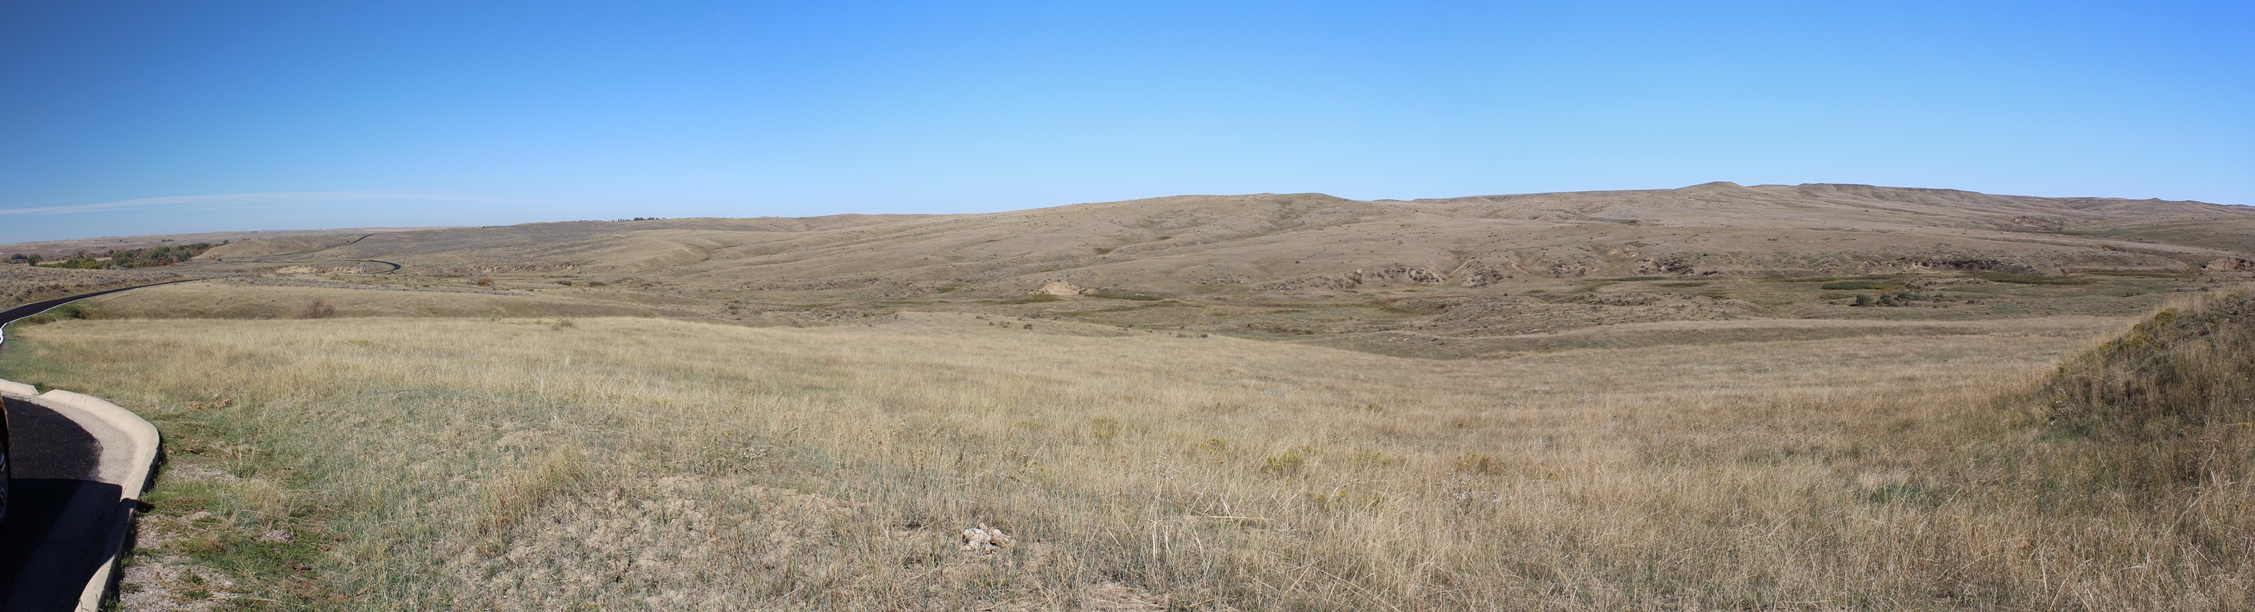
Weir Point is named after Captain Thomas Weir, Company D. Without orders, he set out to locate, and if possible, offer assistance to Custer and his command. When he reached this point, roughly three miles south of Last Stand Hill, all he could see was the cloud of battle, and the Indians riding around shooting at the ground. He may have been witness to the final struggle of Custer and his soldiers on Last Stand Hill. With little cover, and the Indians now turning their full attention to Reno and Benteen, Captain Weir was forced to withdraw to his original position. If you look in the second and third images above, you can just make out Last Stand Hill near the center of the photos in the distance. |
Panoramic
(Click on Images for Larger Picture)
|
|

|
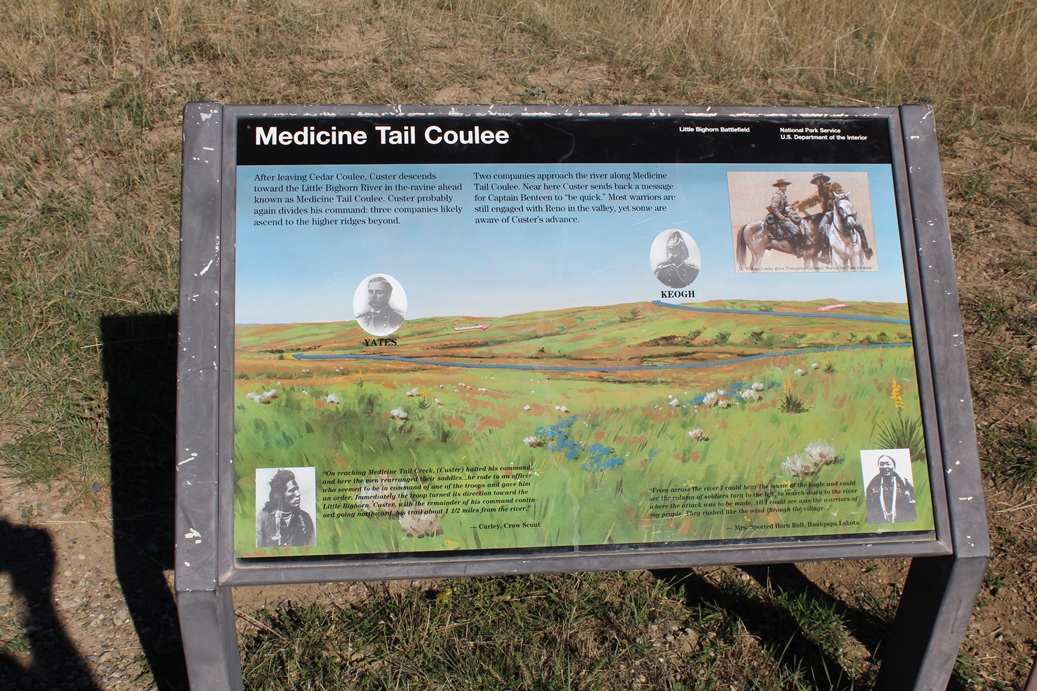
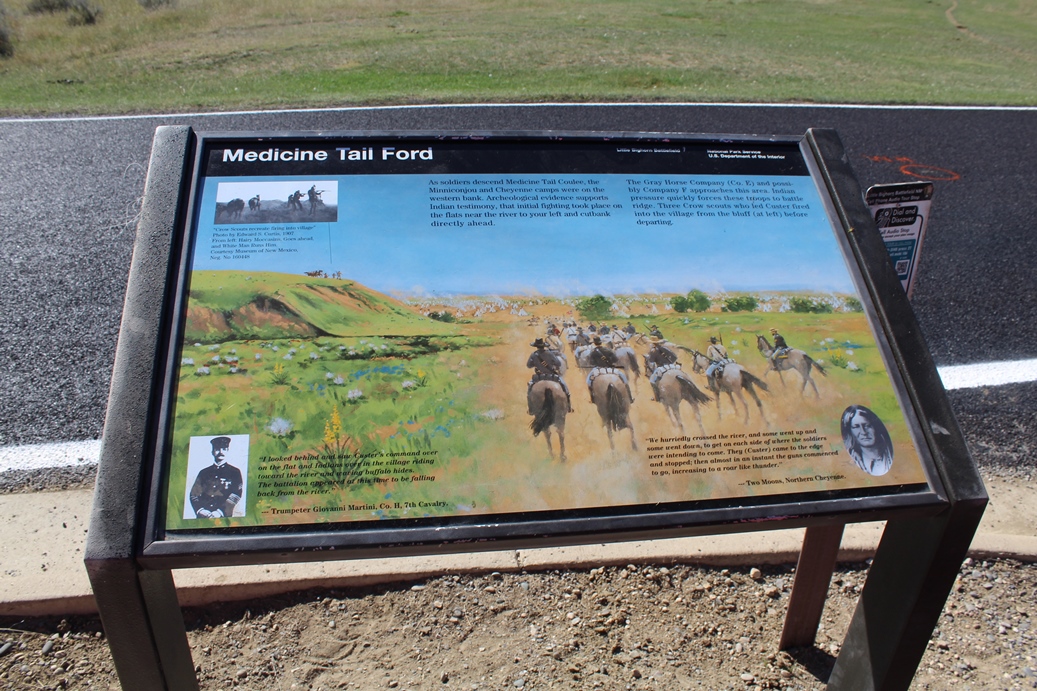
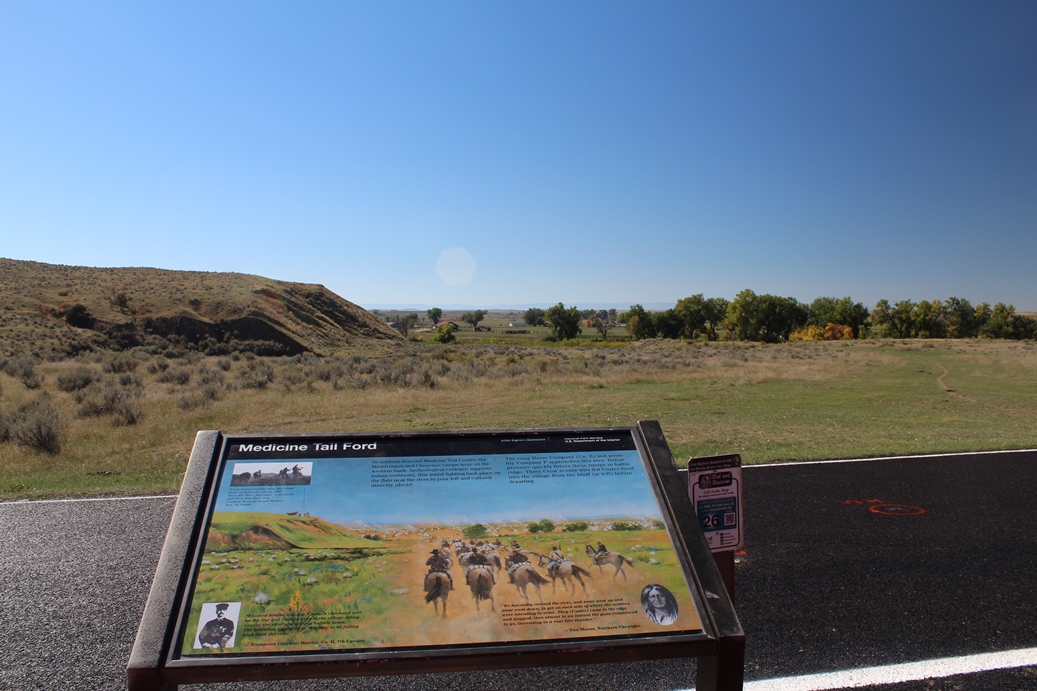
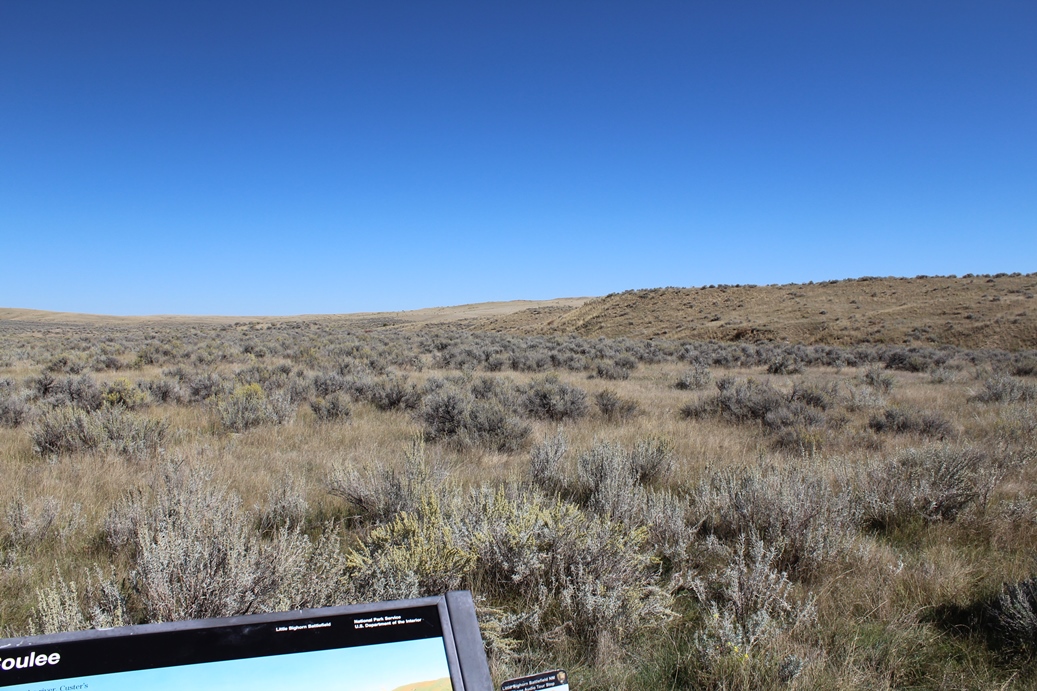
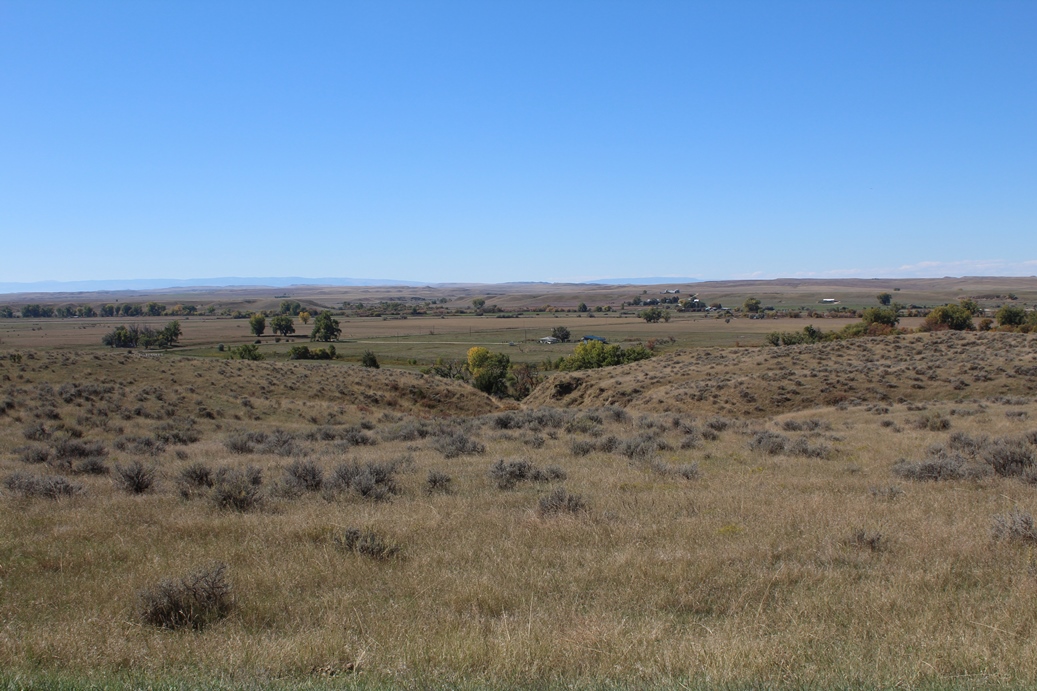
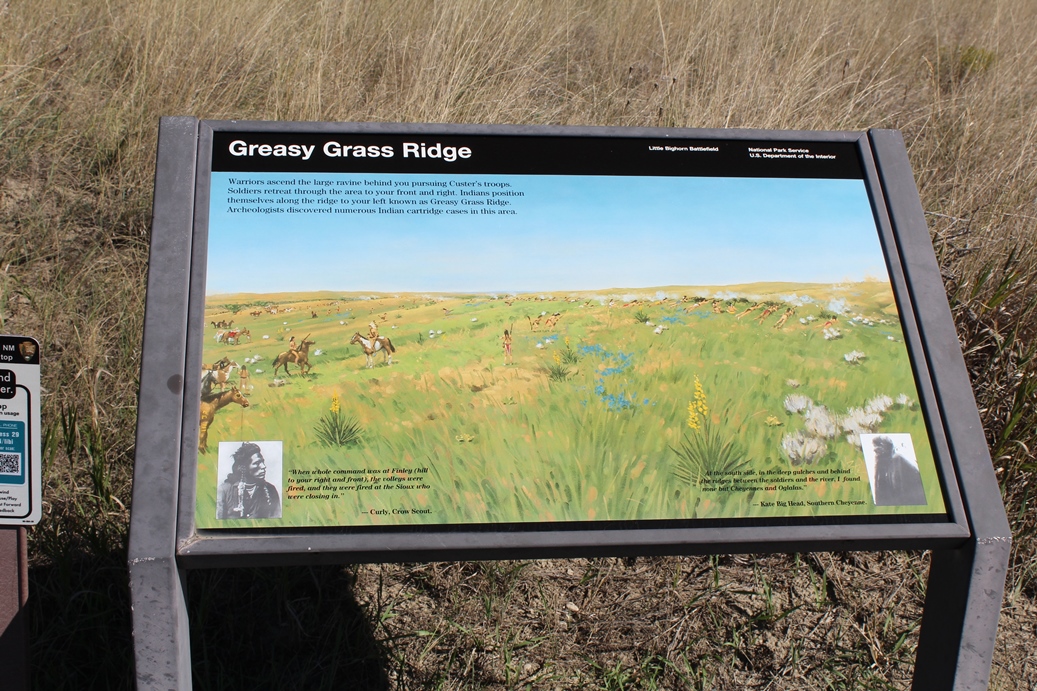
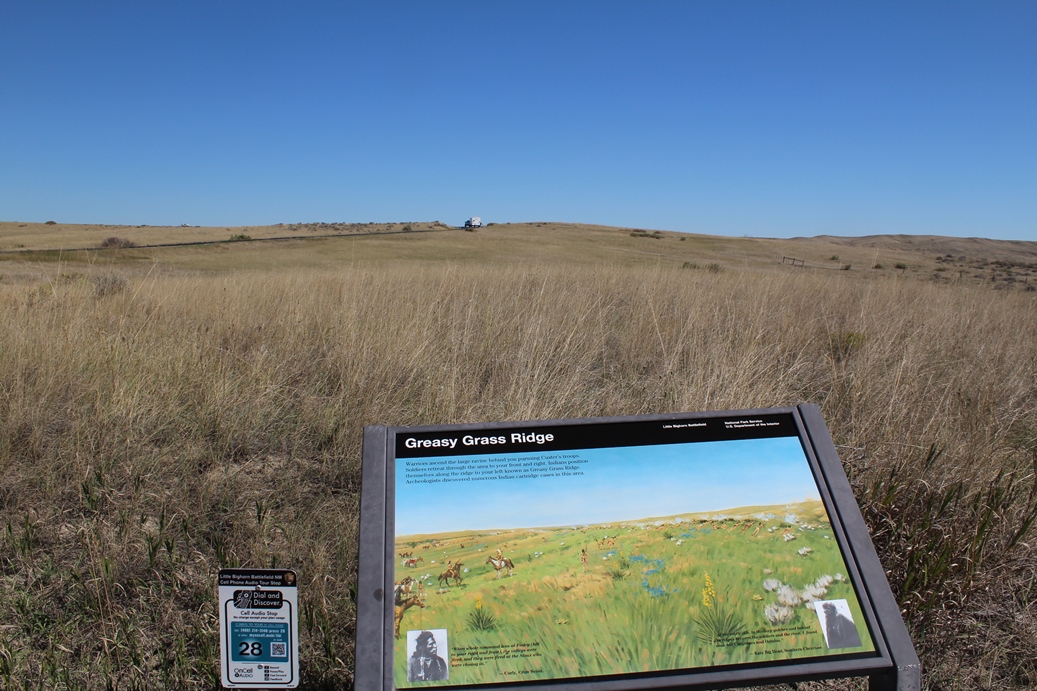
Medicine Tail Coulee and Ford, Deep Coulee, and Greasy Grass Ridge
(Click on Images for Larger Picture)
|
|
|

|
|
|
|
|
|
|
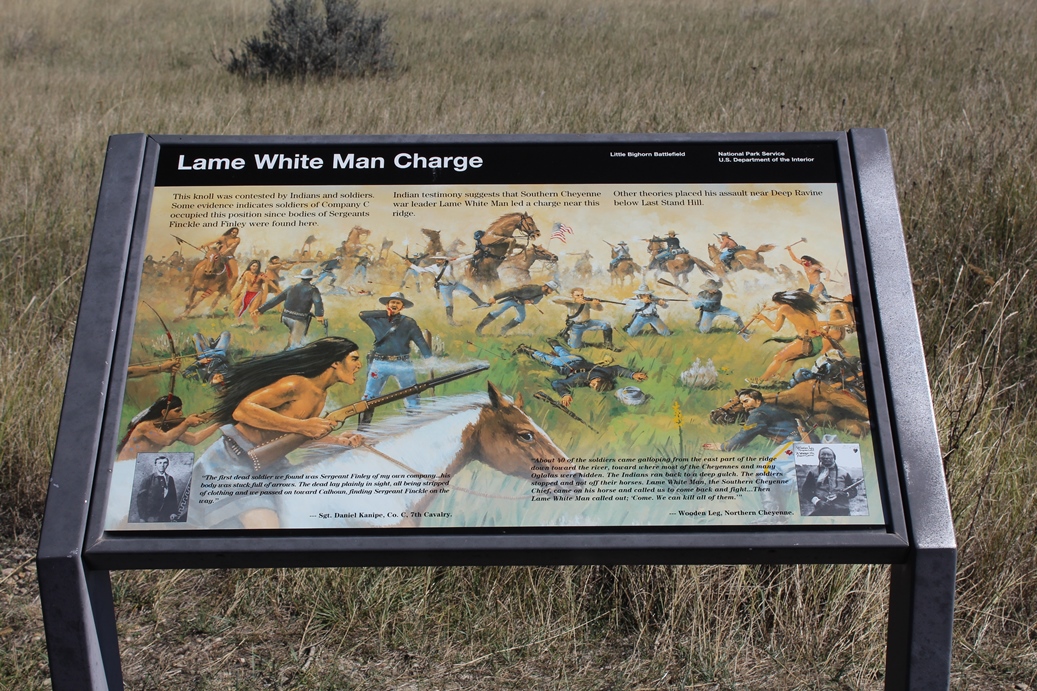
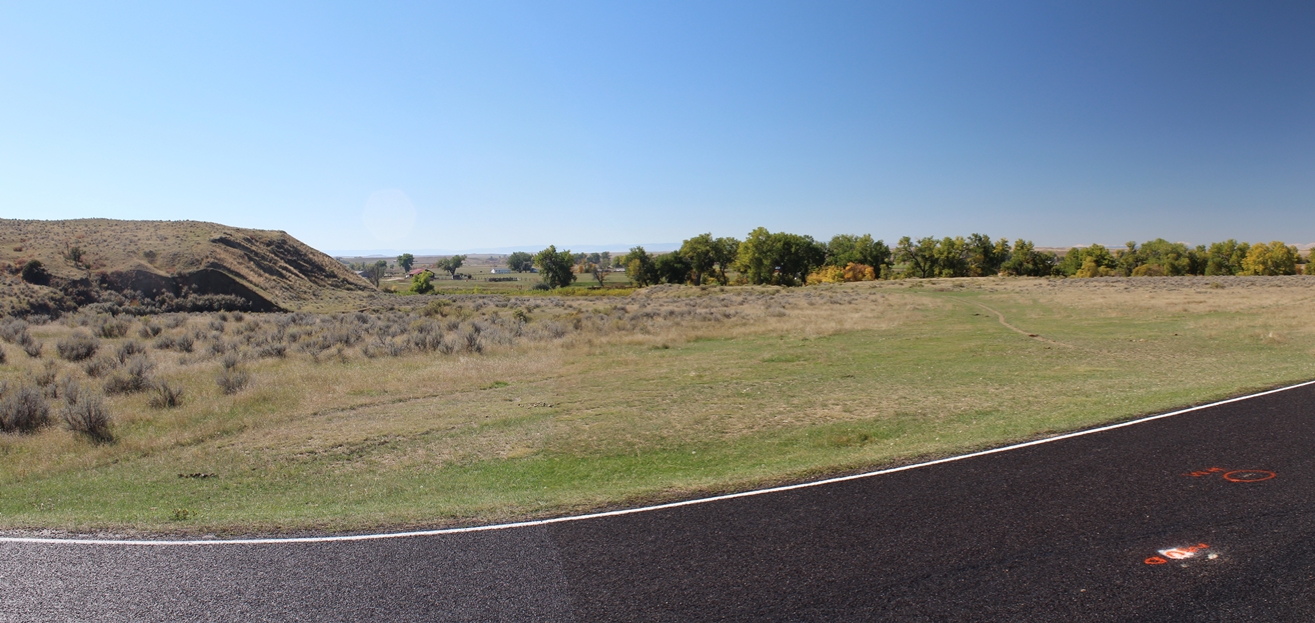
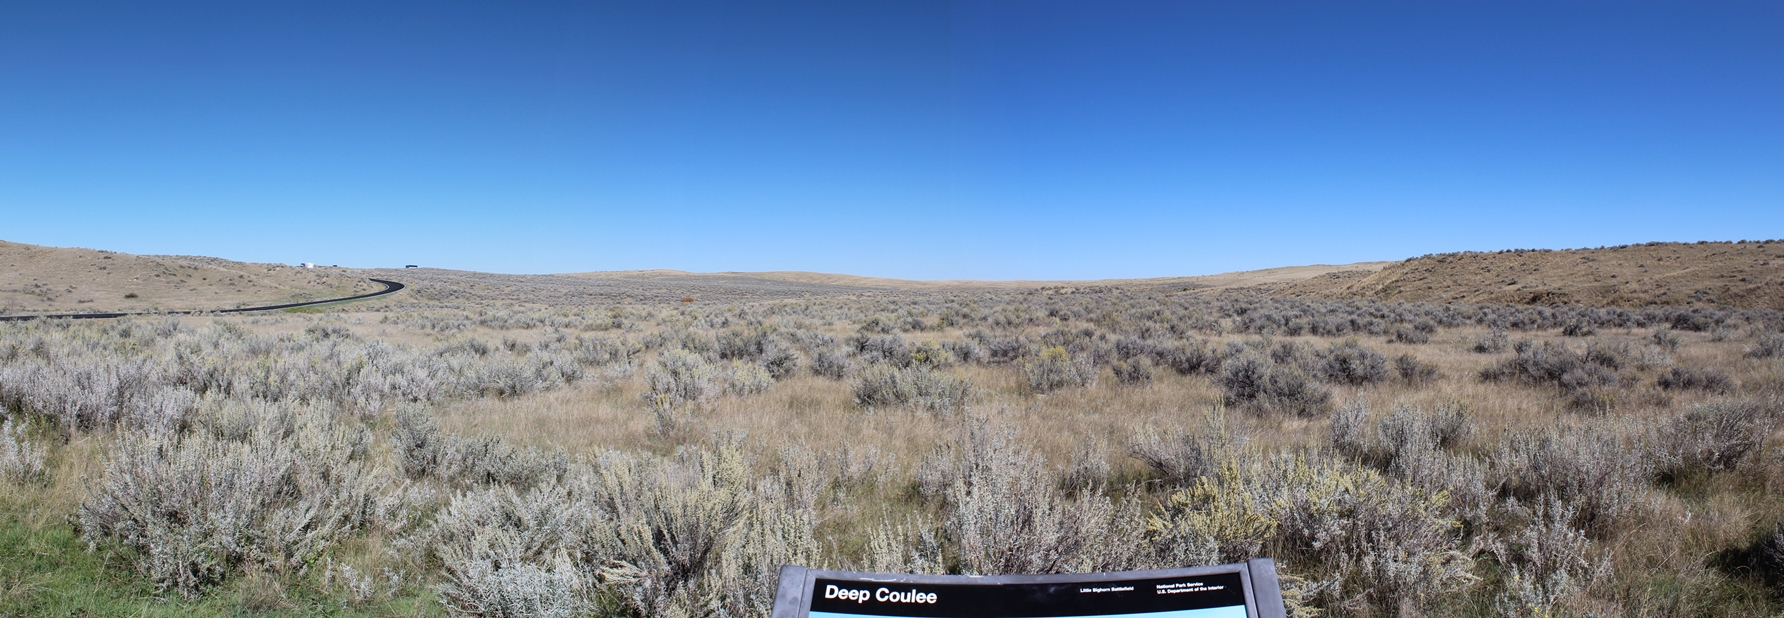
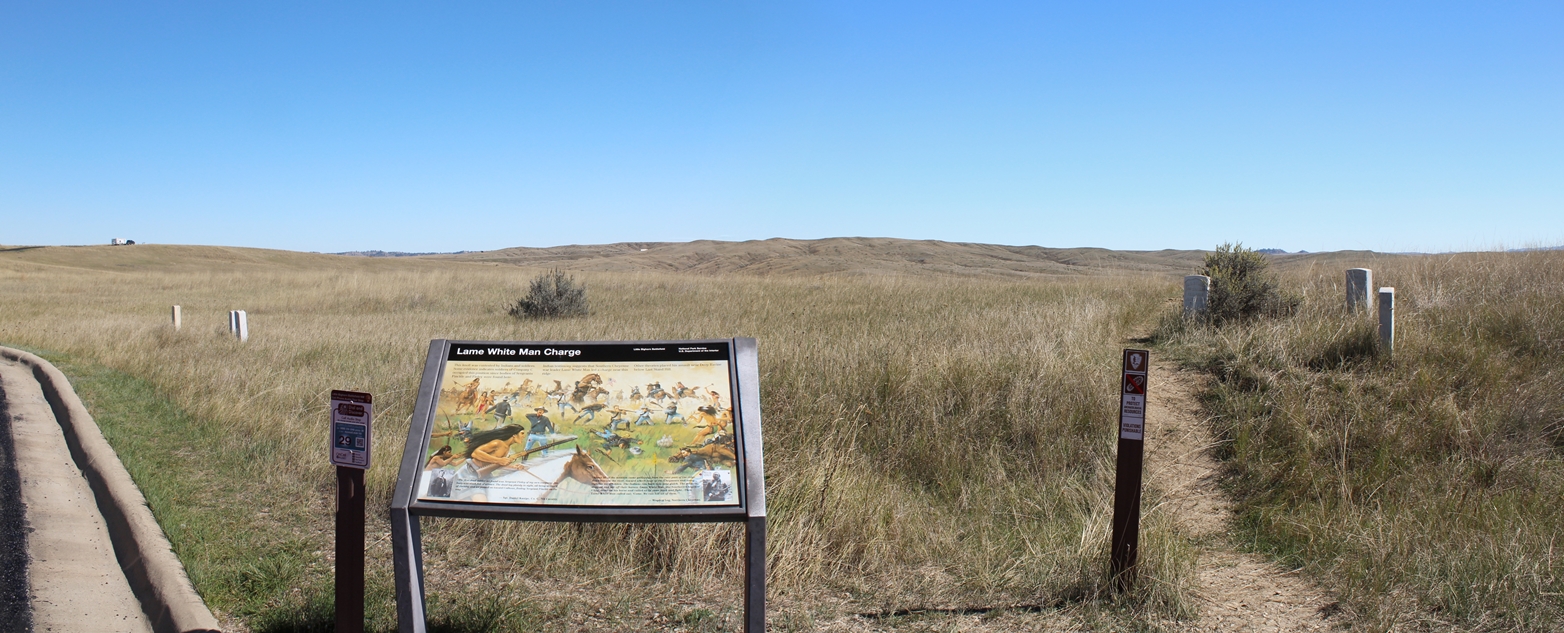
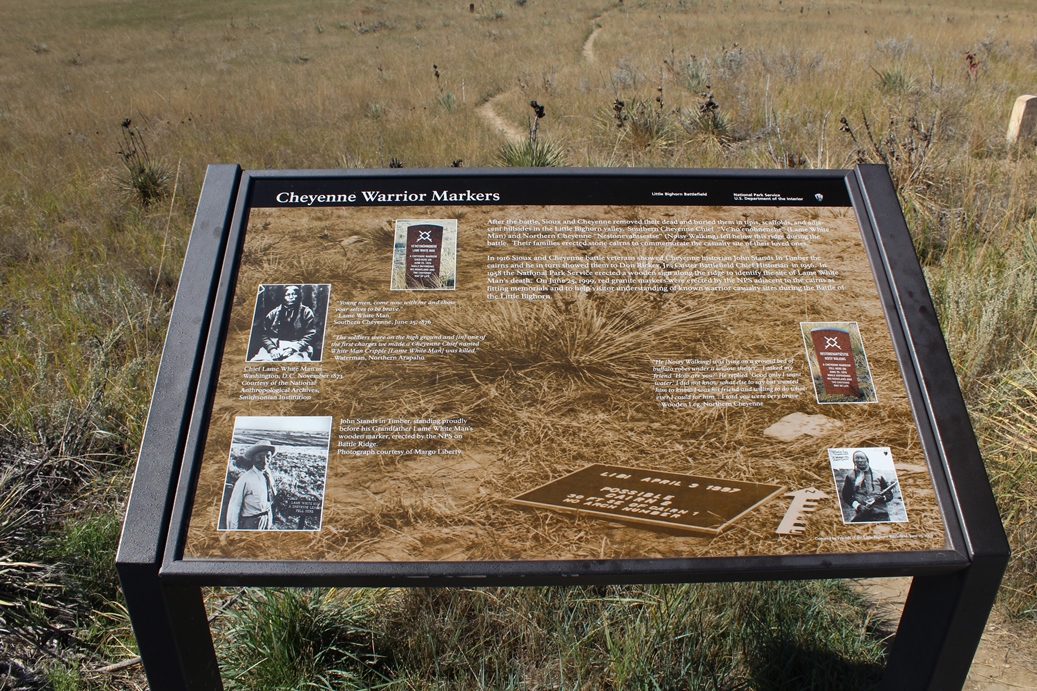
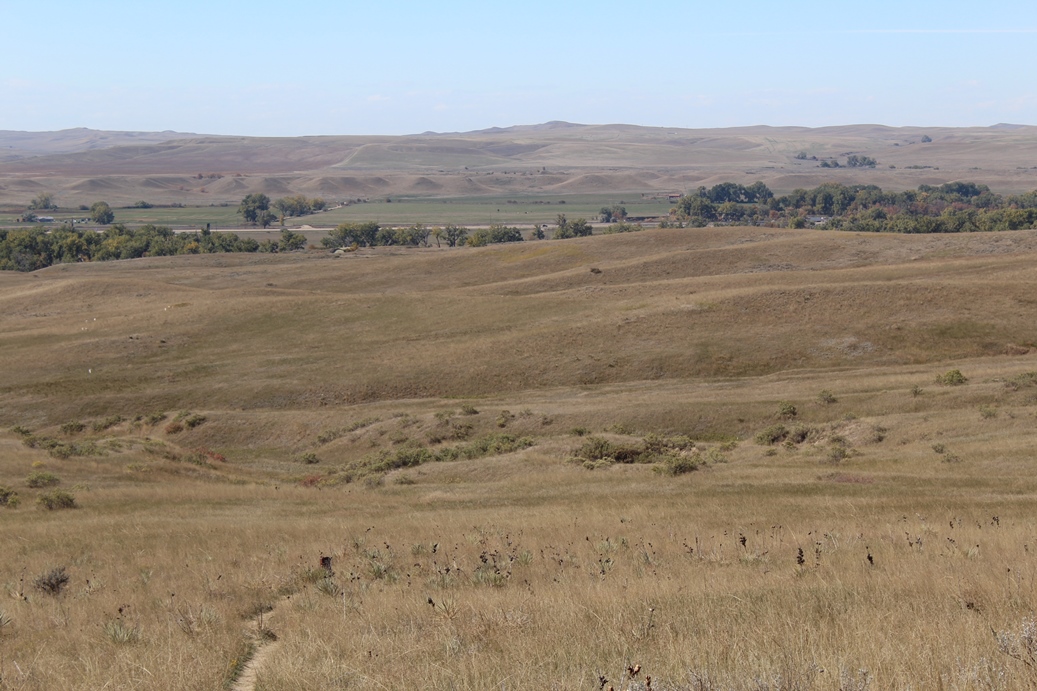
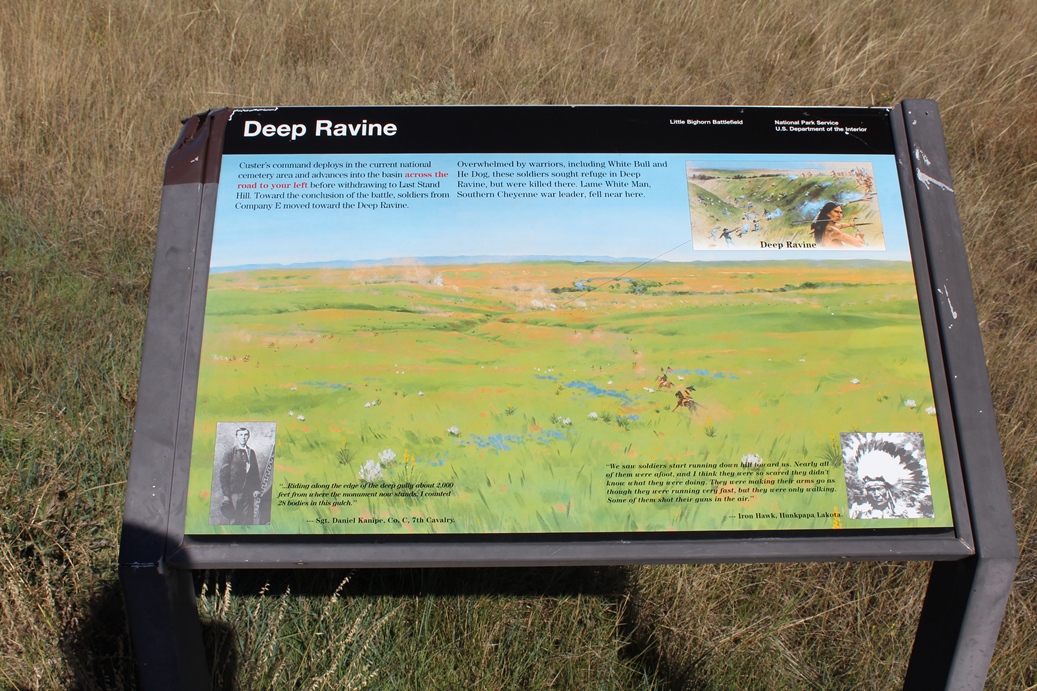
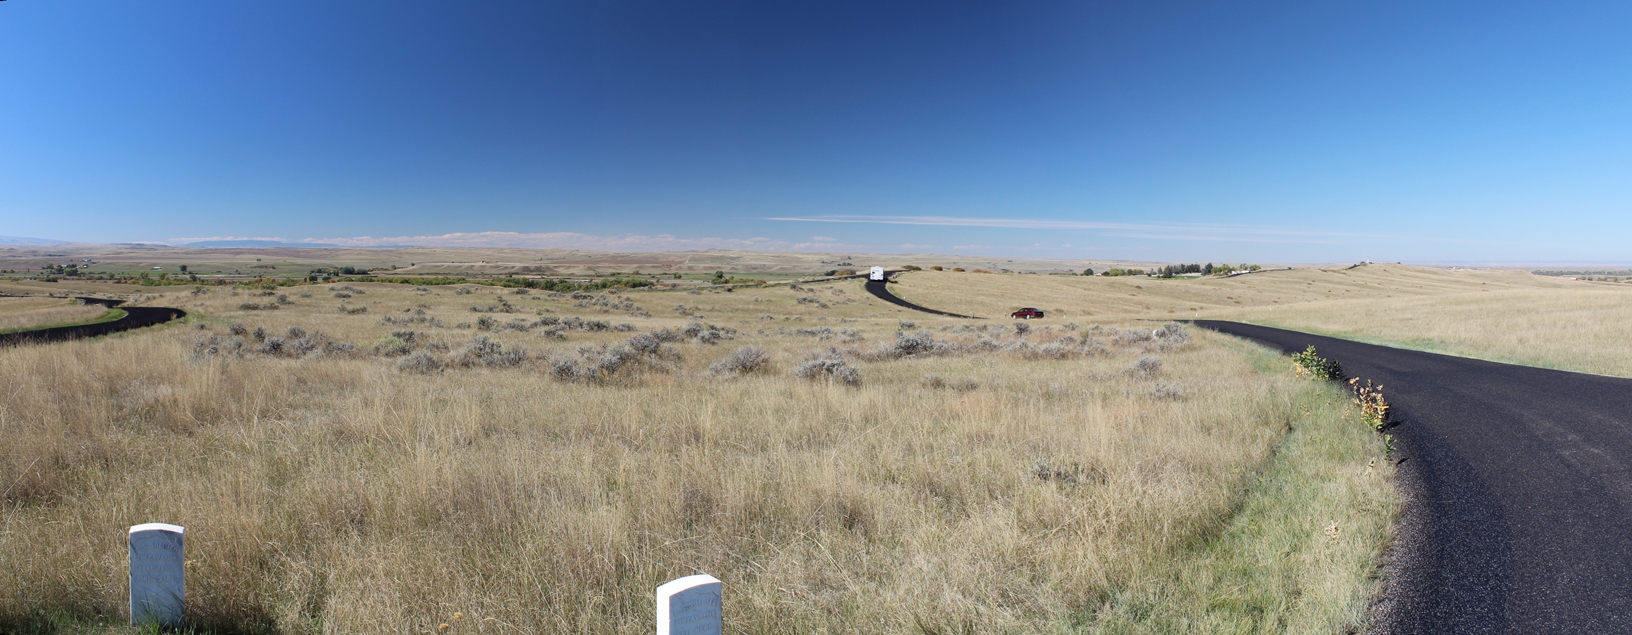
Between Weir Point and Last Stand Hill are many coulees, or small ravines, that lead down to the river. While I could spend a lot of time covering all that happened here, I will pass along the highlights instead. The coulees were used by Custer and his soldiers to get down from the high ground, and cross the river into the Indian Encampment at both Ford A and Ford B. The Indians also used these coulees to conceal themselves while they moved up to the high ground in pursuit of the soldiers, as they left the encampment. One Indian Leader, by the name of Lame White Man, managed to lead a charge up these coulees and push the soldiers back and eventually overwhelm them. This started the collapse that would eventually end on Last Stand Hill. |
Panoramic
(Click on Images for Larger Picture)
|
|

|

|
|
Calhoun Hill
(Click on Images for Larger Picture)
|
|
|

|
|

|
|
|
|
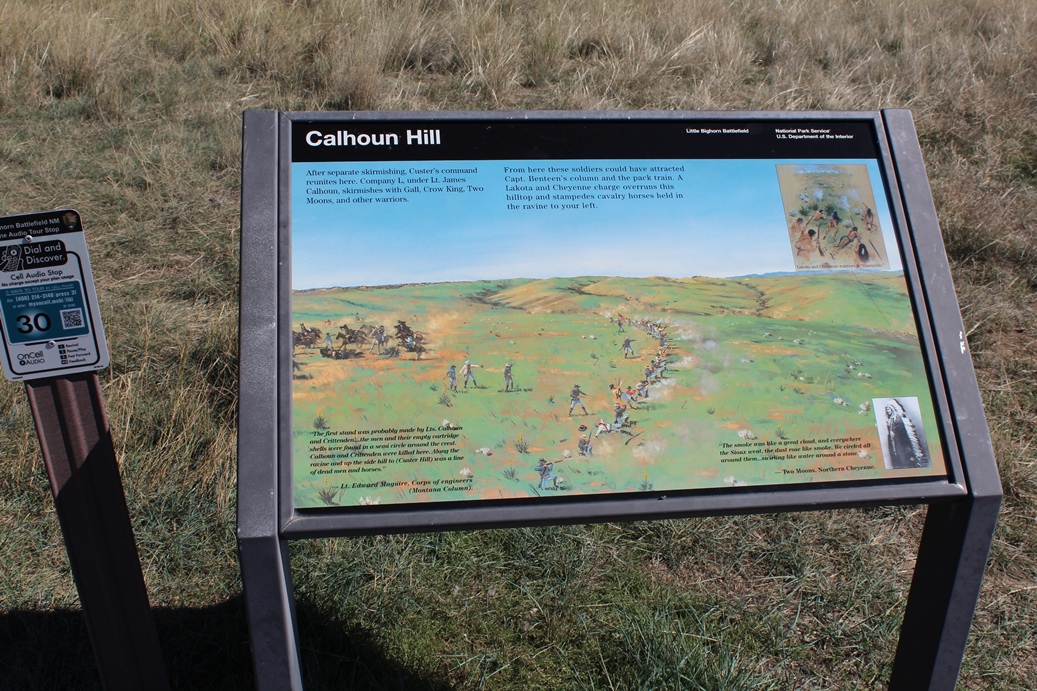
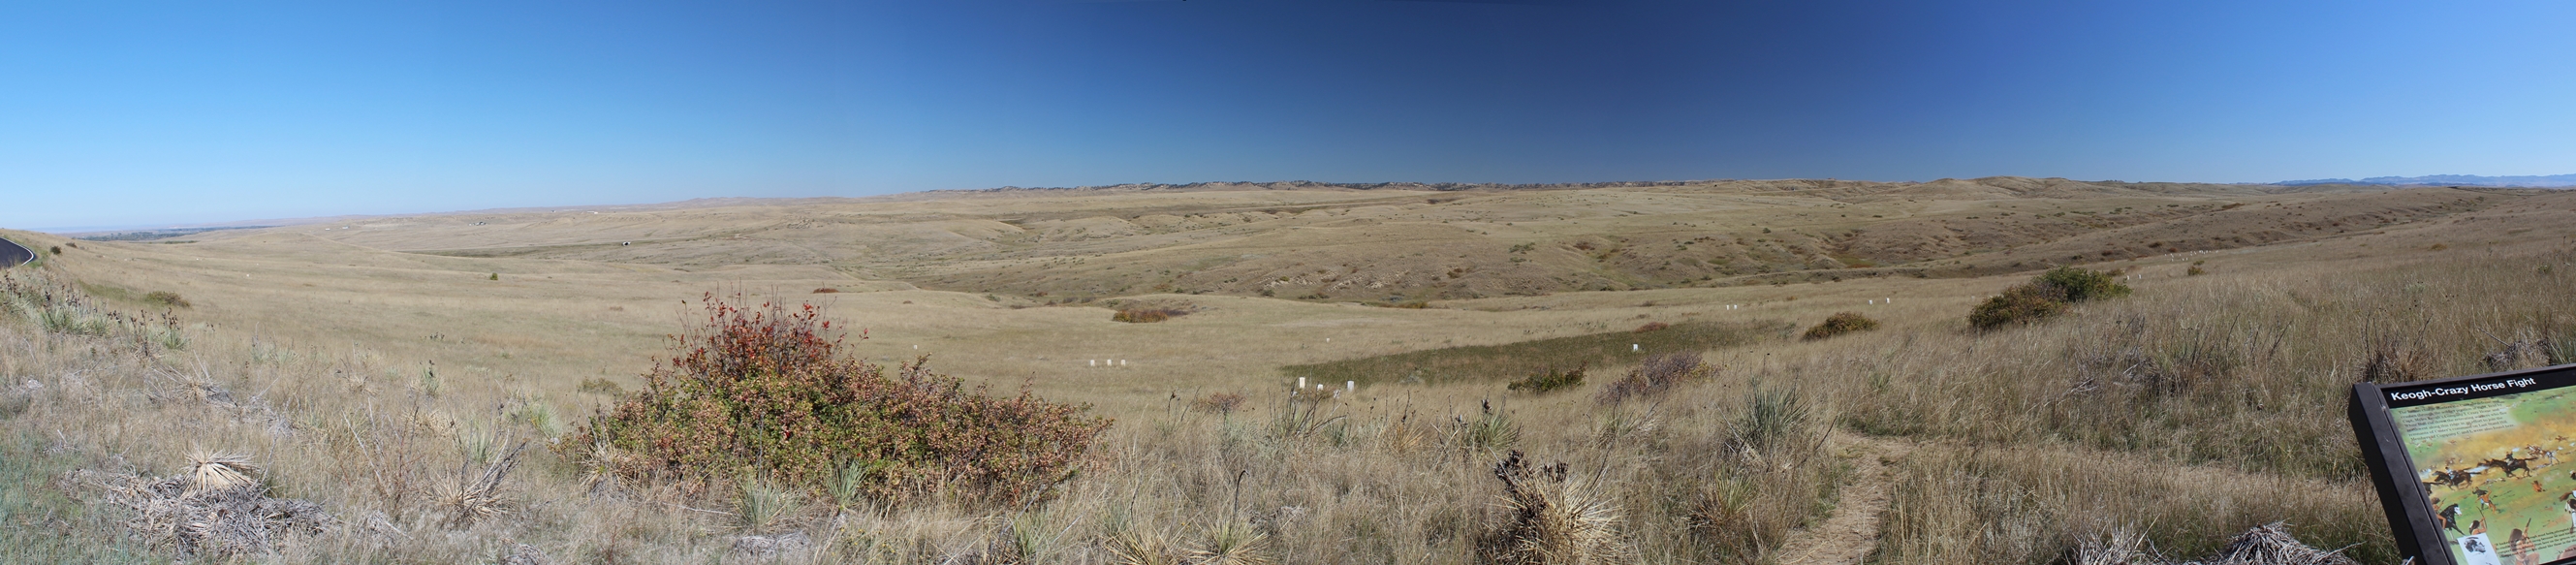
Calhoun Hill is named after Lieutenant James Calhoun. This hill was is were members of Custer's command reunited after recrossing the river from the encampment. They were chased up this hill by Lame White Man before his death, and were continually attacked by warriors lead by Gall, Crow King, and Two Moons. It was not long before the soldiers were overrun and forced to retreat to Last Stand Hill. Also during this attack, Crazy Horse, White Bull and his warriors manage to shatter the line held by Captain Keogh and cut down many of the soldiers as they fled along the ridge line in an attempt to join the remnants of Custer's command on Last Stand Hill. |
Panoramic
(Click on Images for Larger Picture)
|

|
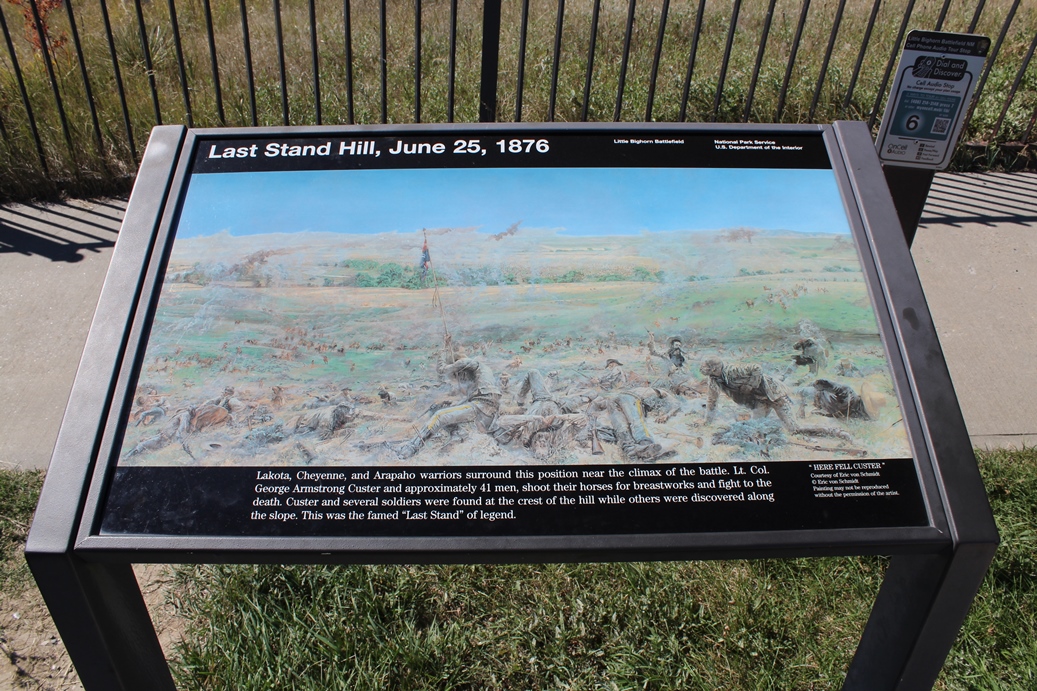
Last Stand Hill
(Click on Images
for Larger Picture)
|
|
|
|
|
|

|
|
|
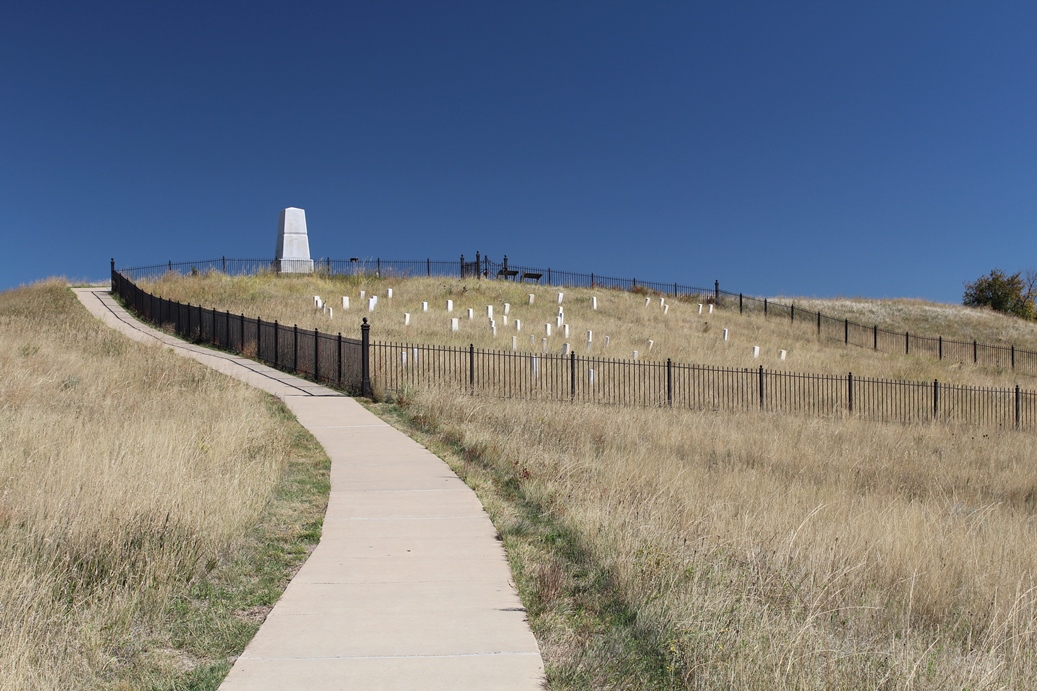
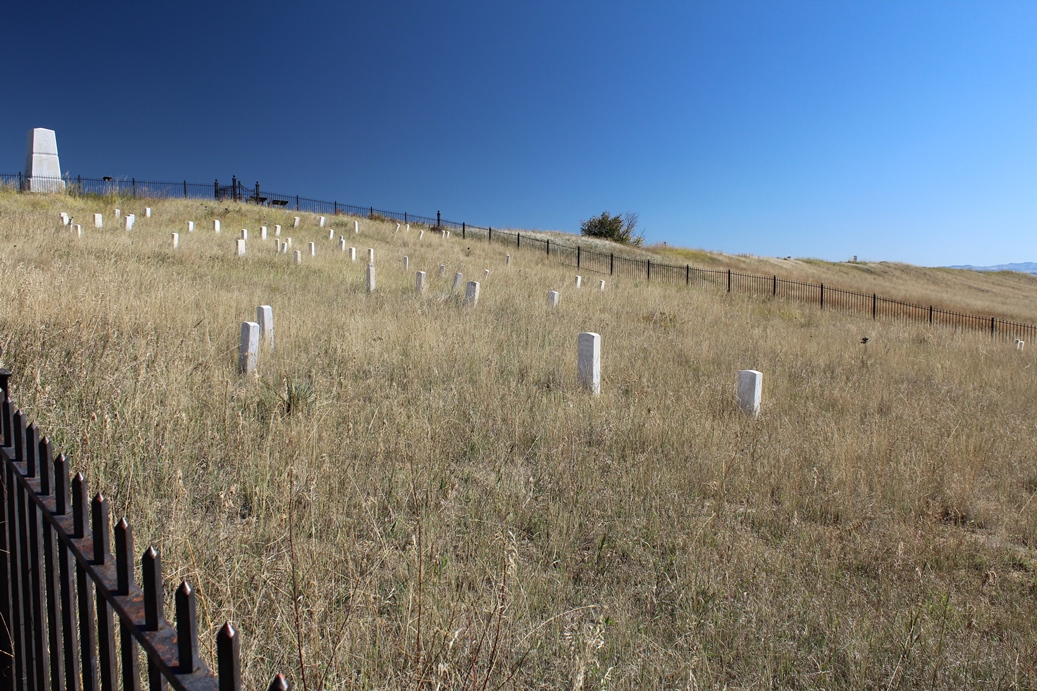
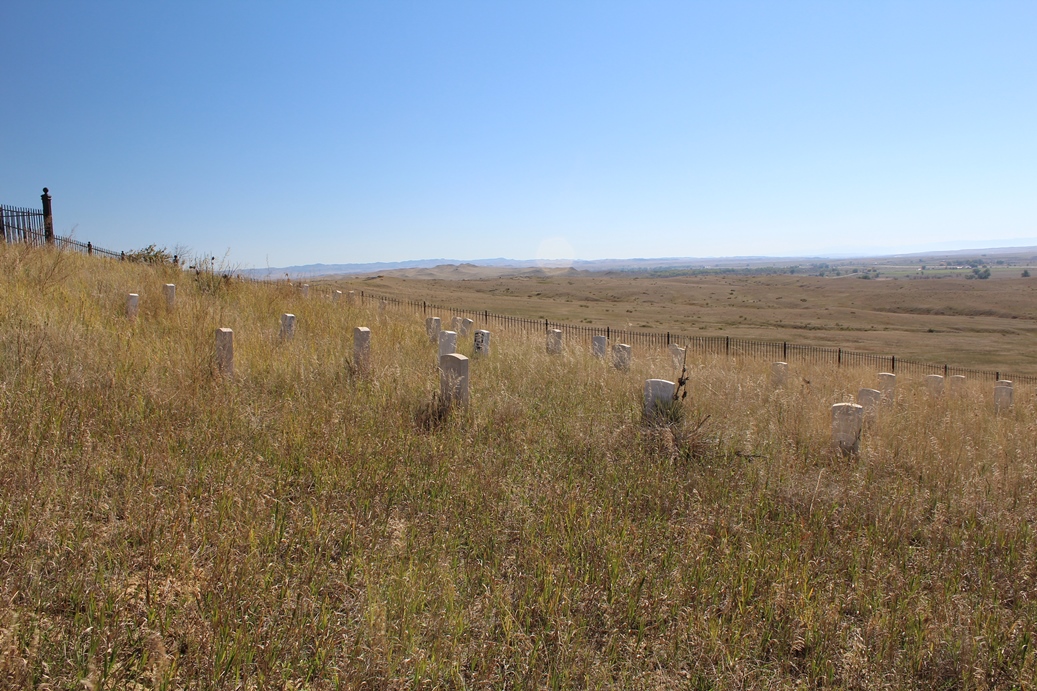
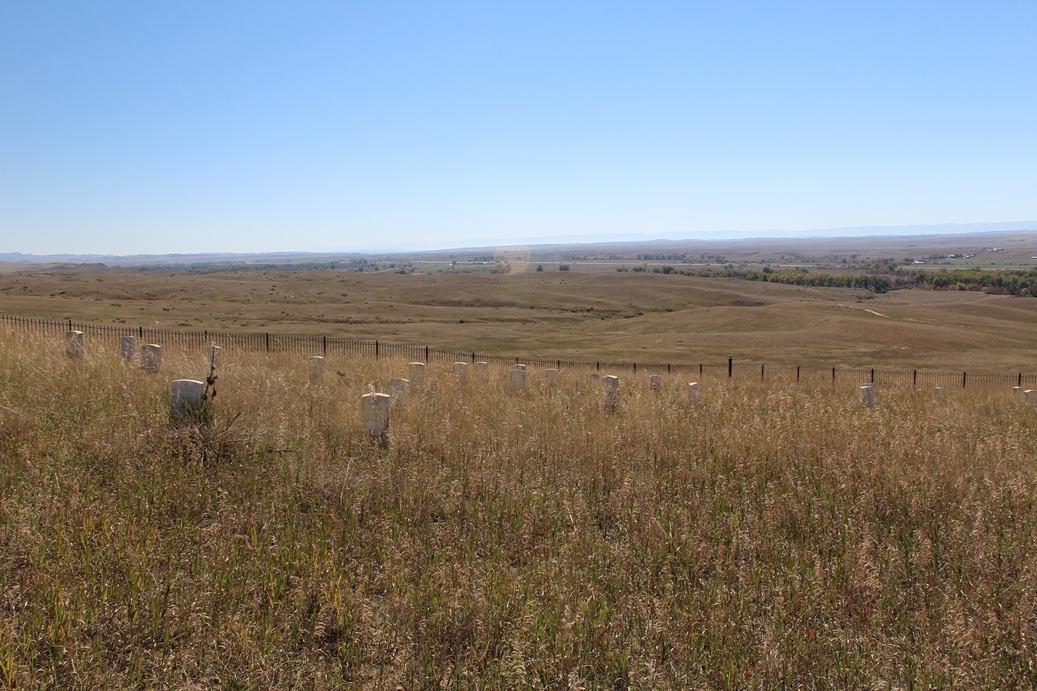
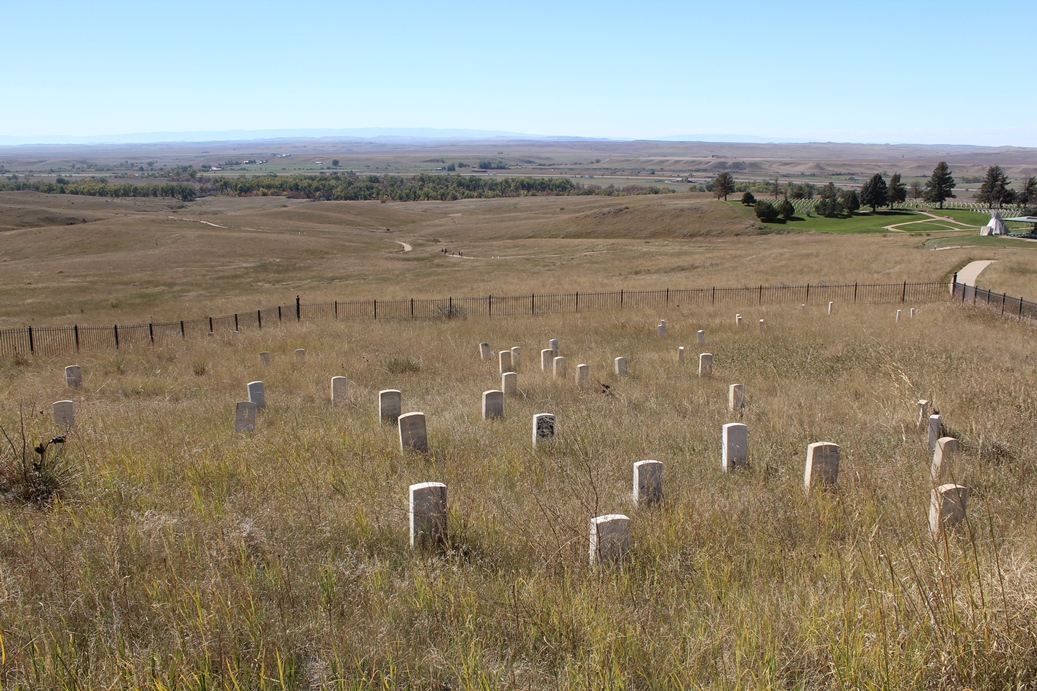
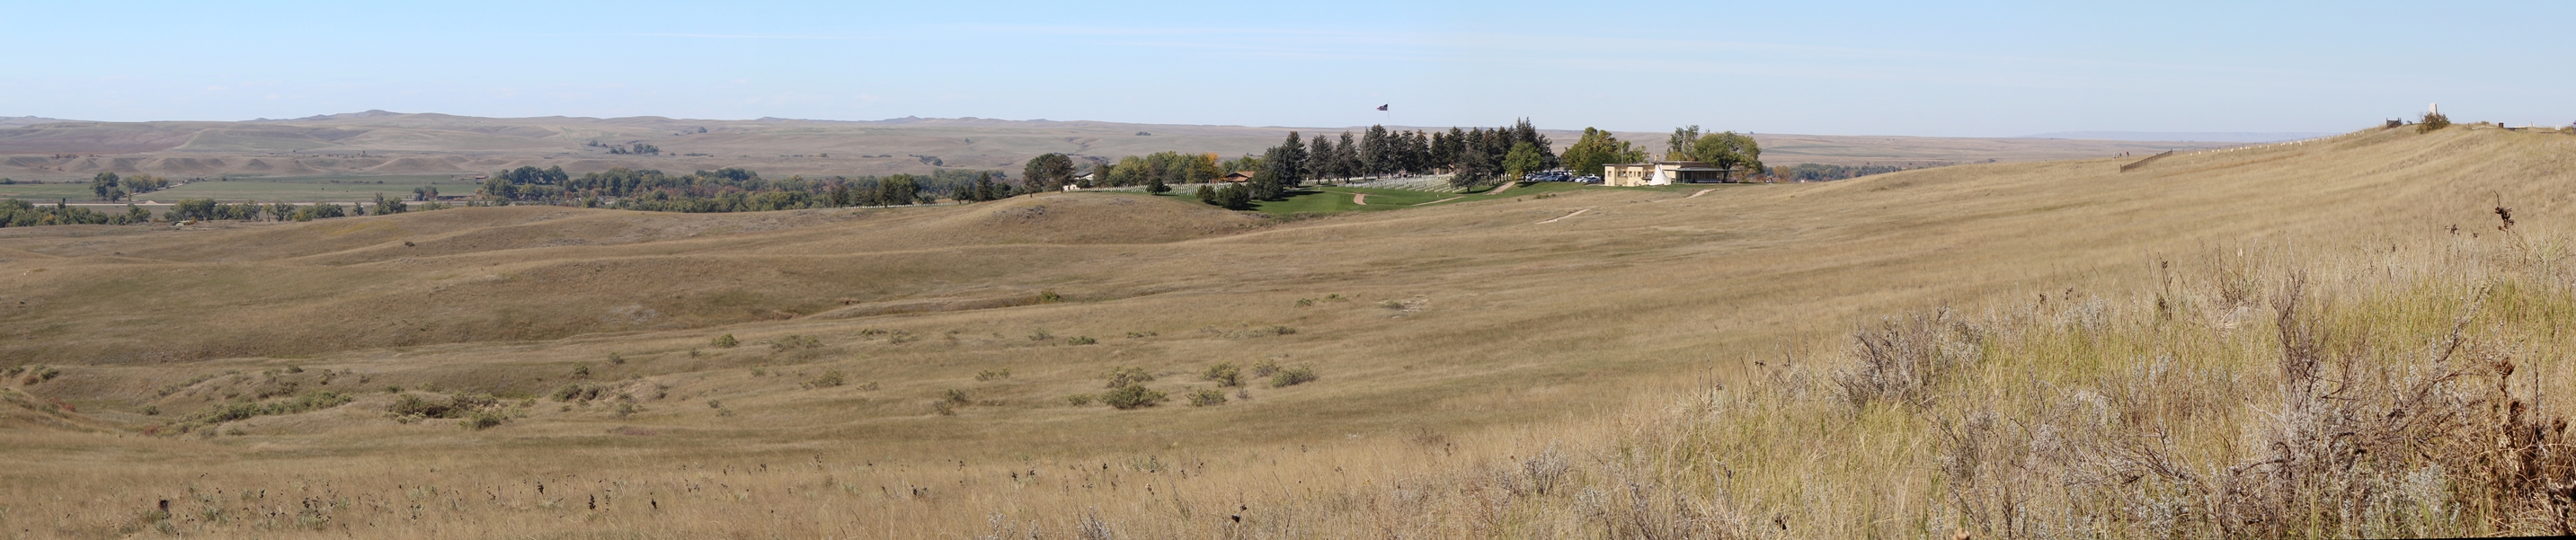
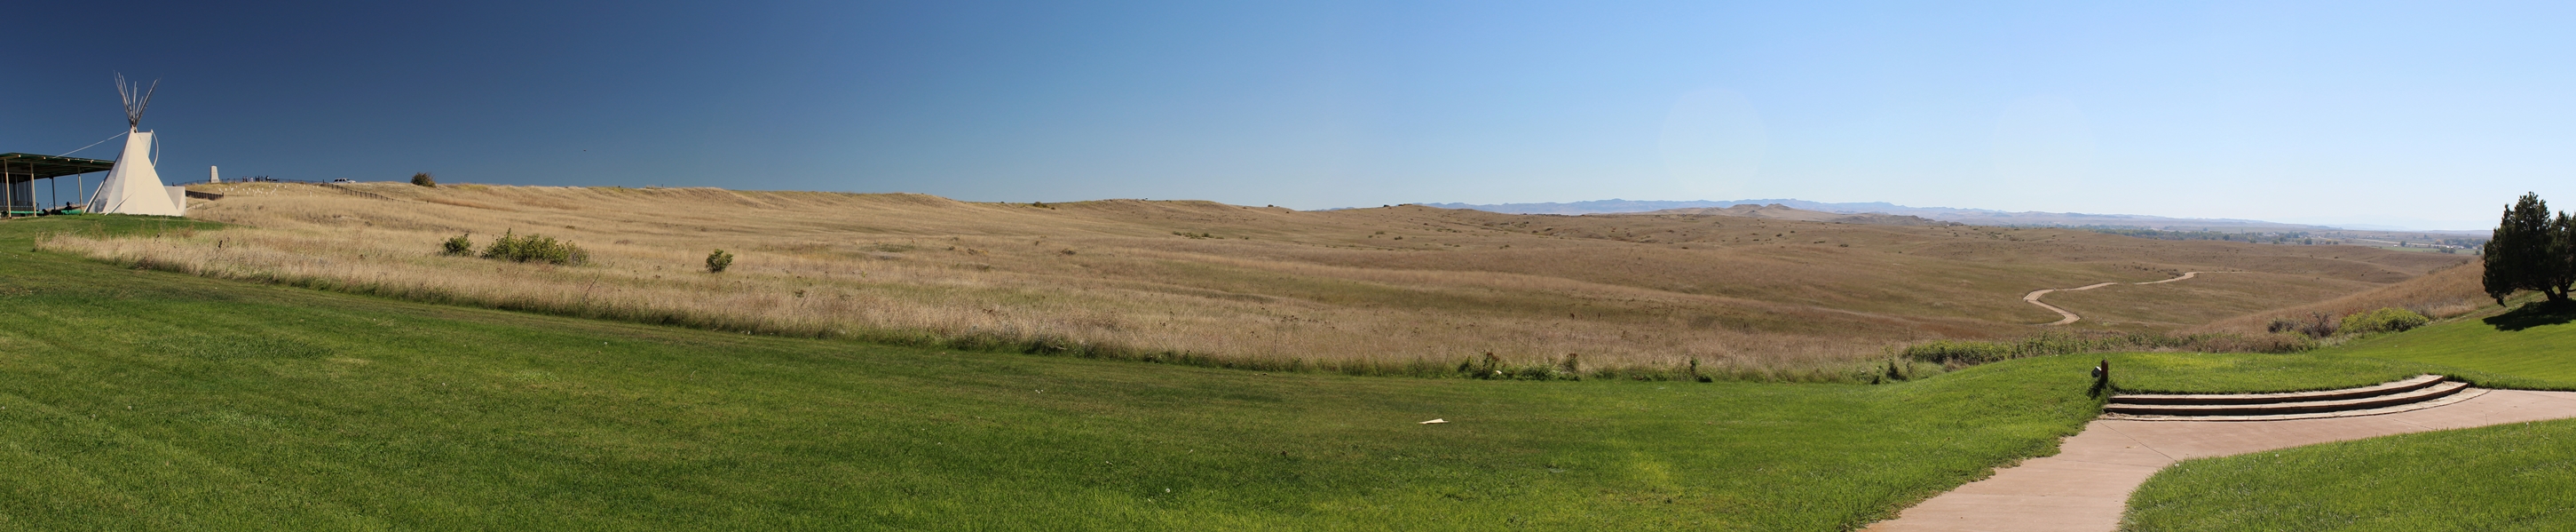
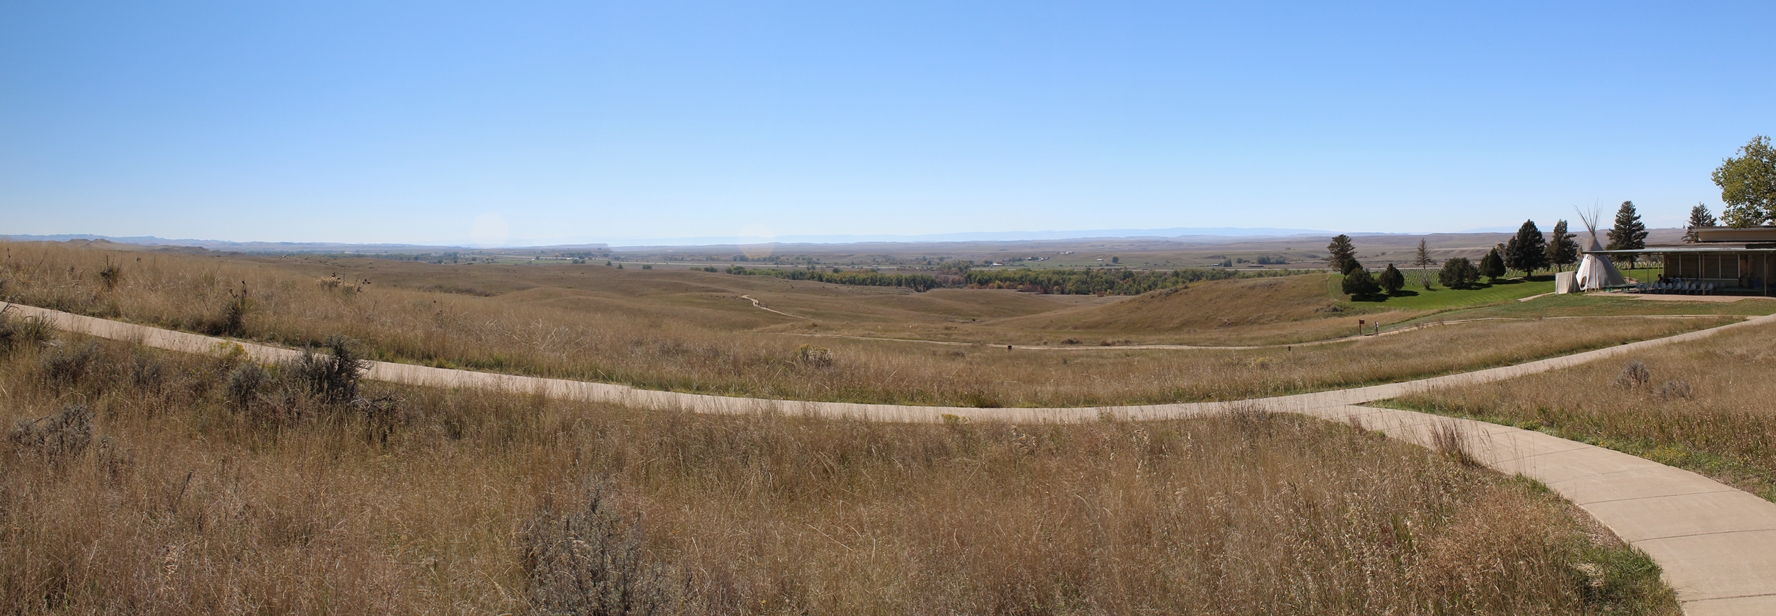
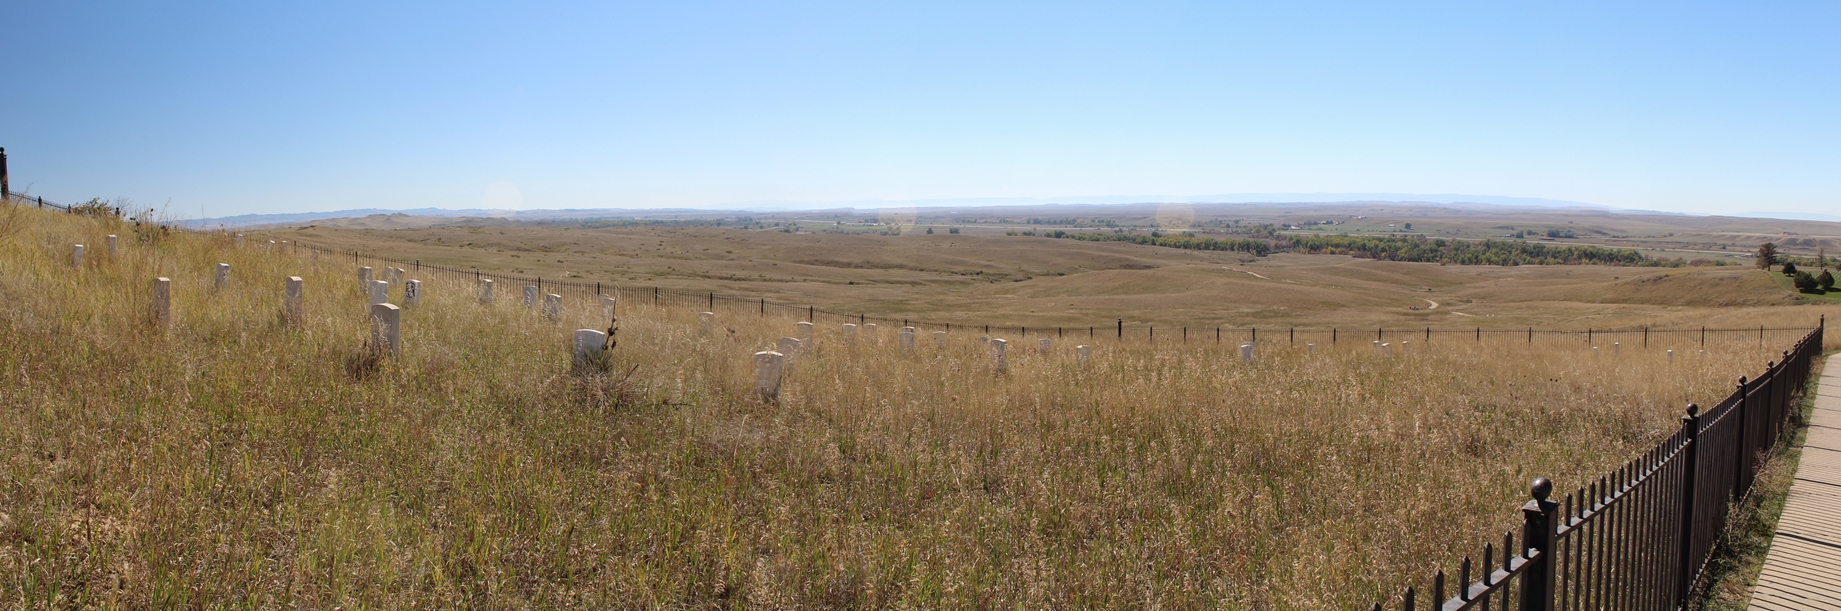
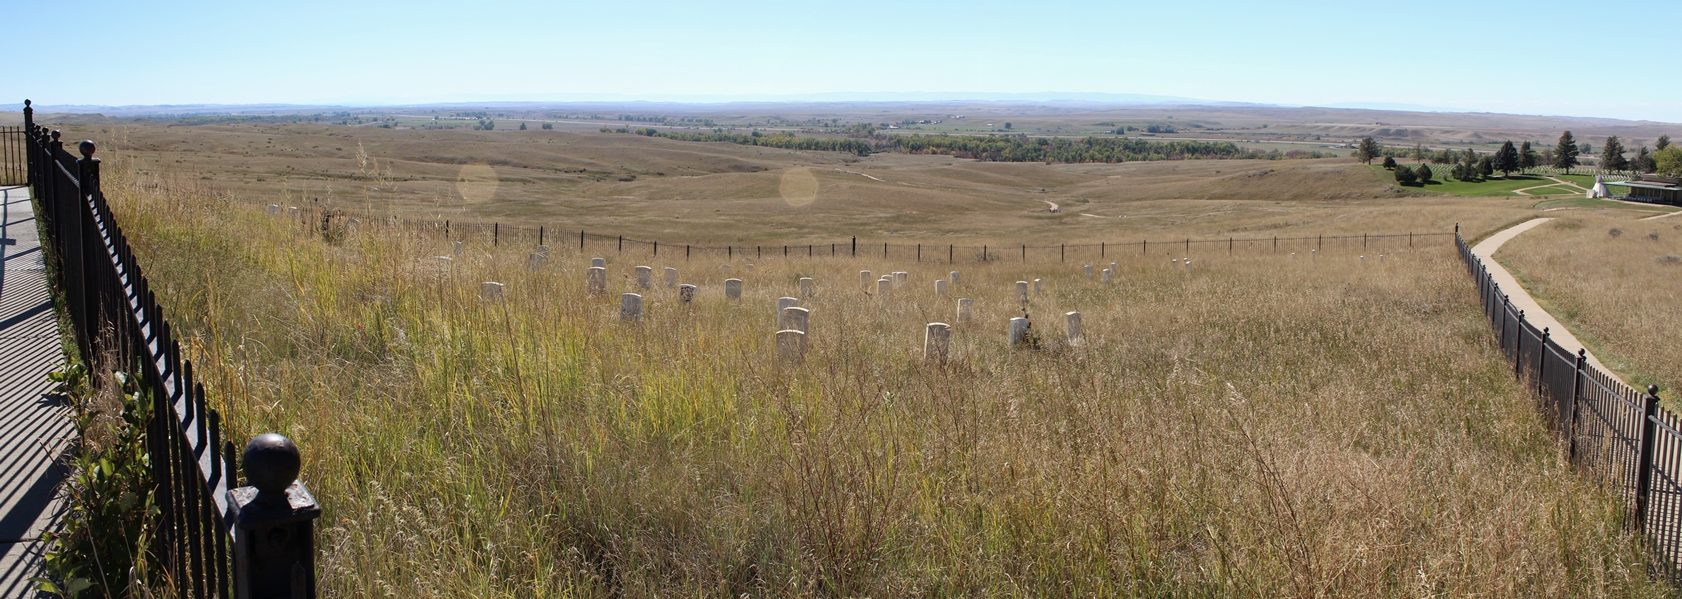
Contrary to popular legend, the battle on Last Stand Hill was a very brief one. Not the long drawn out conflict that was been depicted in so many stories and movies. While the final moments of the battle did take place here, it was truly moments, not hours. Custer had taken his command across the river twice, after crossing back over for the second time, he ended up in the location roughly were the National Cemetery is located today. Custer and his soldiers held their position here for some time, before they were drawn away, or pushed out, of this position. He took the only remaining ground open to them, Last Stand Hill. Here remnants of Calhoun's and Keogh's commands joined them for a brief struggle before finally falling. Some members of Custer's command are believed to have survived the ordeal by fleeing down the hill into the ravines at the base of the hill. But as their ammunition began to run out, they were eventually overrun and defeated. As I mentioned before, the one thing that probably saved Reno and Benteen was the ground they were situated on. It was high, with lots of cover for the soldiers, and the Indians had a difficult time making it up to the top. On Last Stand Hill, there is no cover, other than the high ground. It was extremely exposed and with the coulees at the base, the Indians had perfect cover for fire and concealment. Custer and his soldiers did not stand a chance on this open hill. |
Panoramic
(Click on Images for Larger Picture)
|
|

|
|
|
|
|
|
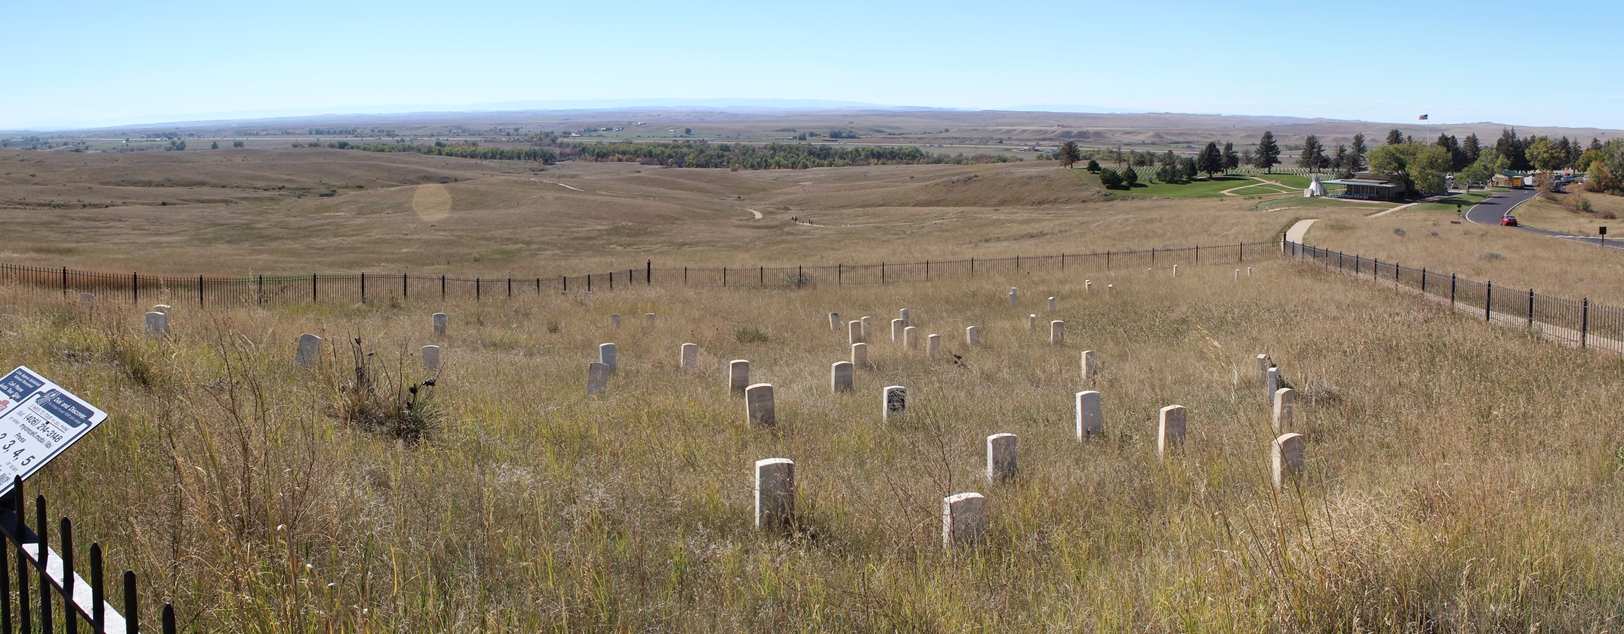
Markers
(Click on Images for Larger Picture)
|
|
|
|
|
|
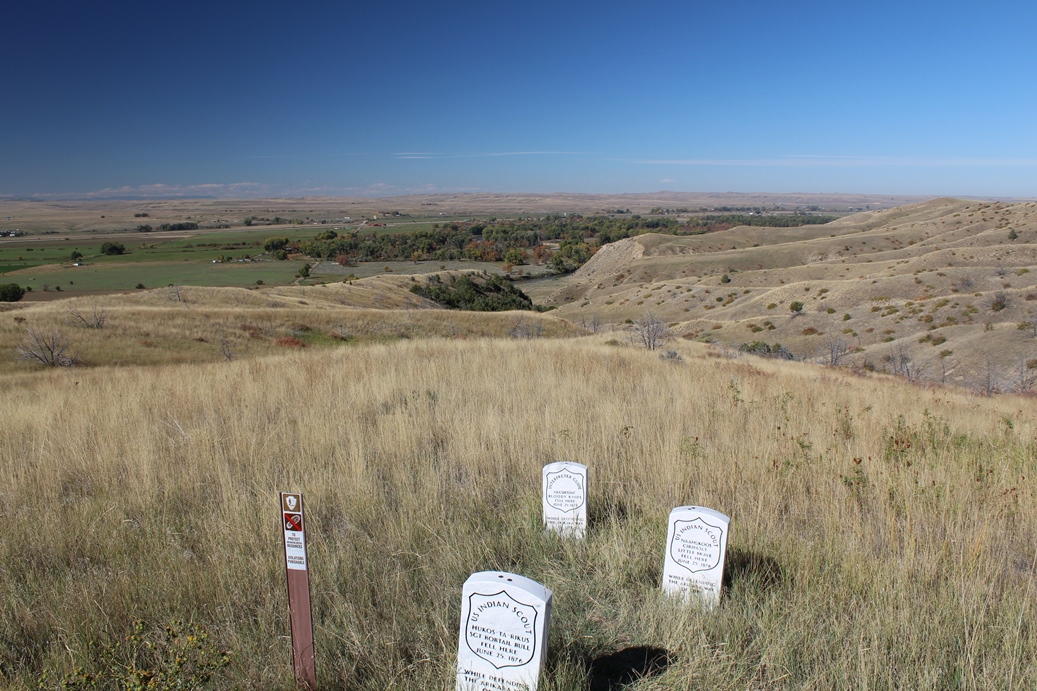
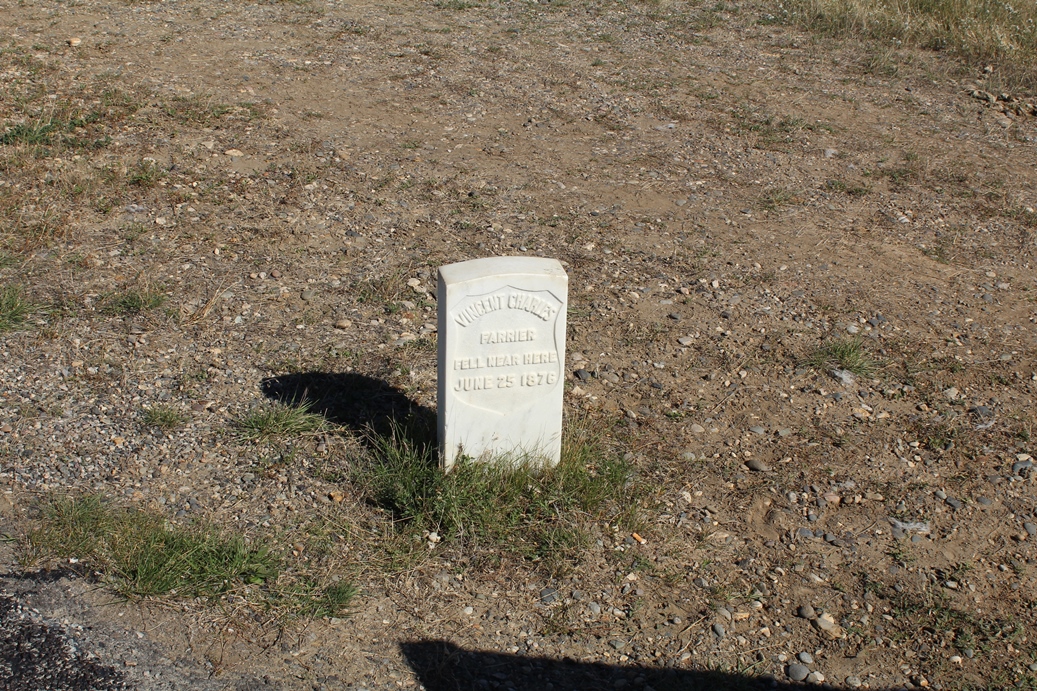
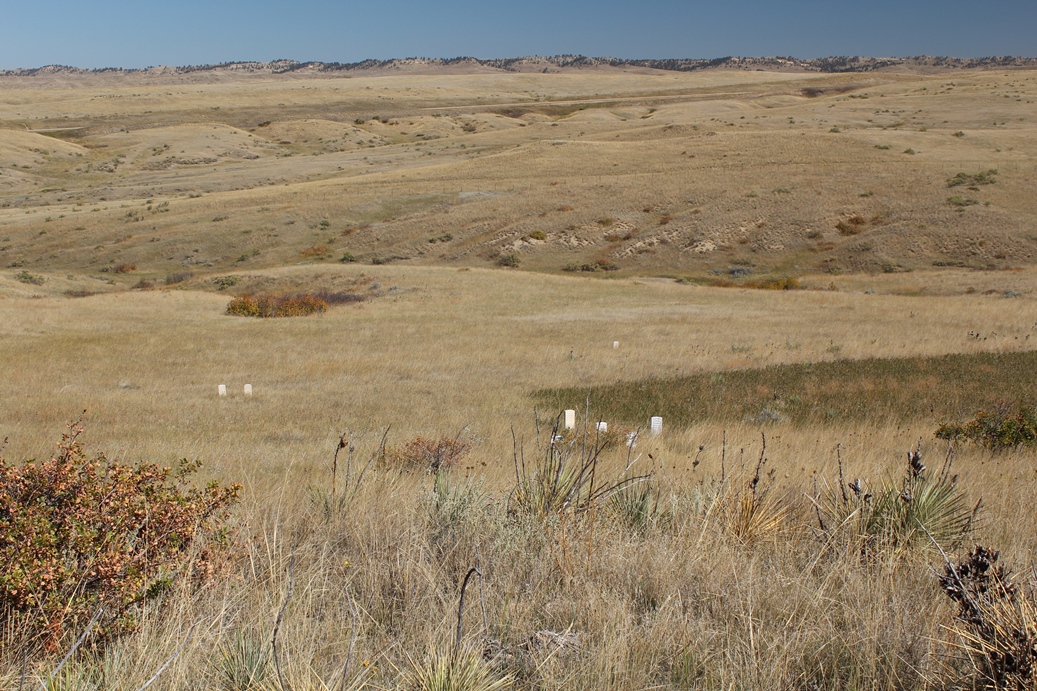
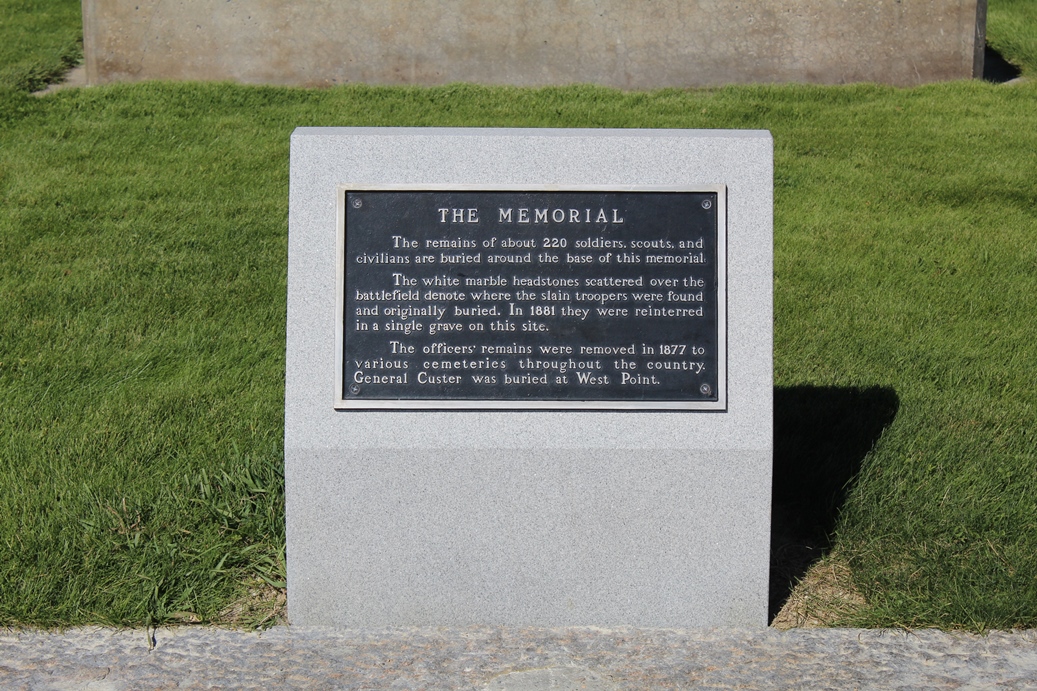
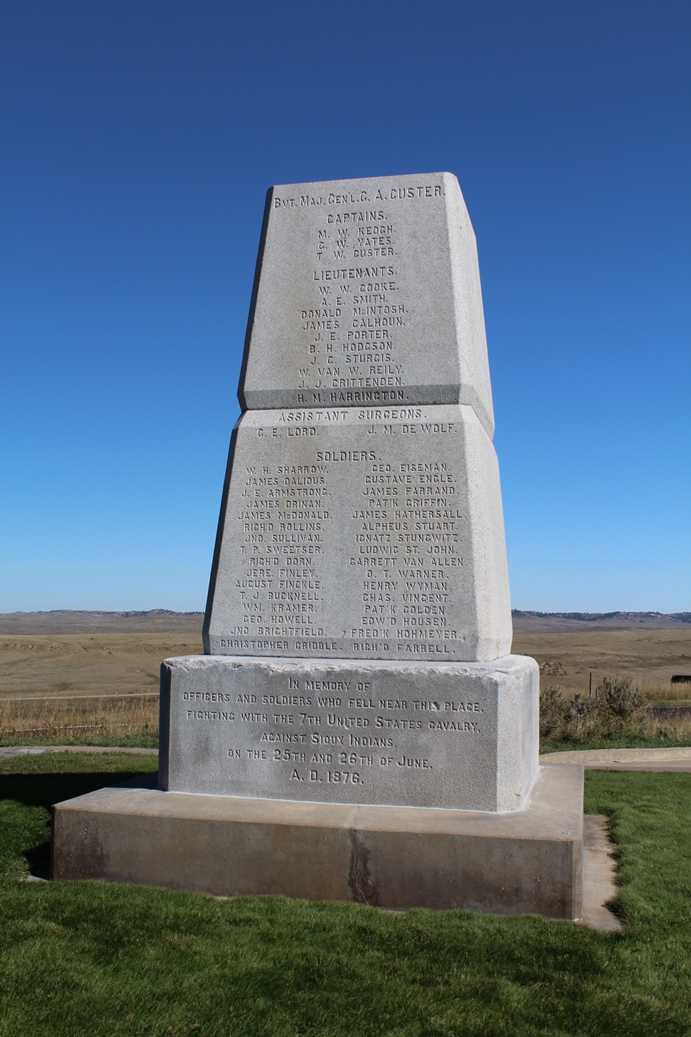
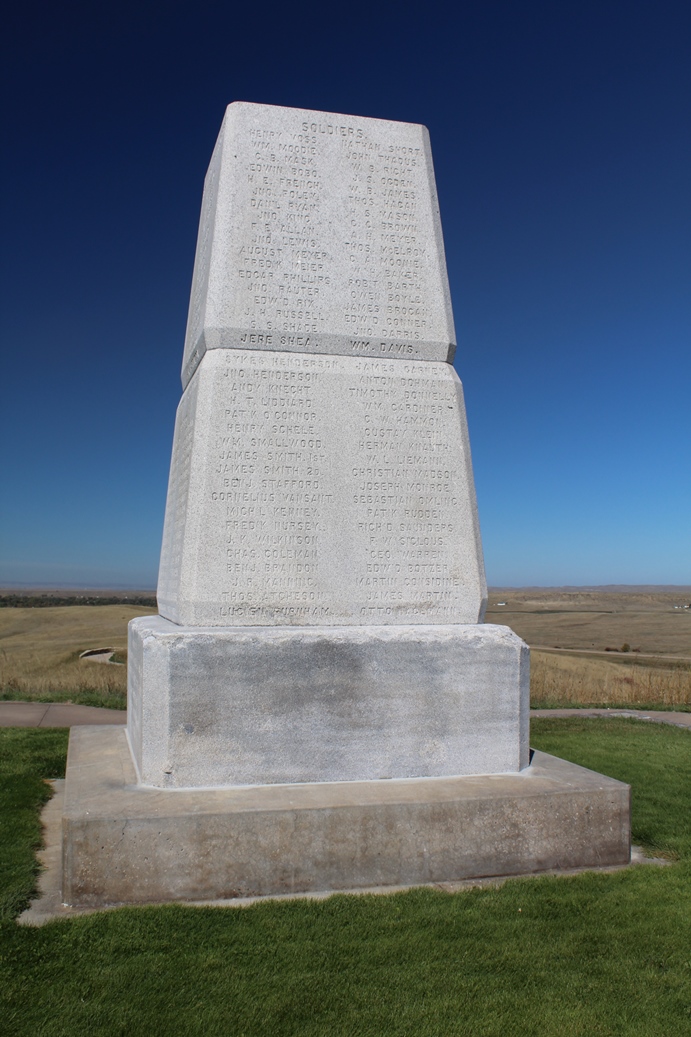
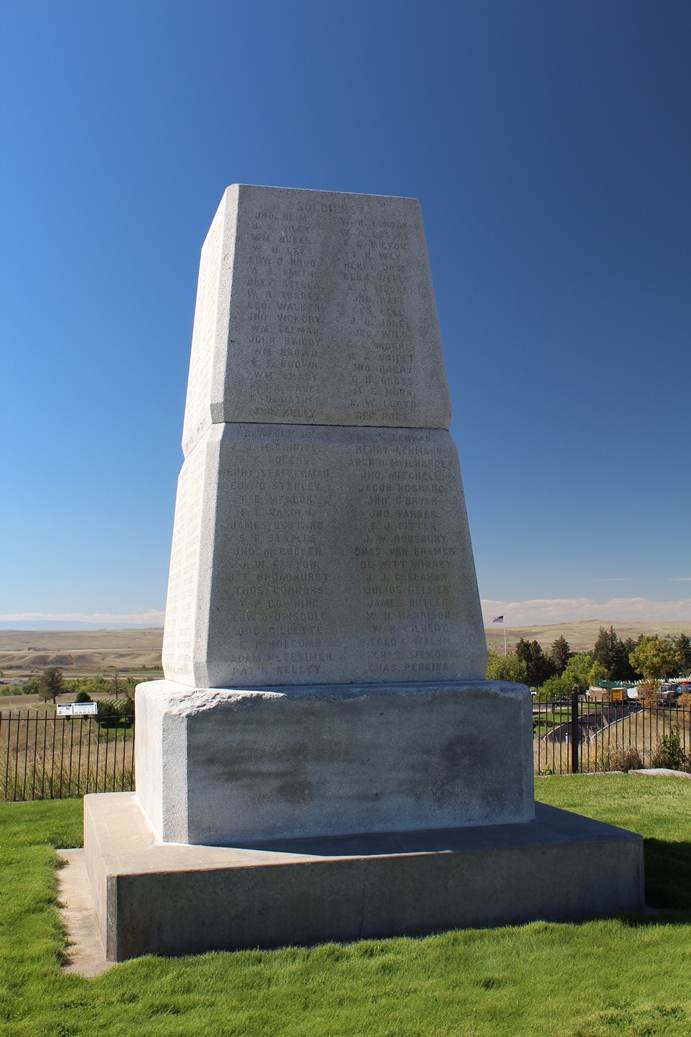
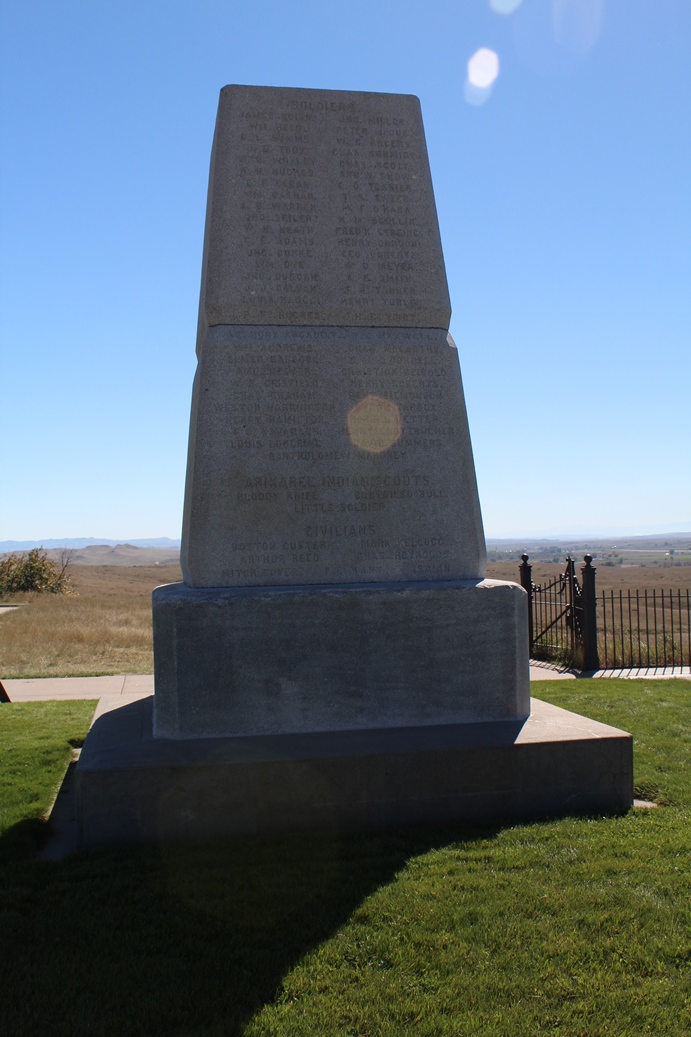
One of the items you will notice on the battlefield are markers that look like headstones. While these do mark the approximate location of where soldiers, and Indians, fell, they do not have remains underneath them. Most of the markers were place well after the battle where remains were found, but it was not an exact science. Much of the new archeological studies to prove that the markers are good reference points to troop movements and gives the visitor a good idea of the flow of battle that day. There is one exception to this rule; however, and that is on top of Last Stand Hill. Many of the soldiers that died that day were moved and interred on top of this hill and remain beneath the white monument. Many of the officers had been taken home, as well as Custer himself, but the majority of the soldiers were laid to rest here. |