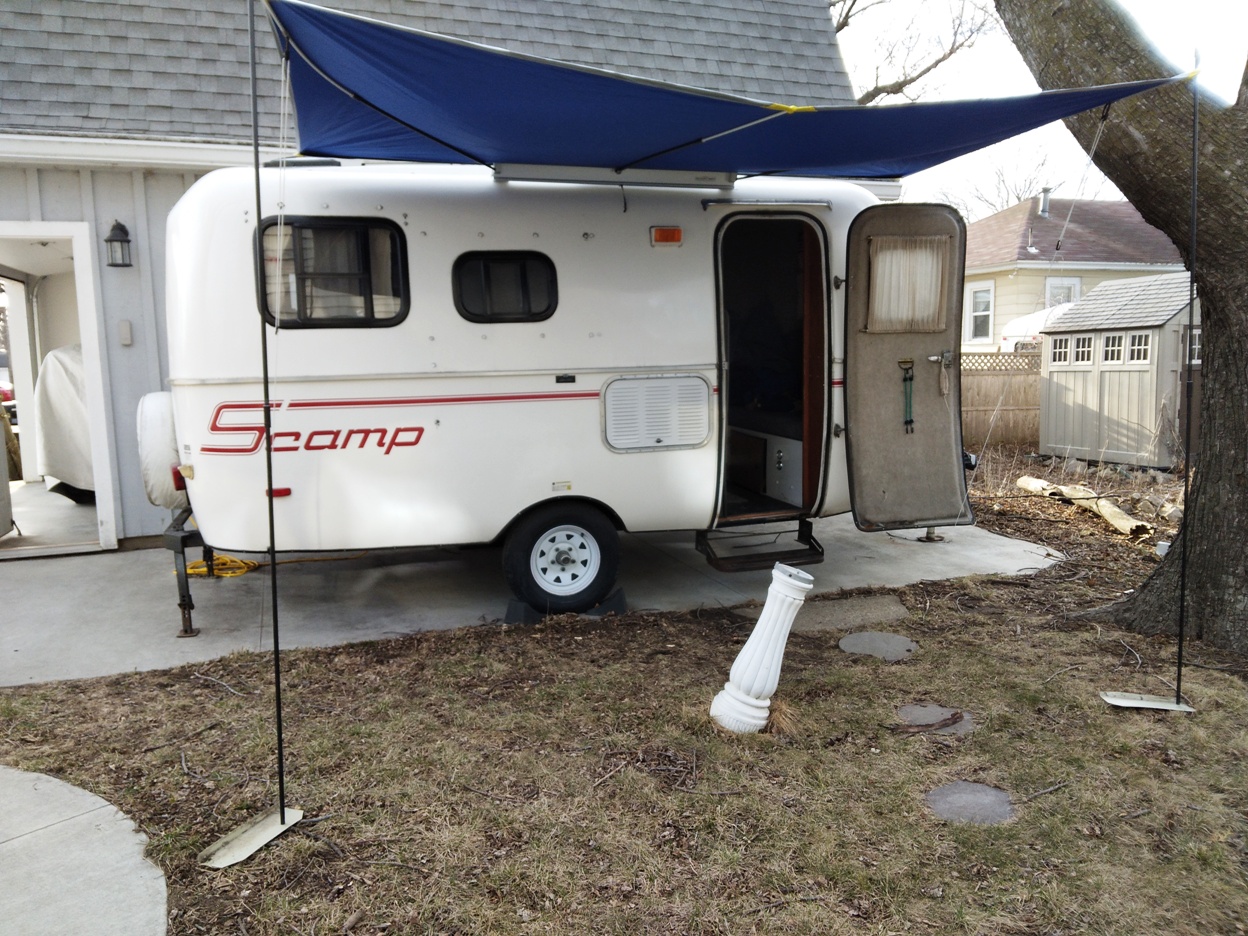
While our Scamp was fairly complete when we purchased it, we have made some modifications over the years to improve the function and utilization of the camper. While I have these shown and described on the various Scampering About pages, I thought it would be a good idea to have a single page that shows all of the modifications we have made over the years as a single point of reference. Below you will see how we incorporated solar panels, added 12-volt accessory receptacles, switched to LED lighting, and more.
Solar Panels for Boondocking
|
|
|

|

|

|
|

|
|
|
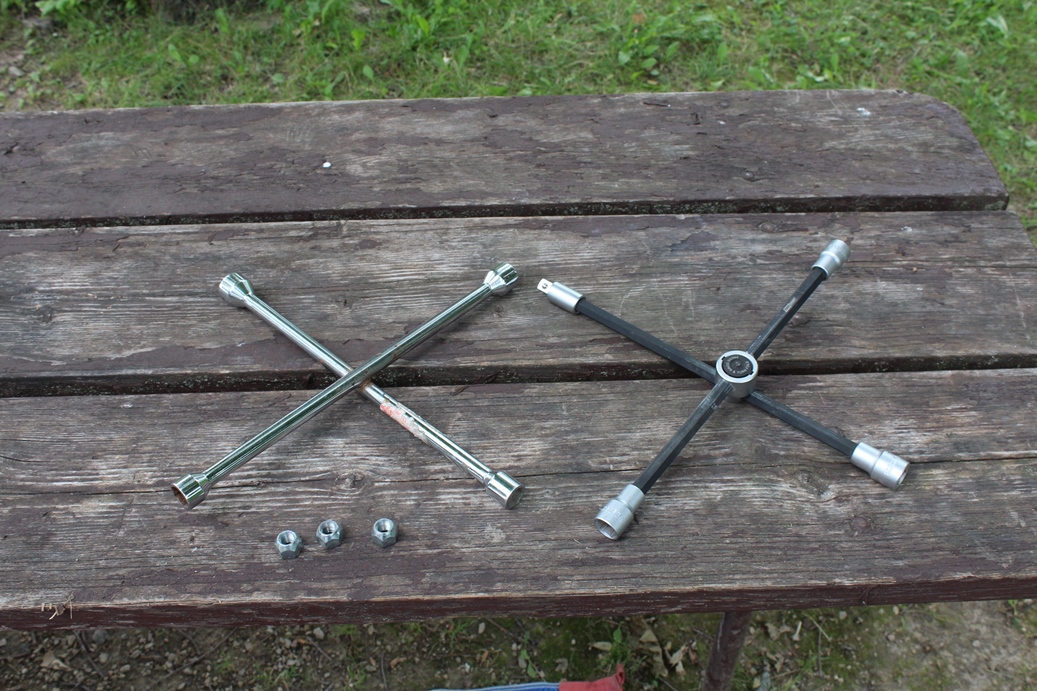
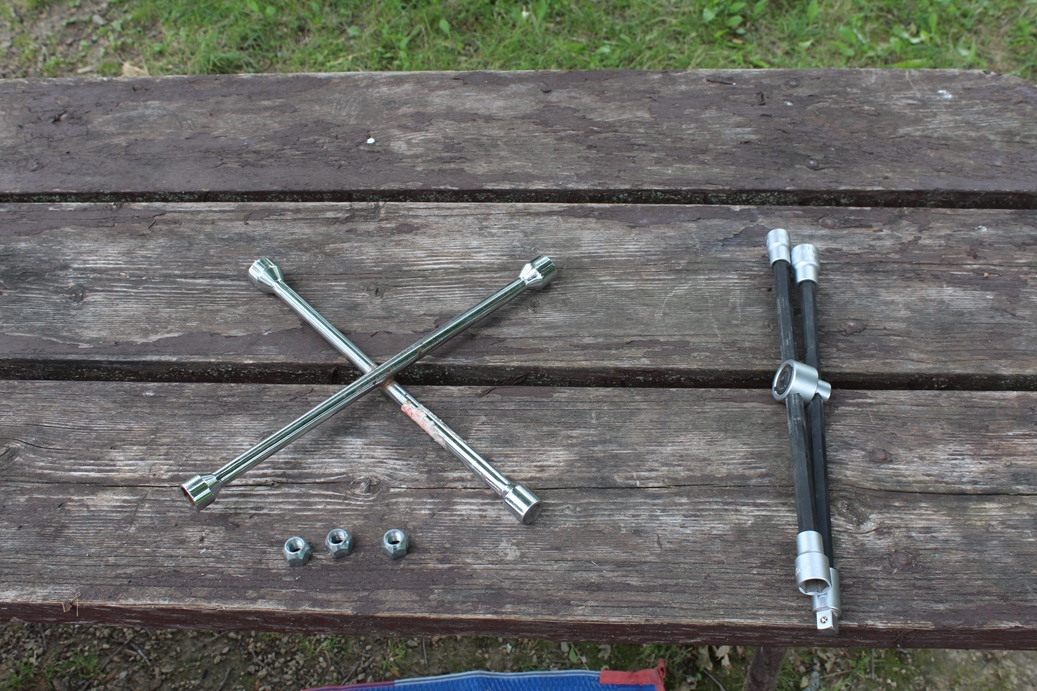
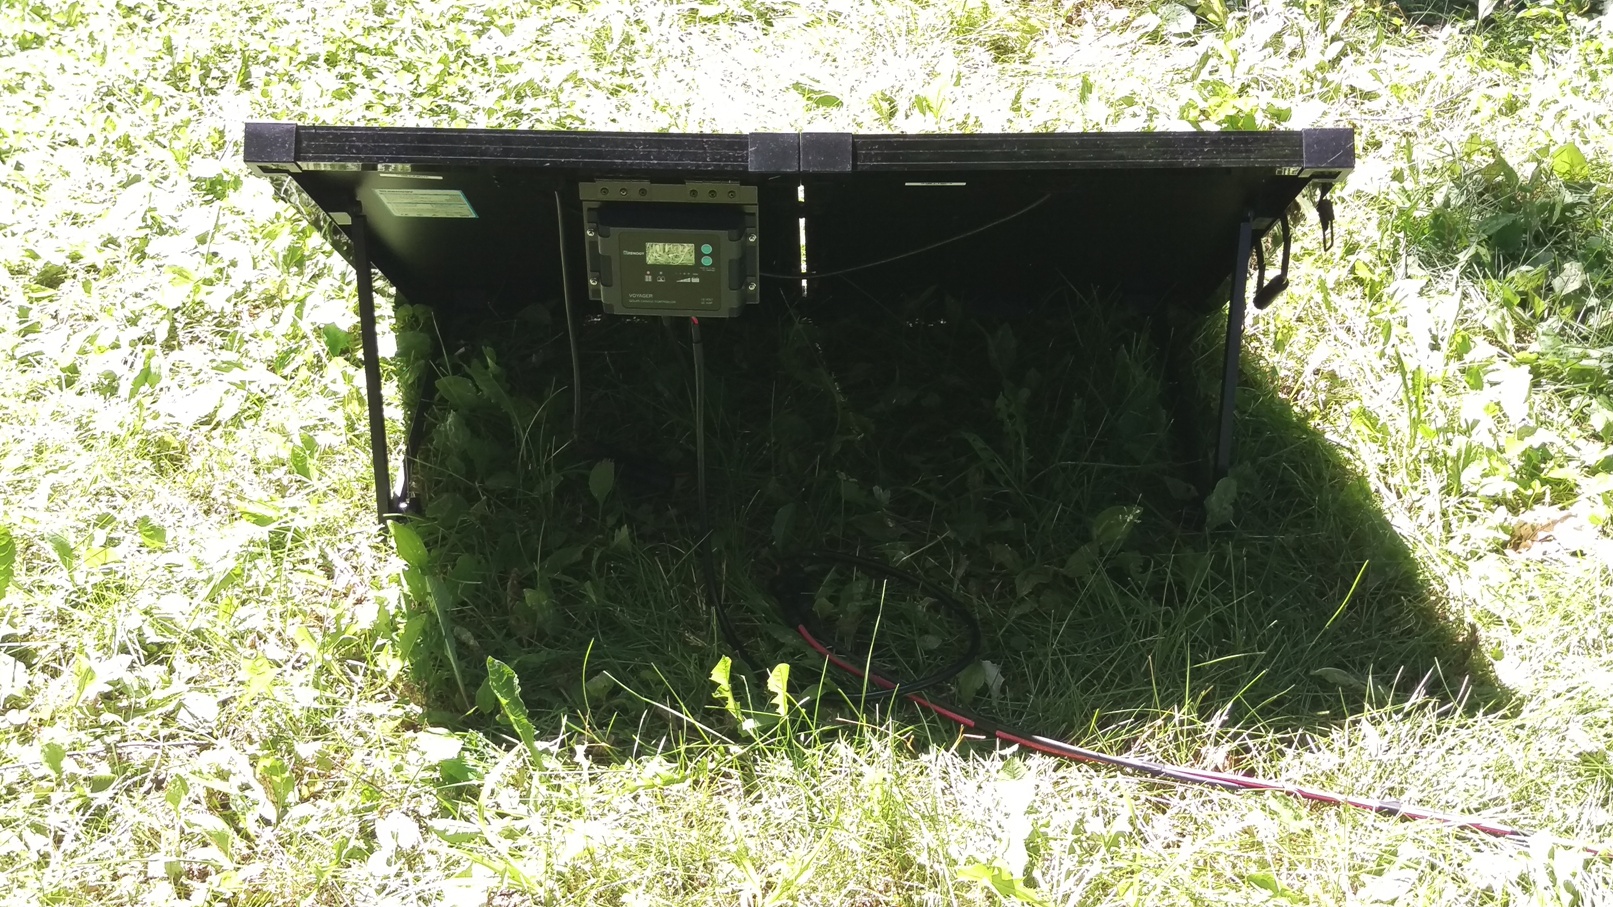
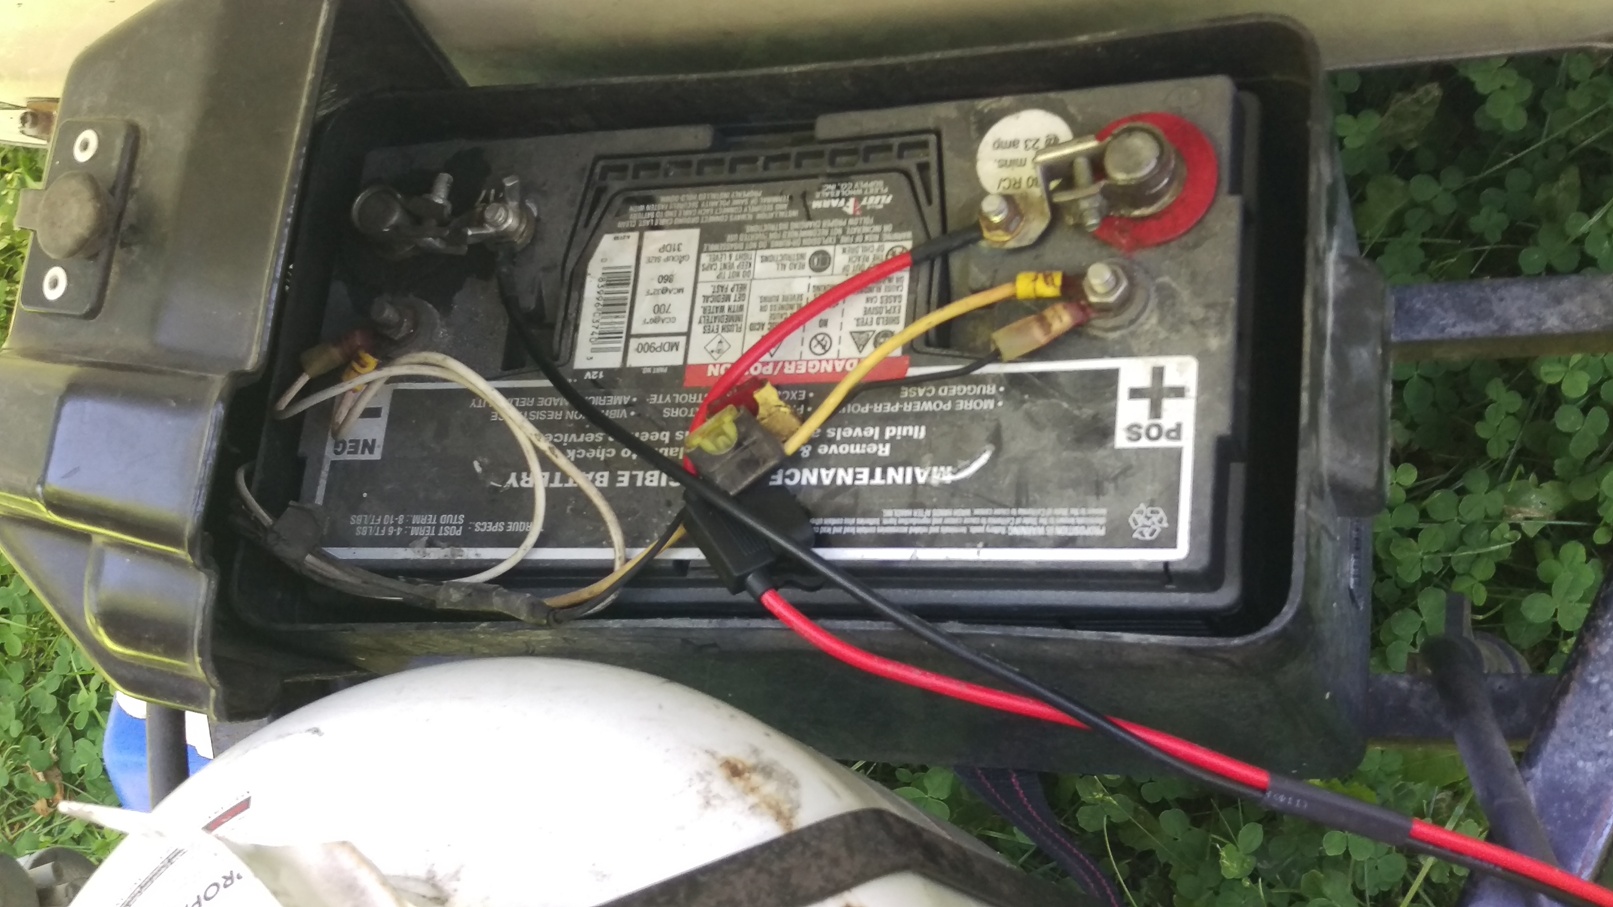
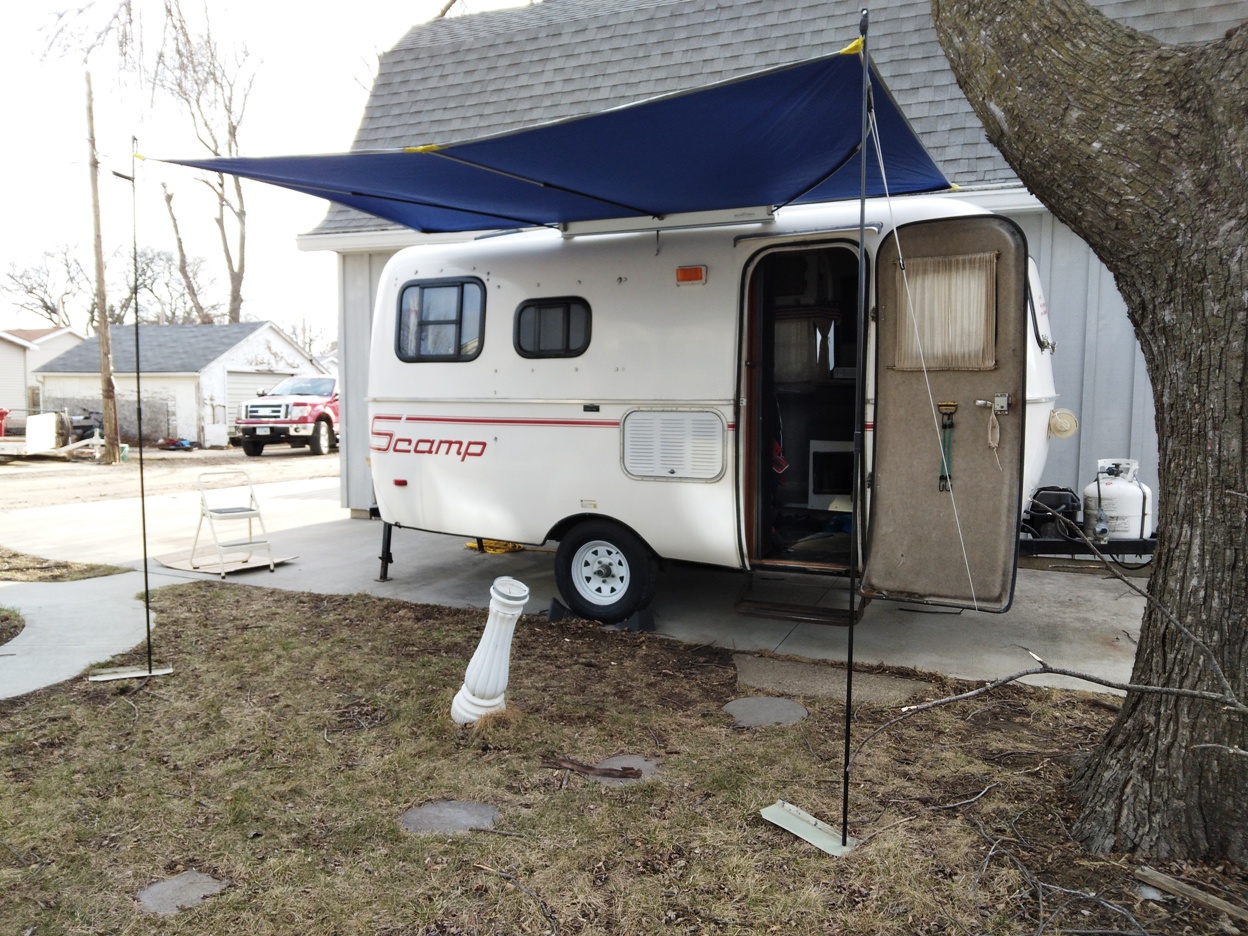
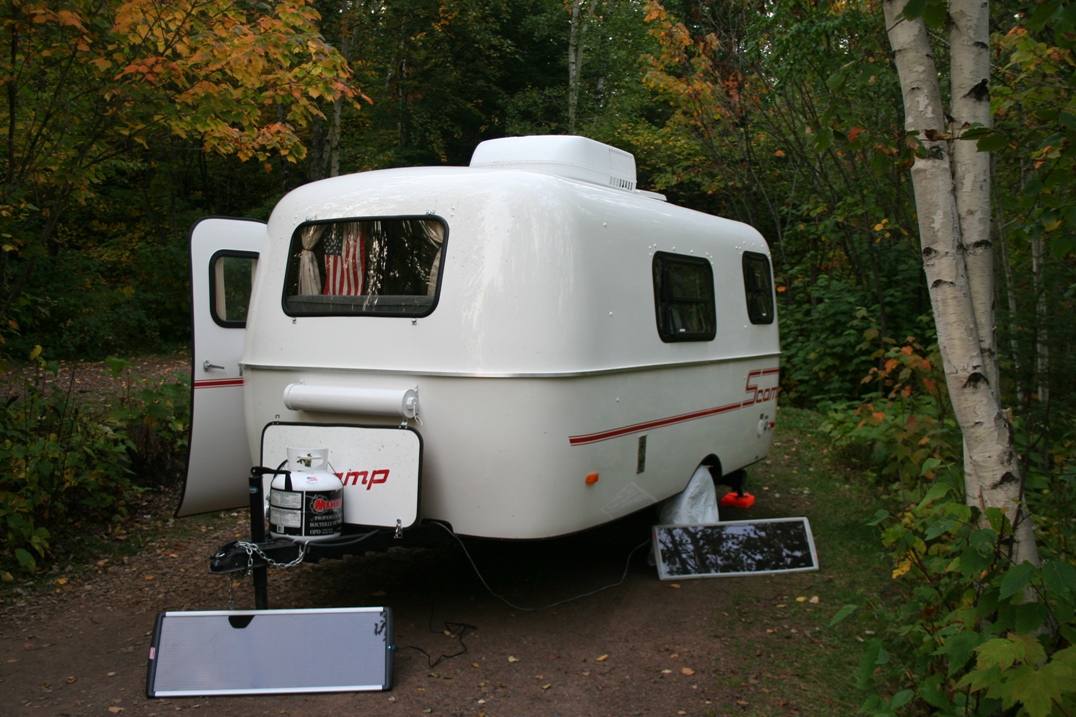
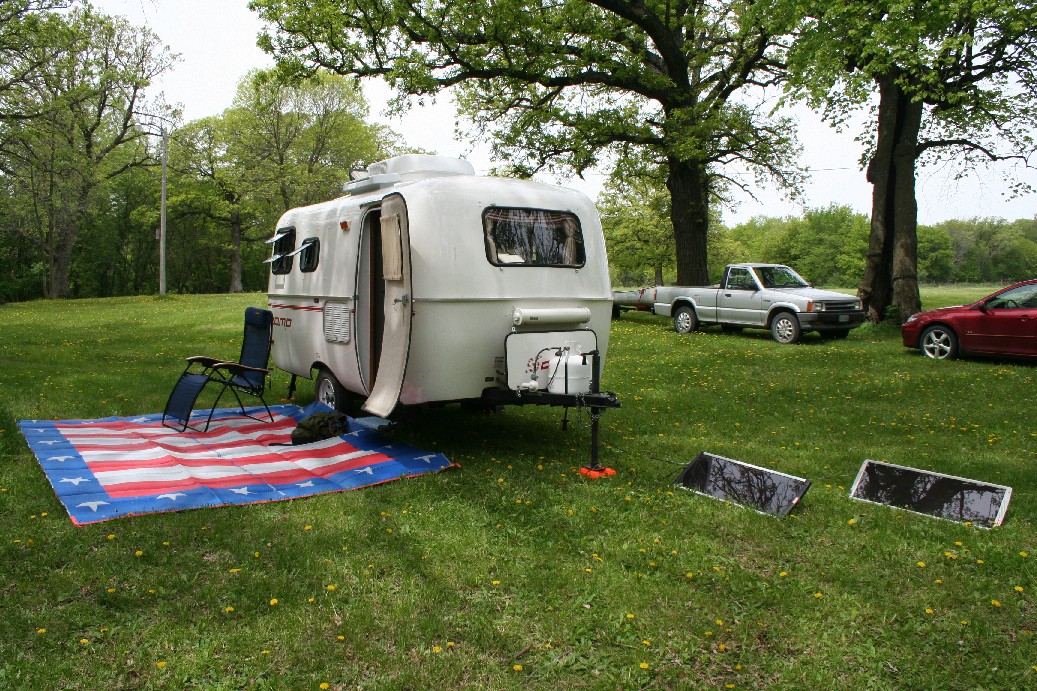
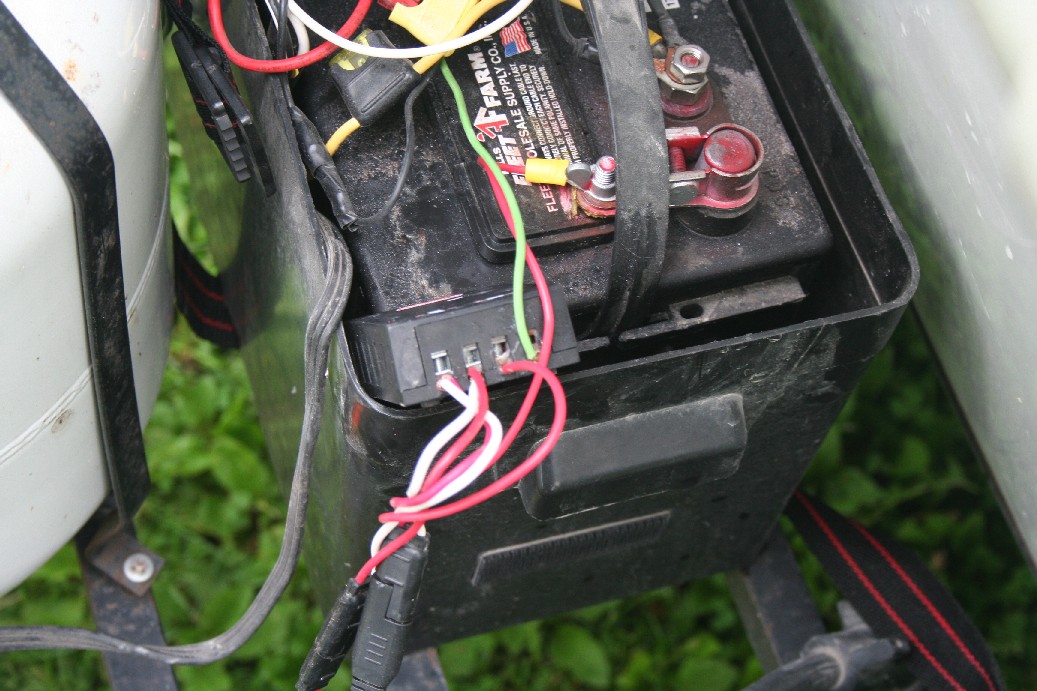
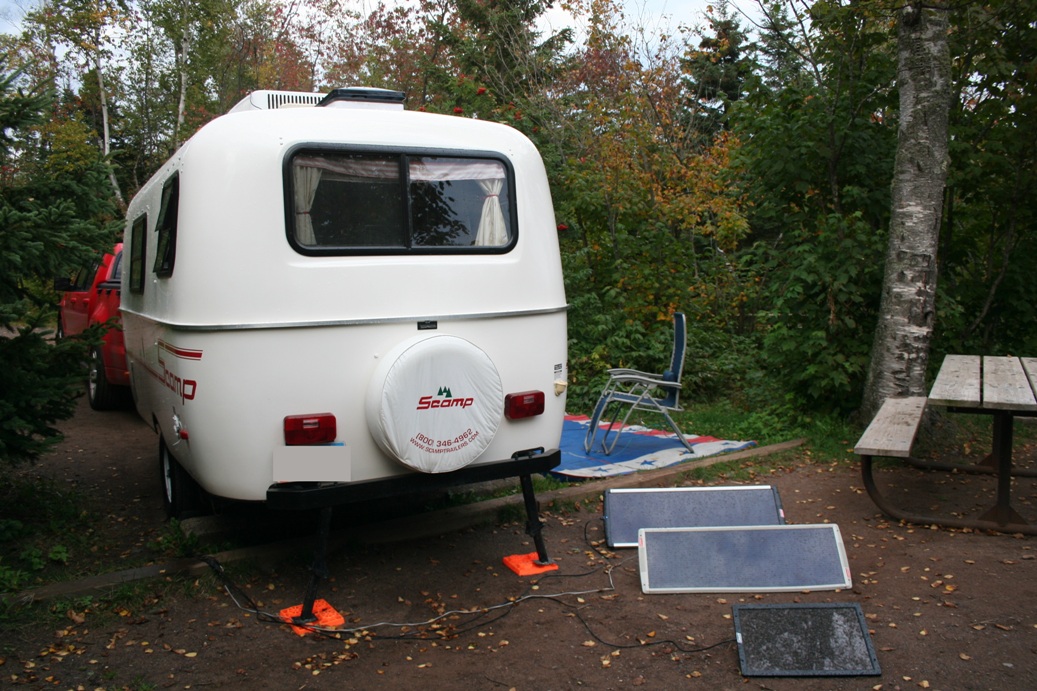
Boondocking is a term that basically means "off the grid". Most campers come with a battery that will allow them to run the most basic equipment without the camper being plugged in. In a Scamp, or other smaller camper, you can run most things without being plugged in. Most refrigerators can run on electricity or propane, and the lights are designed to run off of 12 volt systems. The battery gets charged when you are connected to the tow vehicle, if you vehicle has been configured with that connection, or when it is plugged into 110 volt system such as at a modern electrical site or while you are storing it at home. When running on a fully charged battery, you can get a few days out of it depending on the electrical load you put on the trailer. We have a modest load with the various things that need to be plugged in. But if you want to go off grid for longer than that, you will need a way to charge the battery. You may be able to connect it to your tow vehicle and let it charge it for a while, but that can waste gas rather easily. Or, you can look for alternative ways to generate electricity. Solar is one of the easiest, but it only works during the day and you may not get the full potential out of them when it is cloudy. The other alternative is wind power. I have been looking into that to augment the solar system we are currently using, but right now there is not a lot in the way of wind generators for RVs. However, people have been adapting wind turbines that are used for marine applications such as sailboats. While I have yet to find that solution for us, we have had really good luck with our solar panels. The solar panels were an early addition to the Scamp. We already had one for when we were tent camping, as well as a marine battery to run the electronics we had at the time. I did add the second panel right away with the charge protection unit that was recommended for 15 Watt panels and above. The charge protection unit can be seen in the last two pictures of the second row. This unit has since been replaced but the concept is still the same. I connect the charge protection unit to the extra posts on the battery; it was easier to connect them to separate posts from the ones the trailer was connected to. I originally used two prong plugs, and wired them to both panel side and charge protection side since they did not come with connections, but now solar panels and the charge protection unit come with the proper connections. I would like to add that even though the solar panels and charge protection units come with the connectors, it is always wise to check polarity on the connections. I purchased two different charge protection units at different times, and when I looked at them, even though they were the exact same part, one had the connection going to the battery switched. I rewired it to match my current setup, but pay attention to details like that. Not shown in the pictures is the extension and splitter cable I found to connect multiple solar panels to one charge protection unit. I originally made my own connection that would function in the same way, but now there is ready made one you can purchase. It is a nice addition because beside the fact that you can connect multiple solar panels, it gives you and extra six feet in length so you can position the panels further away from the trailer. This helps when you are chasing the sun. The first one I purchased actually would connect up to three solar panels to the unit, but the replacement one to that now comes with four. Again, periodically check the cables for flow of electricity. We actually has my original cable go bad and it was not charging. It actually shut down the solar panels because of the fault. As far as maintenance goes, you will want clean the solar panels every now and again with glass cleaner and a soft cloth, especially if you place them on the ground like I do. Also a couple times a year, you will want to check to make sure they are charging by using a volt/amp meter to check flow and connectivity at all connection points. To maintain a healthy battery, you will want to make sure all posts are clean of corrosion, and use anti-corrosion pads on the battery terminals and even spray them with anti-corrosion paint. All of these supplies can be found in any automotive supply store or hardware store. While solar panels are fairly durable, you will want to pay attention to weather conditions. We have kept ours out most of the time and have seen a lot of cold and rain, but if there is hail predicted, I would recommend storing them under the trailer, or in a car until the threat passes. Over the years, we have had really good luck Boondocking. While we do like using electrical sites in campgrounds, many times the really good sites do not have electricity. Also, some of the non-electrical sites are not really conducive to the larger camping units. With our current setup, we can maintain the battery for alost an indefinite amount of time, especially with the addition of the smaller black panel you see in the last picture. I have actually had the fully charge light, on the charge protection unit, come on while camping with our current electrical demand. So do not be afraid to try experimenting with alternative sources of power generating units If you have any questions about how to go about this, please do not hesitate to contact us at information@dampenedenthusiasts.com or russ@dampenedenthusiasts.com. |
Lighting
|

|
|
|
|

|
|

|
|

|
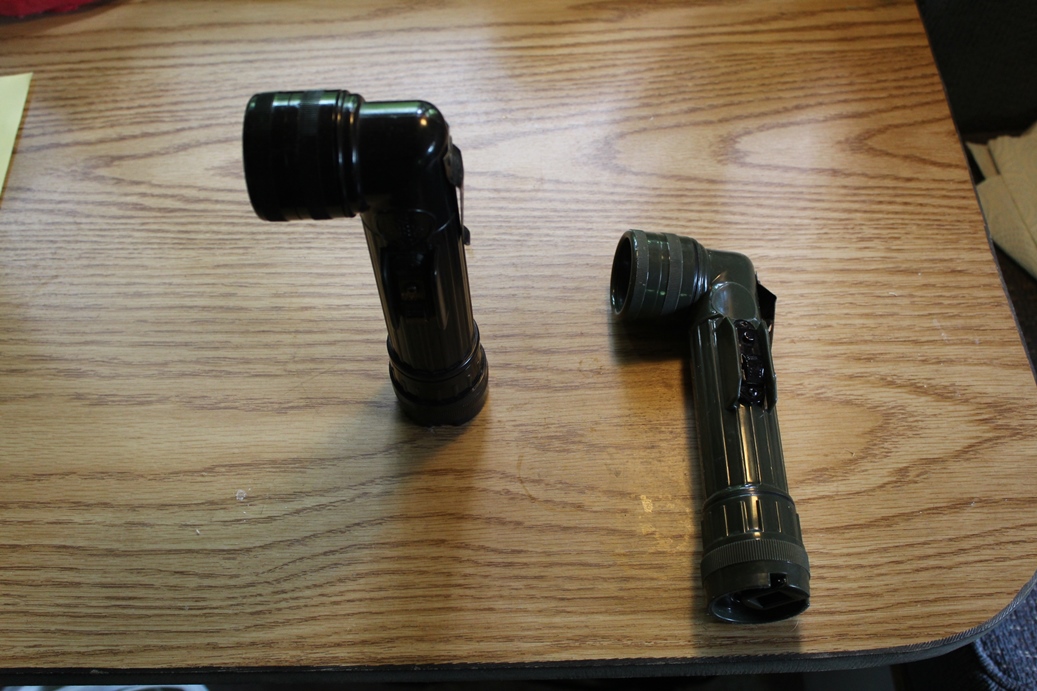
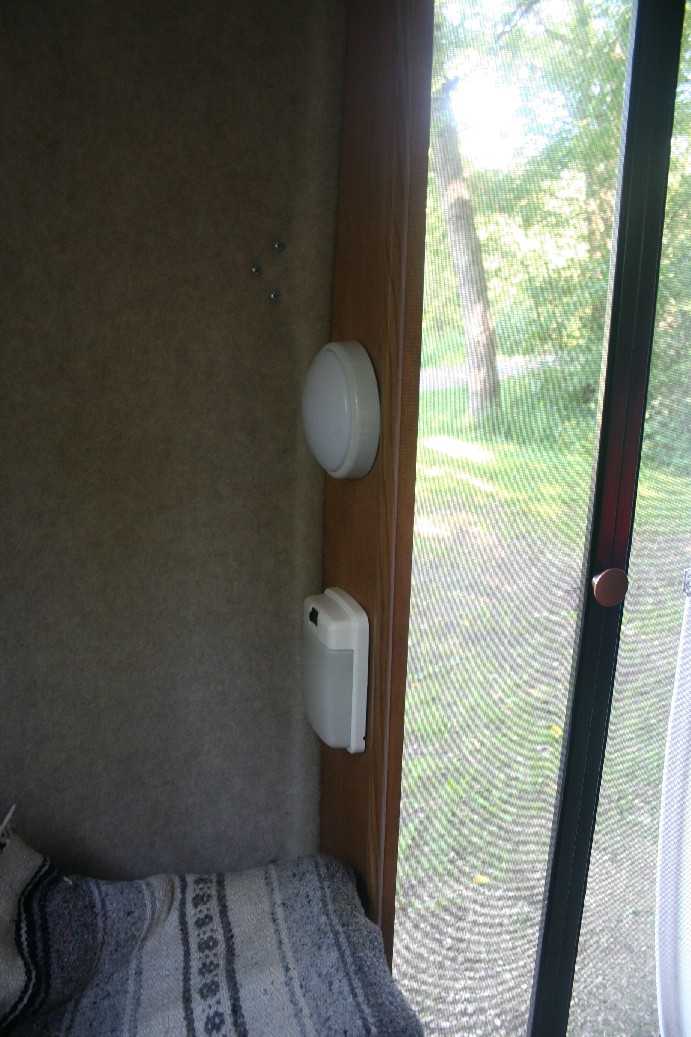
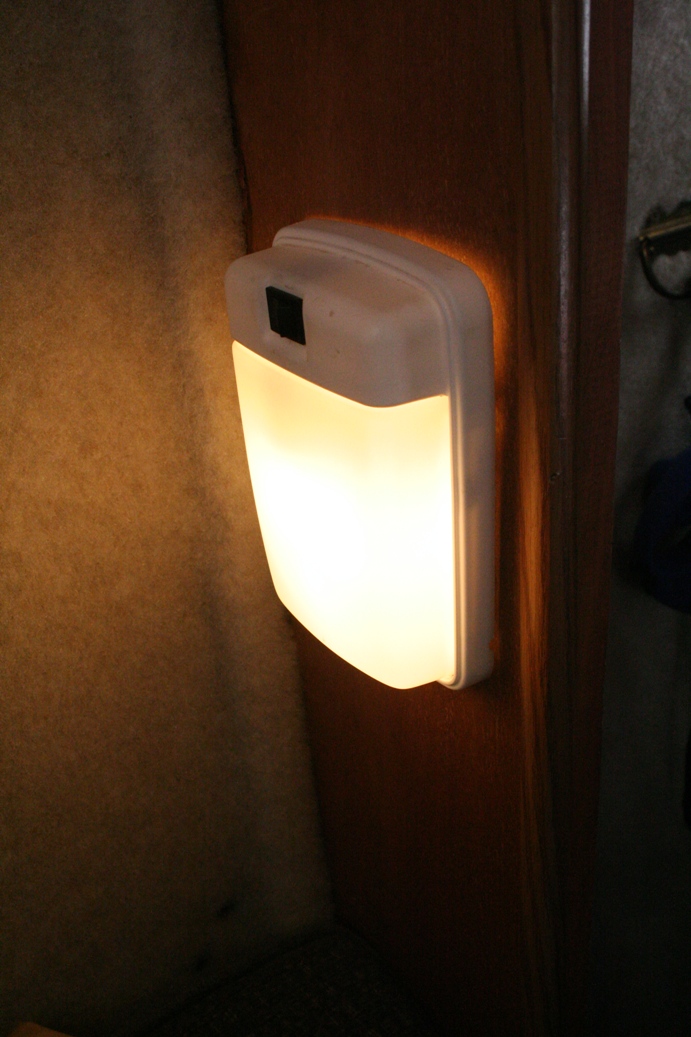
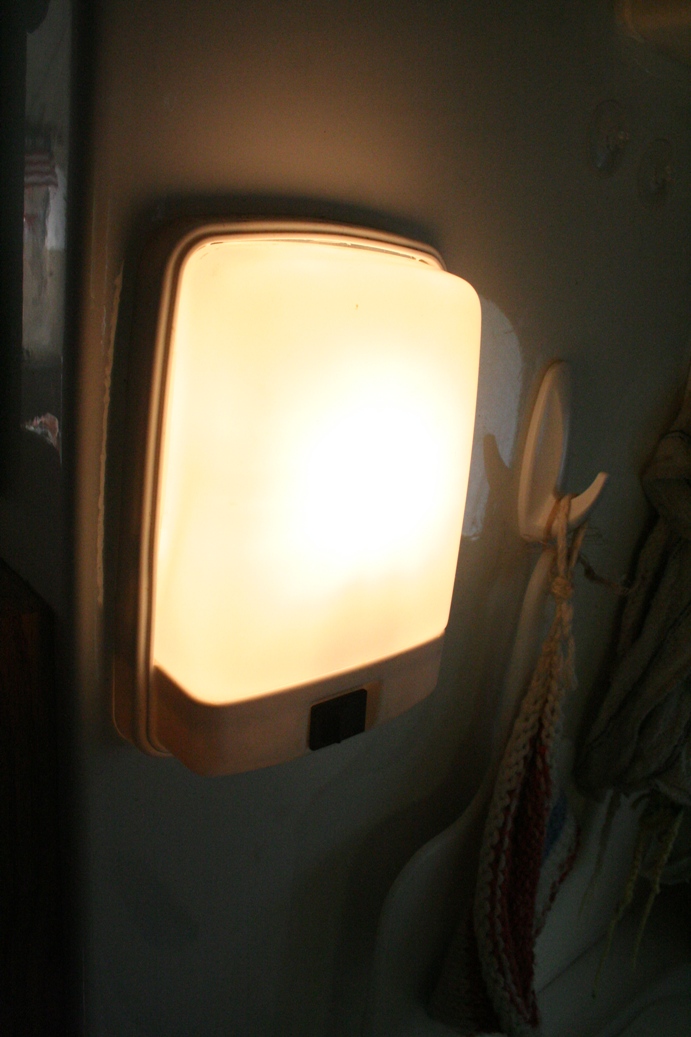
I have done a few things with our Scamp to enhance the lighting possibilities. One of the first things I did was to add an additional light just inside the front door. Originally, the only light in this part of the trailer was on the opposite end of the couch and not in a very convenient position. I often found myself trying to turn on a light just inside the door that was not there. Then I had the idea of, "Hey, why don't I put one there?" It was so easy to install, that I did it on a camping weekend. I first attached it to the wall using wood screws, but they were too long and stuck out the other side of the wood. This was bad since they could catch on your clothing when entering or leaving the trailer. I used wood dowels to cover up the screw ends, but those did not work very well either. I eventually replaced the screws with nuts and bolts. You can see the mounting position in the first picture above. It is the one on the bottom. The one on the top was a battery operated tap light that I tried in a effort to provide light and save the battery on the trailer. It did not work out so well.
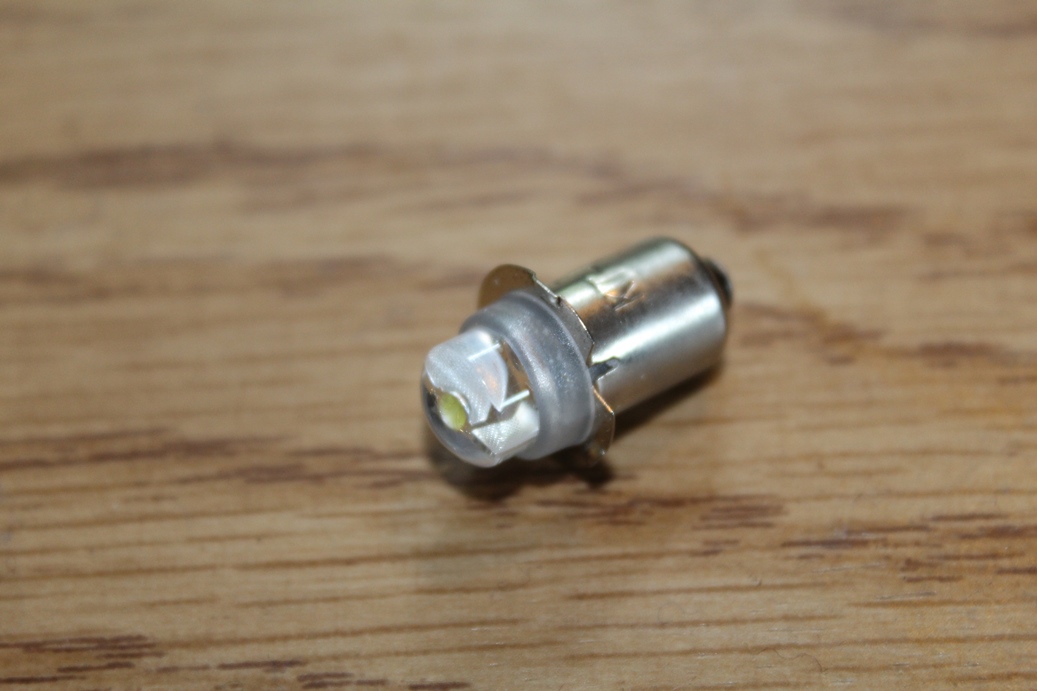
Which brings me to my second point about lights. They do draw amps away from your battery, and not a small amount either. I had been considering changing to LED bulbs for quite some time, since they hardly use any battery power, but I could not find any lights that replicated the light coming from the incandescent bulbs. Then I found BrightTech LED replacement blubs on Amazon. They were advertised as LEDs that had a softer glow to them than the traditional LEDs, and the reviews on the bulbs were all very good. I ordered two just to see how well they worked, and I fell in love with them from the start. You can see what they look like in the second picture above, and you can see by looking at the third and fourth that there is no difference between them and the incandescent bulb. I immediately ordered the remainder of the bulbs I needed to replace the incandescent bulbs. When I received all of the new ones, I did a test. I put all incandescent bulbs in, then checked the amp draw. Then I put the LEDs in and did the same thing. I found out that with all LEDs turned on, which was six, I was drawing the same amount of amps as if I had just one incandescent bulb on. That was pretty impressive. Over the last few years, when we go off grid, I have noticed better performance of our trailer battery, and I feel much better about using the lights now when off grid.
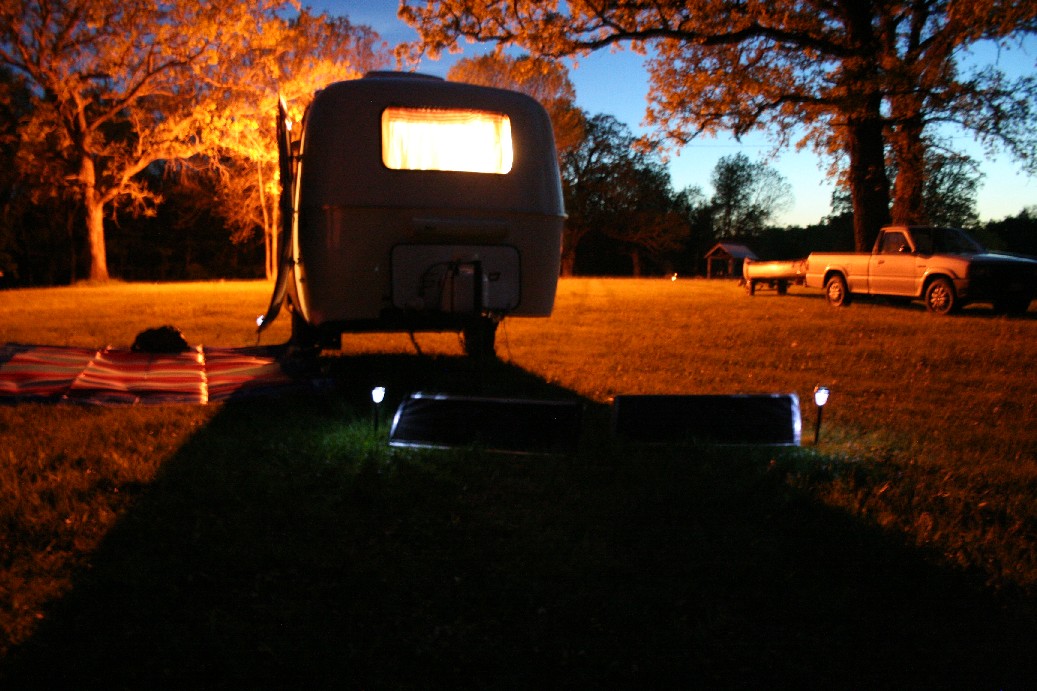
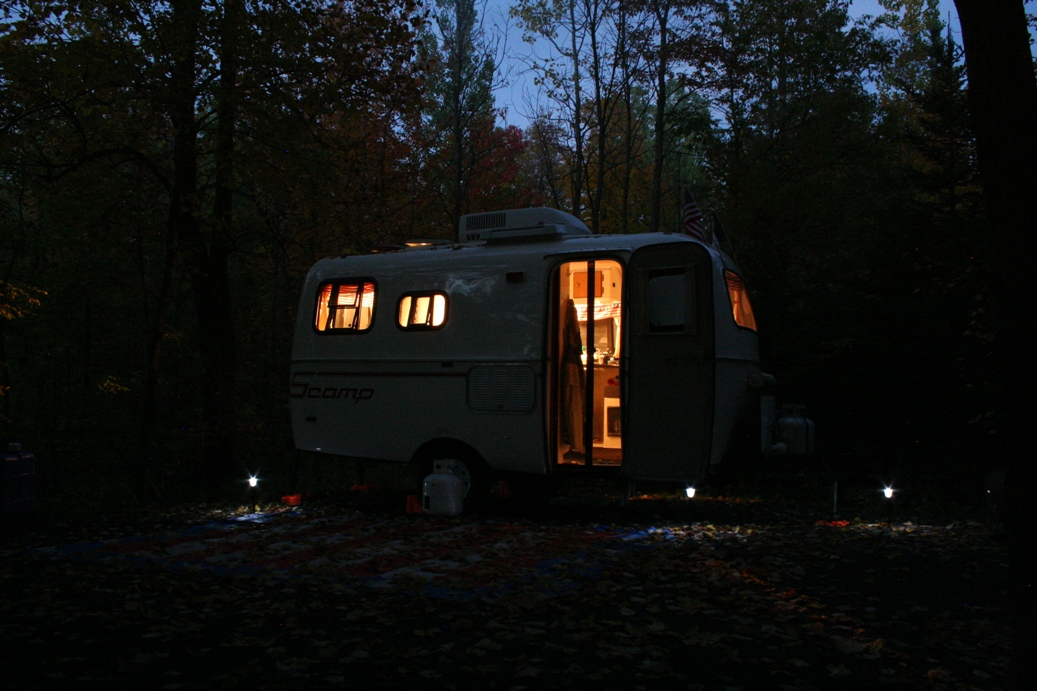
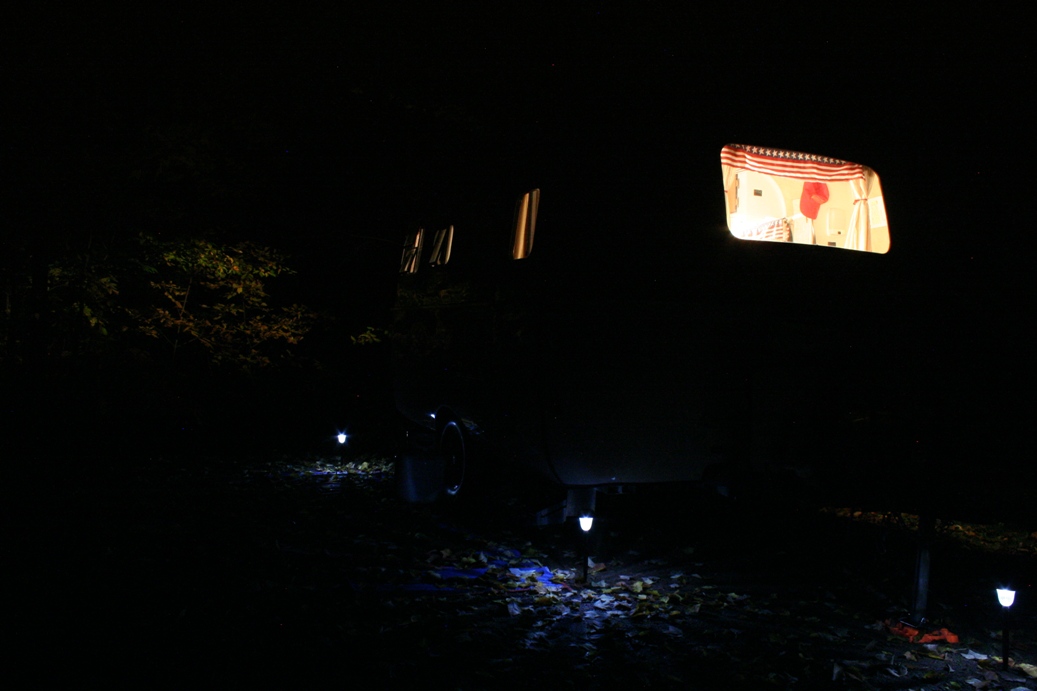
Other things I have done with lighting come in the way of outdoor solar lights. I noticed other campers using them for decoration, and to mark hard to see objects in the dark. That is when I came up with the idea of putting solar lights around the panels at night. Since I place them where the best sun is during the day, they are not always in the same spot around the camper. So I use the solar lights to mark their placement. Also, since I move the panels around during the day to catch the best sunlight, the solar lights are good markers for where I need to put the panels back at night so they catch the best sun in the morning. When we are not using the solar panels, I used them as part decoration, part marking the edge of things such as the trailer mat, the tongue of the trailer, and the edge of the campsite and driveway. The most recent solar light I added was to light up our sign at night. I purchased it at a local hardware store and it original was designed as a house number light. Turns out it works really good for illuminating our sign as well.